


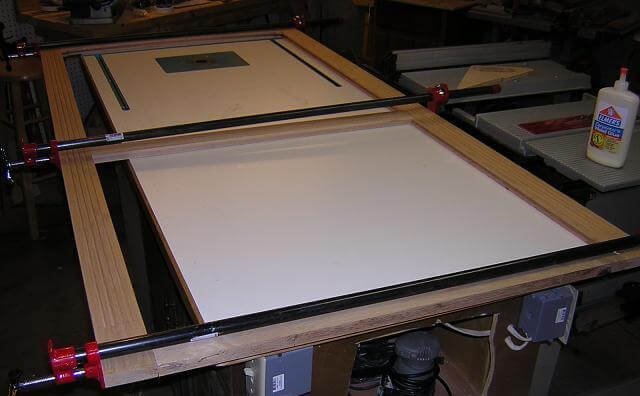
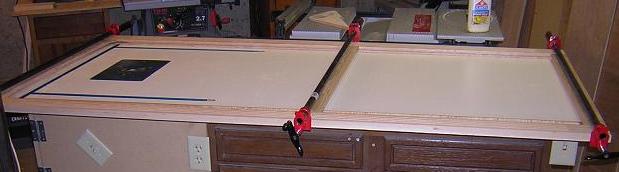
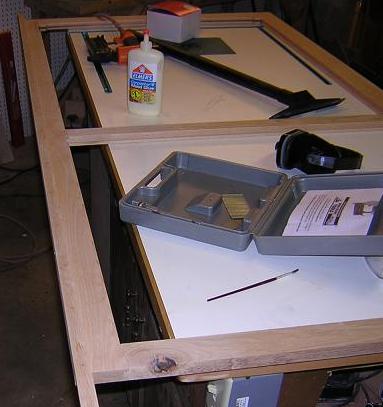
With all of the pieces cut for the door, and the mortises and tenons fine tuned to my satisfaction, it was time to glue it up. The door was slightly bigger than my work bench, so I had to take care when clamping so that everything was flat. Also, because the door had to fit into the carcass between the base and crown, and I only allowed for less than 1/8" clearance, I had to make absolutely sure that the door was square. I took repeated diagonal measurements and tweaked the clamps until the corners measured even. I tried to use just enough clamp pressure to pull the joints tight, then cleaned up any glue squeeze-out. I let the door sit in the clamps for a couple of days before I got back to the project.
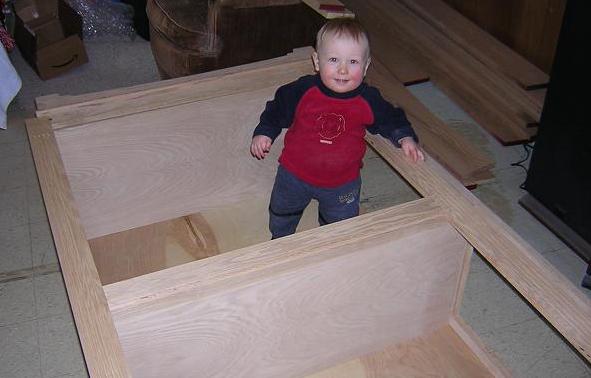
After the glue had cured, I had another moment of truth; to see if it was square and would fit properly on the carcass. You can measure these things 100 times (and I think I did) but you never know for sure until you pull it out of the clamps and set it in place. Much to my relief (and because I got lucky), the door was spot-on.
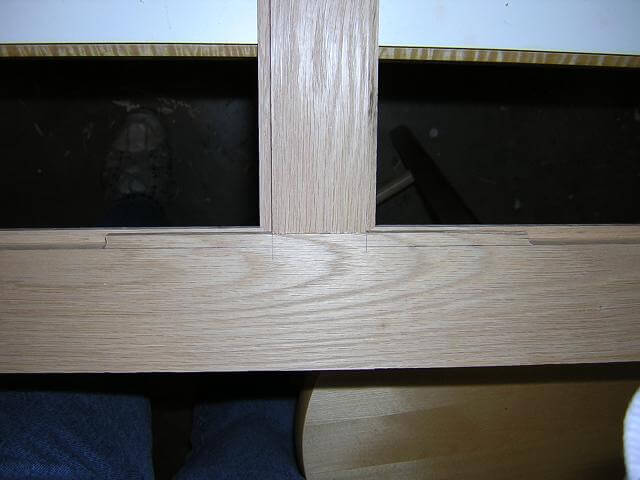
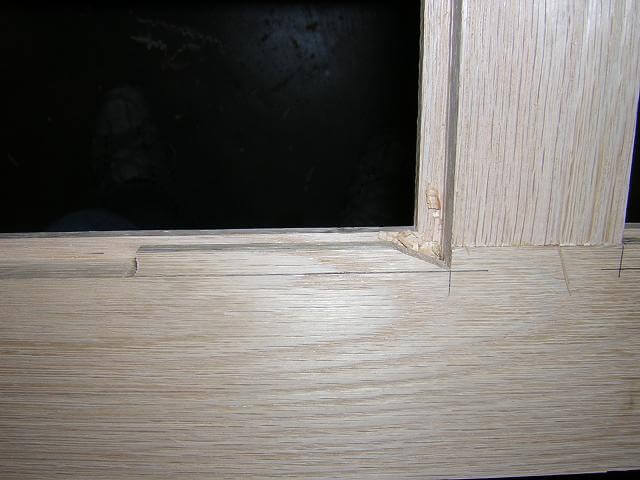
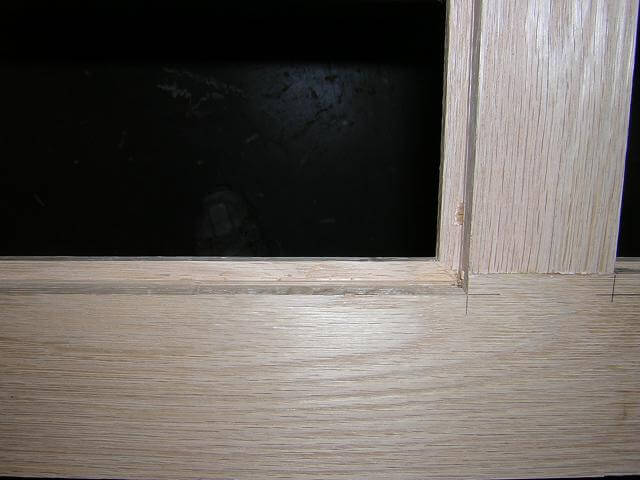
With the door assembled, I now had to cut the back part of the groove off of the stiles to accept the glass. Prior to assembly, I cut the groove off the middle and bottom rails. As with the sides, the top stile was left as-is. I chucked up a 1/4" straight bit in the router and set the edge guide to remove just the lip of the groove. Because of the size of the edge guide, I was unable to route the groove all the way to the corners. I used the router to get as close as I could, then finished cutting the corners out with a chisel.
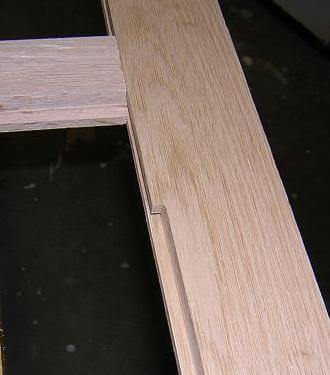
When chiseling out these corners, I developed a method to do them quickly and accurately (I had 24 of these corners total, so I had lots of practice!) First I would mark the piece with a pencil to determine my cut lines. Then, I would score this line with the chisel edge to reduce accidental tear-out. I would then cut in diagonally to the corner, which would leave me a long piece with the grain that was easy enough to pare out.
The last thing to do before I sanded the door smooth was to install a 3/8" edge piece on the inside of the door. When the door is closed, this piece will cover up the gap caused on the right side of the curio where the drawer extensions hold the door out from the shelves. The right side piece of the curio was intensionally cut 3/8" shorter to accomodate the slides. I cut the piece long, glued it in place and attached it with brads to hold it until the glue dried. Then I trimmed the ends flush with a hand saw.
Now it was time to sand. I spent several hours sanding the door and making it pretty. Sanding out the flutes is a chore, as it can only be done by hand. I wrapped some sandpaper around a drill bit to help me match the curve.
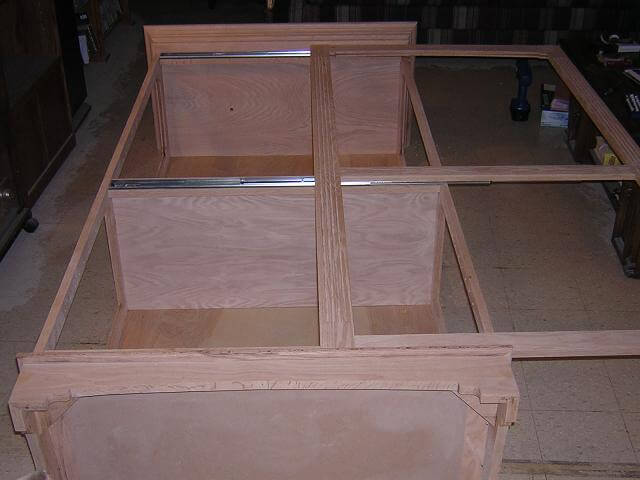
When sanding was done, I moved on to hang the door. The door is attached with three drawer slides, which will slide the cabinet door to the right. I separated the slides into their two parts, then attached the bottom part of the drawer slides to the cabinet.
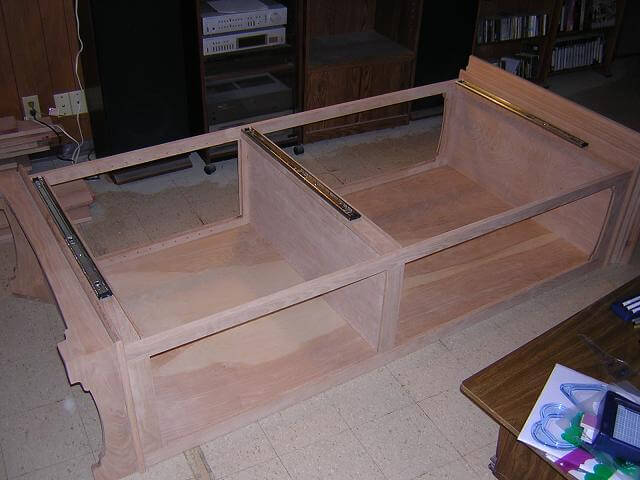
Next, I carefully measured where these slides were positioned, and marked the inside of the door for the top part of the slide. I put tape on the inside of the door so I wouldn't have to remove the pencil marks later. Making sure I had the slide on right-side-up and on the right side of the door (this is harder than you'd think when the door is inside-up on your workbench,) I attached the slides.
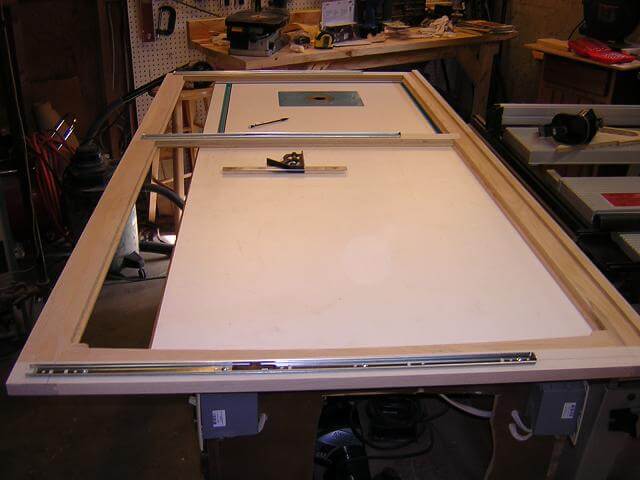
With both sides of the slides attached to their respective pieces, I spent several hours (literally) putting the door on, removing it, adjusting the slides and repeating the process until I was satisfied with the way the door fit.
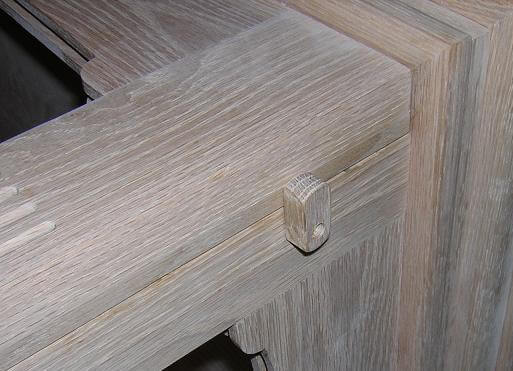
After the door was installed, I noticed a little problem. The door would open and close very easily on the ball-bearing slides. With a 14 month old running around, I realized that it wouldn't take long until he figured out how to slide the door open and get at all the wonderful "no-nos" kept inside. I modified the original plans, and added this little door-lock towards the top of the cabinet. This should keep little Tundra Boy from being able to slide the cabinet open, at least until he figures out how to build a 6 foot tower of Legos to allow him to rotate the stop and open the door.
At this point, all that is left is to cut some strips of oak for glass stops, give everything a final sanding and finish the piece.
Return to the first door construction page.
Back To The Curio Cabinet Main Page
Return To The Main Wood Gallery
This page last updated on 06/28/2018