


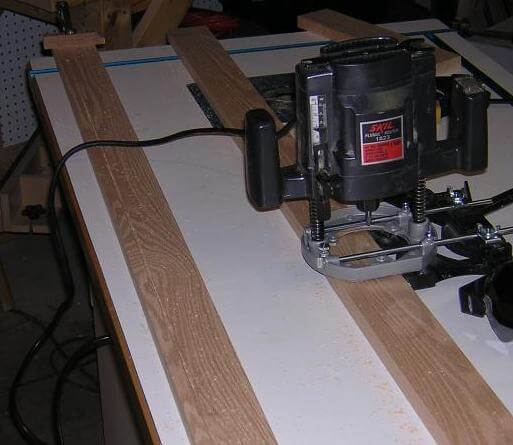
Now it was time to start on the door. I cut all pieces to width and rough length. The two stiles on the door were to have decorative flutes routed in their faces. To do this, I took a piece of scrap the same width as the stiles, and carefully marked where each flute should be located. It was worth taking extra time at this step to ensure that the flutes were spaced accurately, as any variance in the spaces between flutes become very noticable. When I was satisfied with the layout, I then set up my router for the first flute. I set the bit depth at 1/16 and adjusted the edge guide to center the bit on the line. I made a test cut to ensure everything looked OK. Because these were stopped flutes (they didn't go all the way to the edge of the piece, I clamped stop blocks on both ends of the stile. Then, it was time to bite the bullet and rout the first flute.
I set the router base up against the first stop block, fired up the router and plunged the bit down. I didn't want to linger with the router bit spinning, as this was the front of the cabinet and any router burning would be very noticable. As soon as I hit the depth stop on the router, I started moving forward, taking extra care to keep the edge guide tight with the side of the stock. When I hit the stop block, I immediately raised the bit out of the wood. Whew! First flute done.
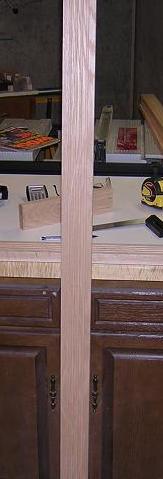
The distance from the both edges of the stiles to the edge of the flutes were the same, so I just flipped the router around and made the cut for the second flute the same way. Then I clamped my stop blocks onto the other stile and repeated the process. Halfway done. I came to be aware than when freehand routing long pieces like this, it was tricky to take steps and keep that edge guide tight. I didn't want to waver and mess up the work pieces, and the more cuts I made the more work I was risking to mess up. I was really starting to get nervous by the time I started work on the third and fourth flutes.

Back to my scrap piece that had my setup lines on it. I adjusted the router edge guide for the third (and consequently fourth) flutes and ran another test. Everything looked OK, so I went ahead and clamped up the stiles again and routed the third flute. When I flipped the router around to rout the fourth flute, I was sweating bullets. Miraculously, I managed to rout both pieces successfully, and in the end I think they turned out pretty good. Even more rewarding was my ability to breathe, which returned again once I was done.
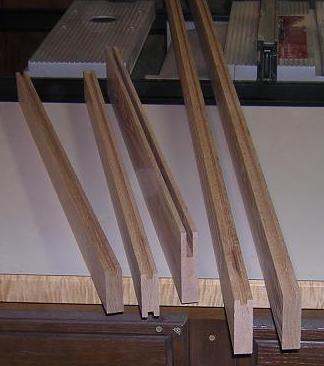
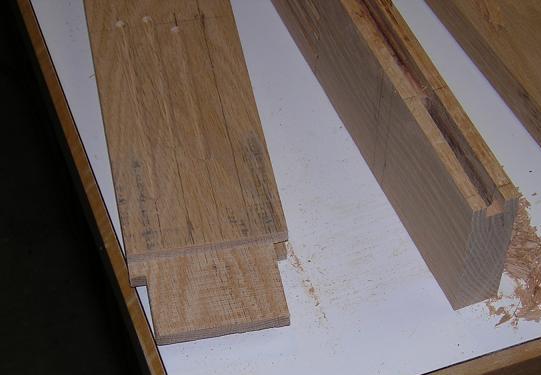
With the fluting done, I cut 1/4" grooves in the insides of the stiles, the bottom side of the top rail, the top side of the bottom rail, and both sides of the center rail. These grooves will hold the glass for the door.
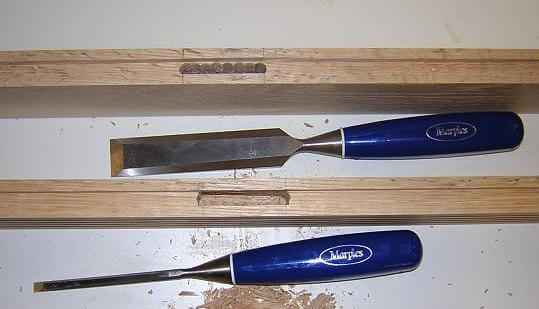
The door was going to be supporting more weight than the sides, and would have to be rigid enough to slide without racking, so it would have larger tenons than the side pieces did. I plowed out most of the mortise with my drill press and a forstner bit, then squared up each mortise with a chisel.
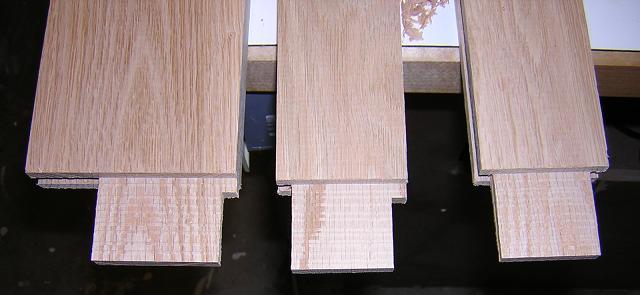
Next, it was time to cut tenons on the three side rails. Because of the groove, the tenon on the top and bottom rails had to be haunched. I spent some time with my scrap piece setting up the saw to get the thickness of the tenon correct. Once the thickness was perfect, I cut the tenons to thickness. This completed the center rail, so I set it aside. Now I went back to my scrap piece and made test cuts until I had the saw set accurately for the haunch.
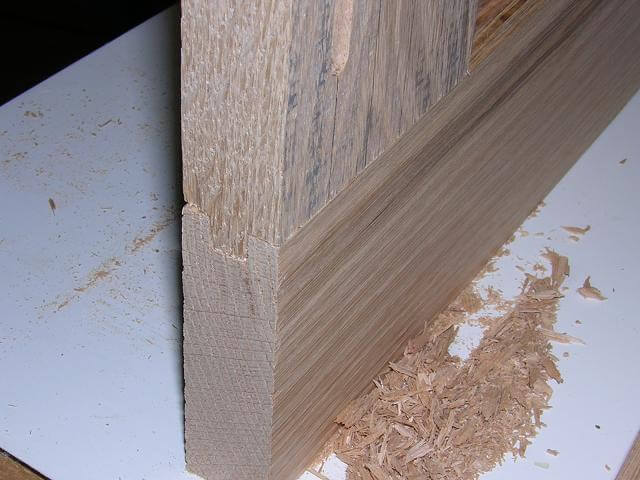
After cutting the haunches in the top and bottom rails, I spent some time with a chisel on each mortise fine-tuning it to fit it's respective tenon.
There's a lot to building a door! Go to page 2.
Return to where we crowned the cabinet.
Back To The Curio Cabinet Main Page
Return To The Main Wood Gallery
This page last updated on 06/28/2018