


I didn't want to do anything too fancy with this neck. I thought a traditional, completely maple neck would compliment the other features on the instrument better than some exotic wood sandwich. Rather than using one solid piece of maple, though, I still opted to use several and glue them together. Laminated necks tend to be more stable as if one piece of wood decides to go wonky the idea is the others will hold it in place. An entire laminated neck can still go wonky, but I feel it greatly reduces the chances.
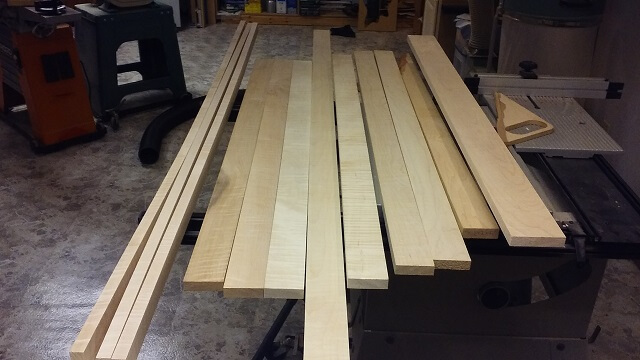
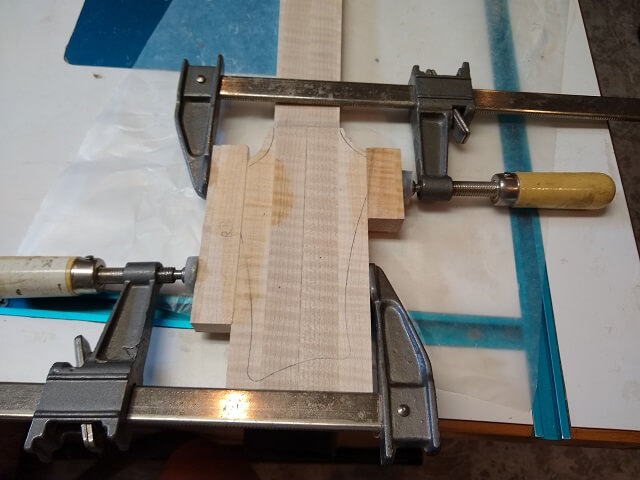
I started by going through my wood stash and pulling out some candidates that I could use. I tried to pick out four pieces that had about the same amount of flame.
These four pieces were then glued together to form a neck blank. Two of the pieces were slightly darker in color, so I placed those in the middle next to each other. I thought that would make it look more purposeful, which I suppose it was.
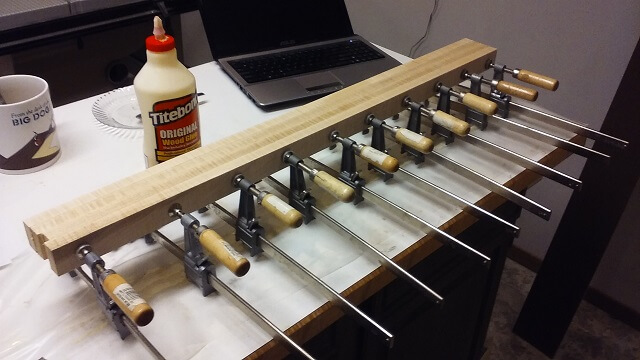
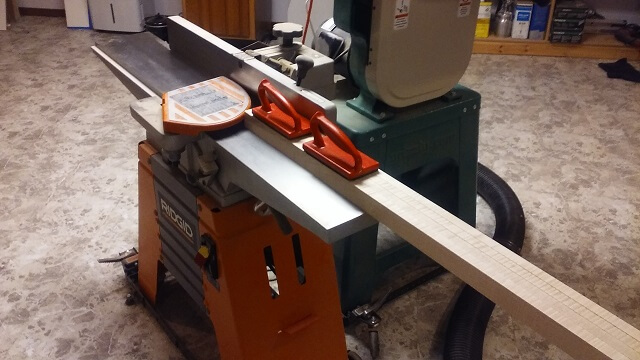
I gave the glue plenty of time to dry. I usually leave necks in the clamps at least overnight. Sometimes I go longer, not because it adds any additional strength, just because I get distracted and don't get back to the project right away. After the clamps were removed, I jointed the face of the neck completely flat using the jointer.
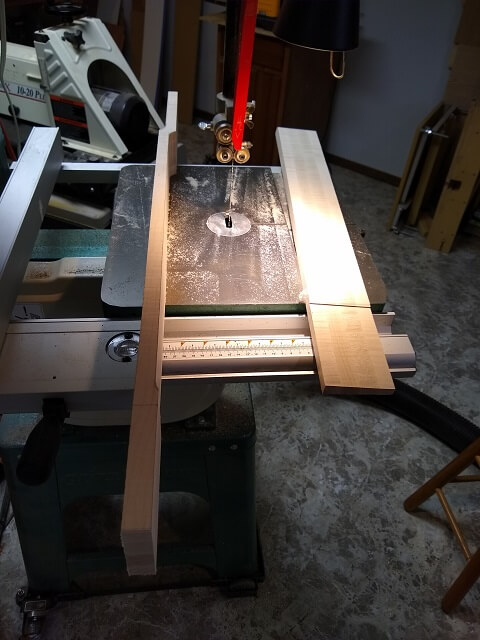
The 1/4" wide channel for the truss rod was then routed at the router table. I do it in about 4 passes, raising the bit slightly each time just to save wear on my router and the bit. I'm not a production shop, so I don't need to worry about squeezing every last ounce of productivity out of the process.
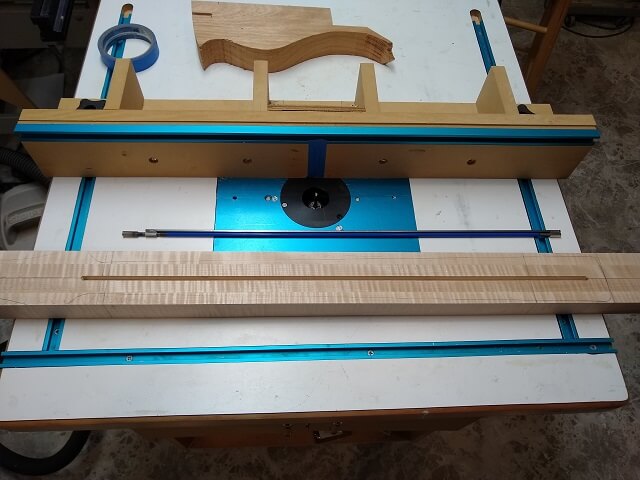
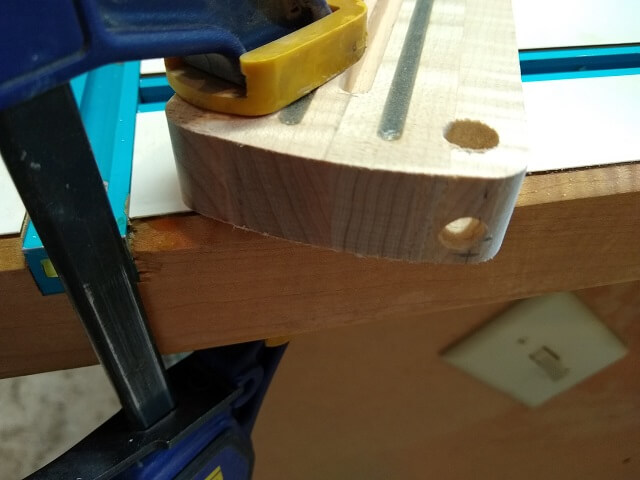
Similarly, I routed the two 1/8" wide channels for the carbon fiber strips. This tiny bit is even more fragile than the bit for the truss rod, so again I went nice and slow, just taking off a small amount of wood at a time.
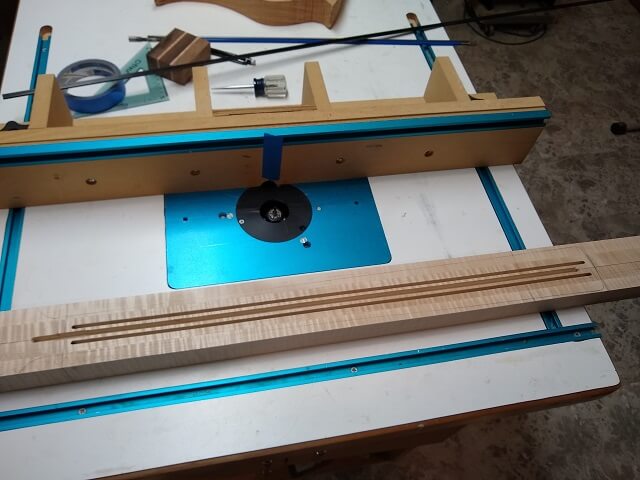
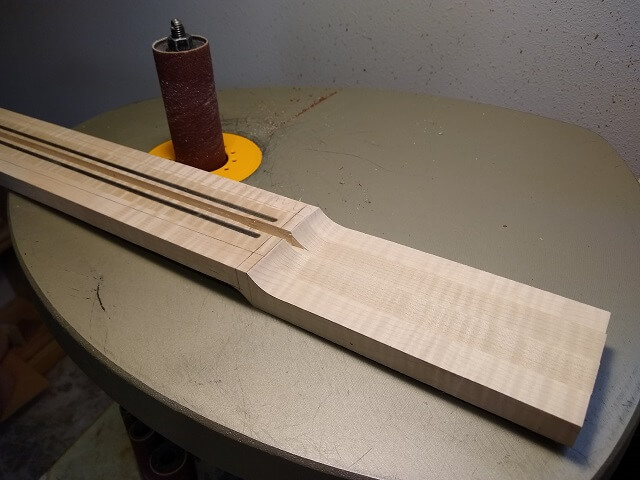
I've learned the trick to installing carbon fiber rods is to get the channels the exact right size. Too tight, and the neck tends to bend a little when you press them into place which you don't want on a neck that has already been jointed. Too loose, and the excess gap filled with glue is going to reduce the stiffening desired by the carbon fiber. With an 1/8" router bit, and 1/8" wide carbon fiber rods the fit is initially too tight. I widen the channels by just nudging the router fence a hair and making one final pass. This makes the channels the perfect width so that the rod will hold itself in place when you turn the neck upside down, but I can easily press the rod in place and remove it without the use of tools.
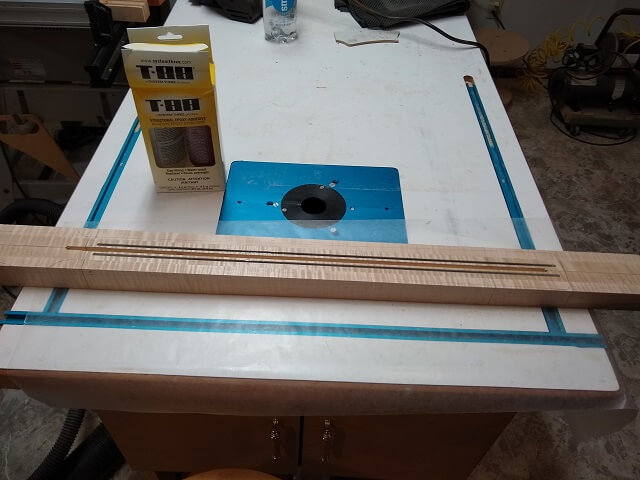
The rods were then epoxied into place. I removed any excess epoxy from the face of the neck before it dried so I wouldn't have to sand or scrape my jointed neck.
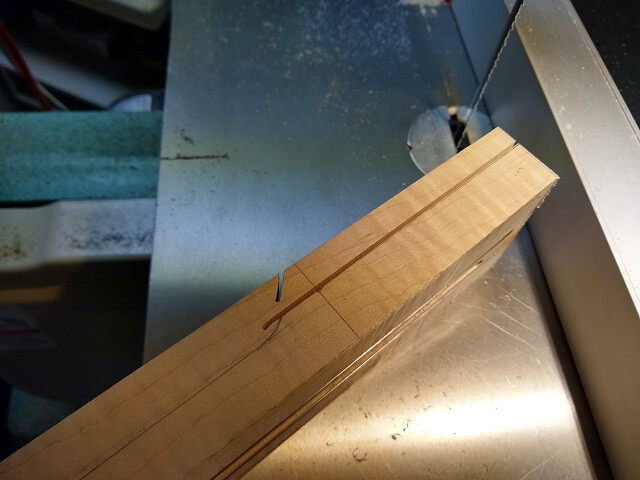
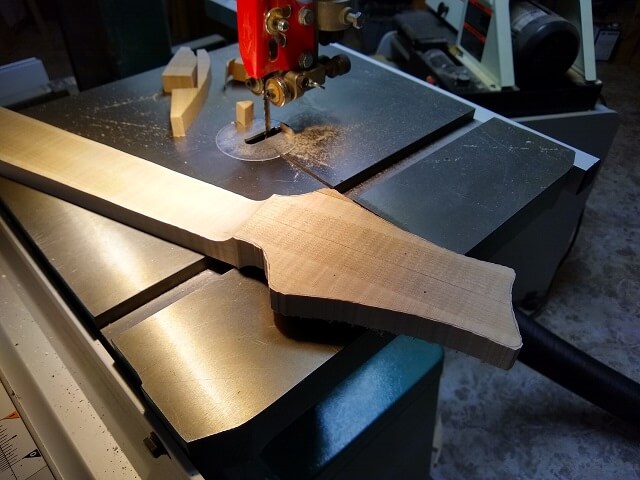
After the epoxy had a chance to dry (I use the 24 hour epoxy, not the weak 5 minute stuff,) the next day I could cut the back of the neck to the proper thickness. I had just installed a brand new blade on the bandsaw, and was surprised how well it cut compared to the old one. I suppose my old blade had slowly gotten worse over time and I really didn't notice the degradation much until I saw how nice the new one worked.
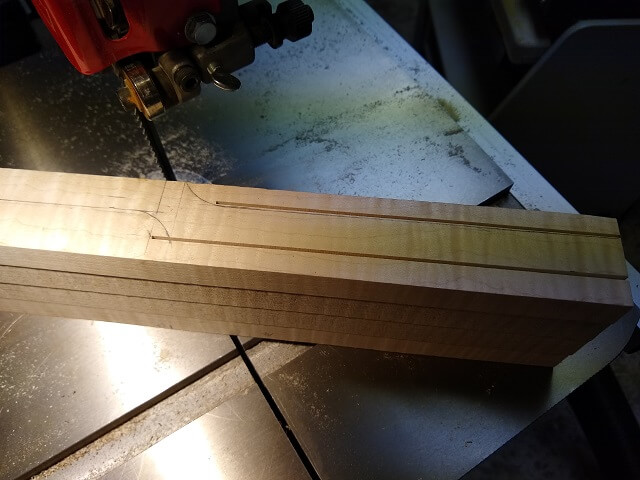
I started by cutting the back of the neck heel to the proper width. I did a stop cut, which meant I cut in to the blank the length of the heel, turned off the saw and then pulled the blank out. Never pull wood out while the bandsaw is running, as it is easy for the blade to jam and get pulled off of the wheels. In fact, that's why I had a brand new blade as the Tundra Boy learned this the hard way with the old blade. The blade that got destroyed was near end-of-life anyway, so it wasn't a totally tragic event.
The neck was then flipped around and I made two more stop cuts for the straight part of the headstock.
Next, the remainder of the back of the neck was cut to width. You can see how well the new blade cut. It was very smooth, with absolutely no burning.
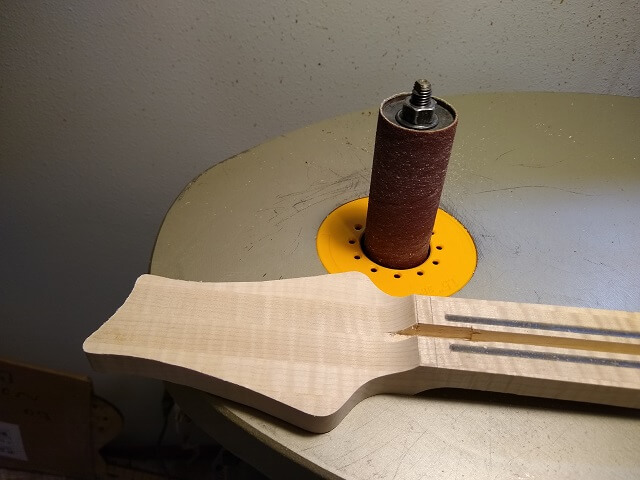
Using the oscillating spindle sander, I smoothed out the curved transition from the flat face of the headstock up to the back of the nut.
The sides of the neck were then cut to width. As I normally do, the intial cuts at the bandsaw are just rough cuts to remove most of the waste. I stayed 1/32"-1/16" outside of the marked line.
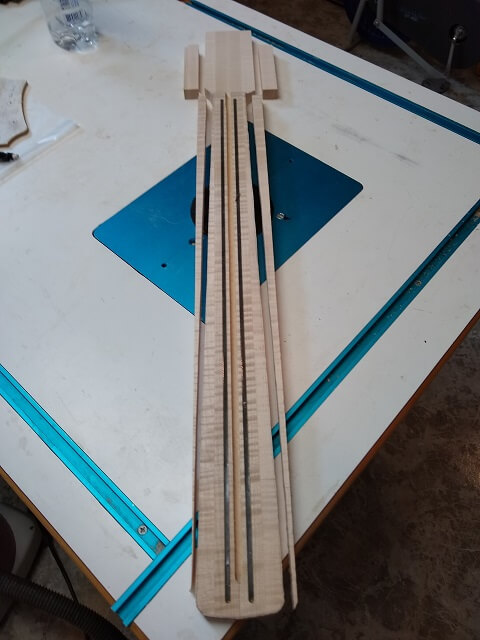
To bring the neck to final size, I taped the neck to the MDF template I had made and used the flush trim bit at the router table to make the neck match exactly.
Although it didn't need to specifically happen at this point in the construction process, I went ahead and drilled the holes for the neck screws. The neck was clamped in place tight in the pocket, and I drilled through the holes I had already made in the body. You can see my piece of tape on the drill bit that I use as a guide to make the holes the proper depth.
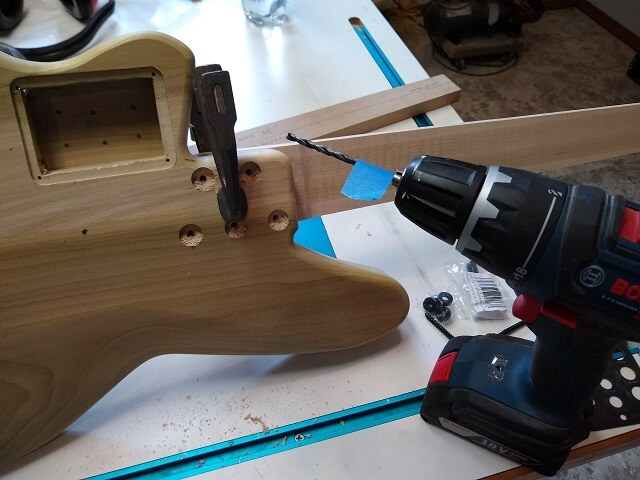
The fretboard will have a wire coming out of the bottom for the LEDs. This wire has to go into the electronics cavity in the body. To get the wire from the fretboard to the body, I drilled a couple of holes that will allow the wire to pass. The holes didn't really need to be that big to fit the wire, but I wasn't exactly sure where things would line up, so I made the holes oversize to give me plenty of wiggle room. Later I would fill the extra space in this area with epoxy.
I have a TV in my shop. It's a nice luxury. I'll usually find some sort of sporting event to keep an eye on while I'm working. On this particular day I was watching the Twins play baseball against the Royals. I looked up just in time to see Nelson Cruz blast a huge home run. There's a reason they call him the "Boomstick."

I used some scrap pieces from the neck to glue onto each side of the headstock where the "ears" are located. This gives me the extra width I need in those spots to fit the headstock. I could have made the entire neck blank wide enough, but that's quite wasteful as all that extra wood would have just wound up in the trash. Gluing ears on is a better use of resources.
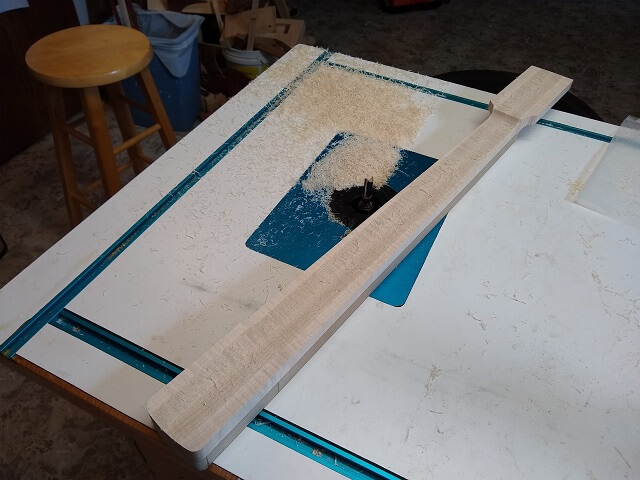
The headstock was then cut out at the bandsaw. Once again, this is just a rough cut.
The final shaping of the headstock was done at the oscillating spindle sander. I started doing it this way after destroying too many headstocks trying to route them using a template.
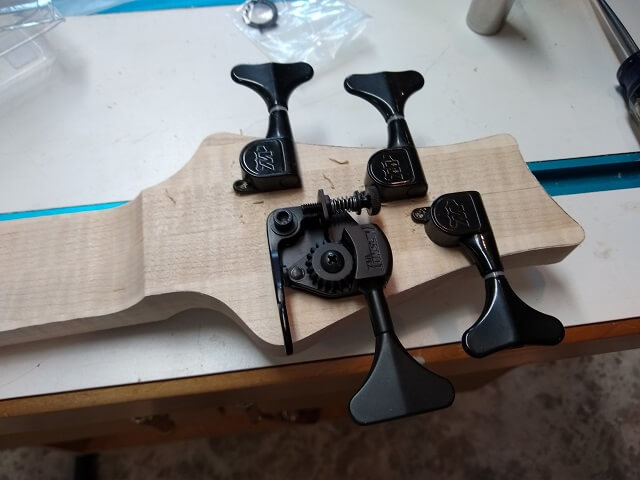
Now it was time to drill the holes for the tuners. This was done at the drill press. I used a scrap piece of mahogany on the other side to keep the exit side where the drill bit pokes through from chipping out.
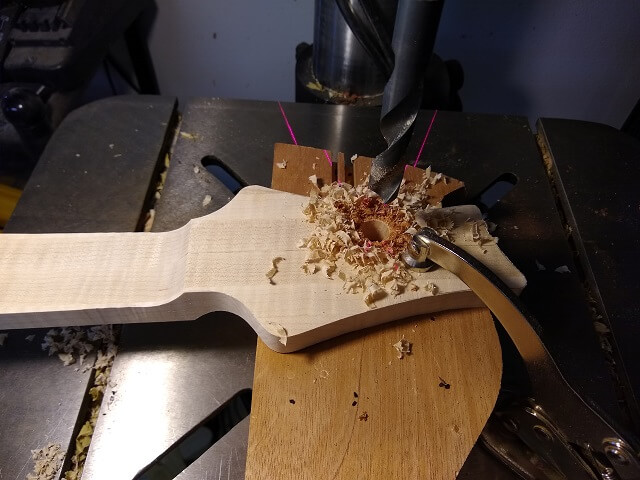
I test fit the tuners and drilled the holes for the tiny screws that keep them from rotating. Figuring out how the Hipshot extender mounts and where the locating hole should be drilled was a bit of a head scratcher. The instructions weren't clear, so I had to fiddle with things and figure out how it all worked in order to get it in the right spot. It's actually a pretty ingenious design. Someone much smarter than me figured out how to make this thing work.
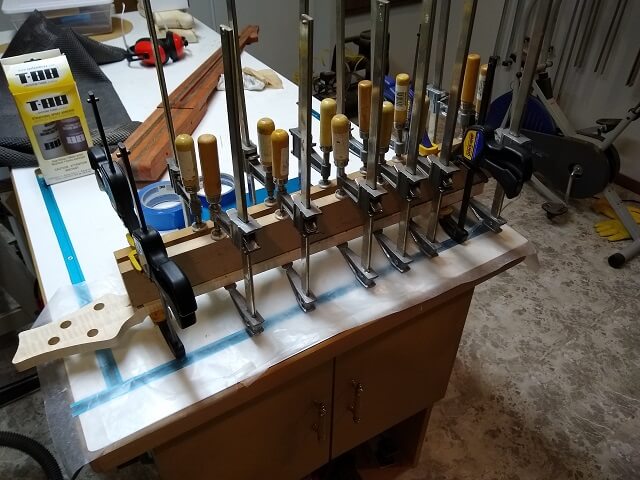
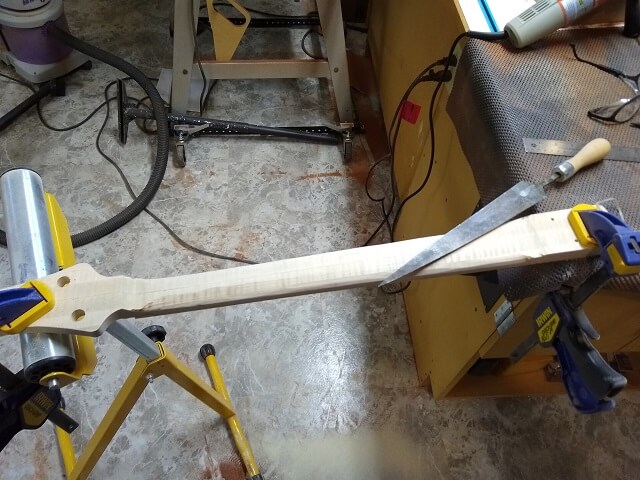
The fretboard was then glued in place using epoxy. I used jointed clamping cauls to keep the neck perfectly straight while the glue cured.
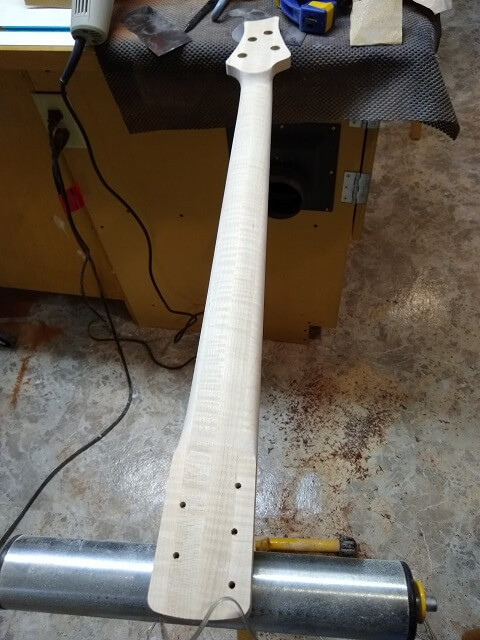
Once the epoxy had cured I then carved the neck. I wanted a nice slim neck on this bass. Upon the Tundra Boy's recommendation, I used the flap sander on the angle grinder to take off a lot of the waste wood, then switched to the dragon rasp to finish the carving. The sander saves carving time, but it sure flings dust all over the shop. I need to get some sort of apparatus to hold my dust collector up for operations like this.
With the carving done, I sanded the neck smooth. I went back with the rasp in a few places to fine tune things until the neck felt really good in my hands. I'm sure if you digitized the neck it's probably not a very symmetrical and even carve, but what matters is how it feels in your hands. I'm pretty happy with the way this one feels.
All of the construction is now done. It's time to apply the finish and the pieces put all together.
Return To The Main Music Gallery
This page last updated on 10/15/2020