


The first parts of building the fretboard went the same as I've done dozens of times.
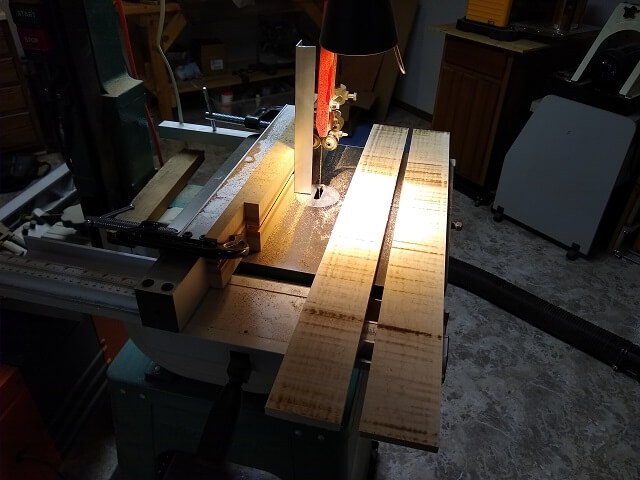
I started by picking out a nice piece of maple from my wood stash. The piece I picked out was 3/4" thick, which meant if I split it down the middle I could get two fretboards from it: one for this instrument, and one for another instrument down the road. I split the board down the middle using the band saw. This was one of the last cuts I did with this old bandsaw blade, and you can see how rough and burned it left the wood.
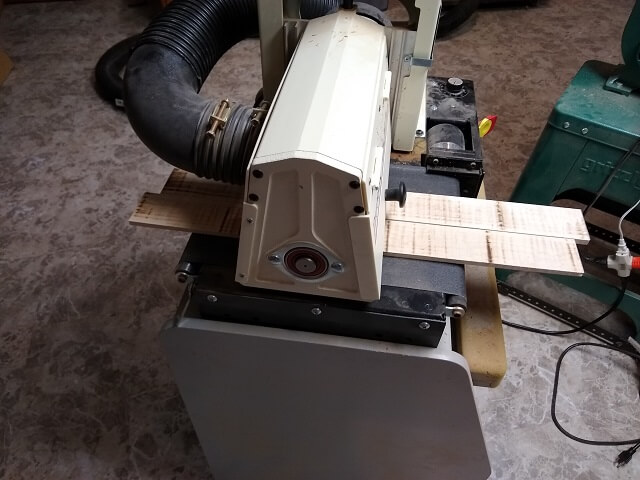
To smooth out the rough burned boards, I ran them through the drum sander. I continued to sand until the boards were right at 1/4" thick, which is the thickness I wanted for my fretboard.
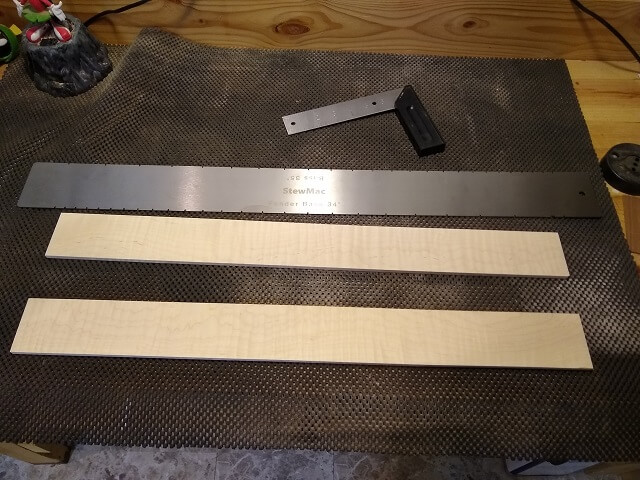
To cut the fret slots, I used a Stew Mac fretting saw blade in my table saw, along with the Stew Mac 34" scale template. Neither of these items are cheap, but they certainly make cutting a fretboard a lot easier.
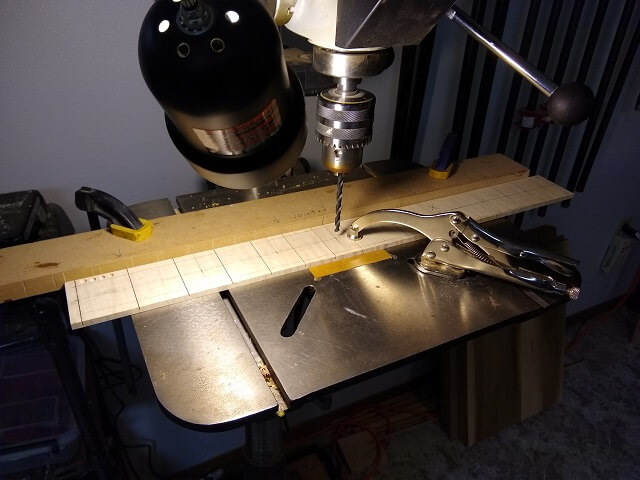
Holes were drilled in the face of the fretboard for the dot inlays. My idea was to do regular black plastic dots, then drill a hole in the center of those for the LEDs. That way even if you didn't turn on the LEDs you still had some visible dots for reference.
The black dots are glued in place with super glue.
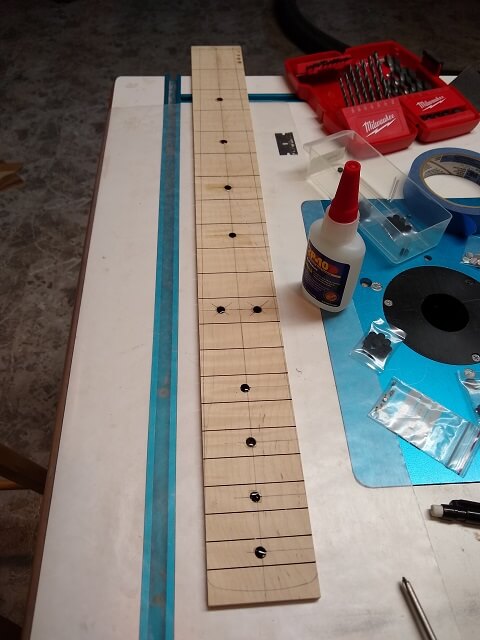
After the glue dried, I went back and tried to drill a hole in the center of each dot for the LED light. This turned out to be a lot trickier than I anticipated. Even though I had left my fence in the same place on the drill press, and ran the same edge of the fretboard against the fence, the LED holes were slightly off on each dot. I'm not sure why. At this point, however, there wasn't much I could do unless I wanted to start over.
I briefly considered grabbing that other piece of wood I had cut earlier and making another fretboard, but I had two hesitations: first, I'm not sure what caused the LED holes to be slightly off in the first place. If I were to do it again there was no guarantee I would make the same mistake a second time.
The other hesitation came in the fact that I wasn't 100% sure I was going to pull off the whole LED thing in the first place. If things went south, I didn't want to wreck two fretboards.
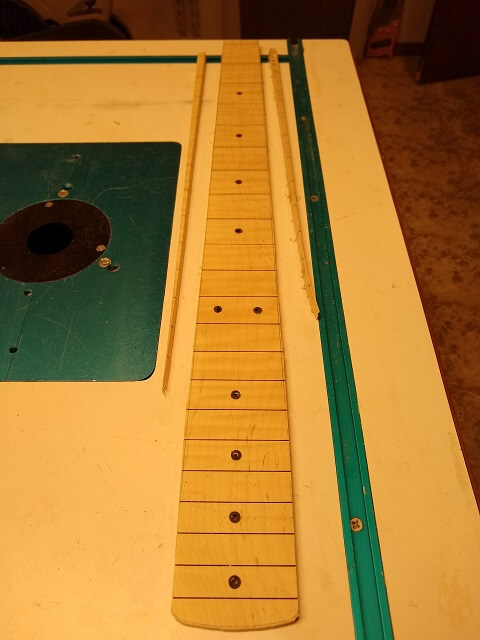
So I decided that although they weren't perfectly centered, they were probably good enough. Nobody will be able to tell from up on stage. If someone decides to nitpick about them not being perfectly centered I'll invite them to install LEDs in their own guitar and do a better job.
I then used the bandsaw to remove most of the waste wood from around the edges of the fretboard to reduce the amount of wood that will have to be taken off by the router in the next step.
And that next step involved attaching the fretboard to the template with double-sided tape, then running it through the router table with a flush trim bit to make the fretboard exactly the size of the template.
Now comes the portion of the fretboard that I'm sure everyone wants to see: LEDs.
I had never done LEDs in a fretboard before, and the tutorials/how-tos I found on the internet were pretty unsatisfactory in their presentation. These pages gave me a rough idea of a few different methods, but no clear step-by-step instructions.
Having had the desire to do this for many years, I'd had a lot of time to think about it. I pondered a few different methods, and even went as far a purchasing some various parts that didn't wind up getting used (at least with this fretboard. For a while I thought about doing the side dots with fiber optic cables. I had also purchased a few different colors of LEDs, some resistors and some battery holders and did some experimentation with how to wire them all together. None of it was easy.
I then decided to take the path of least resistance, and purchased a cheap set of LED string lights off of Amazon for about $6. This set came with a battery case and 20 LEDs, which is the perfect number for the side and front dots on a 22 fret instrument. As a bonus, it came in my choice of colors. I picked orange, to match the body.
Unfortunately because I was kind of winging it, I didn't get as many pictures of the process as I had originally intended. So basically, this will probably be another one of those things "unsatisfactory in their presentation" like I mentioned above. I'll do my best to describe the process for what the pictures may lack.
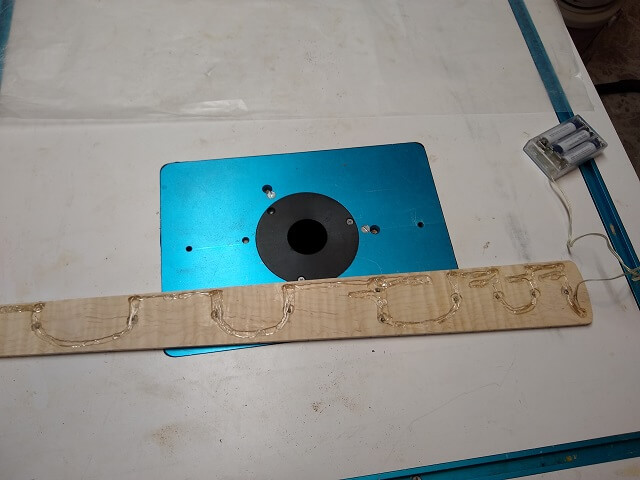
It started with routing a channel on the back of the fretboard to hold the wires and the LEDs themselves. I used my Dremel tool in a router base and an 1/8" bit to freehand the channel. It would never be seen, so it didn't have to be pretty. The areas where the LEDs were to sit were deeper than the areas that only had to contain the wires.
Also, rather than running everything down one side of the fretboard, I chose to do kind of a zig-zag route. In my mind it made more sense to spread it around the entire width of the fretboard rather than just weakening a single side.

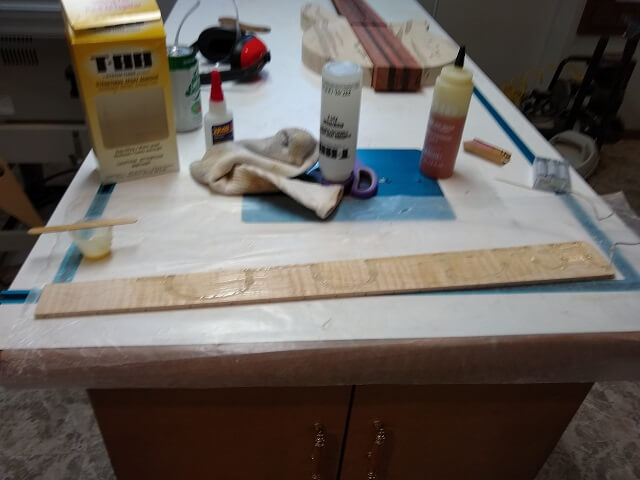
Once the channel was done, it was time to start gluing the LEDs in place. This turned out to be a lot trickier than I anticipated. I used super glue, but the glue wasn't setting up as fast as I wanted. The wires didn't want to lay flat in the channel, and also caused the LEDs to pop out of place. I would put glue down and hold things in place, but it seems like I would move and get things out of position before the glue had a chance to set.
I finally figured out that if I applied some glue to a spot, then used a popsicle stick to hold the wire or LED in place and then hit it with a shot of CA accelerator, the glue would set up fast enough that it would hold that section in place. It was still really slow going. Also, the accelerator had a tendency to make the glue bubble, some of which wound up visible on the front of the fretboard. So it worked, but not as well as I had hoped.
After many hours I eventually got all of the LEDs in place and the wires glued down. I did have to do some additional routing to make room for the wires to loop back and forth. I had to do this because the length of wire between the LEDs was about 8", whereas the distance between the LEDs on the fretboard were as little as 1". Instead of wrapping the wire back and forth I supposed I could have cut the wire and re-soldered it to be shorter, but this would have made an already long process even longer.
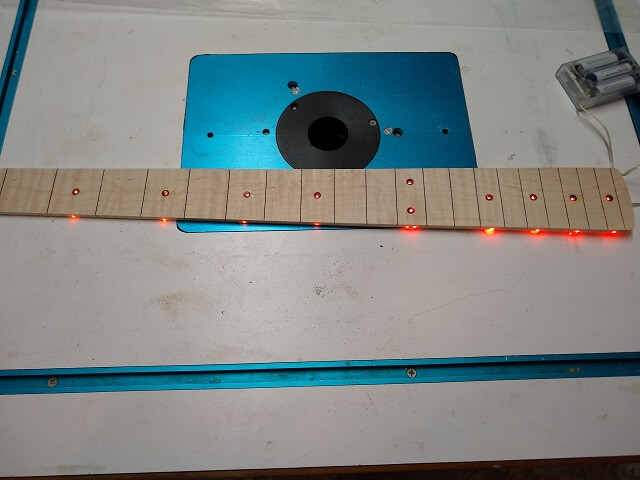
Throughout the gluing process, I continued to test the LEDs to make sure they were still working. As much work as this was taking if things went south I wanted to know right away so I wouldn't waste a bunch of time continuing to install broken LEDs. Thankfully, I was able to get them all installed and working. Here's a shot of the front of the fretboard after the LEDs were glued in place. They're actually brighter in person than it appears on camera.
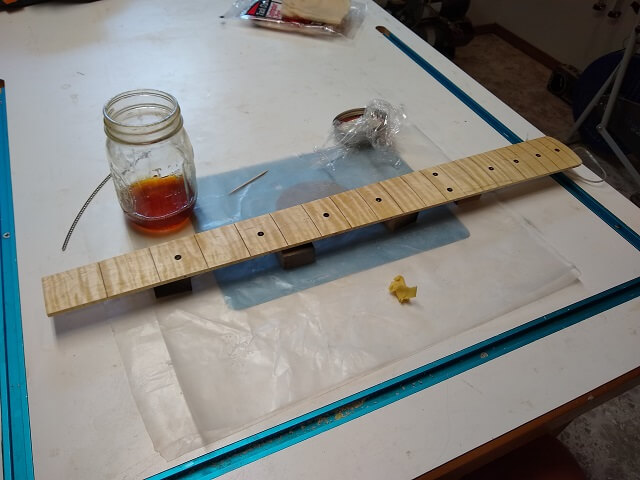
I had tacked down all the wires and LEDs with super glue, but there was still a lot of unfilled space in the channel. I didn't want to install the fretboard in this state, so I then filled everything up with epoxy. I scraped as much of the excess epoxy off of the back of the fretboard as I could while the glue was still wet so I didn't have to try and level it later. The last thing I wanted to do at this point was be sanding the epoxy level and accidentally sand through the wires. Because the wires didn't always glue down easily, certain areas were pretty close to the top of the channel.
Once it was all said and done, I can honestly say that was a ton of work. I didn't count the number of hours it took but I'm going to guesstimate 12-16 hours to install the LEDs, not counting all the hours I spent thinking about how to pull it off and worrying about if I was going to wreck something. I can now understand why LEDs are offered so rarely by guitar manufacturers, and when they are, why they cost so much.
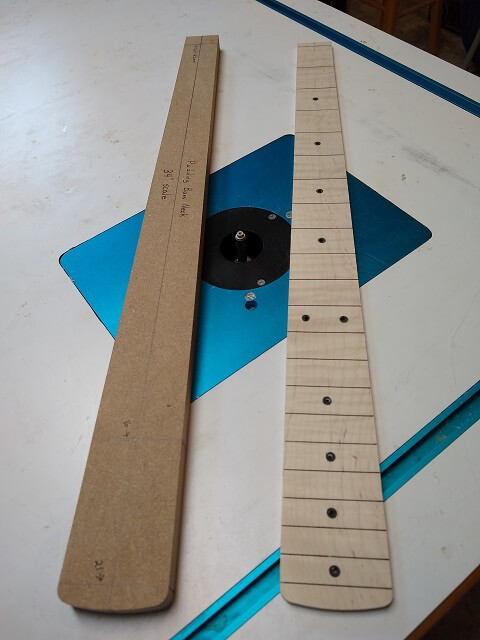
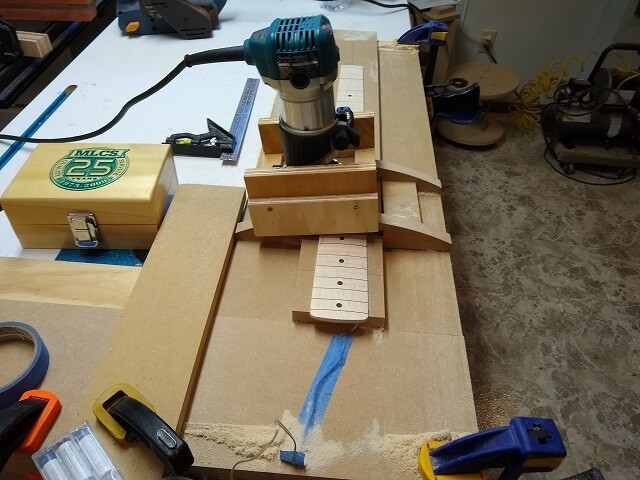
Now I could radius the fretboard to 12". I used my fancy new radius jig that I had recently made. I did have to mount the fretboard on the jig so the bottom hung off in order to give room for the wire hanging off the bottom of the board. I also didn't want to accidentally route so deep as to accidentall cut into an LED and wreck everything.
Thankfully, everything went smoothly. I then sanded the face of the fretboard to 320 grit and applied a coat of shellac. The shellac is meant to keep any super glue I apply to the fret ends from soaking into the wood and discoloring those areas.
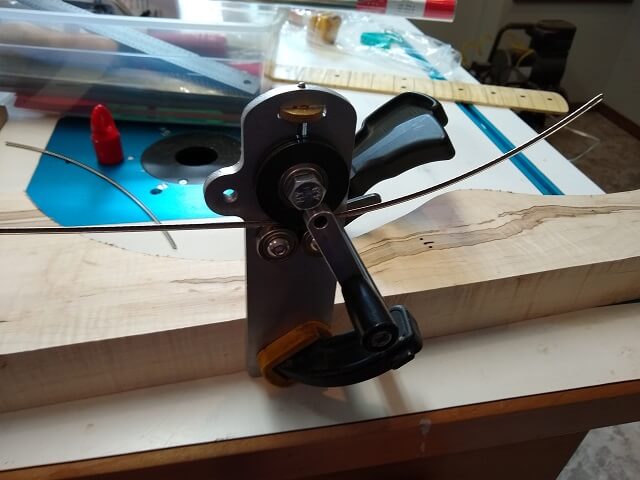
I had recently purchased a fancy fretwire radius tool. My old method of hand bending was less than accurate, and I had a bad habit of over-bending things. I was looking forward to using this new tool and hopefully quickly and accurately bending the fretwire.
Well, the tool worked, but not as well as I had hoped. I discovered that very small changes in the radius setting knob would make really large changes in the amount of bend it was putting in the wire. I wrecked a few lengths of wire learning how to use the tool.
I found it worked best if I ran the wire through the tool at too flat of a radius, and very slowly increased the setting as I kept running the wire through it until eventually it was at the exact radius I needed.
I thought once I had one wire bent to the perfect radius that I could just run the next wire through at the same setting and it too would be perfect, but that didn't work. In fact, the results were far from perfect, greatly overbending the next piece of wire. Apparently I had to sneak up on the perfect setting for each new piece of wire. Very tedious, and it took about ten times as long as my old method.
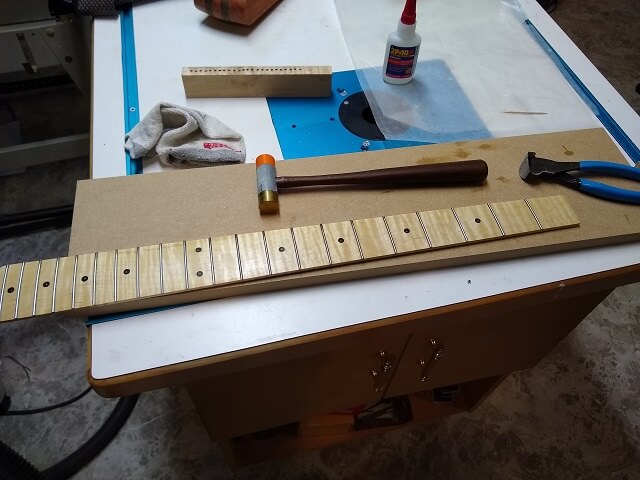
At least once I got all the wire bent it was accurate. I then cut frets to rough length and put them in my little fret holder I had made. Now I was ready to install them.
I used the traditional method of hammering the frets in place. "Hammering" is probably not a real accurate term, as it's more "tapping". Also, in the past I've had trouble with maple not holding frets down very well and frets popping loose after they were installed. To try and circumvent this from happening, I used a toothpick and put a small amount of glue in each fret slot right before I installed the fret. This seemed to work pretty well to hold the frets down, and I don't think I used enough glue to interfere with a refret job down the road.

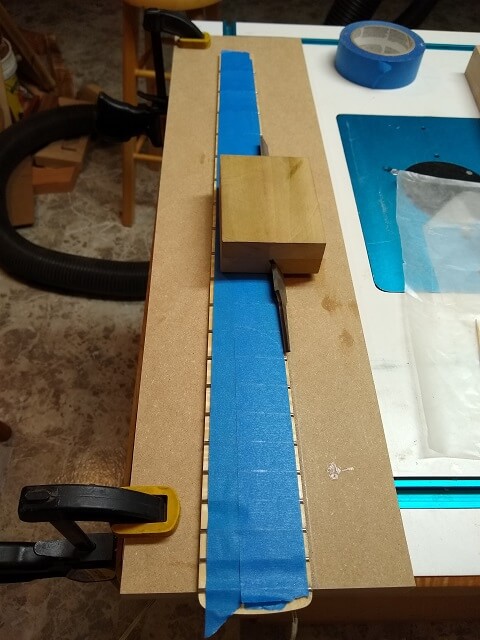
With the frets all pounded into place (again, not an accurate term) trimmed the ends of them flush with the fretboard.
The last thing I did was to file a 60 degree chamfer onto the fret ends. The remainder of the fret work (leveling, recrowning and polishing) will happen after the bass is assembled.
With the fretboard pretty much done, now it's time to build the neck.
Return To The Main Music Gallery
This page last updated on 10/15/2020