


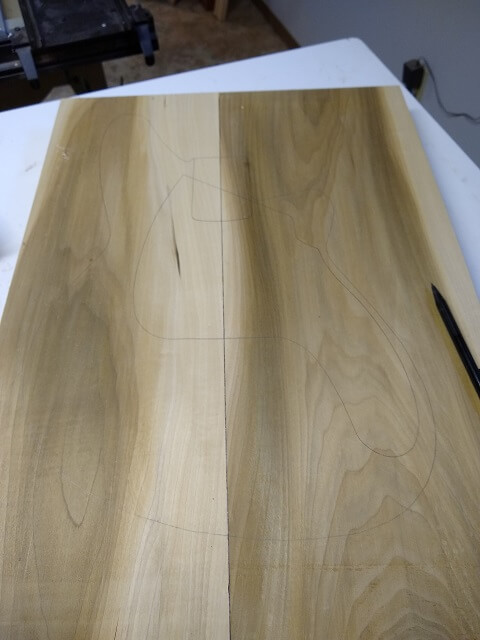
About five or six years ago when I was in Ohio visiting my wife's family, I traveled over to CR Muterspaw Lumber and bought an 8' long piece of 8/4 poplar and hauled it back to South Dakota. When I got home I cut the board into four 2' long chunks, then jointed the edges and glued up two body blanks. They then sat in a corner of my shop waiting to be used. Well, this bass project was the first to use one of them.
My original pudding guitar has a poplar body, so it stands to reason that the pudding bass should also have a poplar body. I really like the sound of poplar. As a bonus, it is inexpensive, is easy to cut and shape, doesn't require grain filling and usually is pretty light. I say usually, because this particular piece is on the heavier end of things for a poplar body.
The only real down side to poplar (in my opinion) is that it's not a very pretty wood so that requires an opaque color finish of some sort. So it's not the kind of wood you would want to use for your Alembic hippy sandwich copy.
Well, I guess there is another down side: poplar is kind of soft, so it will dent easily if you're not careful. But we shouldn't be banging our instruments around anyway, right? This particular piece didn't seem to be unusually dent prone, which I suspect (but don't know for sure) may be related to whatever was causing it to weigh a bit more than usual.
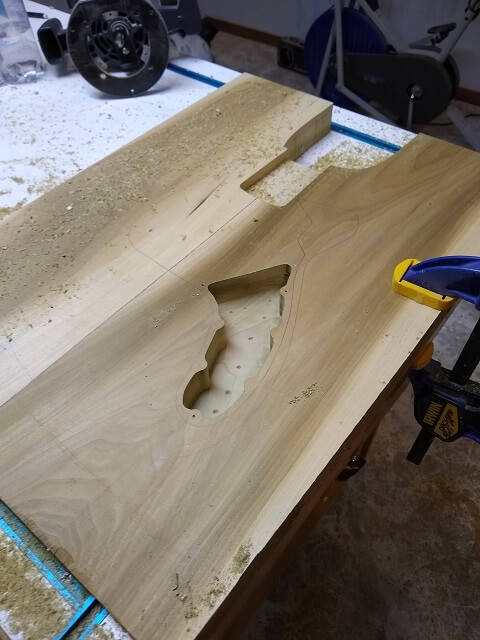
I started by routing the neck pocket. I did this before I cut out the body shape so that my template could easily be screwed in place and the screw holes would be located in a part of the wood that gets turned into scrap. I cut out the top portion above the neck pocket using the band saw so that the router bit had a way in to the template without having to plow through a bunch of scrap wood.
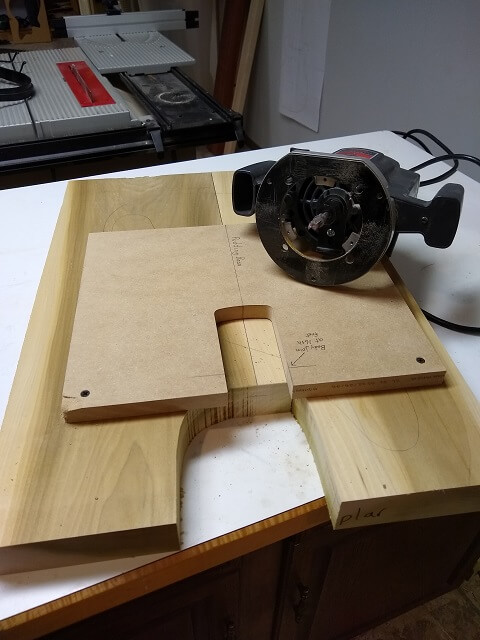
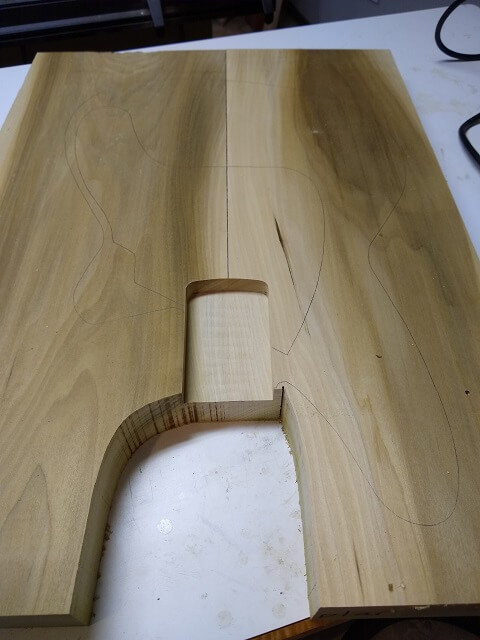
I did a standard 5/8" deep route. However, the pudding bass has a slightly longer pocket versus a standard Fender bass because I added an extra fret onto the end of the instrument. The main reason I did this was because I thought it looked a little better with the body shape to have the bridge farther back, and leaving the neck pocket the standard length looked a bit funny to my eye. It pretty much was a completely aesthetic design element.
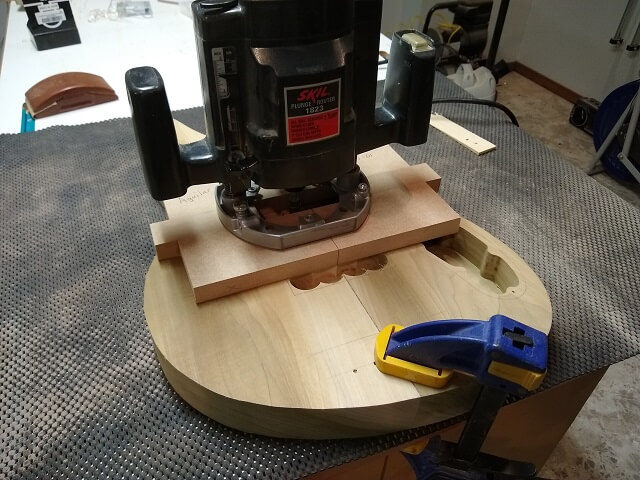
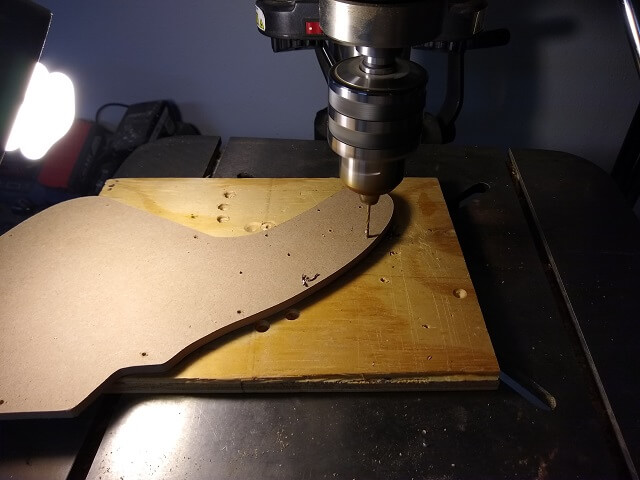
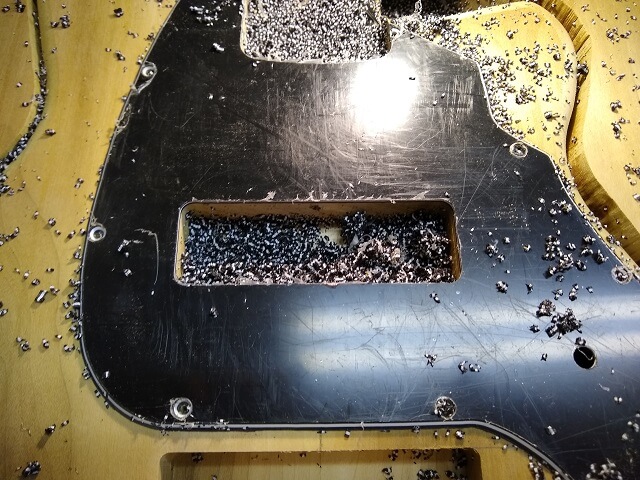
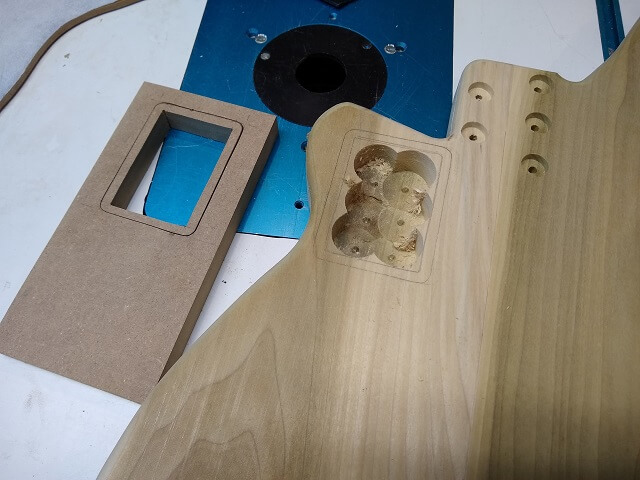
True to the original pudding guitar, this bass is going to have a pickguard with front mounted controls. I created a template for the control cavity. I used double-sided tape to hold it in place, then drilled out the excess wood with a forstner bit to save wear and tear on my router.
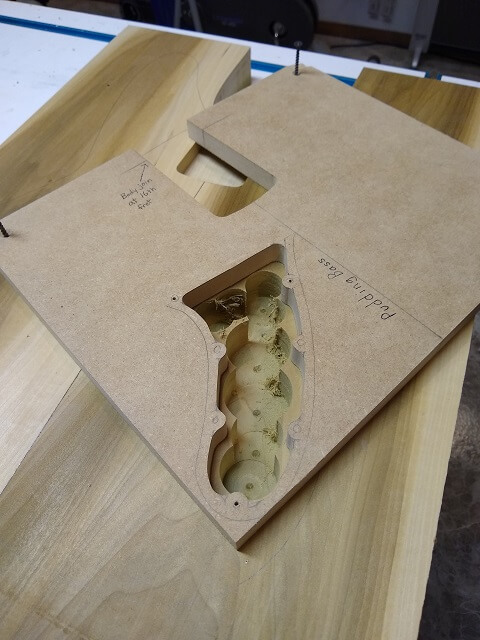
Then I used my trusty pattern cutting router bit to route the cavity exactly to the size of the template. I'm probably due for a new bit. I've lost count as to how many times I've used this one. Still seems to work pretty well though.
Next up, I cut out the basic body shape at the band saw. I stayed outside of my marked lines. This wasn't a precise cut, just getting rid of a lot of the excess wood.
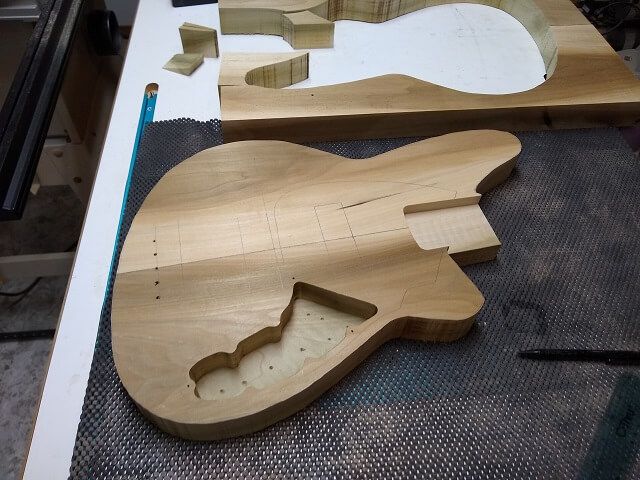
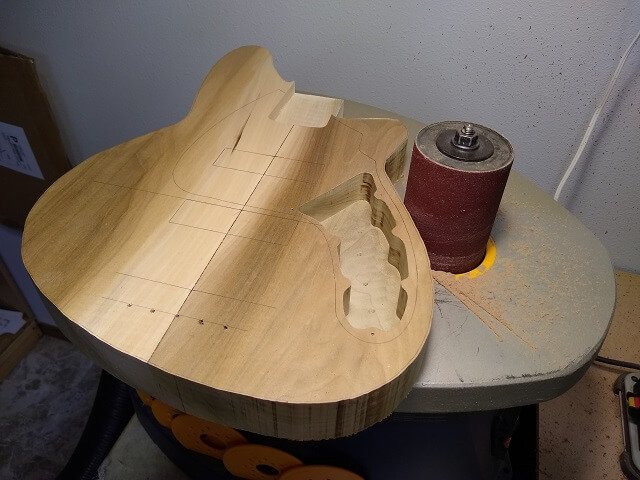
The precise body shaping was done at the oscillating spindle sander. I carefully sanded the body right up to my traced line. I like doing it this way versus running a router bit around a body template as I've had too many issues with the wood tearing out when I'm trying to rout a 1 3/4" thick chunk of wood.
Now it was time to route the holes for the pickups. The pickups I'm using are Aguilar Super Single soapbars. I originally bought them for the Tundra Boy's Hofner copy, but after I had them I realized the narrow string spacing of the Hofner bridge didn't work with these pickups. So I put them on the shelf for a future project. This seemed like the perfect future project as the soapbar shape worked well with the body design.
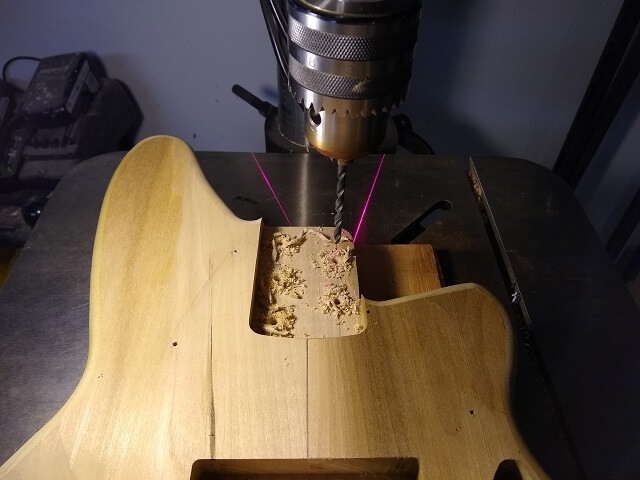
Again, I started by drilling out the excess wood at the drill press to save wear and tear on my router.
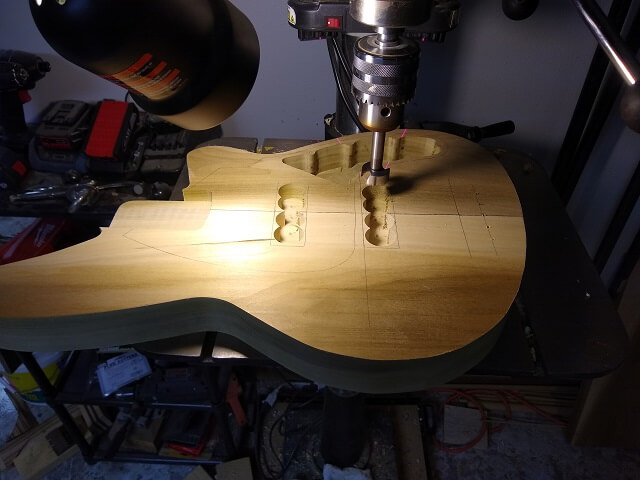
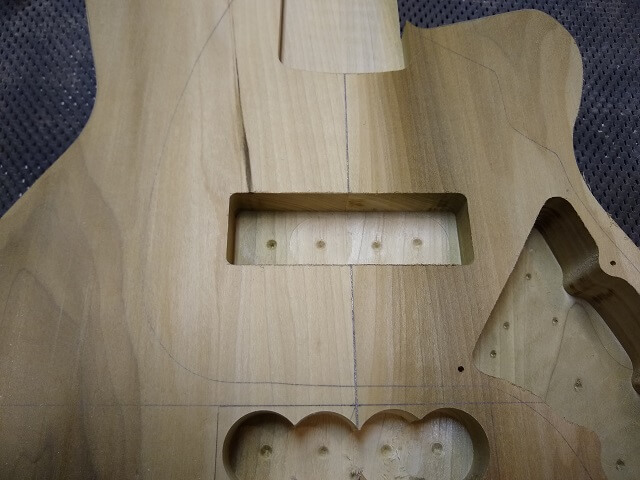
I began with the neck pickup. I had created a template which I taped to the body, the used a pattern cutting bit in the router to make the pickup cavity the exact same size as the template.
Here is the completed neck pickup route.
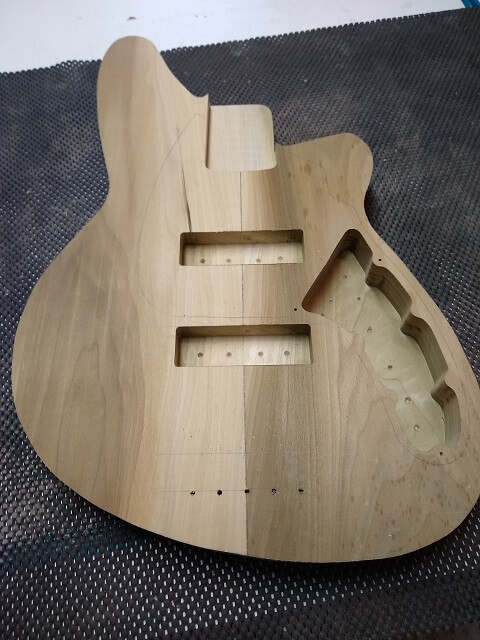
The I repeated the routing process for the bridge pickup. The routes turned out nice and tight. The pickups slide into the cavities with hardly any extra space.
I rounded over the edges of the body with a 3/8" roundover bit in the router table. Telecasters have a 1/4" roundover, and strats have a 1/2" roundover. This sits right between the two.
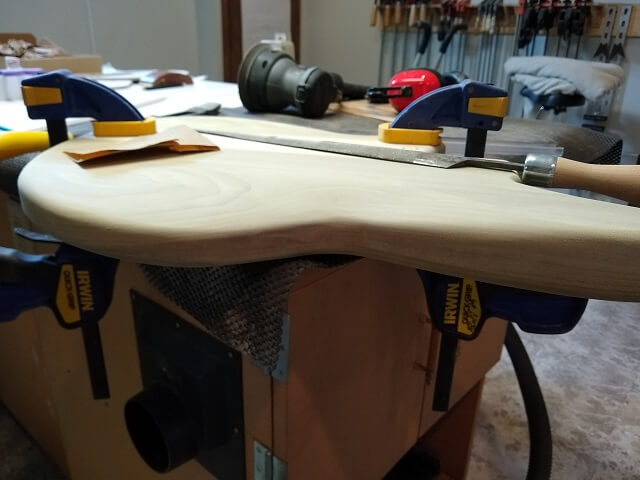
To make the body more comfortable to play, I created a forearm contour with my dragon rasp. The rasp isn't very aggressive so there were probably faster ways I could have carved this contour. I didn't make a super deep contour, just enough to drop the face of the bass a little bit.

Then I flipped the body over and used the rasp to carve the rear belly contour.
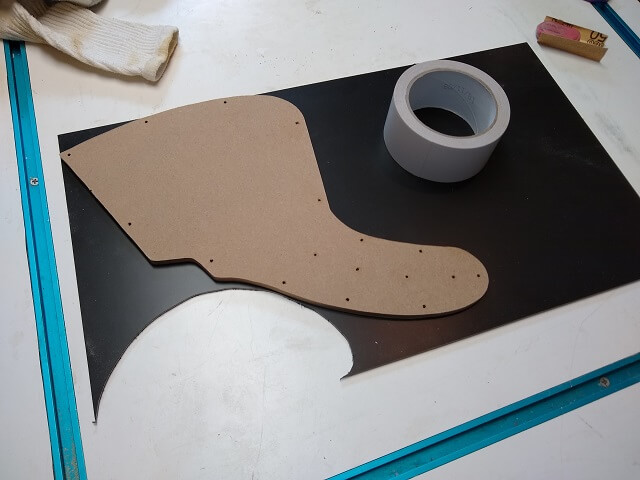
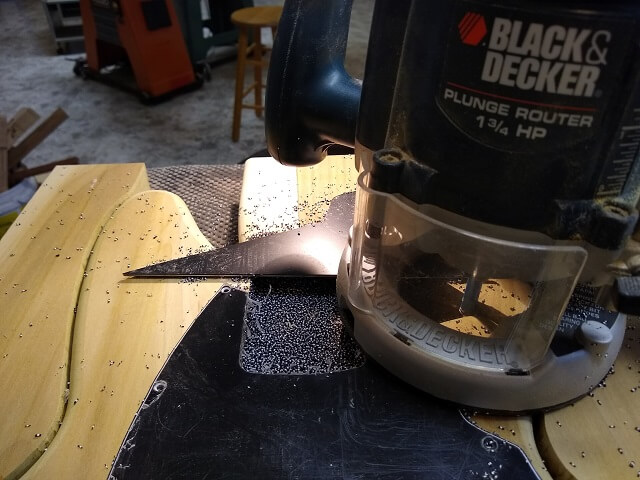
Now my attention turned to making a pickguard. I started by making a template out of 1/4" hard board and cutting it out on the scroll saw. Then, I grabbed a piece of pickguard stock and stuck the template to it with double sided tape.
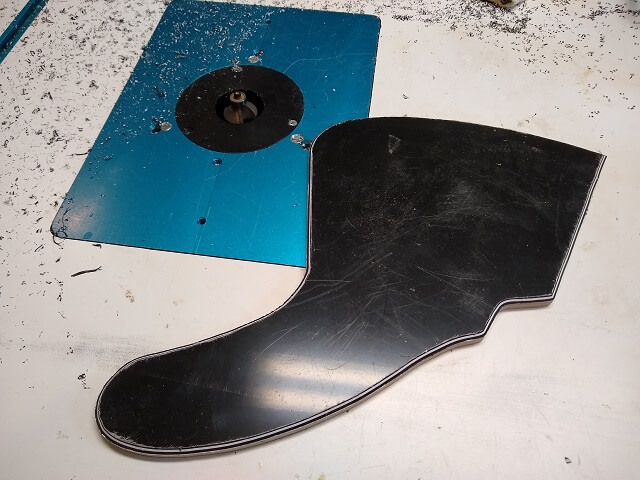
Using the edge of the template as a guide, I cut out the pickguard on the scroll saw, staying about 1/16" away from the side of the template. As I do time and time again, this initial cut is just a rough one and the final shaping will come later.
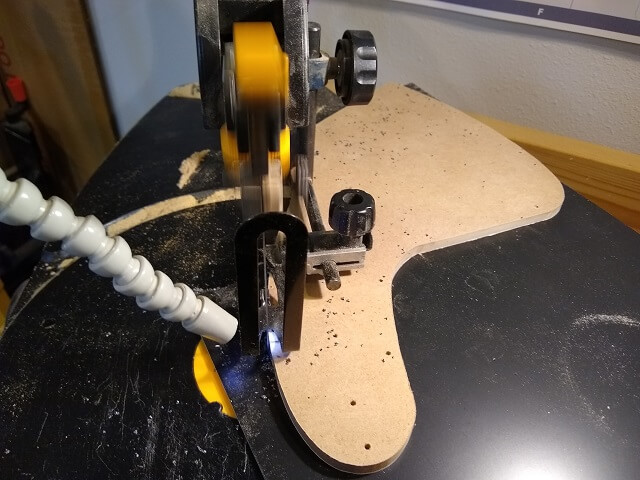
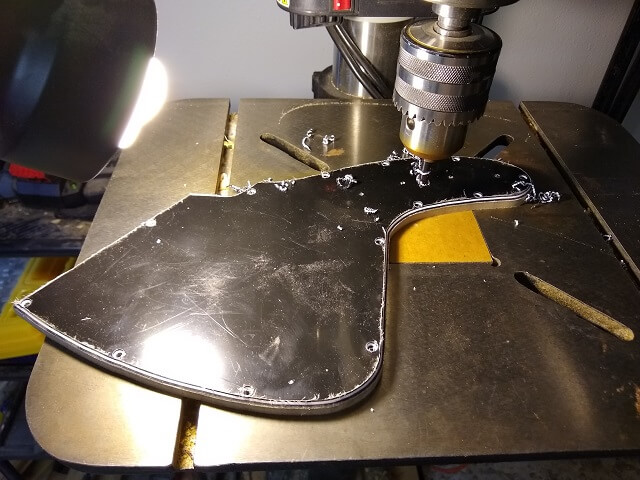
And later is now, when I routed the pickguard flush with the template using a chamfer bit on the router table. The bearing on the bit rode against the template, and the chamfer bit put a nice bevel on the pickguard. The plastic routs nice, but it sure throws little plastic chips all over the shop.
I then drilled the screw holes in the pickguard using the holes on the template as a guide.
These holes were countersunk on the front of the pickguard.
Next, I needed some holes for the control pots and the output jack.
My pickguard template doesn't have the cutouts for the neck or pickups. I do this on purpose, as that gives me some flexibility to use the template on a variety of instruments. I shaped the neck cutout by screwing the pickguard to the body, and then running my flush cutting bit around the neck pocket. This made the pickguard match exactly to the neck pocket.
Likewise, with the pickguard screwed in place I routed the hole for the neck pickup to match the hole I had routed in the body. Unlike many instruments that use a pickguard, the pickup will actually be screwed into the body rather than suspended by the pickguard, similar to how an old Telecaster neck pickup was mounted.
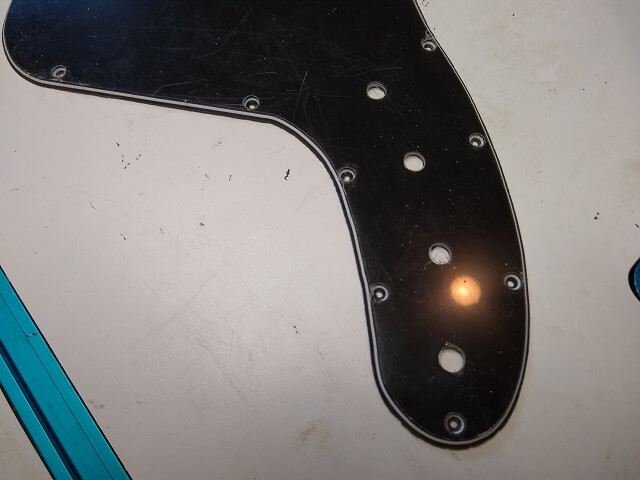
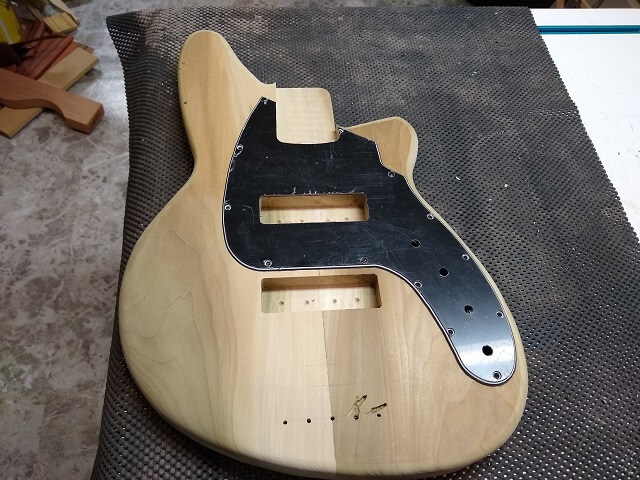
Here is the completed pickguard sitting on the body.
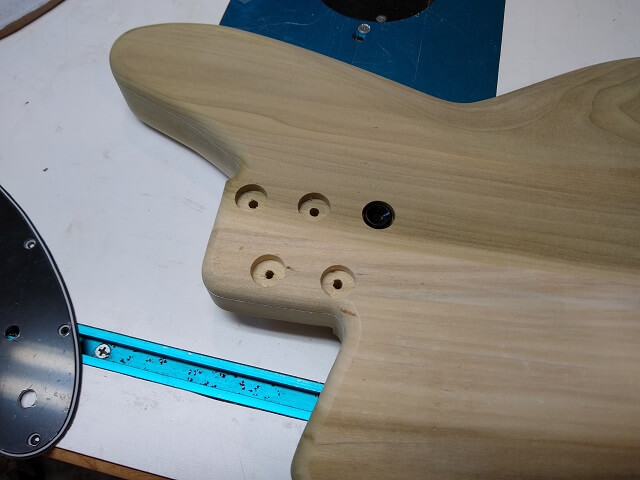
The location for the neck screws were marked in the neck pocket and drilled. I drilled them through on this side because it was easier to see exactly where they should be located. Six screws would have made for a more symmetrical look, but the reason I used five screws was because I needed to keep the screws away from the lower right corner of the neck as that's where the wires for the LED would run. The last thing I wanted to do was spend all this time putting LEDs in the fretboard, and then when it was all said and done run a screw right through the wires.
On the back, rather than a neck plate I am using ferrules on this guitar. I drilled countersink holes for each of the neck screws that the ferrules will sit in.
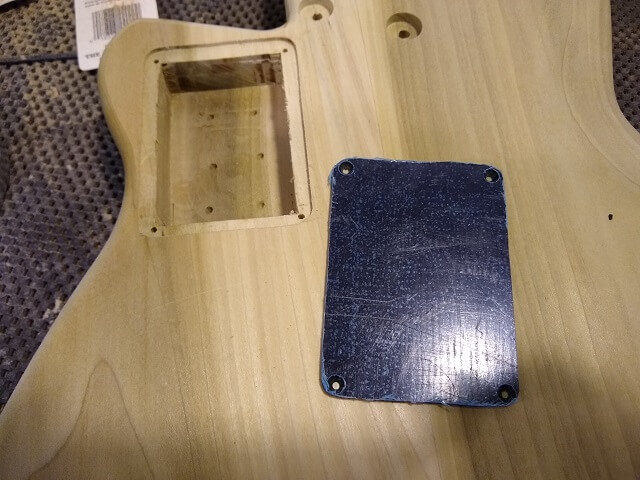
The LED lights in the neck will run off of batteries. I considered placing the battery pack in the control cavity with the rest of the electronics, but that would necessitate removing the pickguard every time you wanted to change batteries. So I decided instead to place the battery pack in a cavity on the back of the instrument.
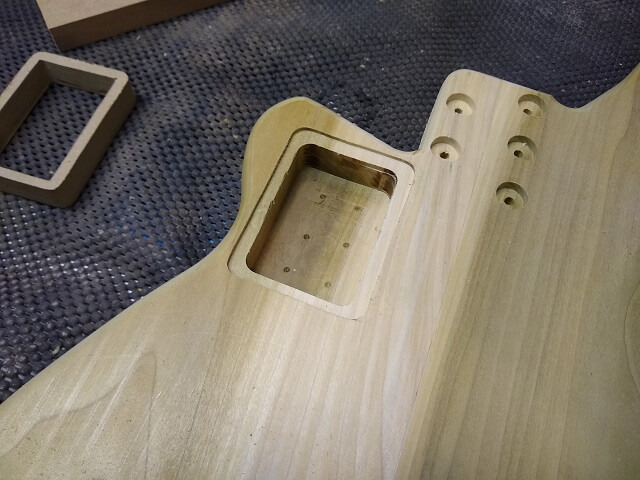
I made a two step routing template. The inner section of the template handles the deeper portion of the cavity, and then it can be removed and the outer section of the template handles the shallow portion for the cover.

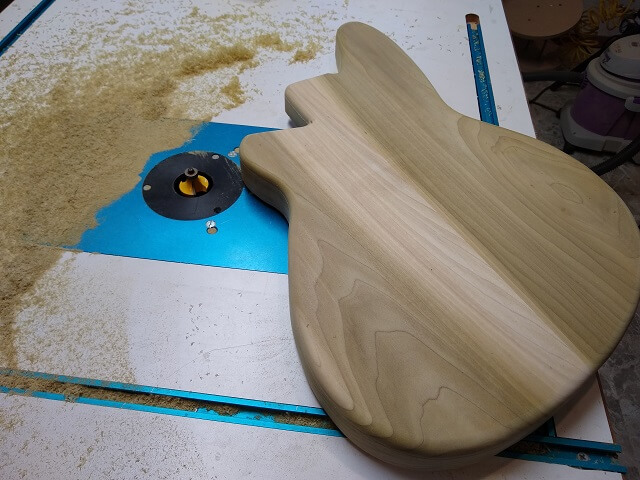
Here is what the cavity looked like after routing was complete.
Of course, I needed a cover so I used my template to route one out of plastic. Holes were drilled and countersunk in the cover.
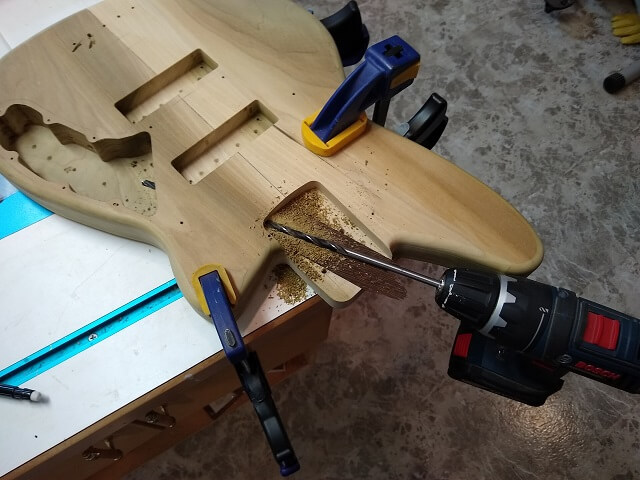
Finally, I needed a way to get the LED power wire from the neck into the control cavity. This was accomplished using a long aircraft bit and some careful drilling.
The body is now pretty much done. There are other parts of the instrument also being worked on at the same time. Here's where I am building the fretboard.
Return To The Main Music Gallery
This page last updated on 10/15/2020