


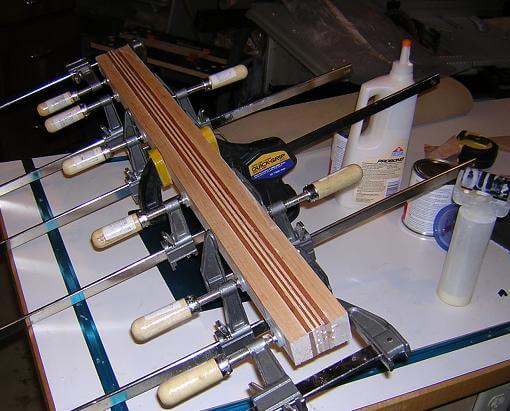
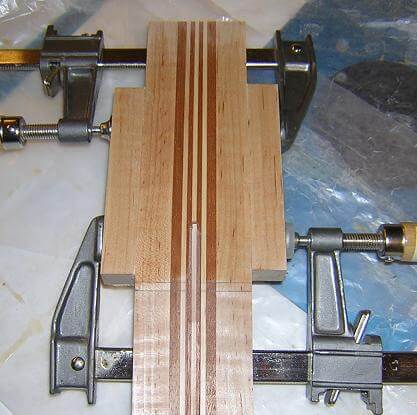
One of the neck blanks I had glued together back in December of 2004 had a slightly more intricate lamination pattern than I'd done in the past, so I wanted this neck blank to go on a special guitar. Paul's guitar is going to be as special as I can muster, so it was the perfect application. Here's a picture of the blank being glued up; this many laminations can be tricky to keep everything from sliding around and getting it together before the glue starts to dry.
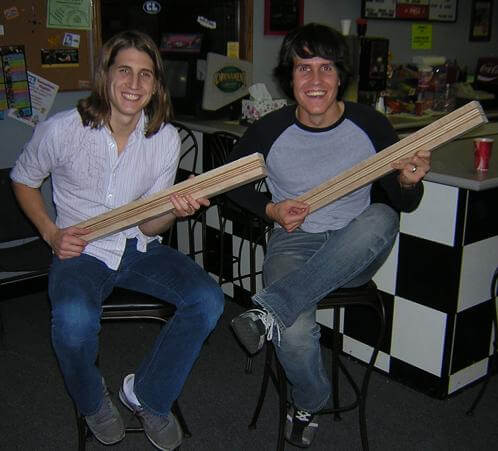
On February 5, 2005, I went to see one of his shows in LeMars, IA. I brought he and his brother David some neck blanks to show them, and snapped a picture. So here's a "before" picture of Paul (on the left) with his neck blank. The neck blank David is holding was originally for his guitar, but since that time our plans have changed and this neck blank wouldn't work for his guitar (see David's page here for more information.)
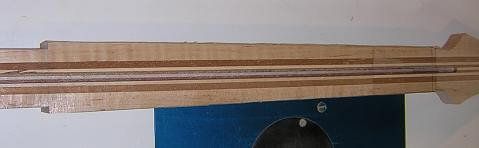
Paul's guitar will have a tilt-back headstock (versus a flat, Fender-style) cut at 12 degrees. Here's a shot of the neck blank after I cut and glued the scarf joint to make the tilt.

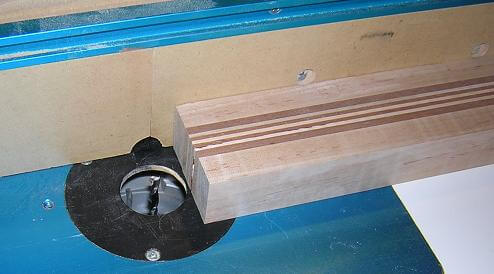
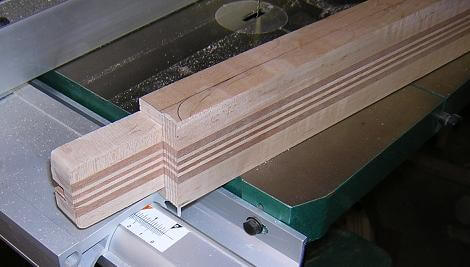
The next step was to rout the channel for the truss rod. I did this at my router table. The pic below shows the setup.
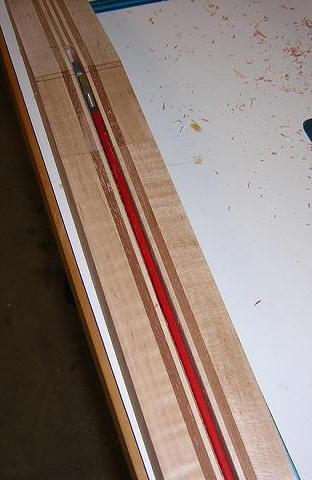
Once the channel was routed, I could test-fit the truss rod.
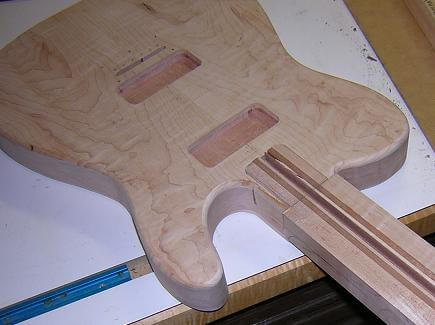
Now it's time to cut the neck tenon. Being that this guitar isn't utilizing a neck angle, this was a straightforward tenon to make as there were no angles to deal with (other than 90 degrees, of course.)
It's important to sneak up on the tenon size so that it fits the neck pocket nice and snug. In my opinion, this is the most important join on the body, and a loose fitting neck makes a poor sounding guitar.
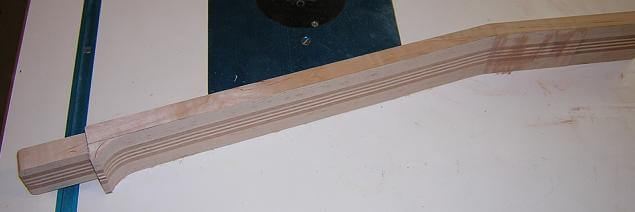
Next, I cut away the back of the neck to establish the thickness. The thickness the standard one I use for my guitars, which is 5/8" at the nut, and tapers to 3/4" at the 12th fret (excluding the fingerboard thickness.)
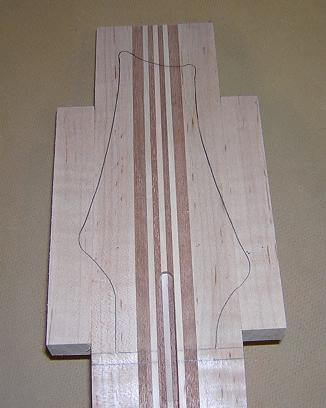
The wood at the top area of the neck that will become the headstock is slightly narrower than the headstock shape I am using. This is a common situation, as most headstocks are much wider than the rest of the neck. The solution to this is to graft on two small pieces of wood (commonly referred to as "ears") to make the headstock area wider.
With the ears glued in place and sanded flush to the rest of the headstock, I then took my master headstock template and drew the shape onto the neck. I would used this line to rough-cut the shape at the bandsaw, being careful to run the blade close, but not into the lines.
With the shape roughed out, I used double-stick tape and affixed my template to the headstock. I'll then run a pattern cutting router bit around the template to trim it to final size. Avoiding tearout is a big concern at this point, so that's why I tried to get the rough shape as close to the lines as possible.
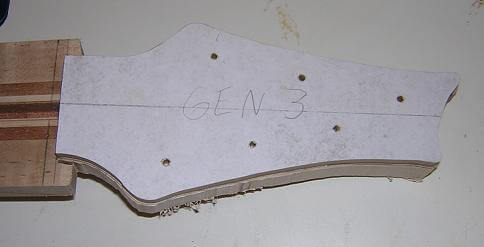
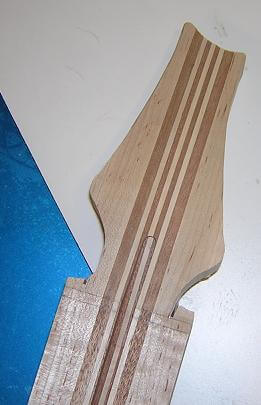
After routing, the headstock shape is done. Before removing the template, I took an awl and marked where the center of the tuning machine holes would be.
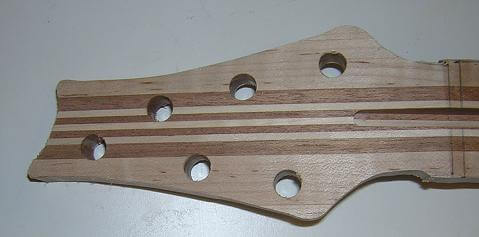
The peghead holes are drilled on the drill press (or pillar drill for our friends in the UK). I carefully clamp everything in place to ensure the vibration of the machine doesn't move the workpiece out of position.

All six tuning machine holes are drilled in this manner.
The taper of the neck is marked on the neck face, and the neck is cut outside of the line. The excess wood will be trimmed flush once the fretboard has been attached.
With the neck done as much as possible prior to assembly, we now need to build the fretboard.
Or, you can go back to the body building page.
Return To The Main Music Gallery
This page last updated on 06/28/2018