


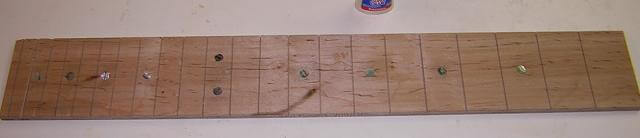
I began bulding the fretboard by taking one of the maple fretboard blanks I had made a year ago, and marking and cutting the fret slots. I didn't get a picture of the slot cutting process, but you've probably seen the pictures of my method on other pages in my site. This is the maple fretboard with the fret slots cut and the locations for the dot inlays marked.

The abalone fretboard dot inlays are glued into holes in the fretboard. Drilling the holes to the proper depth is a little tricky. Once the holes are drilled, a dab of CA (superglue) holds each dot in place.
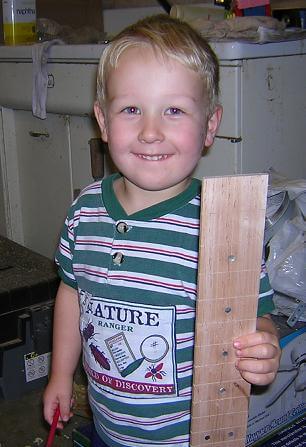
It's always important to have someone else check your work for quality and keep you in line if you start to get sloppy. That's Tundra Boy's job. Here he is inspecting my inlay work. I'll let you decide what he thinks about it.
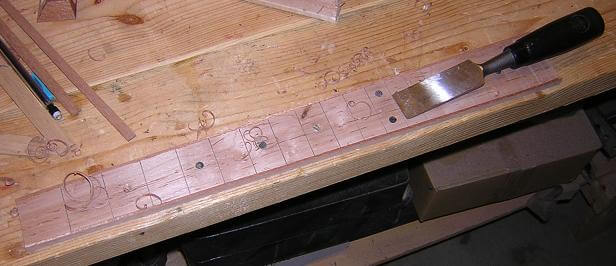
The fretboard is bound with 3/32" strips of mahogany. I glued these in place, then used a chisel to bring them flush with the rest of the fingerboard.
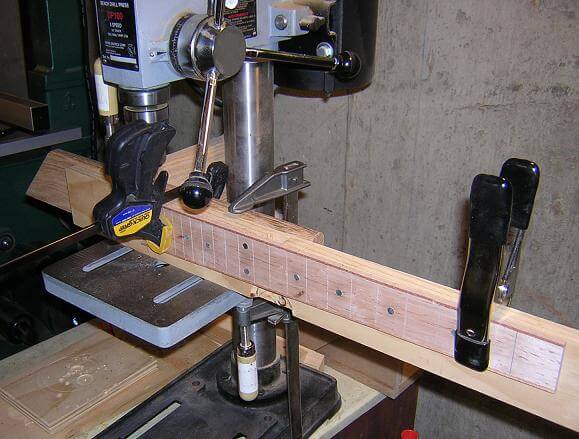
To install the dot inlays in the side of the fretboard, holes were drilled in the appropriate location. Here is the picture of the setup to drill these holes.
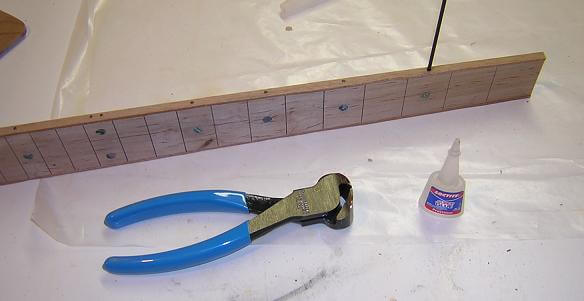
The side dots are nothing more than a 3/32" black plastic rod. A drop of CA is put into a hole, the rod is inserted, and after about 30 seconds I trim the rod flush with some end nippers. The process is then repeated for all of the dot holes. Once all of the side dots are in place and the CA has cured, I then sand the dots even with the edge of the fretboard.
Now we give the board a good sanding and call it finished.

Now that the individual pieces are ready, we can put them all together.
Or, you can go back to the neck building page.
Return To The Main Music Gallery
This page last updated on 06/28/2018