


One of the techniques for strengthening the scarf joint on the headstock is to cover it with a thin piece of veneer. This gives added support to the joint, and in addition, makes it invisible when viewing the front of the instrument. One can go out an purchase ready to use veneers, but I'm cheap so I wanted to use the wood I already had on hand. In addition, by using a leftover piece cut from the same stock as the top, I can assure an exact match. The veneer I'm going to create is a little thicker than many veneers, at 1/8" inch. This will allow me to sand the mahogany back of the headstock to 3/8", and give me the desired 1/2" headstock thickness that is my goal.
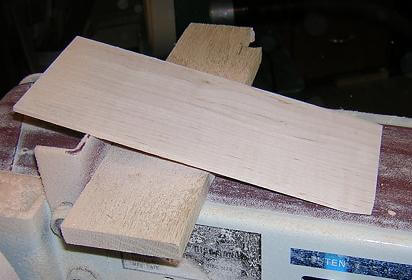
To create the veneer, the first thing I needed to was cut a piece long enough to cover the headtock, with a little extra to allow for waste. I wanted to make sure the grain direction matched the grain direction of the neck. I made this at the table saw with my sliding miter table, but it could easily have been done with any saw that would give an accurate crosscut.

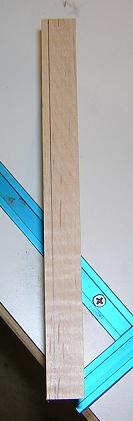
Next, I cut the piece to width, again slightly oversized to allow for scrap.
The stock is currently 4/4 (3/4"). In order to get it to the final size (1/8") I'm going to have to resaw it thinner. I began this process by marking the stock with a line slightly larger than 1/8". The larger size is to give me room to clean up the cut later and bring the stock to final dimensions.
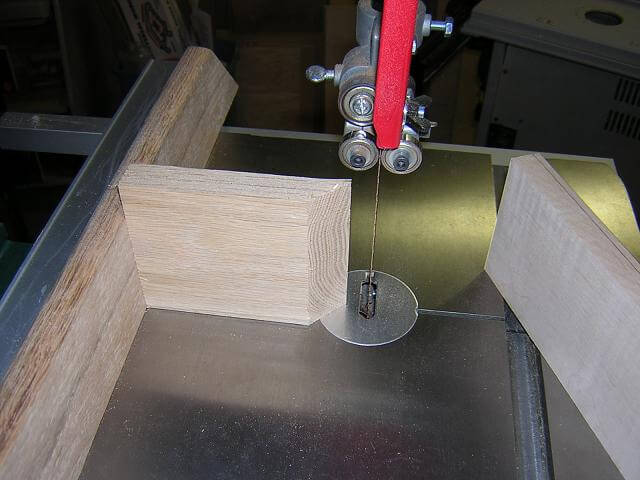
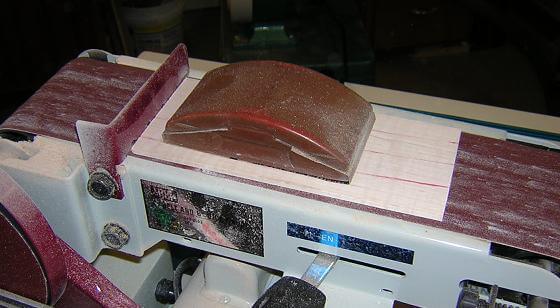
To do the resawing, I'm going to use my bandsaw with a resawing fence. This fence is nothing more than a homemade job comprised of two pieces of scrap wood joined at a 90 degree angle and clamped to my bandsaw fence. The edge of the perpendicular piece is beveled at 45 degrees to give me a point against which to run the workpiece. This point is placed even with the front of the blade, and the fence is positioned to give me the proper width of cut. The beveled end will allow me to adjust the direction of the cut and compensate for saw blade drift. Here is a picture of the fence ready to make the cut:
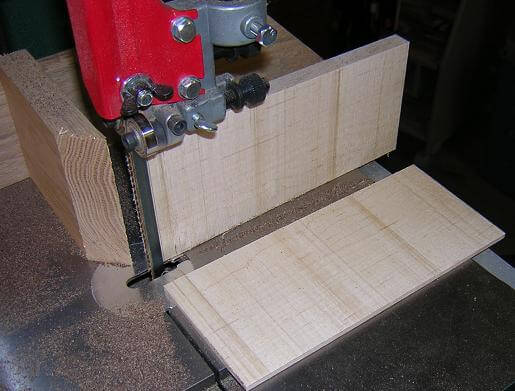
Now it's simply a matter of resawing the piece. Extra care is taken to make sure I follow the cut line, running the blade right along the waste side. Also, to ensure that the cut doesn't angle itself off of 90 degrees, I must make sure to keep the piece tight against the resaw fence and not to rush the cut.
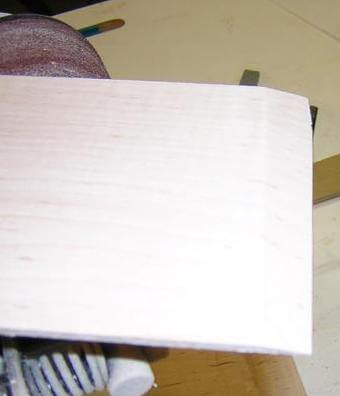
The band saw leaves some deep scratches in the wood. This is the reason that I cut the piece slightly thicker than the final desired thickness. These scratches must be removed. One could do this by hand, but it's a lot quicker to use a belt sander.
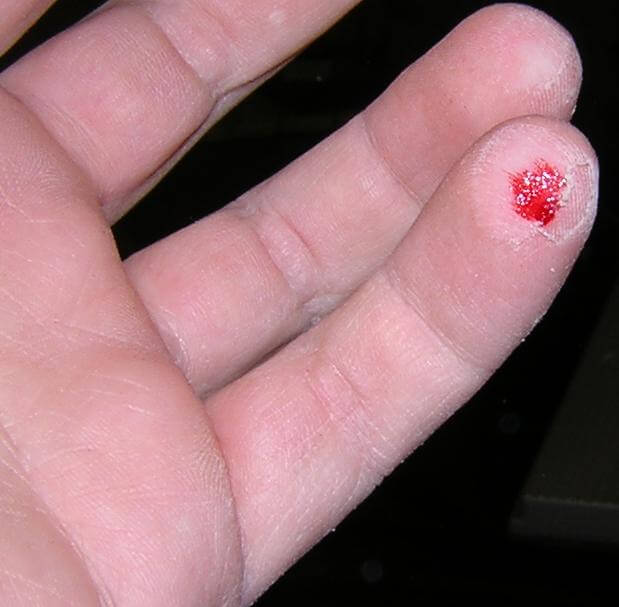
Here's where I ran into a little trouble and I share this with you in order to give you warning when using power tools. While sanders don't have the noteriety that table saws and routers do when it comes to power tools, all power tools (and hand tools for that matter) have the potential to injure you. It only takes a momentary lapse of judgement to cause an injury.
The veneer piece was thin, and I placed in on the belt sander to smooth out the saw blade marks. This went fine until the veneer got thin enough to slip under the stop block and go flying across the room. Unfortunately, my fingers didn't go flying with the wood. Instead, they stayed on the sander where my ring finger and pinky made momentary contact with the belt. While the contact was literally in the range of milliseconds, skin doesn't stand much of a chance when stacked up against spinning sandpaper. In the blink of an eye, my pinky finger was sanded down to the meat. Before the wave of pain hit and the bleeding started, I had the presence of mind to snap this picture as a warning to everyone:
With my wounds cleaned and dressed I returned to the shop, retreieved the piece of veneer from under the workbench where it had finally come to a rest, and proceeded to sand the piece correctly. First, I adjusted the top block so it would ride just a hair above the belt. Then, I placed a sanding block on top of the piece to hold it in place while sanding. This way if catastrophe struck again, I would have the sanding block to take the brunt of the belt. In the pic below you can see some streaks of blood on the wood as the result of the above accident. I had to sand those out as well.
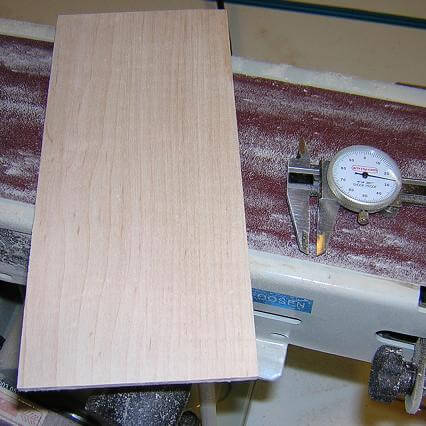
I sanded until the veneer reached my desired depth of 1/8". I used a caliper to measure the thickness and make sure I didn't go too thin.
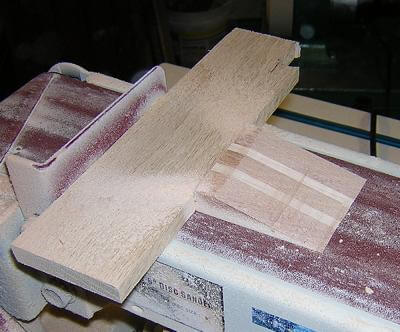
The front edge of the veneer had to be beveled at 12 degrees so that when it was laid on the headstock, the angle would blend with the face of the neck. To do this, I took a scrap of cut off from cutting the scarf joint that had a 12 degree angle, and placed it on the belt. I also took another piece of scrap to be used as a spacer and allow the veneer to clear the stop block. Then I placed the veneer against the angled cutoff, and sanded the edge to the 12 degree bevel.
Once I had the bevel completed, my veneer was ready to use.
With the veneer completed, we can continue on with the neck construction.
In case you didn't see the first part of the neck construction, click here.
Return To The Main Music Gallery
This page last updated on 06/28/2018