


With this guitar, I'm planning on making a few jigs and templates to help me with the process. My reasoning is, if I mess up a template I can chuck it and start over without much hassle. If I mess up the guitar, I've got a lot more invested. So I started by building a template of the guitar body out of 1/4" hardboard. I made a copy of my full size plan and glued it to the hardboard.
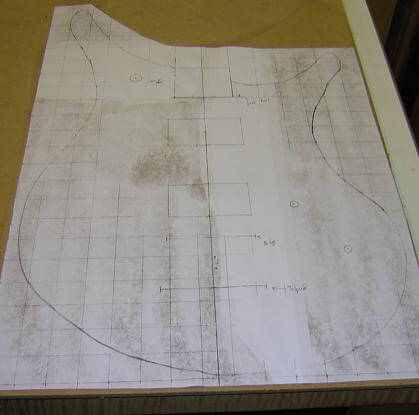
Then I used my scroll saw and cut it out. I could have used the band saw, but it cuts much more aggresively and it would have been much harder to follow the line. Especially since I still only have the stock 3/8" blade. Pardon the mess on the bench; it's become a dumping ground for the pieces of a few other projects on which I'm also working.

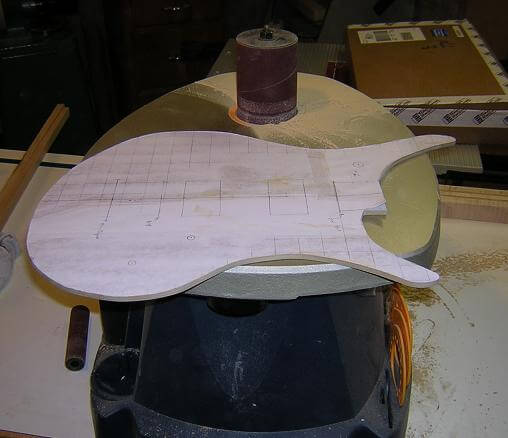
The template was close, but there were a few spots that needed attention. I smoothed the template out using my oscilating spindle sander. This is one of those tools that you don't use that often, but they're unbelievably handy when you do have a need for one.
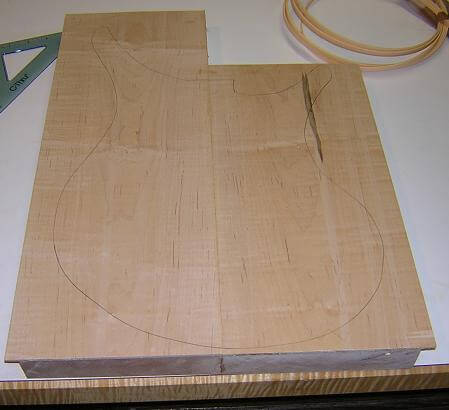
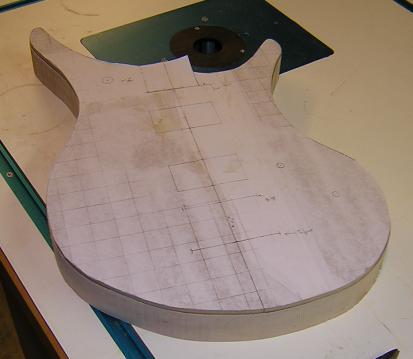
With the template ready, I set it on the guitar body stock and traced the outline. I made sure to line up the center line of the template with the glue line on the maple top.
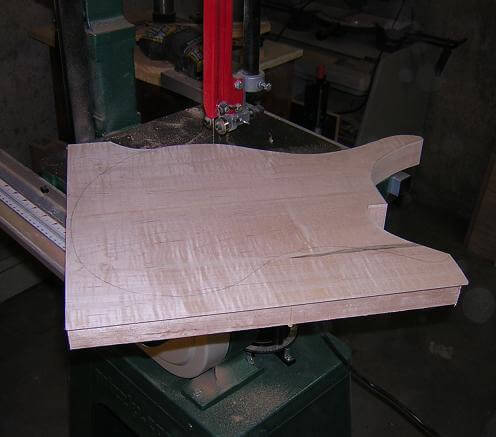
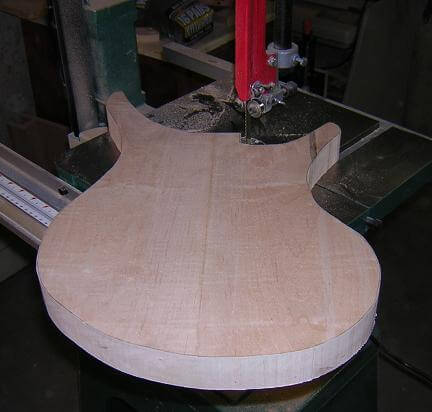
I then used the bandsaw to cut out the guitar body, but tried to stay slightly outside the scribed line and no more than 1/8" away.
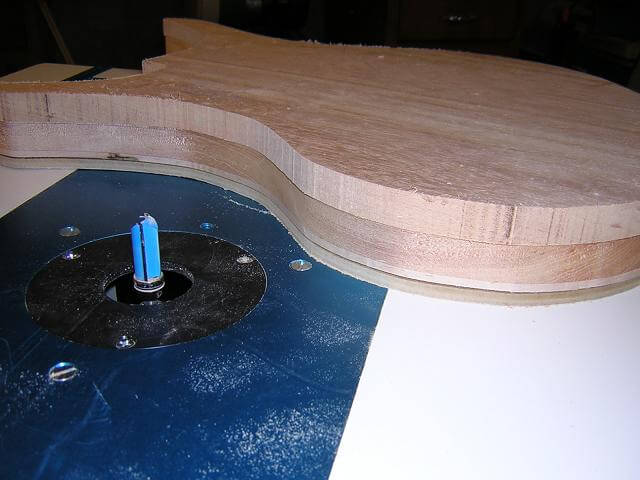
With the body rough cut to shape, I used double stick tape and attached the template. I had to be careful to set the template down so that the body is slightly proud of the template at every point. I did a couple practice runs before I actually used the tape, so I had an idea of where things needed to line up.
I could then use a pattern cutting bit in my router table to cut a little more than half of the body flush with the template.
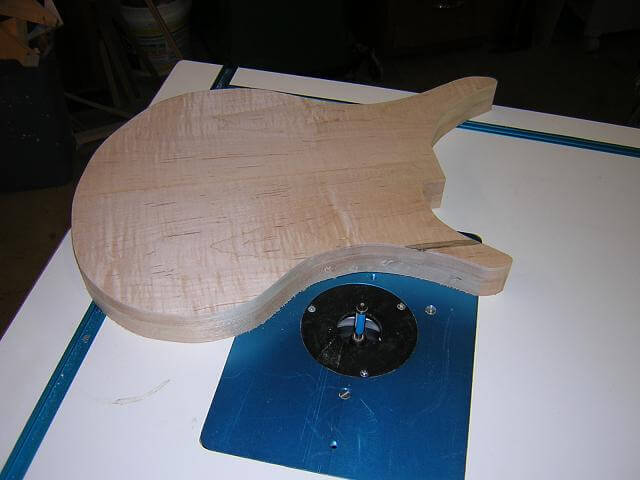
I then flipped the body over, installed a flush-cut bit in the router table, and cut the other side of the body edge flush. Once I removed the template and tape, I had a perfect match guitar body that only needs a little bit of sanding on the edges to smooth things out.
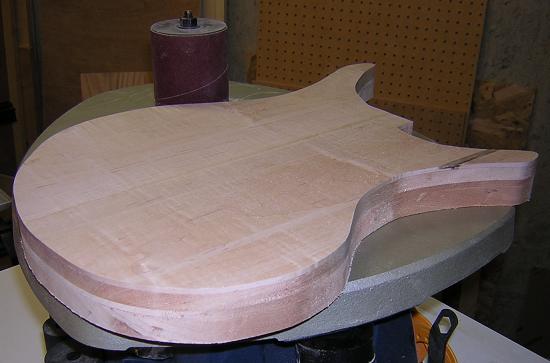
To do this sanding, once again I turned to my OSS. To help reduce the possibility of digging grooves in the body sides, I used the largest diameter drum that would fit into the concave curves of the body. This was my largest drum for most of the body, then I switched to the smallest to do the top horn edges. The OSS can be extremely aggresive if you're not careful, so I went slow and applied minimal pressure until I was satisfied with the results.
Now the basic body shape is complete. We can start shaping the body and cutting out the cavities.
Or you can click here to return to where we made the fingerboard.
Return To The Main Music Gallery
This page last updated on 06/28/2018