


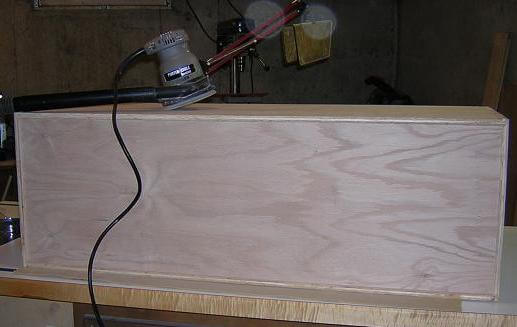
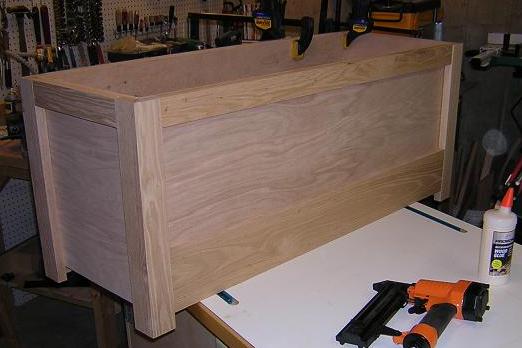
The glue was good and dry on the box (actually it had been a week) so I removed the clamps and spent some time sanding the box smooth. Again, it would be difficult to sand in the corners once the trim was installed.
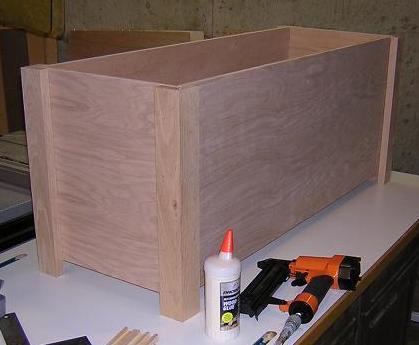
The original plans called for the legs to be attached with mechanical fasteners. I wasn't satisfied with this method, so I opted to cut biscuit slots in the corner pieces and the box and attach the legs with glue. Again, in lieu of clamping I fired some brads into the corner pieces to hold until the glue set.
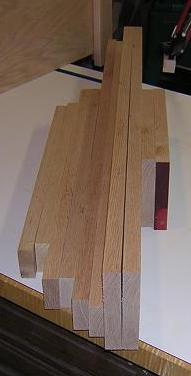
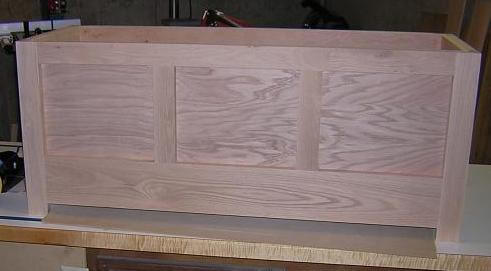
All of the outer trim pieces were to be 2" wide, so I set the fence on the table saw and cut enough stock to trim the box.
I began with the top horizontal trim pieces. I initially cut the pieces long, then slowly crept up on the cut until they fit exactly. Because these pieces are decorative, not structural, I just glued them in place and tacked them with brads.
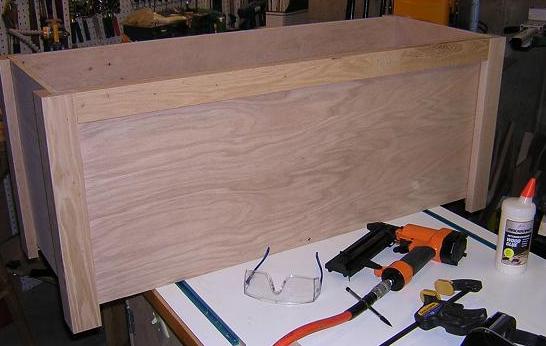
Then I continued the same process with the bottom horizonal trim pieces.
And finally I placed the vertical stile trim in place on the front and back.
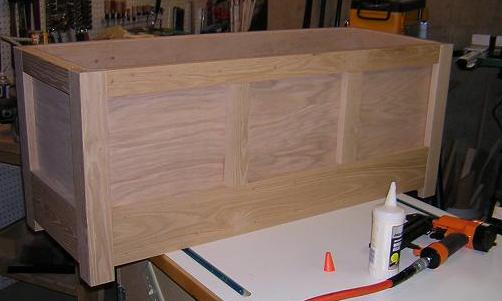
Once the outer trim was installed, I spent more time sanding all of the joints smooth.
Let's move on to putting the skirting and crown on the box.
Return to where we built the legs.
Back to the toy box main page.
Return To The Main Wood Gallery
This page last updated on 06/28/2018