


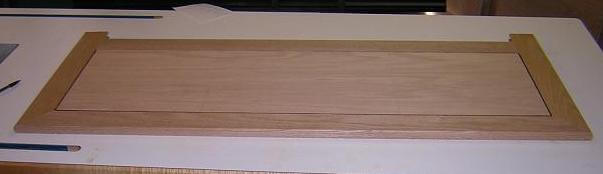
The lid is where I deviated from the original plans the furthest. The original design called for a lift-off lid where the crown molding was attached to the lid. This wouldn't work very well as a toy box for a small child. In addition, the original lid was only 1/2" thick and I had decided to use 3/4" plywood to make it sturdier. Finally, the orignal lid was just a solid piece of plywood with thin edging, and didn't have much character. I wanted something a little more distinctive.
I looked at some plans for other chest-type projects and found a lid I liked in another issue of Woodsmith. This lid was 3/4 plywood, with 2" edges. It was hinged, and most noticably it had a decorative groove cut in it's top. I thought this would accent the top nicely, and match the decorative groove I cut in the skirting.
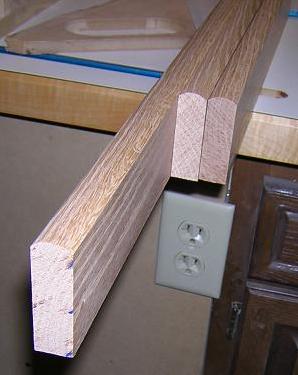
So, I came up with a modified lid for my project. The first thing I noticed was that if I edged my piece of plywood with solid 3/4" stock, there would be a huge difference in width of the stock (3/4" plywood is less than 3/4" tall, and my 3/4" stock was closer to 7/8").

Sure, I could sand the edging down flush with the plywood after I glued it on, but that would take forever. I decided instead to user my planer and reduce the thickness of the solid stock to be the same thickness as the plywood.
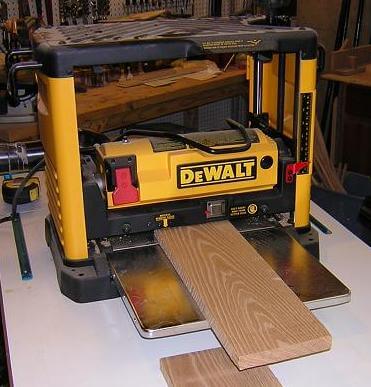
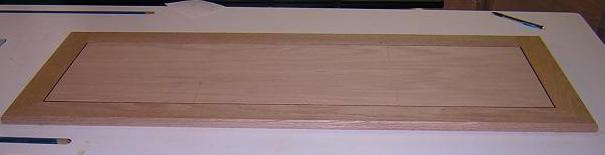
A few passes through the planer, and I had stock that matched the plywood exactly.
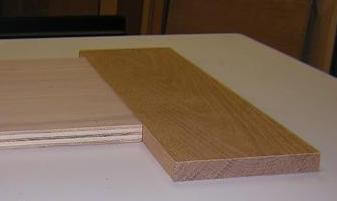
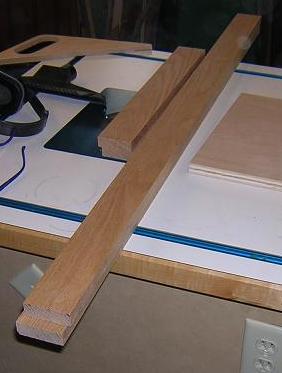
I then cut this planed stock to the final 2" width, and cut it down to rough length, leaving it a little long.
The front joints of the edging would be mitered, but the rear would be the same tongue and groove that the plywood panel would use. This required the rear edging piece to be cut to the exact same width as the plywood. I just sneaked up on the size until it was dead-on.

I was worried that when I machined the plywood I would chip out the thin veneer on the faces. To help minimize this, I put a strip of masking tape around the edges of both sides of the plywood.
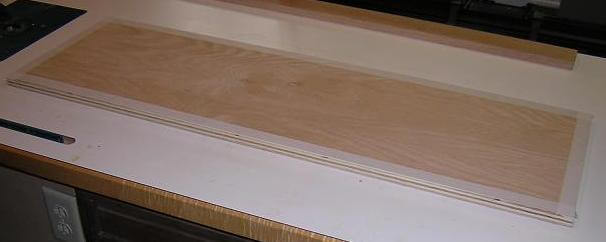
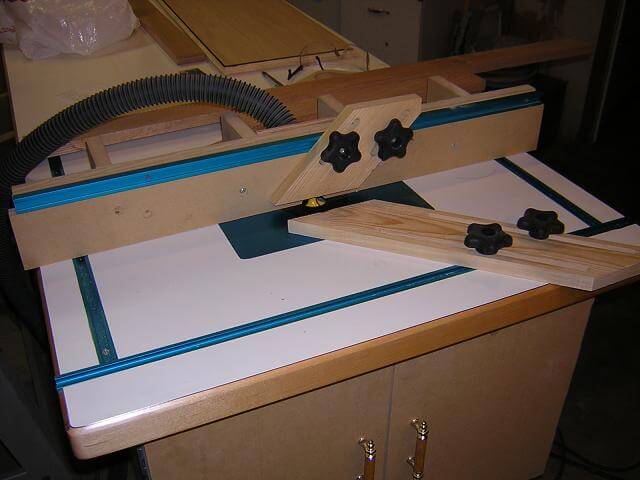
I set the saw up with a dado blade and a sacrificial fence and cut the tongue on the plywood and rear edging piece.
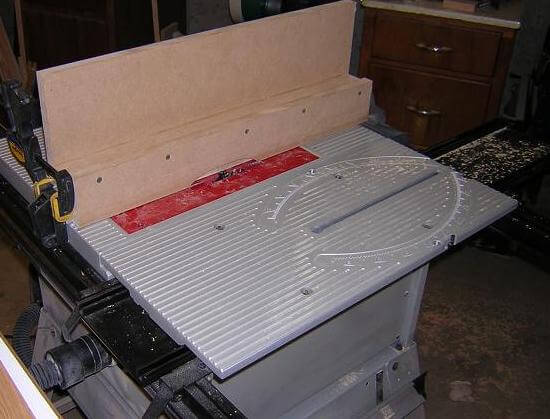
For the decorative groove, I wanted to cut about a 1/16" notch along the shoulder of the face side. I could do this on the table saw, but because of my chipout fears I decided to use the router table instead. I set up the table with a straight bit and did some test cuts to make sure I had it adjusted correctly.
Once the grove was routed in the plywood, you could see the veneers of the plywood below. I wanted to hide this, and at the same time I wanted to highlight the decorative groove...
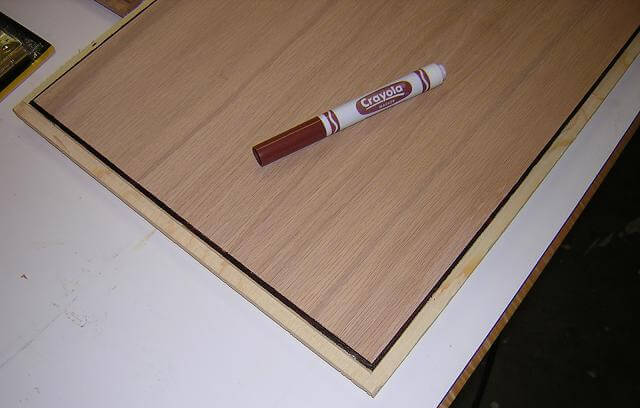
...so I used a brown Crayola marker to highlight it. Unconventional, yes, but then I've never made a claim to normality. I had to be careful not to get any of the marker on the face of the top, as once the marker hit the ink would soak in and you wouldn't be able to sand it out.
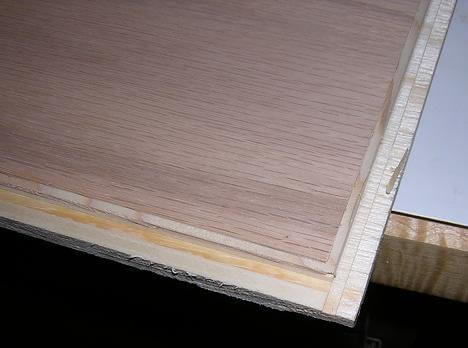
I wanted a bullnose on the hardwood edges of the top, so I set up the router table with a 1/2 roundover bit not fully raised, and passed the edging through on both sides.
Here's a closeup of the bullnosing, if that's a word.
I then cut a groove in the edge pieces to fit on the tongue of the plywood.
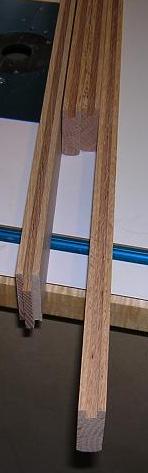
I mitered one side of each of the end pieces of edging, then carefully mitered the front piece to width.
Once the front piece was cut, I marked the rear of the edge pieces.
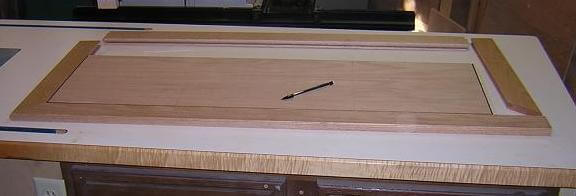
Then I cut the end pieces to length. At this point I could dry fit the top and make sure everything lined up correctly.
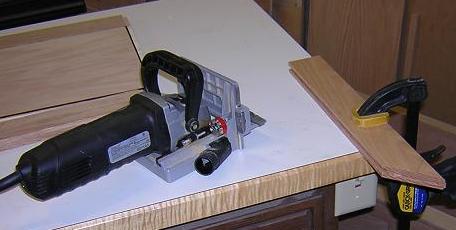
Once again, I didn't want the miter joints pulling apart over time, so I plunged biscuit slots in the joints to reinforce them.
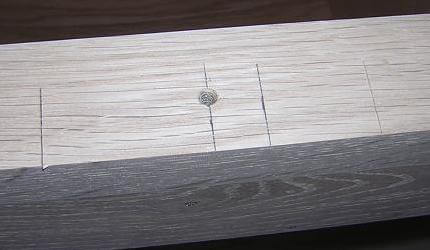
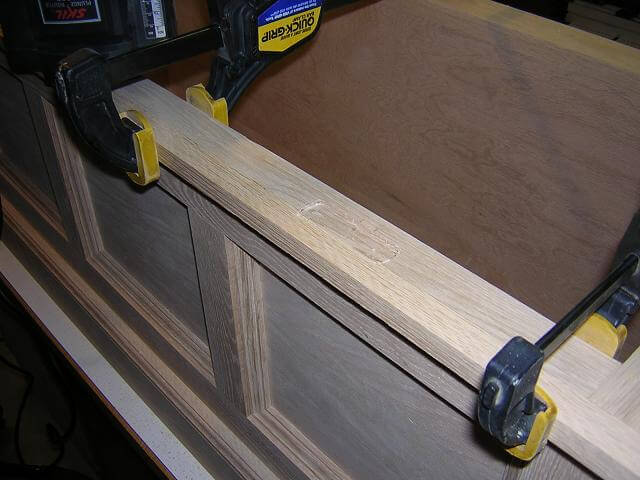
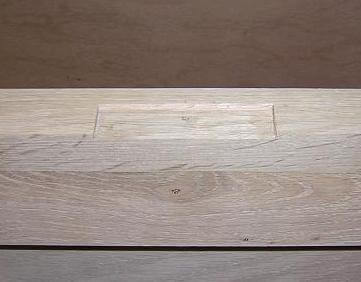
I decided it would be easier to cut the mortises for the hinges before I glued the top up. This also allowed less rework if I happened to terminally botch the mortise on the edging (I would never do that, would I?). I marked the position for the hinges and drilled a hole for the screw. I temporarily screwed the hinge in position, then took a carpet knife and carefully scored around the edge of the hinge. The I removed the hinge.
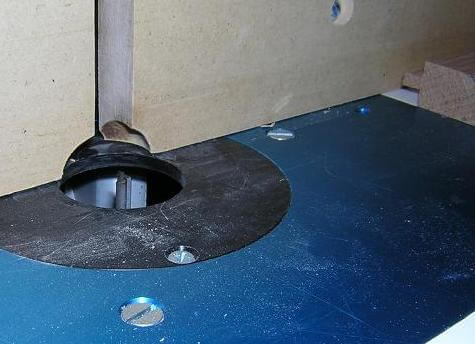
When rough-routing the mortises, I clamped on a piece of scrap to give the router a little more space to rde without falling over. It was important to go slow, and stay about 1/8" to 1/16" within the scribed lines.
Once I had the mortises rough routed, it was just a matter of cleaning them up with a sharp chisel.
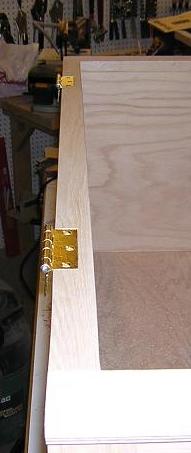
I installed the hinges on the box, just to ensure that they fit properly. I would affix the hinges to the list Once the lid was glued up.
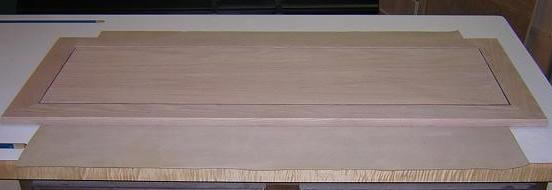
With the mortising done, I glued up the lid panel and let it dry. I took extra precaution to be careful not to let the glue seep into the decorative groove cut in the top, as it would prove very difficult to remove. I did this by judicious use of the glue, especially on the top edge of the plywood tongue. I put some scrap strips between the lid and the clamps to keep from marring the edges of the lid due to me over-muscling the clamps. Not that I've ever done that...

After the lid had dried, I spent more time sanding the lid.
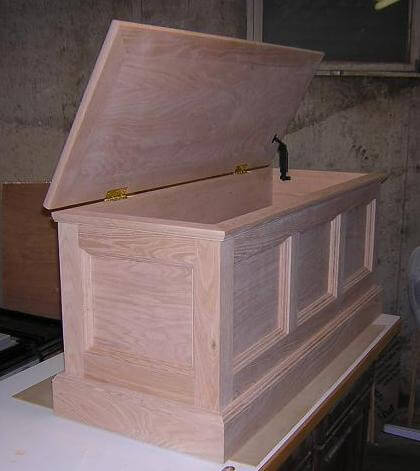
I then installed the hinges to the lid and fitted a lift support to keep the lid from popping Tundra Boy in the melon when he's trying to retrieve toys. After these pictures were taken, I decided that due to the weight of the lid It would be a good idea to install an additional lift support on the left side, just as an extra measure of noggin protection.
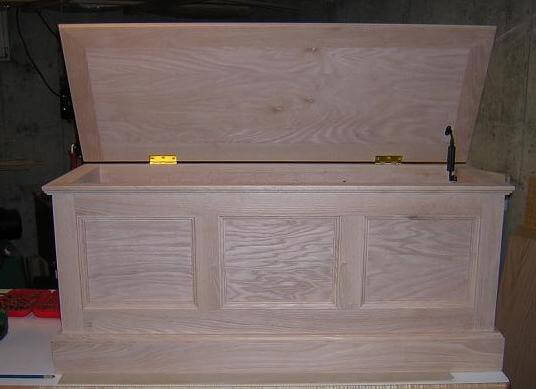
So, here it is. The toy box at the end of the construction process. The hardware will be removed prior to finishing.
Finally, the finished product!
Return to where we built and installed the inner molding.
Return To The Main Wood Gallery
This page last updated on 06/28/2018