


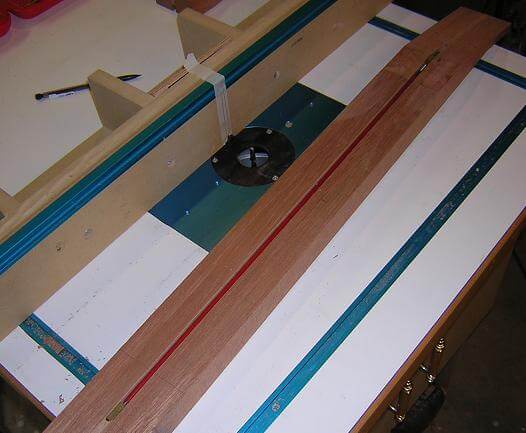
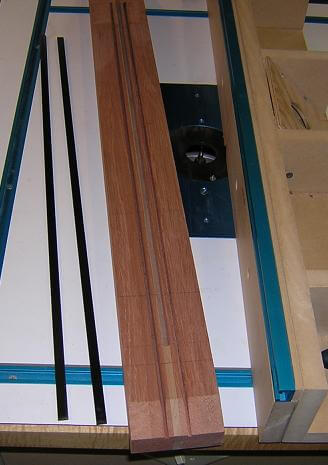
To begin the neck, we need to build a "blank" from which it will be shaped. I glued up a sandwich of four 4/4 strips of mahogany with a 1/4" strip of maple in the middle of them. I've found that by clamping my neck blanks to my workbench top when gluing them, they remain straight as an arrow which really makes life better later on.
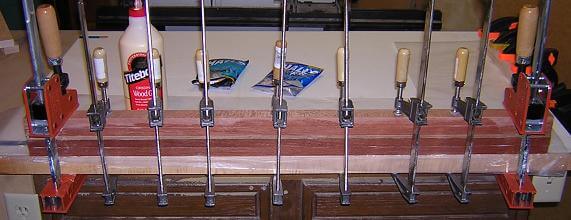
Once the glue had cured, I removed the clamps and trimmed the neck blank to size. I'll then put it aside to "season" for several weeks to allow the blank to cure. Usually, if the wood is going to warp it will do so within a week after being glued. Waiting a little while longer is just good insurance.
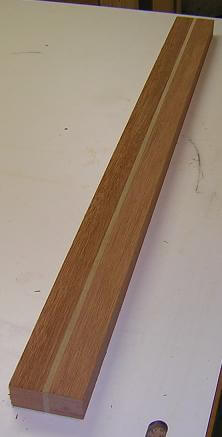
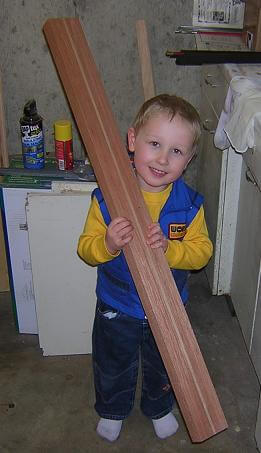
After the neck blank had cured for a couple of weeks, I planed it so that the face of the neck (where the fretboard will attach) is straight as an arrow. Here's Tundra Boy inspecting my work; he's my QC supervisor, so if you see a flaw in one of my instruments, blame him.
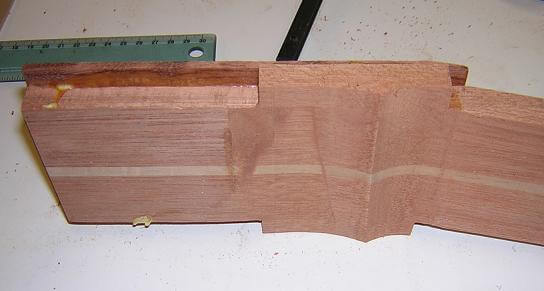
The face of the headstock will be a piece of bubinga that matches the face of the body. I sliced off a 1/8" thick veneer from the same board from which I cut the body top.
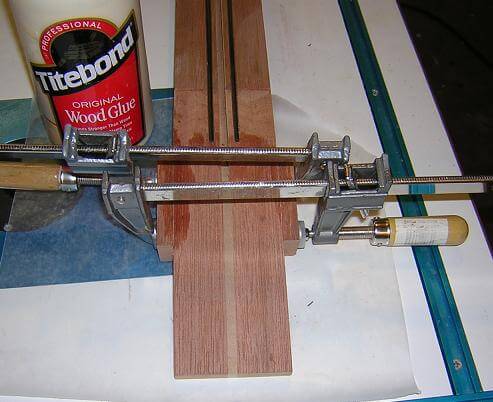
To achieve the angled headstock, I had to cut a "scarf joint" which is basically a very low angle cut (12 degrees) which is then reversed and glued back together. Here's the cut for the scarf joint.
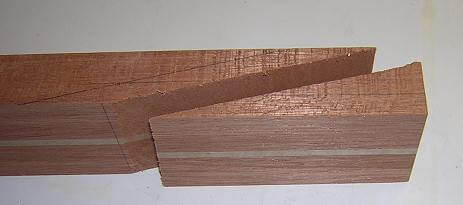
Clamping a scarf joint can often be a balancing act to try and get enough pressure on the join, but not so much that the pressure pushes the joint out of alignment. I had decided to deviate from my "normal" method of cutting and clamping and try a different method.
Here's a simple truth: I am a human living in a fallen state. I've done enough scarf joints by now that they should be a "no brainer." Yet, after the glue had dried I really wasn't satisfied with the alignment or the glue penetration (not enough clamping pressure) to trust it to the stresses an instrument will place on the joint. Clearly, my new scheme didn't work.
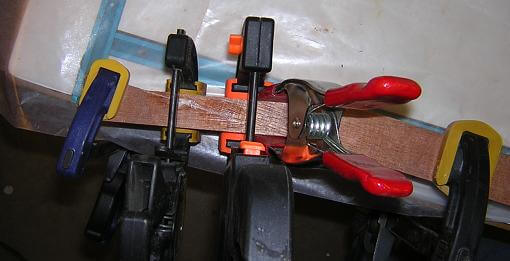
Thankfully, I've learned to think ahead (why is there never enough time to do it right, but always enough time to do it over?) I had made my neck blank large enough that I was able to simply cut off the bad joint, and do it again. This time, I was happier with the cut.
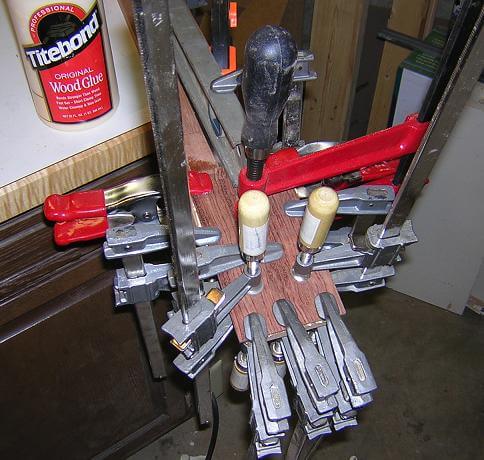
And I was also happier with the clamping, which was a return to the way I normally do it. I use the aluminum level as a "straight edge" to keep the face of the neck aligned across the joint. The level itself isn't very accurate. I inherited it from my wife's grandfather when he passed away (along with a few other small tools). But the edge is straight and it works great for clamping scarf joints so that's why I keep it around. Well, that and the sentimental value as my wife's grandfather was a great guy.
The second scarf joint was a success, which was a good thing because I didn't have enough neck blank to try it a third time.
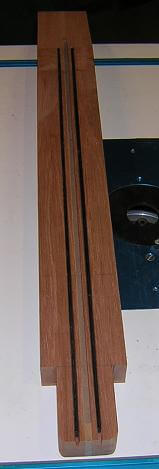
Now it was time to rout the channels in the neck. The first channel is for the truss rod.
Then, I needed two more channels in which the carbon fiber rods will be placed.
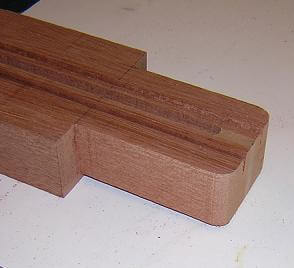
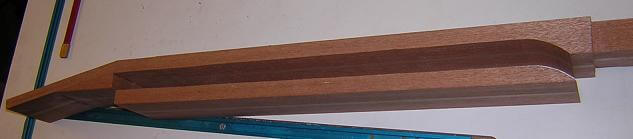
Next, I cut the tenon on the end of the neck blank. I measured carefully, then snuck up slowly on the cuts so that the tenon fit the pocket properly.
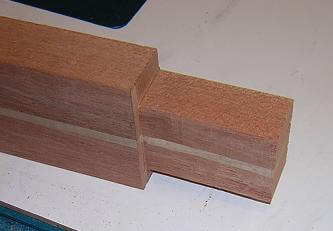
After a little tweaking, including rounding the tenon ends, it was done.
At this point I installed the carbon fiber rods. The channels were cut at exactly 1/8", so I had to slighty "persuade" them by tapping them with a hammer. The friction fit should be sufficient to hold them in place, but just in case when the fretboard is glued in place, the glue that seeps into the channels should be more than enough to affix them.
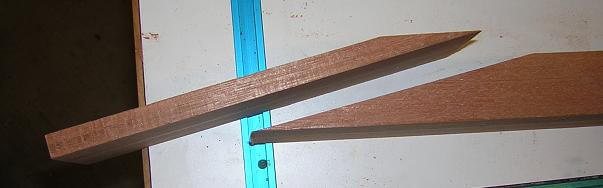
The side profile was then carefully marked and cut. Ed wanted a thin neck, so I made sure to keep the band saw blade on the waste side of my cut line. I didn't want to risk exposing the truss rod or the carbon fiber when I carve the neck.
Because the headstock is wider than the neck blank, I had to glue on a couple of mahogany "ears" to make the headstock area larger. I took the mahogany from the off-cuts of the tenon, so the wood matches perfectly.
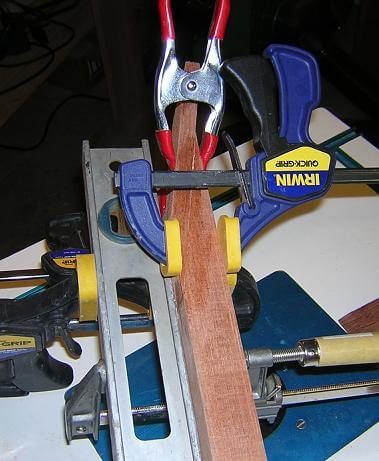
After the ears had dried, I sanded the face of the headstock flush, then glued the bubinga peghead overlay in place. I used my aluminum level to hold the nut end of the piece in place, as I wanted that aligned as precisely as possible. How many clamps do you need? I wanted to make sure I had good glue adhesion.
The neck on this guitar seems to scream for a volute, which is a fancy decorative "swoop" on the back of the peghead. I cut the peghead to final thickness, and then roughed out the volute. The rest of it will become more apparent when I carve the neck.
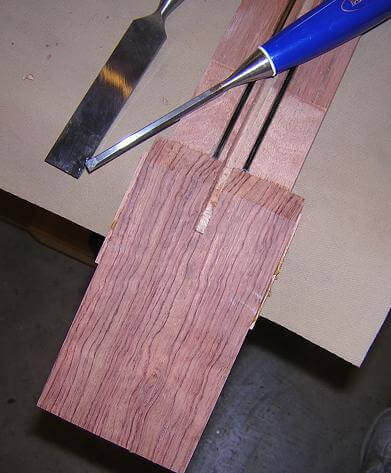
One thing that happened as a result of adding the bubinga headstock overlay was that the truss-rod channel was covered up. Seeing as we need access to get an allen wrench into the adjustment nut, I had to cut the channel in the bubinga. I just used a couple sharp chisels and pared away the wood.
Next up, I rough-tapered the neck and cut out the headstock shape. It's really starting to look like a guitar (err, bass) neck at this point! I'll do final tapering after the fingerboard is glued to the neck on the assembly page.

The tuner holes were drilled and the tuners were test-fitted. Everything seems right with the world, so I think I can pronounce the neck "done" to the point where we start attaching it to other pieces.

Now we need to build the fretboard.
Or, you can go back to the body building page.
Return To The Main Music Gallery
This page last updated on 06/28/2018