


When the Tundra Boy was on his wood buying spree, he came across a piece of Brazilian rosewood. Or at least what the seller claimed was Brazilian rosewood. To purchase the board he paid $450 for what amounted to .75 board feet of wood. Ouch.
For those unaware, Brazilian rosewood is the holy grail of guitar woods. It used to be quite plentiful, and as such was used on even inexpensive beginner guitars. Then, as the tropical rainforest became depleted through the lumber industry, and farmers burning it down so they could plant crops, Brazilian rosewood started to become scarce. By the 1960s guitar makers turned to "lesser" species of rosewood as Brazilian rosewood was becoming unobtanium.
Fast forward to 2023, and Brazilian rosewood is extremely rare. Very few of the trees still exist, and those that do aren't allowed to be cut down. The old lumber still sitting in people's wood stashes are starting to run out. When Martin guitars saw that the Brazilian rosewood supply was running out, they stashed a bunch of it and only used it on special guitars. At the time of this writing, to have them build you a guitar with Brazilian rosewood is about a $10k upcharge.
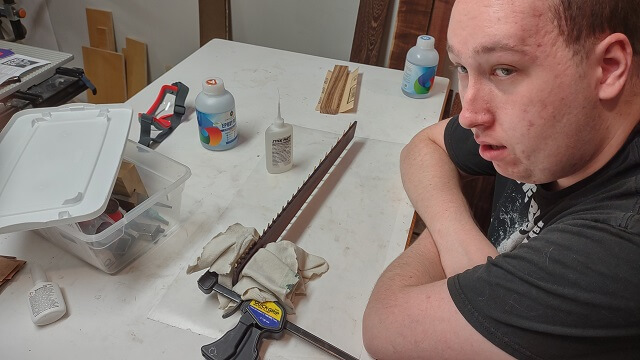
So one has to wonder, is this board really Brazilian rosewood, or is it just a piece of "regular" rosewood that the seller claimed is Brazilian in order to jack up the price? I don't know, and it's probably impossible to know for sure. I will say that the grain on the board looks like samples of Brazilian I've seen. I will also say that after cutting the board, the shop was filled with a sweet smell which is also a characteristic of Brazilian. But I can't tell you with 100% certainty that this is indeed a piece of Brazilian rosewood.
However, the Tundra Boy and I agreed that for the price he paid for this board, unless anyone has strong evidence to the contrary, we're acting in faith that this is genuine Brazilian rosewood.
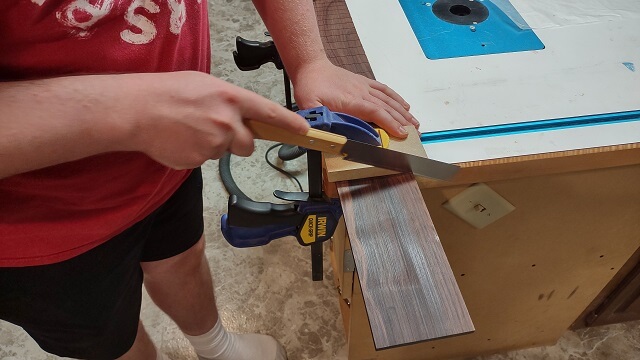
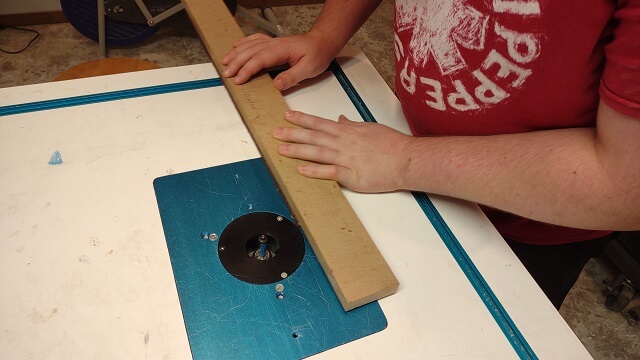
This piece of wood was s3s (surfaced three sides), however, the surfacing was pretty rough. We decided to re-joint the edge just to make it perfectly straight and smooth.
This board was 3.5 inches wide, .75 inches thick and 30 inches long. If carefully resawn, it contained enough wood for two bass-sized fretboards. In case you don't know, resawing is when you split a board along its thickness. So in this case, a 3/4" inch thick board would become two 3/8" thick boards.
A few years ago when making his six string bass, the Tundra Boy attempted to resaw a nice piece of bocote. The blade drifted, and after sanding the two pieces smooth, instead of two 3/8" thick pieces he wound up with a 1/2" piece and a 1/8" piece. The thicker one could be sanded down to still make a fretboard, but the other piece wound up too thin.
We set up the bandsaw with my good resaw blade, and then got my old resaw fence in place. Then the Tundra Boy took a moment to reflect. He really didn't want to have a repeat of the bocote incident. The last thing he wanted to do was wreck a $450 board.
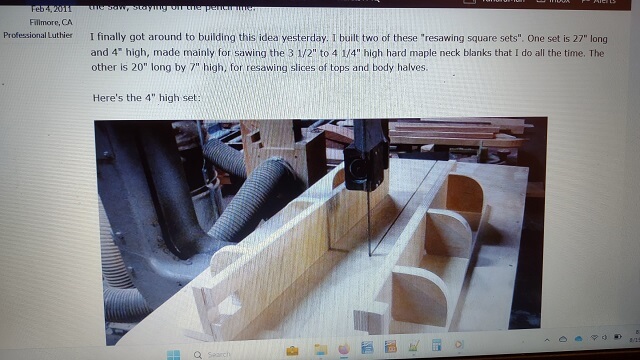
So we stood there and talked over the situation. I suspected that my old resaw fence had a tendency to cause side loads against the blade, which would make the blade cut straight down the line at the top of the board, but drift off center at the bottom. I mentioned that several years earlier in an online forum I had seen a different style of resaw jig that looked interesting, but I had never gotten around to building.
The Tundra Boy was uneasy enough about making this cut that he decided he would rather wait for me to build the jig than risk wrecking an expensive piece of Brazilian rosewood. So we stopped working for the day.
About a week later I found some time and built a pair of the new resaw jigs. One is for longer length but shorter height boards (like for a fretboard) and the other is for taller height but shorter length boards (like for a bookmatched top.) The guy in the online forum said he made his jigs in about an hour. Mine took six hours to build, and weren't as fancy as his. I think the guy on the forum was downplaying how much time he spent.
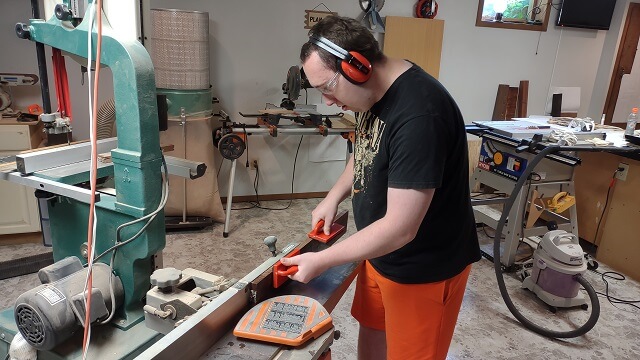
So the Tundra Boy and I agreed that he probably shouldn't test the new jig on his nice piece of wood. Instead, I found a piece of scrap maple about 4" tall for him to split and get a feel for how the jig works. The resaw was successful, and we learned a few things.
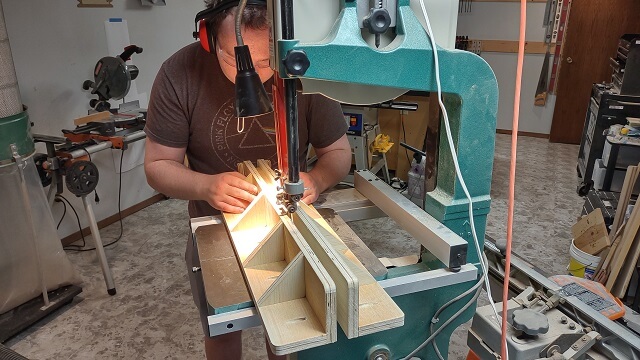
So now it was time to bite the bullet and resaw the expensive piece of wood. We set everything up, and like a skydiver jumping from a plane for the first time, the Tundra Boy began resawing the wood.
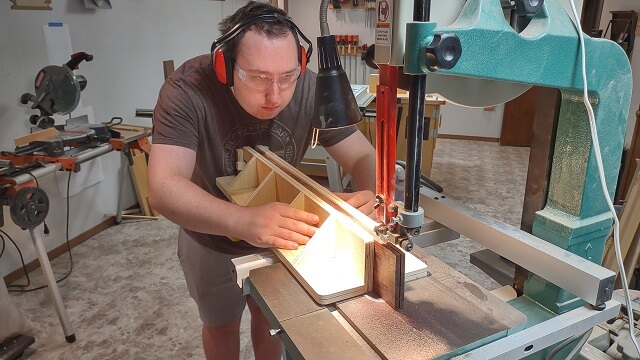
He went very slow just to make sure he wasn't drifting off line or side loading the blade.
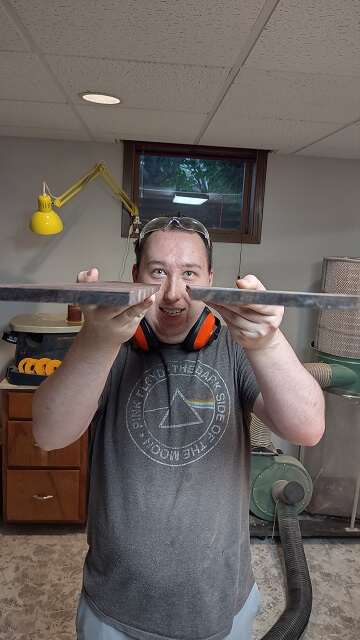
Once the length of the board was cut, the moment of truth arrived. He pulled the board out of the jig to find the blade had evenly cut right down the middle. Success! We both breathed a huge sigh of relief.
The final thickness of the fretboard needed to be 1/4", and the pieces were slightly less than 3/8" (the saw kerf takes up some of the thickness.) To thin the pieces down to final thickness the Tundra Boy used the drum sander. Using the planer would have been faster, but also greatly increased the danger of chip out. The drum sander was the safer option even if it took longer.
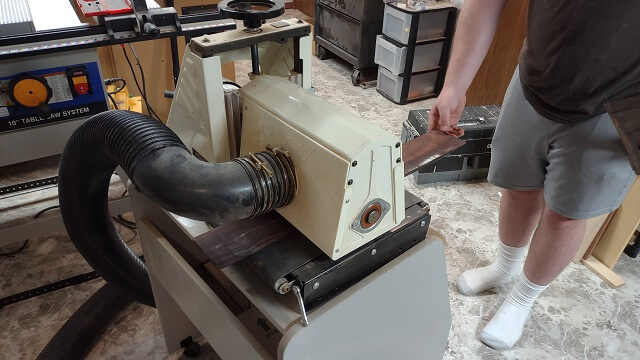
We did discover that the oily rosewood pretty much destroyed the sandpaper in the drum sander. Once the fretboard was down to proper thickness, the sandpaper was no longer in a useable state. So that will need to be changed before we use the drum sander again in the future.
We noticed throughout the build process how oily this piece of rosewood was. This was further evidence that the Tundra Boy had purchased genuine Brazilian rosewood.
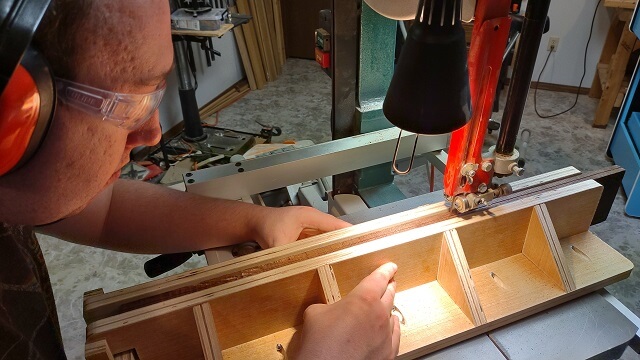
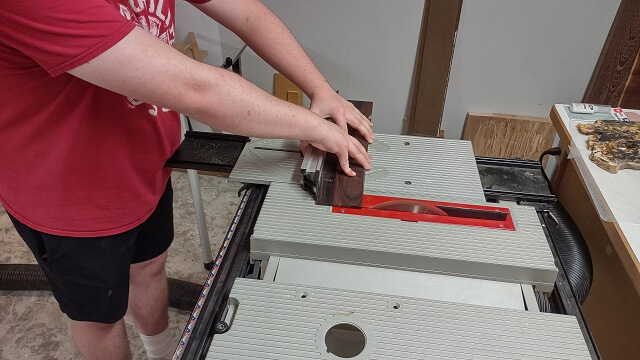
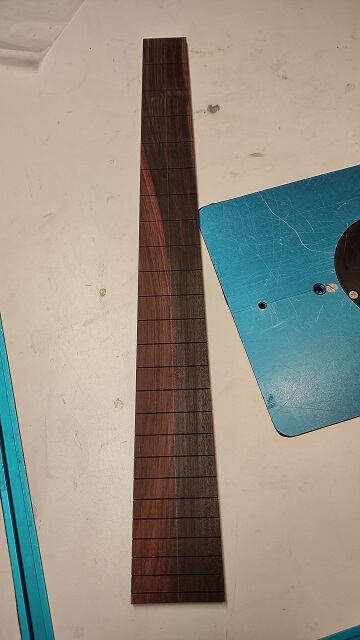
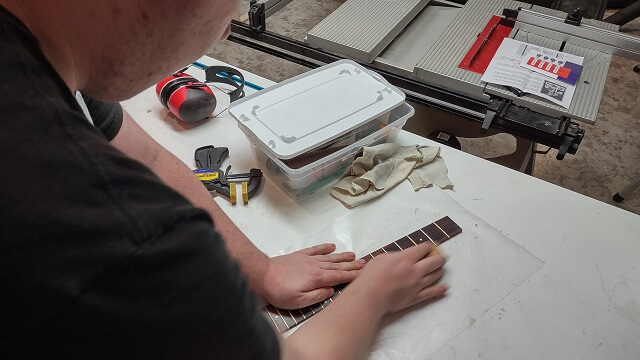
This guitar will have a 25.5" scale length. I set up my table saw with the fret slotting blade and jig, and then the Tundra Boy cut the fret slots.

In the dark wood, it's difficult to see the fret slots in this picture. The board will be trimmed at the lowest slot (closest to the bottom) which will become the nut. The remainder of the Brazilian rosewood (about 8" worth) will be saved and maybe used for a cavity cover.
The Stewart MacDonald fretboard template that we use cuts a fret slot at the nut position in case a person wants to use a zero-fret. The Tundra Boy is not using a zero fret on this guitar, so he cut all the way through this slot to remove the excess material above the nut. A hand saw was easier to use than trying to line up the table saw exactly with the slot.
For the body end of the fretboard, he marked a line a 1/4" below the 24th fret slot, and then used the table saw to trim it to length.
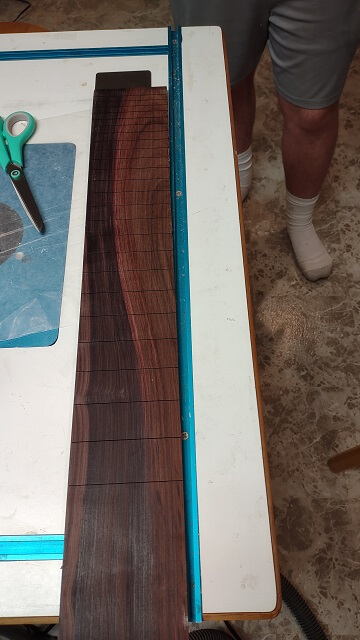
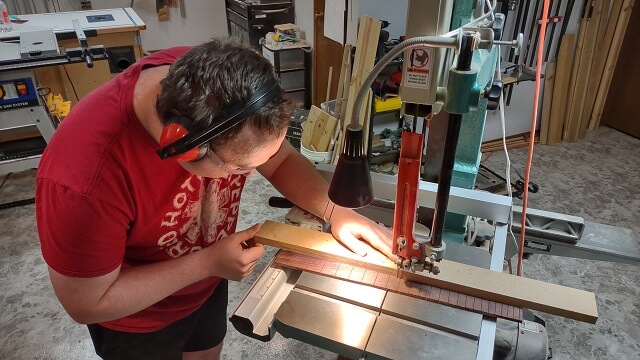
With the fretboard cut to its final length, now it was time to cut the sides of the fretboard. Rather than trying to taper the fretboard perfectly in one pass, it was broken up in two steps. First, the majority of the waste wood was removed at the band saw.
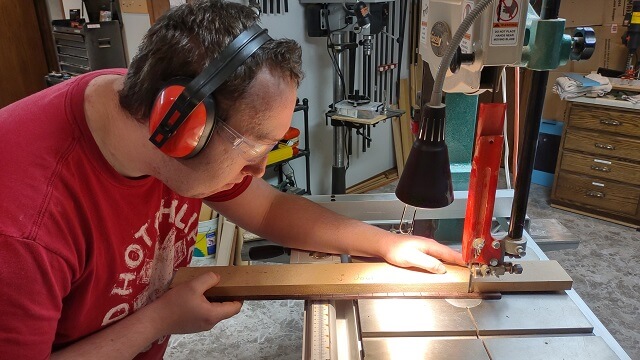
This piece of rosewood was so dark it was difficult to see a pencil line. Rather than accidentally drifting and cutting across the line, the Tundra Boy taped a guide board to the line. This made it very clear where the line was, so he was able to easily keep the saw blade within 1/8" of the final dimensions.
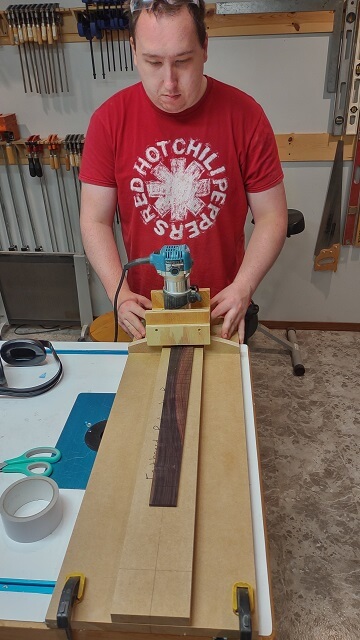
With the sides close to final width, a flush cut bit on the router table was used to bring the fretboard to exact size.
Here is the fretboard cut to final length and width. Given how expensive this board was to purchase, it kind of hurt to throw the scrap pieces that were removed into the trash can.
We broke out my fretboard radiusing jig to put the 14" radius on the face of the fretboard. This was a complicated jig to build, but tremendously reduces the amount of time it takes to radius a fretboard compared to the sanding method. Plus, it's easier to vacuum up the wood chips as you route. When sanding we would be completely covered in fine, dark sawdust.
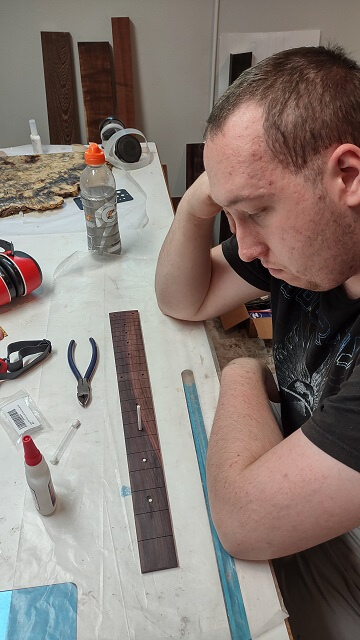
The next step was to install the fretboard dots. Upon inspecting his material, I saw that the Tundra Boy had purchased 4mm side dot material, and 1/4" abalone dot inlays. Both of these turned out to be much too large, especially down at the 24th fret. There just wasn't enough physical space to fit the inlays between the fret slots. So he had to back up a little and reassess the situation.
After a little thought he decided to save the 1/4" abalone dot inlays for another project, and use the 4mm side dot material for the inlays on the face of the fretboard. Then he purchased 2mm inlay material for the side dots.
The material he wound up using for both sides of the fretboard is a product made by Luminlay. The material glows in the dark after being exposed to UV light. They have two colors: blue and green. The green glows brighter, but the blue glows longer. He went with blue. He also bought a small UV light that can be used to charge the dots. It wasn't cheap. I think material to do both the top and side dots was about $60, not including the charging light. But it's kind of cool stuff.
He did some experimentation in scrap material until he got the hole depth just right. Then he marked the center of where the dots should be located on the fretboard and drilled the holes.

The Luminlay material comes in a long stick. He would fill a hole with CA glue and then stick the material into it. After a couple of minutes the Tundra Boy then clipped off the excess material and moved on to the next hole. It took a while to fill all twelve holes.
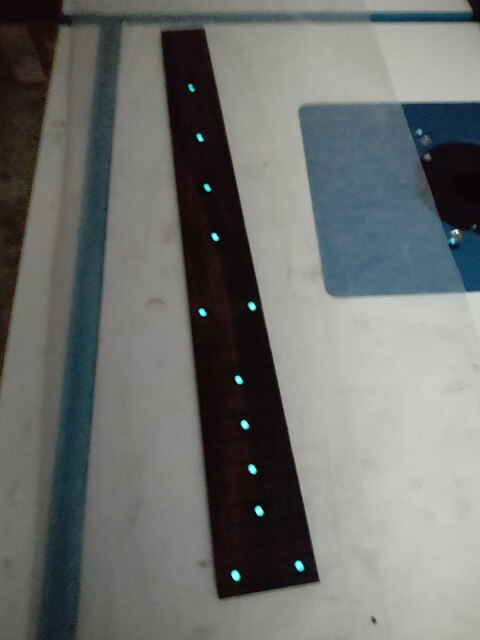
After the CA glue had cured, he sanded the inlays flush with the top of the fretboard using a radius block that matched the radius cut earlier with the router. This made everything smooth. Of course, he had to charge up the inlays and see what they looked like when glowing:
The process was pretty much identical for the side dot markers. First the holes were drilled.

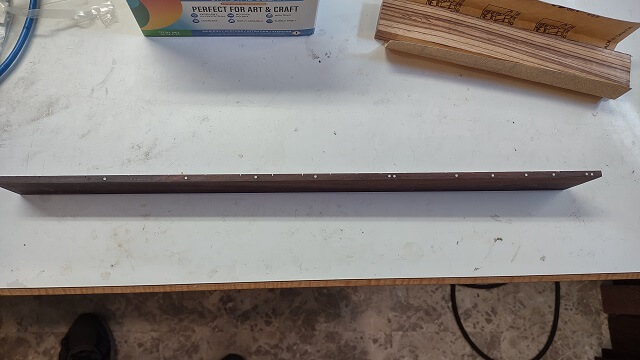
Then the material was glued in place and cut flush. Here's the side dots after they had been sanded smooth.
Before installing the frets it is a good idea to test the depth of the fret slots. Having the fret bottom out and not seat fully in the slot wouldn't make for a buzz-free fretboard. I have an X-acto blade that has been marked with sharpie at the correct depth. If you stick the blade into the slot and don't see any shiny metal below the sharpie line, then you're golden. I've used this same blade for nearly 20 years now.
For the most part the fret slots were deep enough, but there were a few spots out on the end of the higher frets where the radiusing process had removed enough wood that the slots needed a little tweaking. The Tundra Boy used my Stew Mac saw designed for this purpose to tweak those places to proper depth.
For this guitar, the Tundra Boy is using Jescar EVO Gold fret wire. This wire is harder than standard nickel wire, but softer than stainless steel. It also has a mild gold color.
When purchasing the fretwire, it didn't cost any extra for him to order it pre-cut and radiused. That saved him the hassle of doing both. So all he had to do was pound them in. That sounds kind of cavemannish.
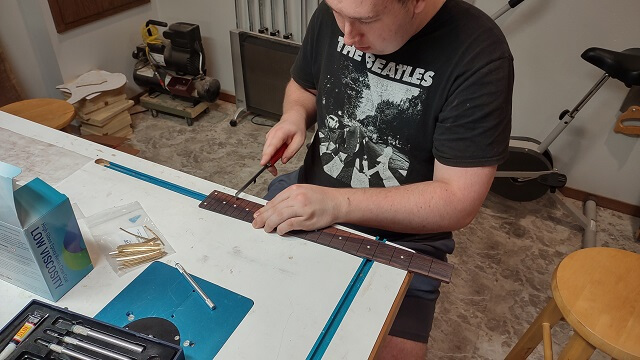
Once the frets were hammered in, the Tundra Boy put a small drop of thin CA glue in each of the fret ends. This will help keep them seated when trimming the fret ends. Sometimes it's easy to inadvertently pull the fret end up slightly when trimming the frets to length.
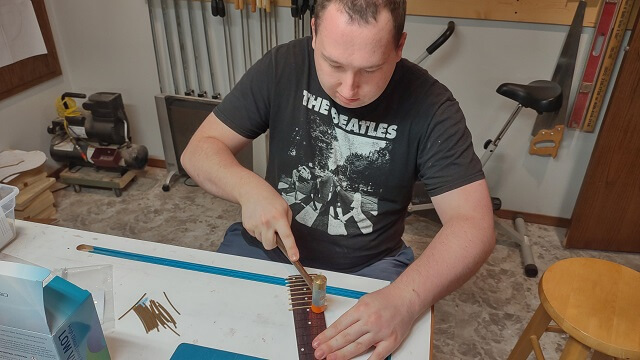
The frets were trimmed flush with the fretboard. The hardness of the fret wire was apparent while doing this, as it took a lot of hand strength on the nippers to cut through the wire. Also, once cut the fret end would go flying through the air and then the Tundra Boy would have to go on a hunt to find where it landed. That really slowed down this part of the fret installation.
Once all of the frets were trimmed to length, the Tundra Boy ran a file along the edge of each side of the fretboard to remove any excess fret wire left by the nipper. The file is hidden by his hand in this picture, but rest assured it is there. He didn't just use his super-strength to file down the fret wire with his bare palm.
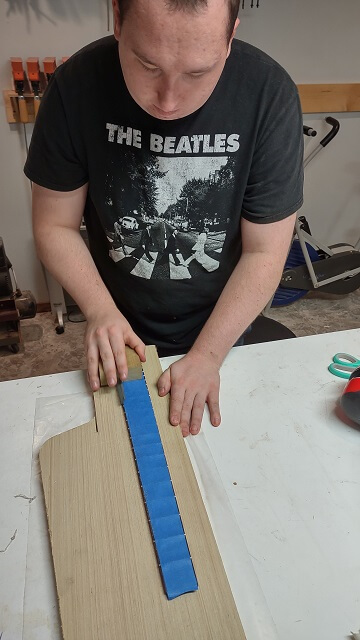
Next, the fret ends were beveled. The fretboard was taped to a flat piece of scrapwood so it would stay in place without having to hold it down with his hands. Blue tape was put on top of the fret wire to keep it from getting scratched up from the beveling tool.
Like my fret depth X-acto blade mentioned above, I made this beveling tool nearly 20 years ago and it's still working fine.
The fretboard was now done and ready to attach to the guitar when that part of the instrument is ready. Final fret leveling and polishing will happen after that.

Now we can move on and see how the body was built.
Return To The Main Music Gallery
This page last updated on 04/02/2024