


Admittedly, a 5/8" thick table top is a little thinner than normal. But in this contest, we take what we can get. To begin, I had to glue up a piece that would allow me to cut out the 21" diameter top. I took one section of the planed and resawn boards, and laid them out for the best match. Notice that each half of the table top is bookmatched.
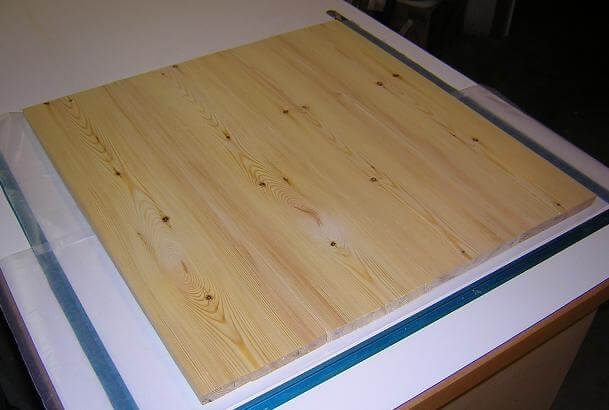
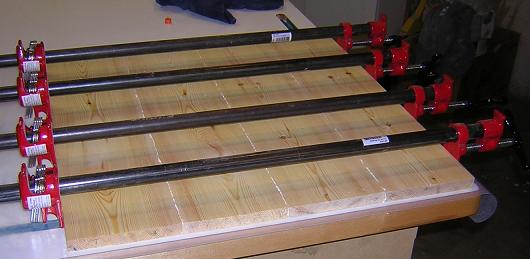
Once I decided how I wanted the boards arranged, I jointed them using my table saw. Yes, I can get glue-quality rips from my saw; take that you BT3 skeptics! Then I glued 'em up. I put waxed paper underneath the assembly to keep from gluing it to my workbench top.
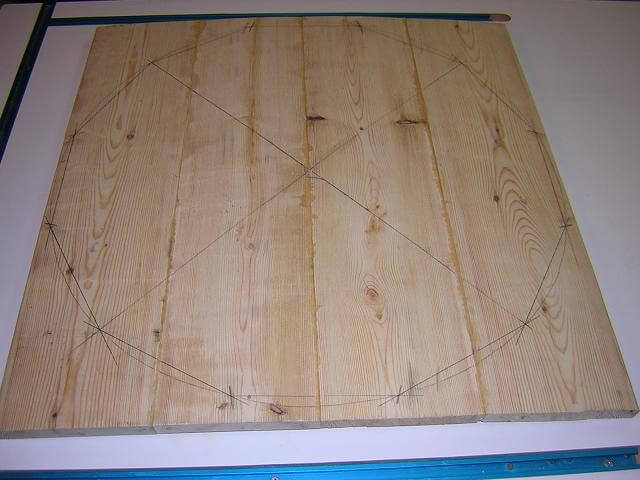
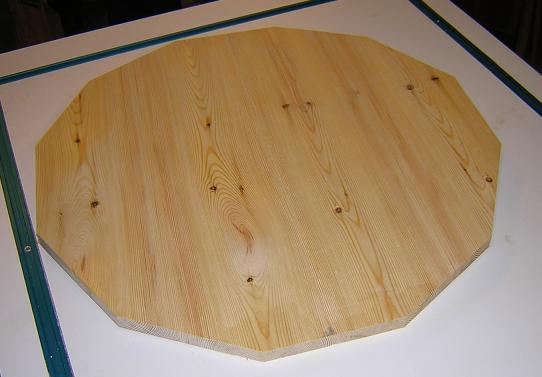
Rather than a traditional round top, the top on this table would be twelve sided. This should compliment the six sided column with three legs. The trick is making and cutting an accurate twelve sided figure. I did a little geometry to determine the layout.
First, I took a screw and drilled it partially into the center of the blank (not all the way through, though!) From that screw, I tied a piece of string. Then I taped a pencil to the other end of the string 10 1/2" away from where the string attached to the screw. This would allow me to draw a circle on the blank with a diameter of 21". With the circle drawn, I removed the screw but left the string and pencil attached to it.
With the circle drawn, I made two perpendicular lines across the center that were long enough to intersect with the edge of the circle. I had to make sure these two lines were exactly 90 degrees from each other.
Next, I placed the tip of the screw on one of the perpendicular lines that intersected with the circle. Holding the screw in place, I stretched the string out and marked a line intersecting the circle on either side of where I was holding the screw. I repeated this for the remaining three points where the perpendicular lines intersected the circle.
Finally, I took a straight edge and drew lines between each mark crossing the edge of the circle. This gave me twelve (hopefully) equal sized sides. I verfied with a ruler that they were all the same size.
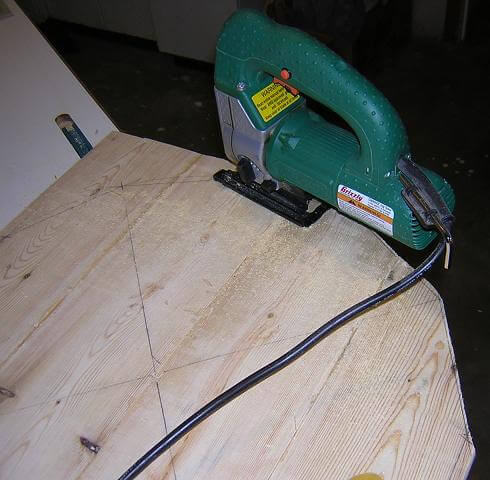
Once the lines were marked, the trick was to cut them accurately. Freehanding the cut with a band saw wouldn't get as accurate as I wanted. A table saw would make a nice straight cut, but I wouldn't have a straight edge to run against the fence (although I probably could have made a panel cutting jig to do it.) I also could have clamped a straight edge to the top and ran a circular saw, but this would have been difficult to get accurate (not to mention the tear out that is normally associated with circular saws.)
Here's my solution: what I wound up doing was first rough cutting the top with my sabre saw. I didn't try to get too close to the line, just with 1/8" or so.
Next, I clamped a piece of wood with a straight edge to the top, and lined up the edge of the wood with the line marked in the top. I chucked up a pattern cutting bit in my router, and routed the table edge flush with the wood edge and (if everything was lined up correctly) exactly straight and on the line with my marks.
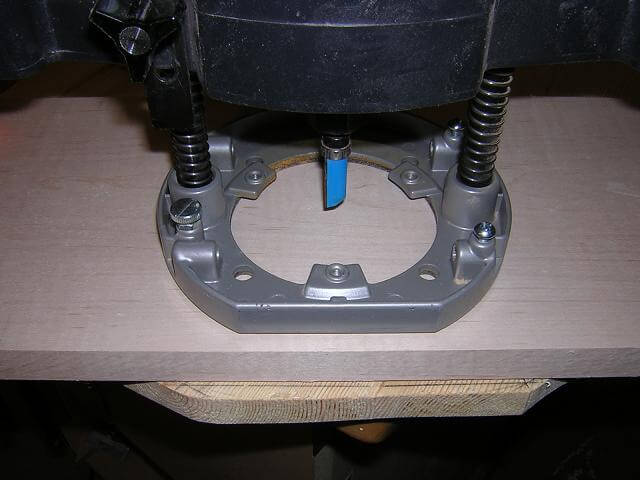
I repeated this procedure twelve times, for each side of the table. Admittedly, it was pretty tedious to keep doing this step over and over, but in the end I wound up with a perfectly dimensioned table top.
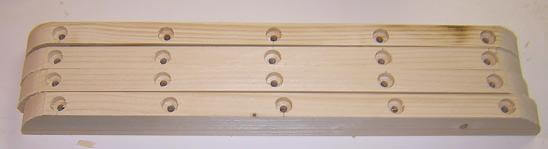
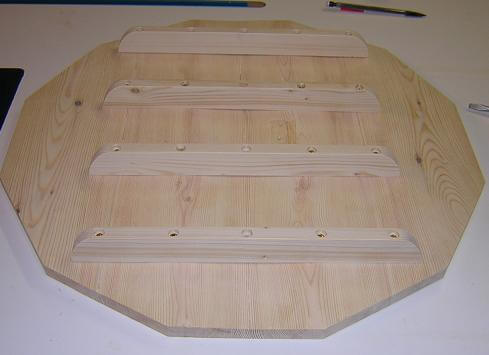
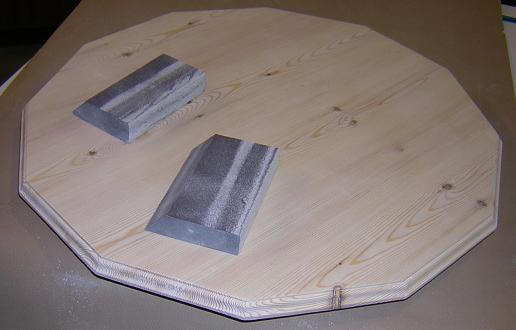
I started to run into a little problem with the glued-up top starting to warp. I'm sure this is due to the stock not being as dry as it probably should have been. After resawing the stock, now the insides of the board which were still moist were exposed and started to dry. This caused the wood to curl. I was going to have to counteract this by attaching some cleats to the underside of the table to hold it flat. Cleats are common with solid-wood table tops, but usually just two in a small table like this. I felt that the warp was significant enough to warrant four cleats. I cut them out of the remaining stock I had left. I used a french curve and marked a profile to taper the ends, rather than just leaving them "square."

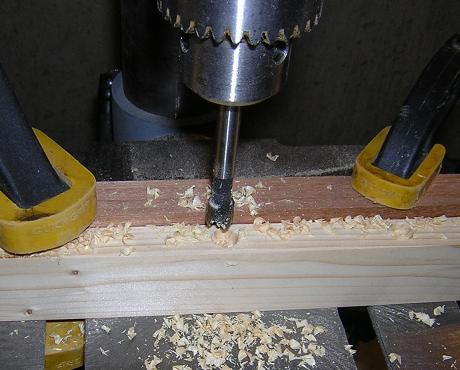
On the drill press, I drilled holes through the cleats where I can attach them to to the top using screws. I put five holes in each cleat; again a little overkill, but I swear this top was warping right before my eyes!
I cut the end profiles on the cleats using my scroll saw, then sanded everything smooth. The cleats were now ready to attach to the top.
After marking where I wanted them on the top, I attached the cleats by drilling some pilot holes in the proper location. I then started the inside screws, and went around the top giving each screw a 1/4 turn, slowly bringing the top into shape. Once the top began to flatten out, I started the outside row of screws and continued slowly tightening them all. I could really feel the warped top fighting me when I would tighten each screw. Once all the screws were nice and tight, to my relief the top was satisfactorily flat.
Now that the top was flat, I could rout the decorative edge. I mounted an ogee bit in my router table and routed the profile. Because half of the top was end grain, I wanted to avoid tear-out. I did this by slowly raising the bit and routing the top in multiple passes, taking just a smidge off each time. I think I did it in seven or eight increments until I reached final depth.
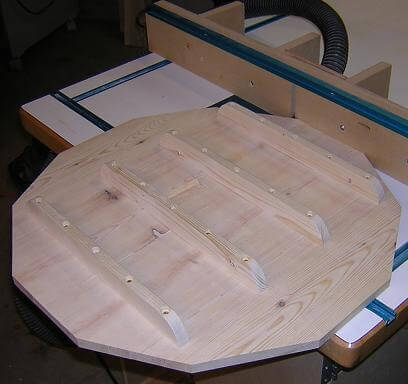
With the routing done, I sanded everything to make it smooth. The sponge sanders you get at the local home center work great for sanding the routed profiles, as they bend and conform to the shape.
With all the pieces made, now it's time to assemble the table.
Or you can return to the page where we built the column.
Return To The Main Wood Gallery
This page last updated on 06/28/2018