


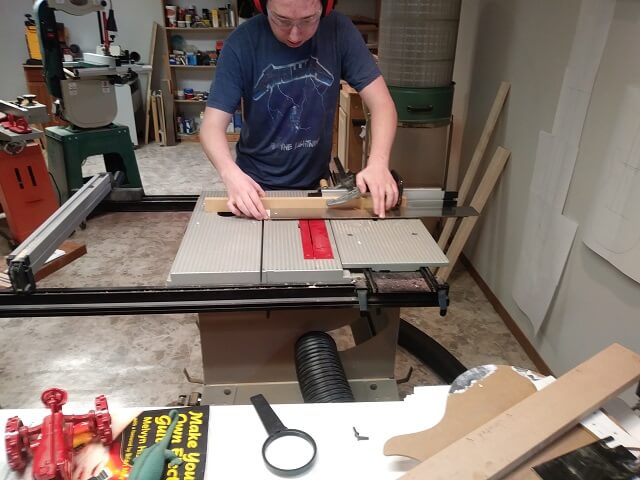
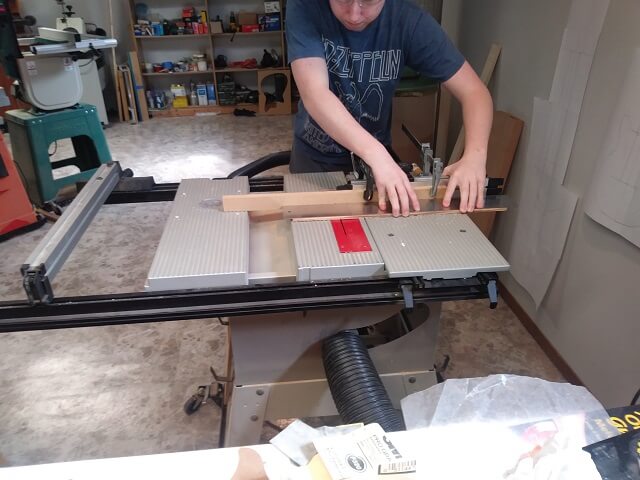
The Tundra Boy wanted his fretboard made from zebrawood, to match the theme of the rest of the instrument. We started by finding a piece of zebrawood in my inventory that was large enough to get a fretboard from and was already .25" thick. He cut out a piece, and started building the fretboard by cutting fret slots. This guitar will have a 25.5" scale length. He used the table saw along with the fret slotting saw blade and the Stew Mac template to make sure the slots were in the perfect location.
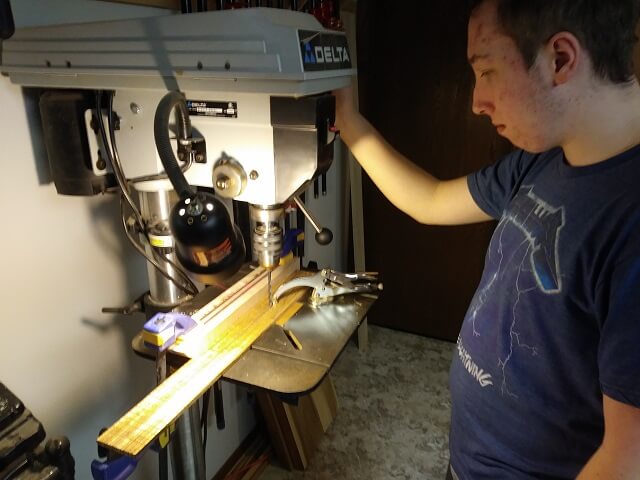
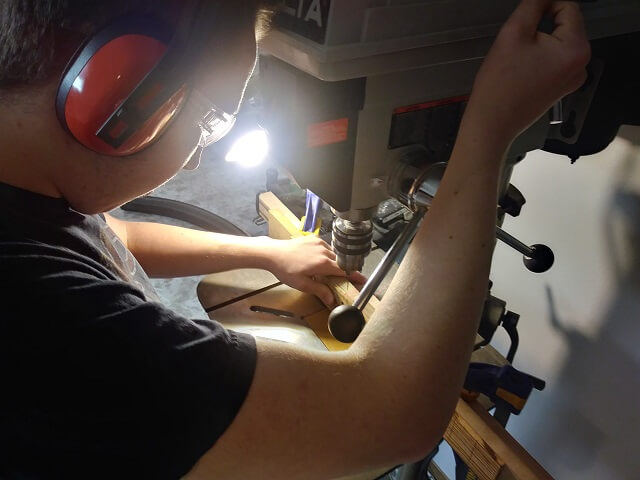
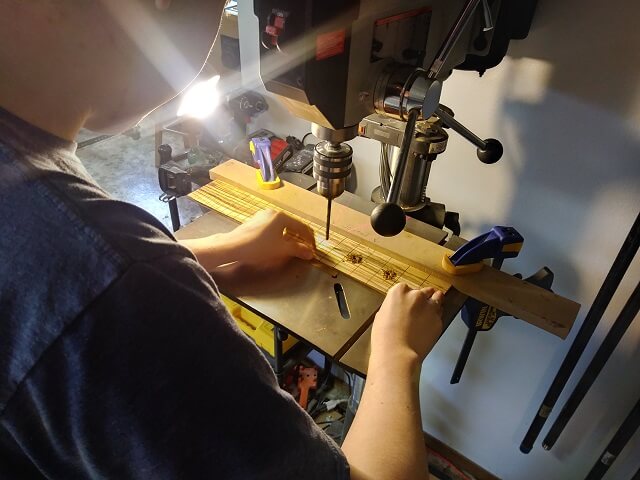
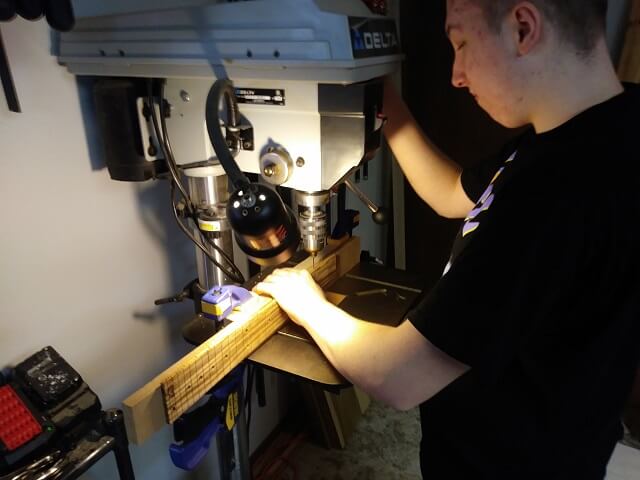
The fretboard will have simple black dot inlays in the standard positions. The holes for the dots were drilled using the drill press.
The Tundra Boy thought it would be cool to have his initials inlaid at the 1st fret, so he began trying to cut the inlay out of black plastic. He quickly discovered that his hand saw skills had not yet developed to where he could cut an accurate inlay, and grew frustrated. After about 20 minutes he decided that he didn't want an inlay bad enough to continue the endeavor.
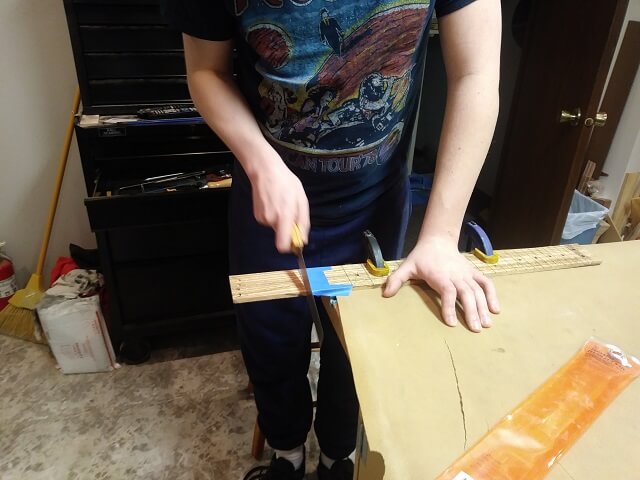
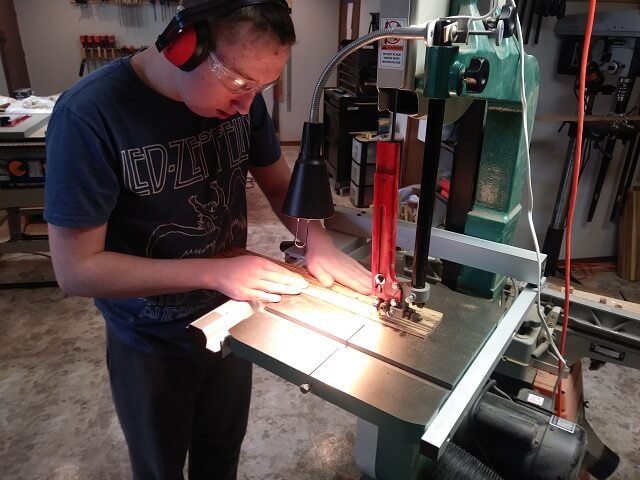
The fretboard template has a slot for a zero fret. We're not using a zero fret on this guitar, so the fretboard was trimmed off at this position with a hand saw.
The fretboard sides were tapered to width. I didn't get a picture of that operation, but the Tundra Boy did it the same way I do on all of my guitars, so you can review one of those other build logs if you want to see the process.
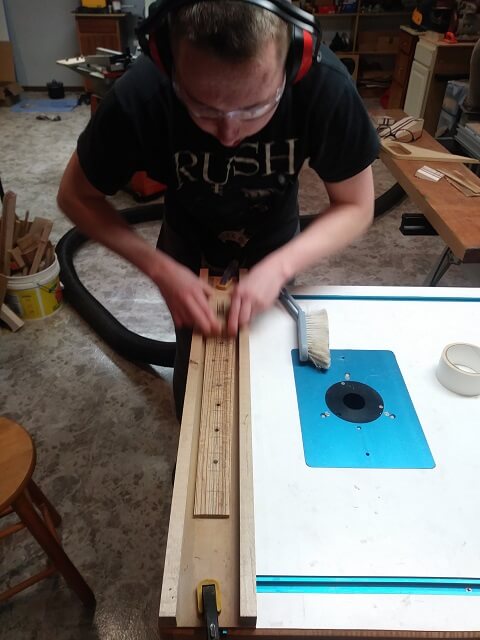
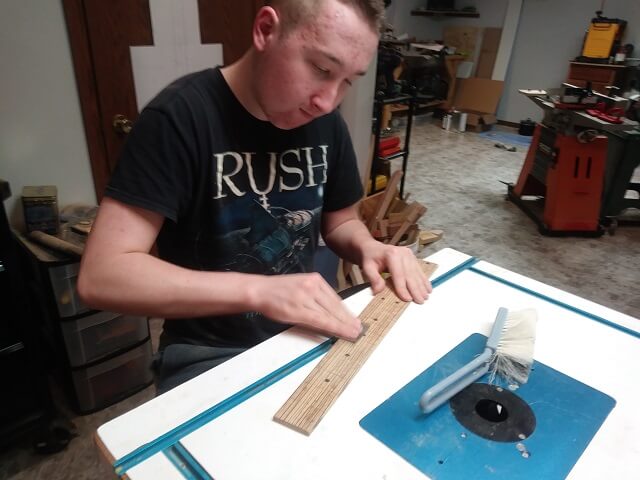
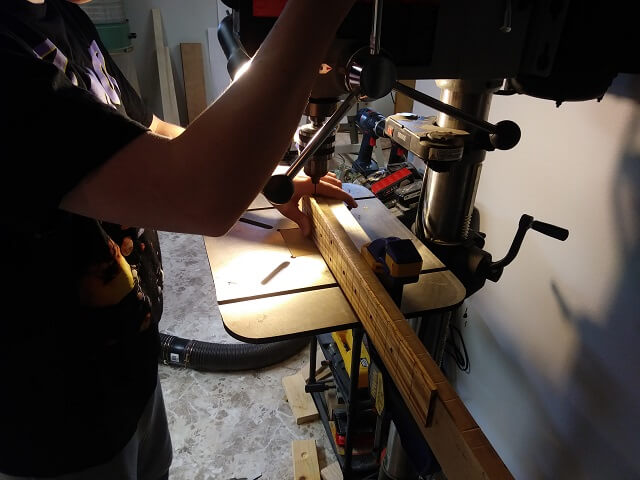
Next up, the holes for the side dots were drilled at the drill press.
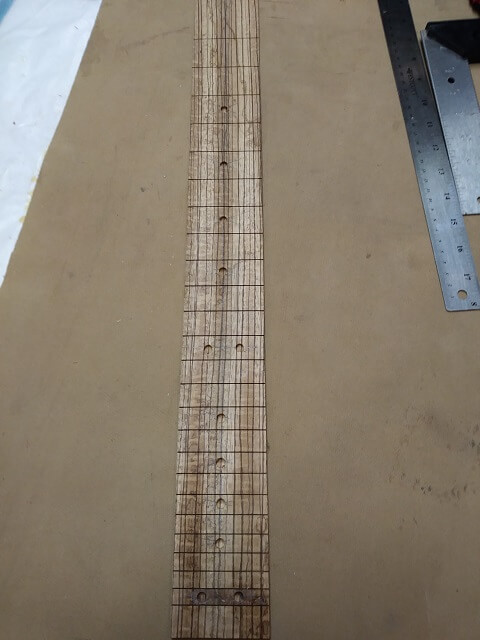
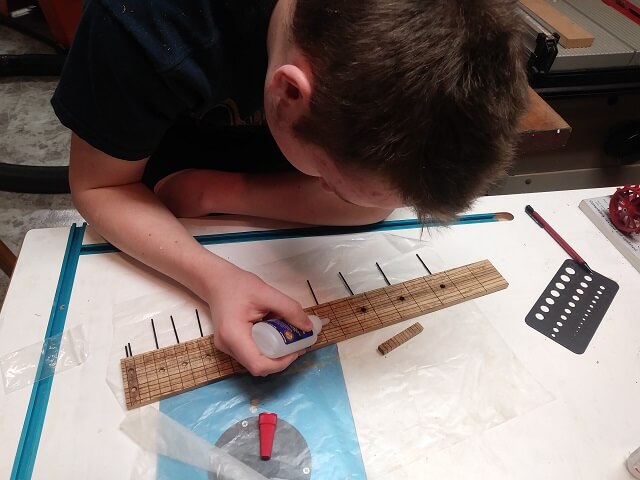
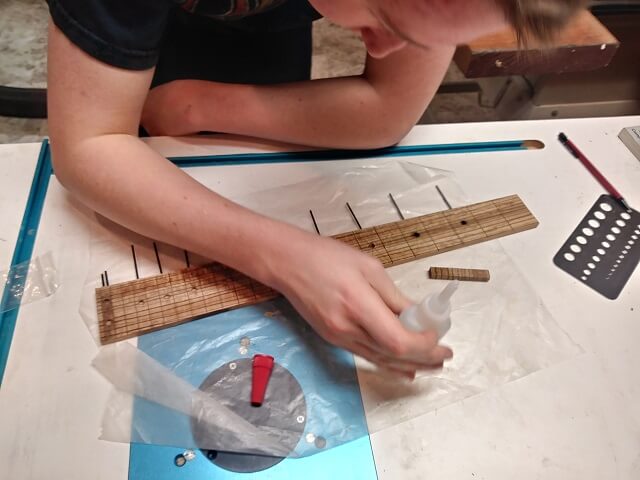
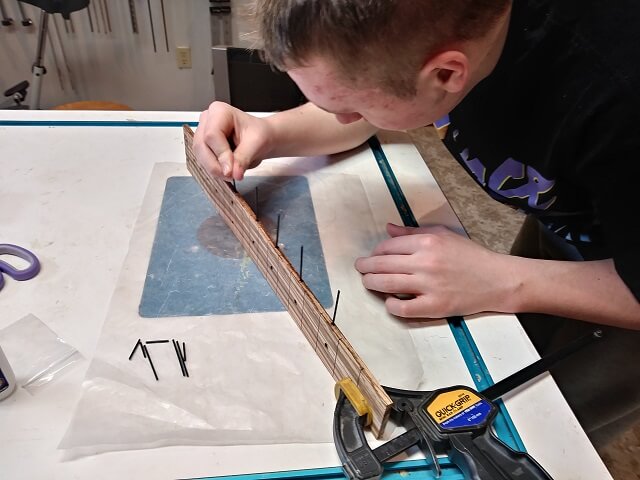
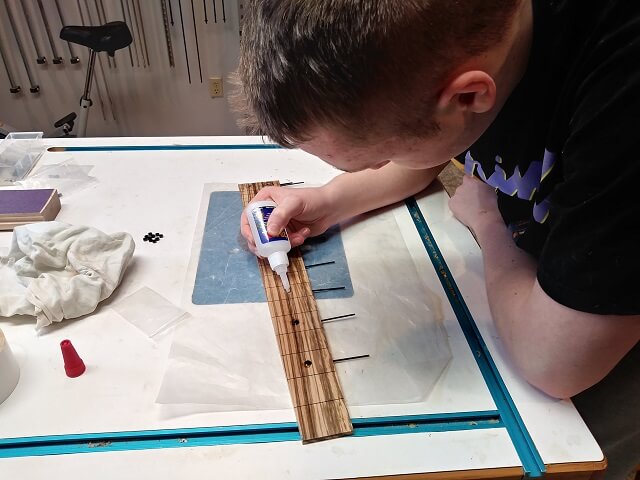
Both the front dots and the side dot material were glued in place using CA (super glue.)
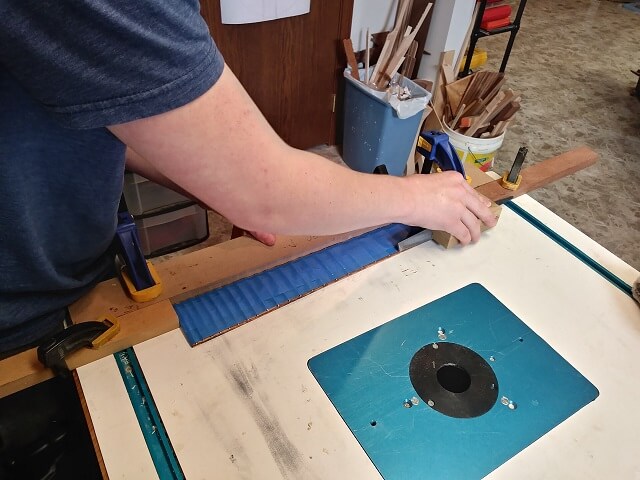
This guitar will have a 14" radius to match the one built into the Floyd Rose bridge. Actually, the Floyd Rose bridge is a 15" radius, but I didn't have a 15" sanding block. 14" is close enough, as the difference between the two is measured in fractions of a millimeter. The Tundra Boy sanded the radius into the front of the fretboard, which also sanded the dot inlays flush.
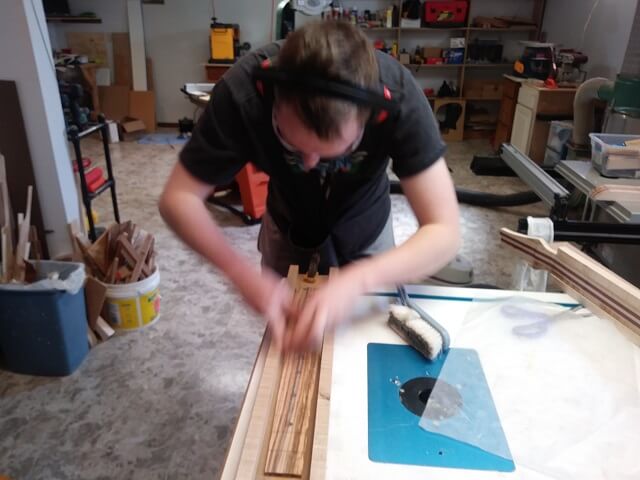
Before the frets were installed, he went ahead and sanded the fretboard all the way up to 2000 grit sandpaper. It's a lot easier to do this now that to try and sand in between the frets later.
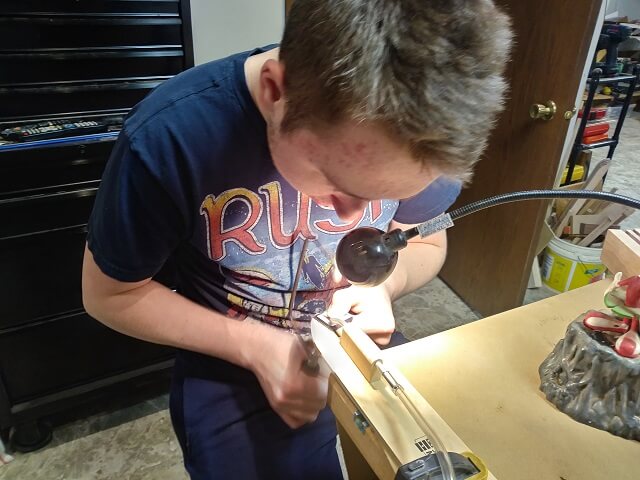
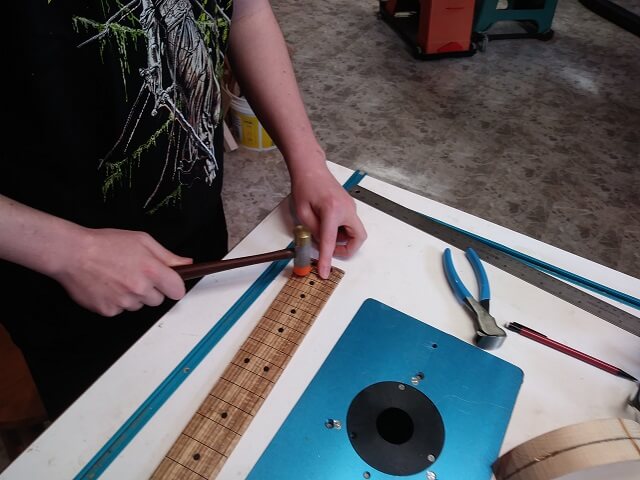
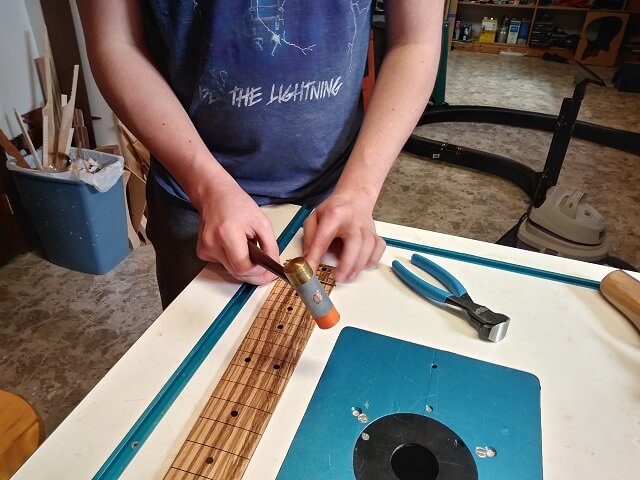
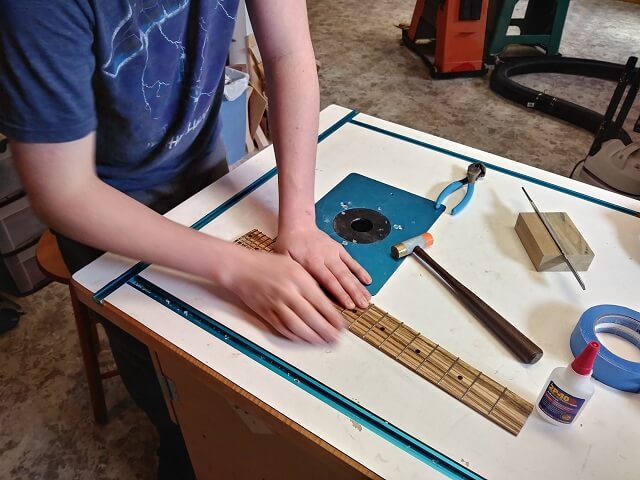
The fretwire was hammered into place.
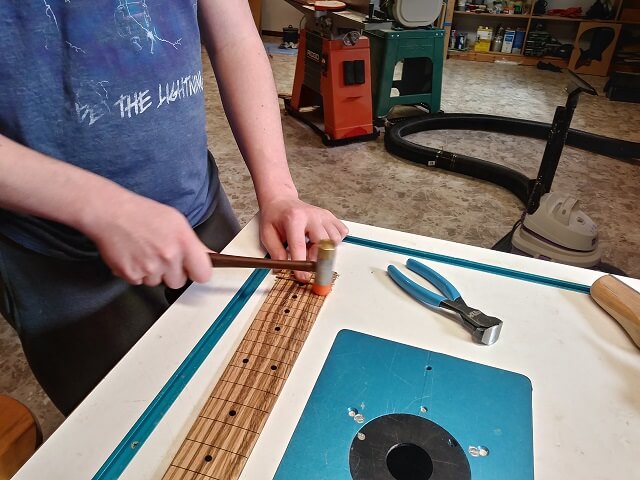
Next, the ends of the fretwire were beveled using my jig that holds a file at the proper angle.
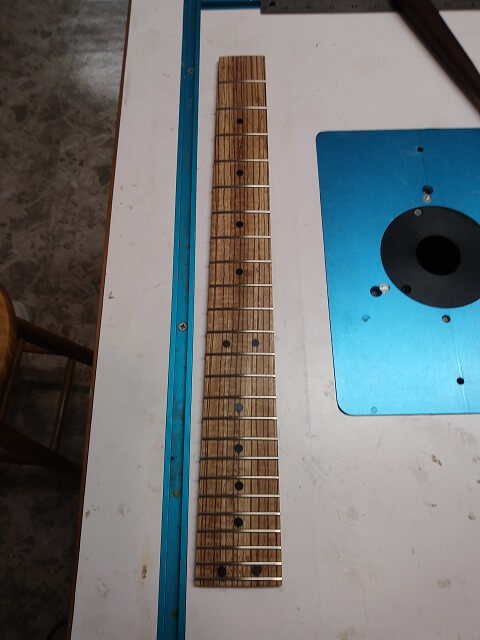
And here it is, the completed fretboard. Or so we thought. The construction of this fretboard was happening at the same time as the neck, and it was after all this work was done when we discovered we had calculated the bridge width wrong on the plans. This meant that the width of this fretboard was also incorrect.
While we were able to salvage much of the neck, there was nothing we could do to salvage this fretboard. It just wouldn't work. It went up on the shelf with the other mementos in my shrine to humanity, and the Tundra Boy had to start over. Oops.
Thankfully I had enough zebrawood left to cut another piece for a fretboard. Once again the Tundra Boy cut the fret slots.
Once again he drilled the holes for the fretboard dots.
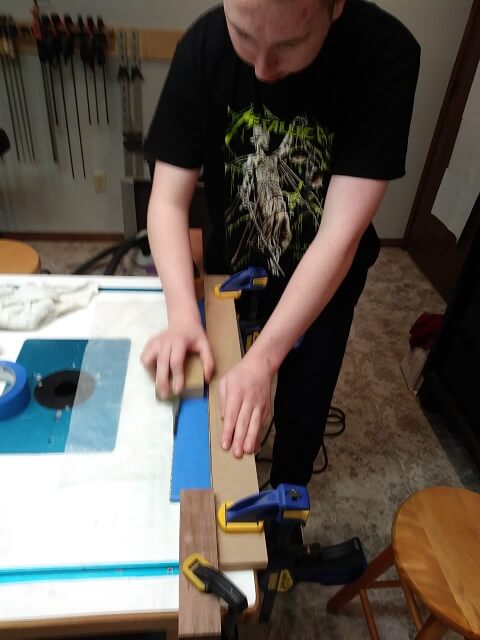
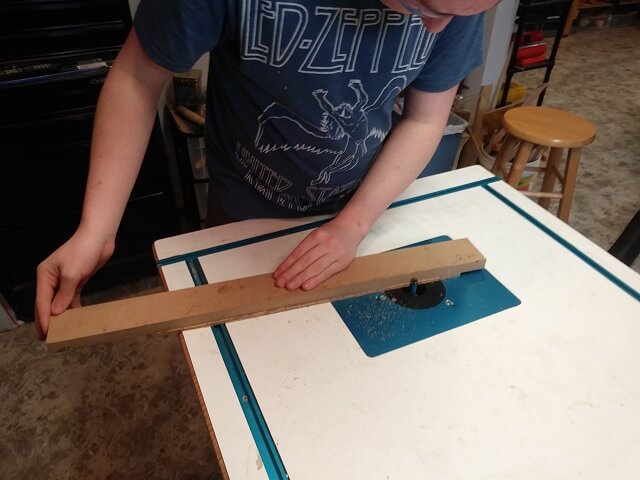
Once again he cut the taper into the sides of the fretboard and made them exact with the router table. This time, though, he had the proper measurements.
Once again he drilled the holes for the side dots.
Once again he glued the side dot material and front dots in place.
Once again he sanded a 14" radius into the face of the fretboard. Of everything that he had to redo, this was his least favorite activity.
Once again he installed the fretwire, trimmed it flush and beveled the ends.
And here we were for the second time with a completed fretboard.

So now with two fretboards completed, it's time to see how the body was built.
Return To The Main Guitar Gallery
This page last updated on 05/19/2020