


All of the construction was done. It was time to apply a finish, and once that was done put all the hardware on. But first the finish.
Tundra Boy wasn't excited about putting a finish on the guitar. I don't blame him, as it's kind of tedious and the construction part of building guitars is a lot more fun. But as I keep reminding him, a carefully applied finish is the difference between people saying, "you built that in your basement" versus "you built that in your basement?!!!"
I mulled over the type of finish to use for a while. Tundra Boy knew for sure that he wanted a matte finish; no gloss whatsoever. I'm the opposite, as I like my instruments to look like a mirror. However, it's his instrument so if he wants no gloss, he gets no gloss.
The first step however, regardless of what kind of finish you're going to apply, is sanding. Tundra Boy spent several hours completely sanding the instrument with 100 grit sand paper. Then he did it again with 150 grit. Then he did it again with 220 grit.
After the sanding was done, it was time to grain fill. He had heard me grumble about grain filling for long enough that he didn't want to grain fill this guitar. I encouraged him to ignore my grumblings because as much as I dislike the process of grain filling, I love the results of grain filling. I told him if he fills the pores of the wood, I'm positive that he won't regret it later. However if he doesn't, there's no guarantee that he won't wish that he had. So he reluctantly agreed.
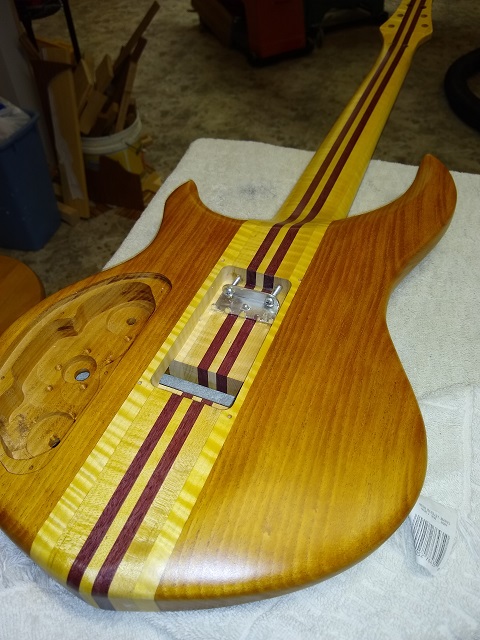
Before we started applying the filler, Tundra Boy put down a couple sealer coats of shellac. This soaked into the wood and will help the grain filler sit in the pores rather than just getting absorbed.
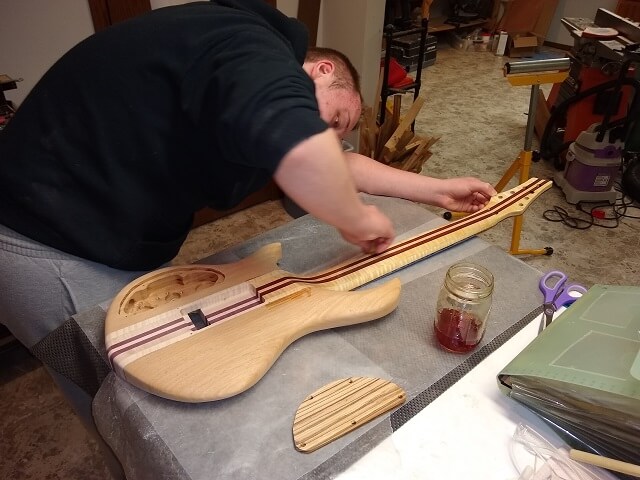
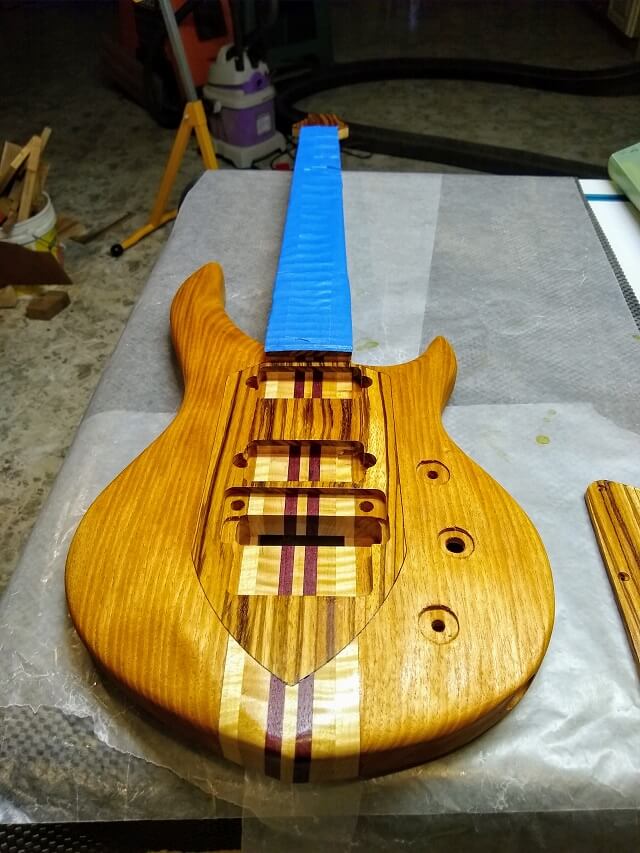
As a bonus, shellac really brings out the color of the wood.
Then the grain filling process began. We're using my tub of Crystalac filler that I've had for about a decade and is starting to get a little chunky. This might be the last instrument we use this tub on. I'm not overly fond of Crystalac, but I'm not overly fond of any pore filling method I've tried. So far Crystalac seems to be the least offensive of the bunch.
Tundra Boy would rub the filler into the wood, really trying to get it worked into the pores. Then once it started to dry a little he would gently wipe off any excess. He did small sections at a time. Once an entire side of the guitar was filled, we would wait about 24 hours and then lightly sand off any surface imperfections with 320 grit paper. Then he would repeat.
The purpleheart has really deep pores and required at least four coats. The mahogany was pretty good with three coats. The zebrawood was good with two coats in spots, but needed four coats in other areas.
He spent four days grain filling the back of the instrument, then flipped it over and spent four more days on the front. After that, we would spend about four more days on the edges of the body.
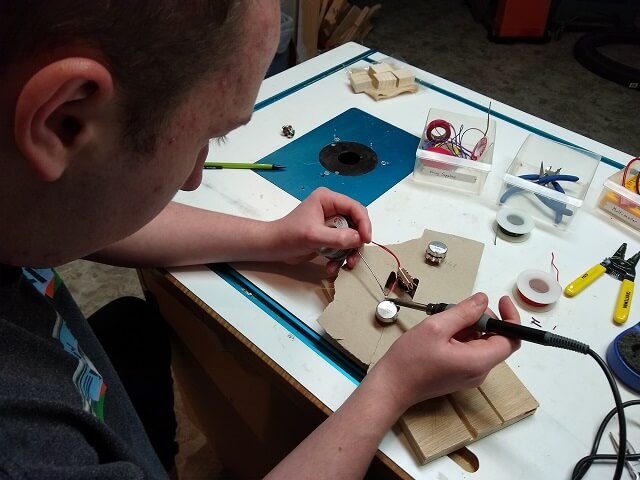
Once the grain filling was done, we let the grain filler cure for three or four days. The filler dries to the touch in a few hours, but I like to let it completely harden up before I put a top coat on it. The waiting during the finishing process is frustrating, as you're so close to being done but there's not a lot you can do. We used this time to teach Tundra Boy how to solder, and he wired up the electronics for his guitar, minus the pickups and bridge ground wire which can't be done until the electronics are mounted.
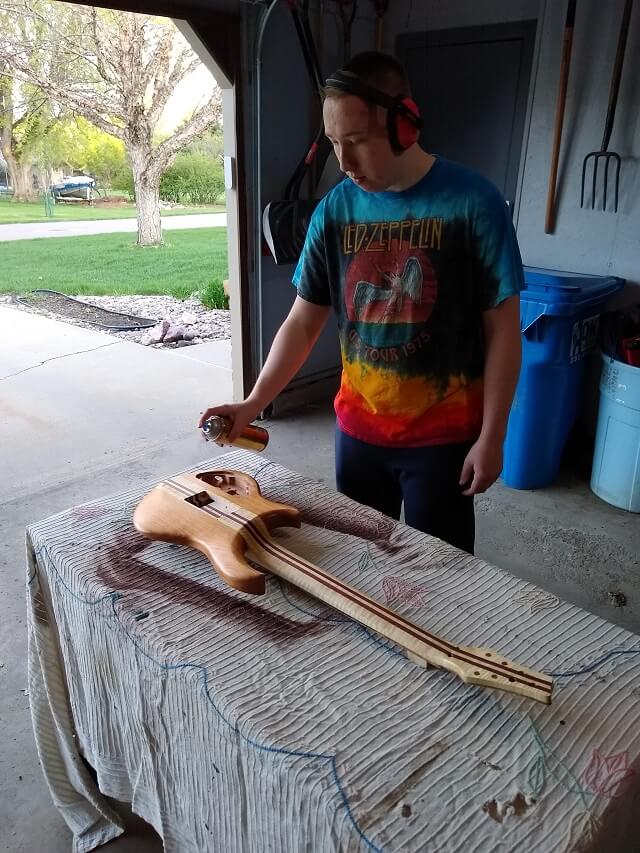
Our spring had been pretty warm overall, until it came time to spray the finish on the guitar. That's when it got rather chilly for several weeks. I prefer to spray above 60 degrees Fahrenheit, but we didn't have a lot of those days this May. So we wound up spraying a few times with temps in the 50s. Poly does OK at these temps, it just dries a little slower. We set up the guitar in the garage and used rattle cans.

We would spray four coats, about 25-30 minutes apart. Then we would let the coats cure for at least three days.
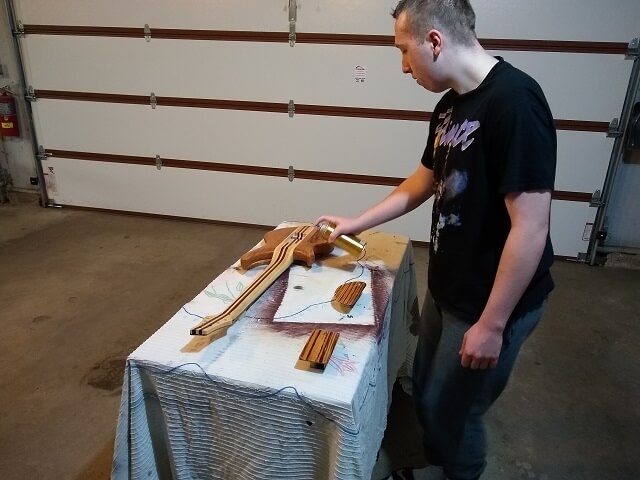
After curing, Tundra Boy would rub down the finish with #0000 steel wool. Then he flipped the guitar over and sprayed the other side.
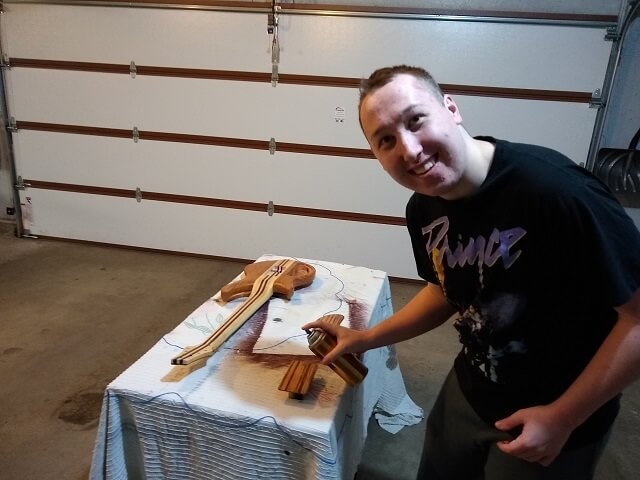
Back and forth until we had eight coats on the front and back. The sides actually got extra coats as they were sprayed each time. That's where a majority of the wear on a guitar happens, so we didn't feel bad about having a thicker finish there.
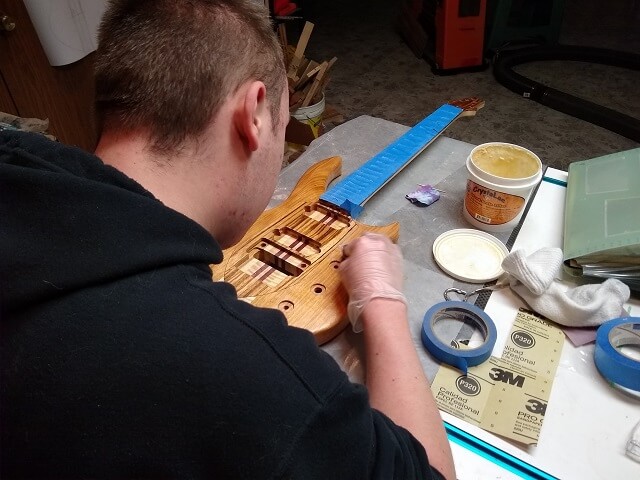
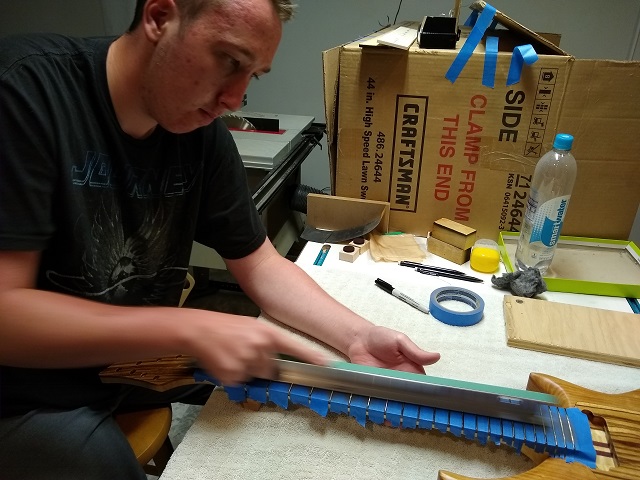
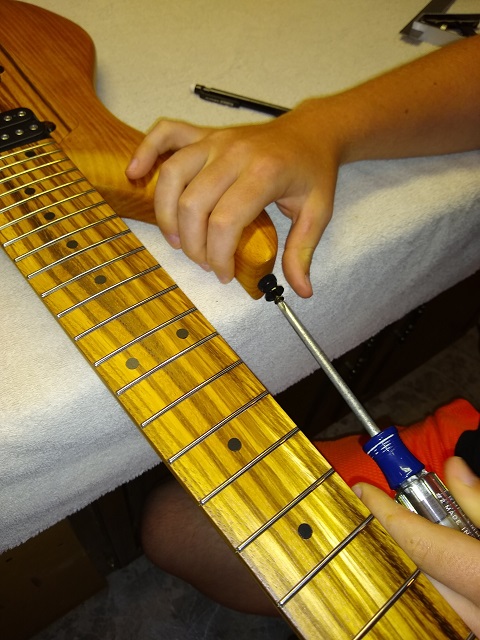
With the polyurethane spraying completed, the Tundra Boy gave the guitar four or five days to let the finish cure a bit. Then it was time to do the fretwork. He started by taping off the fingerboard so the finish wouldn't get damaged during the process.

The truss rod was tightened until the neck measured straight. Then, the frets were leveled using a precision sanding bar. This made all of the frets exactly the same height, but left flat spots on the tops.
Next, each fret was recrowned to remove the flat areas left from fret leveling, and leave a nice round surface. After each fret was recrowned, he then dressed the fret ends to remove any sharp areas, and then worked through all seven grits of the fret erasers to get rid of any scratches left during the recrowning process. The Tundra Boy declared that the fretwork was definitely his least favorite part of the entire build.
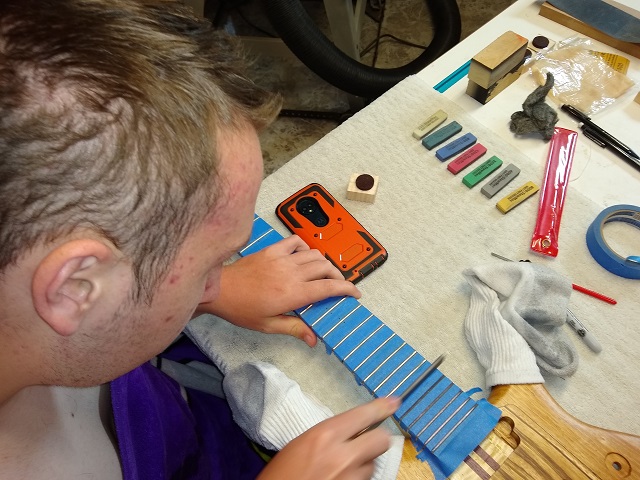
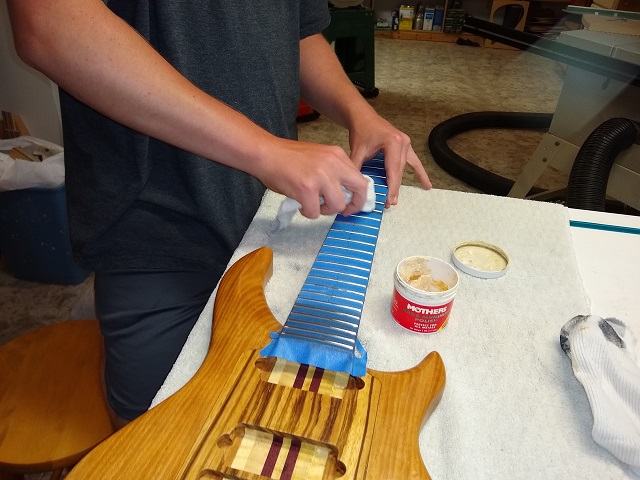
Around 8 hours after starting, the fret dressing was complete. He then used some Mother's polish to give the frets a nice shine. I was a nice guy and helped him do half of the frets. We started on each end and worked towards the middle.
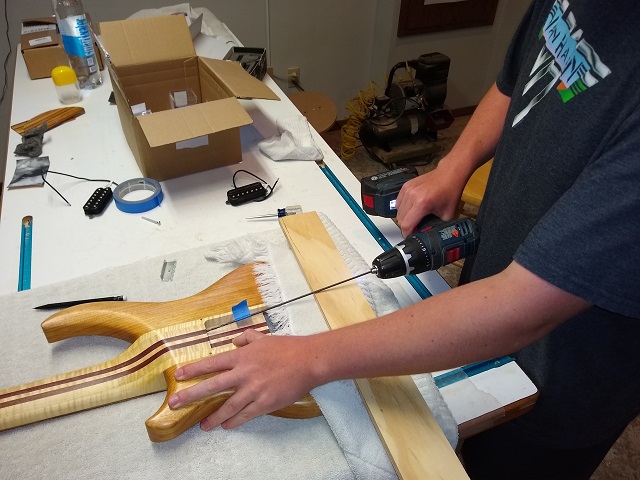
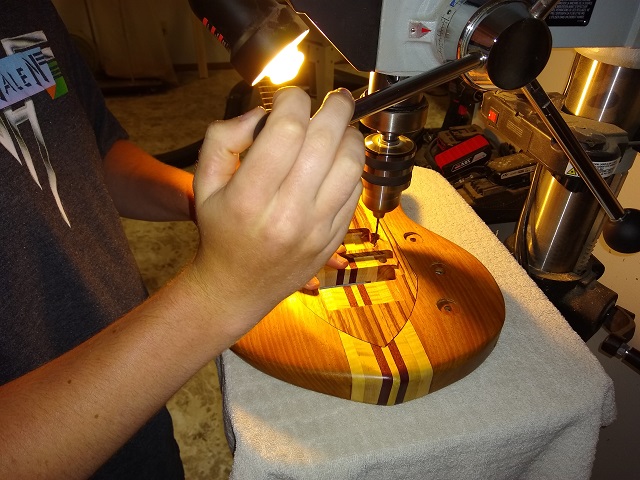
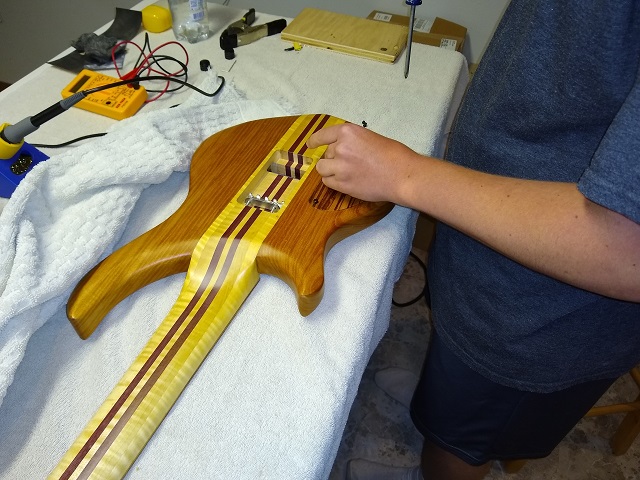
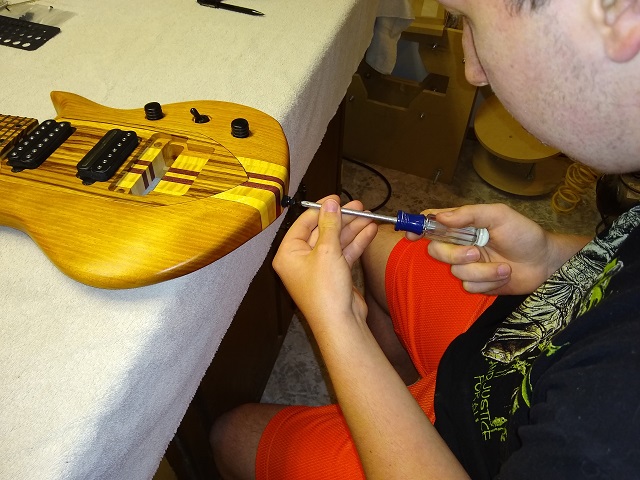
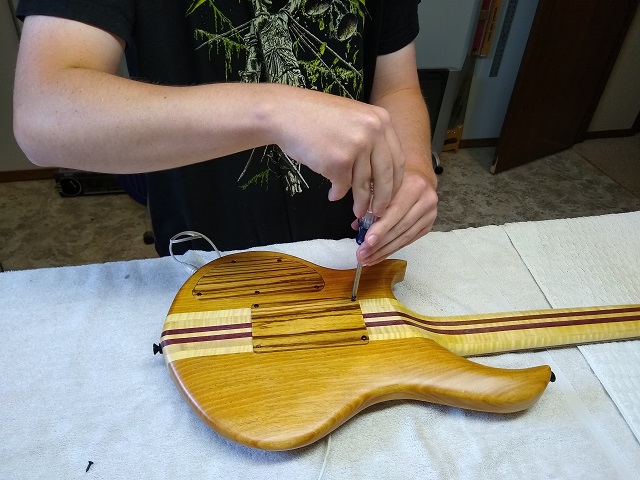
As this guitar will have a Floyd Rose tremolo, it utilizes a system of springs in a cavity at the rear of the guitar. These connect on one end to the bottom of the bridge, and on the other end to a "claw" that is screwed into the body of the guitar. The Tundra Boy used and aircraft bit to drill holes to hold the claw screws. They go in at a steep angle, so he placed a board across the guitar to help him keep the angle correct.
With the holes drilled, the spring claw was screwed in place.
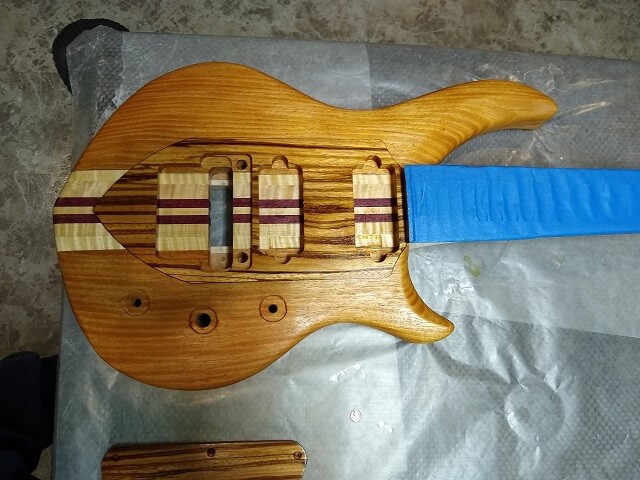
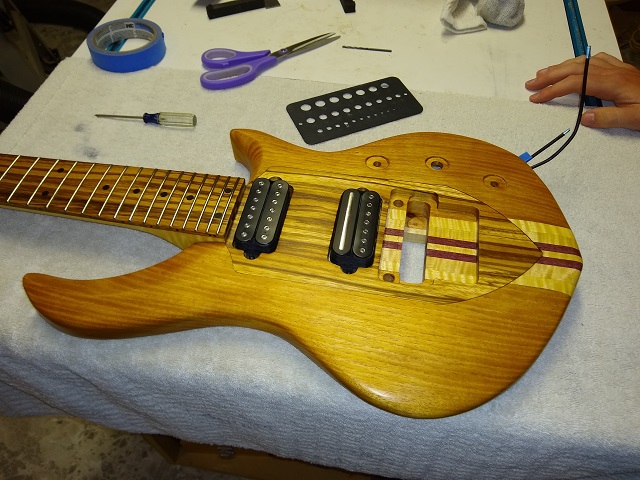
The humbucking pickups on this guitar are going to be direct mounted into the body rather than using a pickup ring. The Tundra Boy drilled the holes for the pickup mounting screws at the drill press.
The pickups were screwed in place. Pieces of dense foam were used underneath the pickups in lieu of springs. The foam has enough give that the pickups can smoosh it down as the pickups are lowered, but is stiff enough to hold the pickup firmly without any wiggling. I got the foam by cutting it from the box another set of pickups came in.
With the pickups installed, the Tundra Boy could install the electronics and finish soldering. He learned how heat-shrink tubing works during this step.
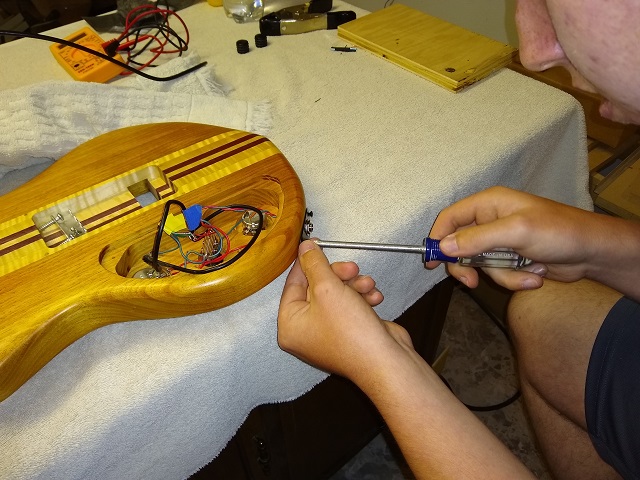
Here's the completed wiring. I had him leave some of the wires a little long, as it was his first time soldering and that would give him a little extra wire to work with in case he messed up and had to cut it back and re-solder something. As it turns out, he didn't need to. Oh, and the blue tape on the one wire is something I do to mark which pickup is for the neck. If we ever have to open up the cavity to do any maintenance, it will be easy to note which wire goes to which pickup.

With the electronics all done and tested, the Tundra Boy could button up the control cavity with the zebrawood cover.
Flipping the guitar over, the knobs could be screwed into place.
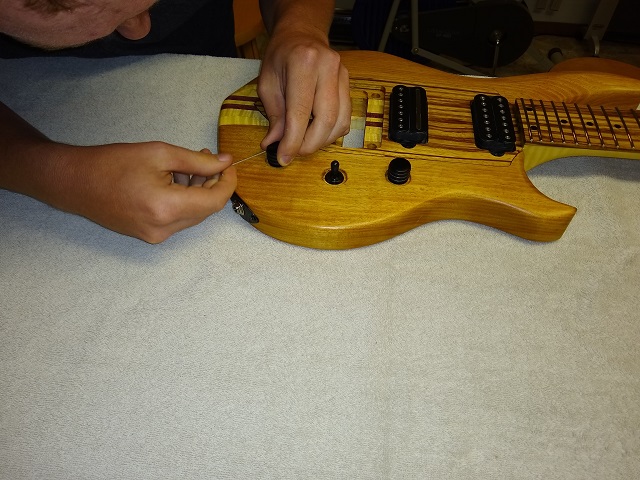
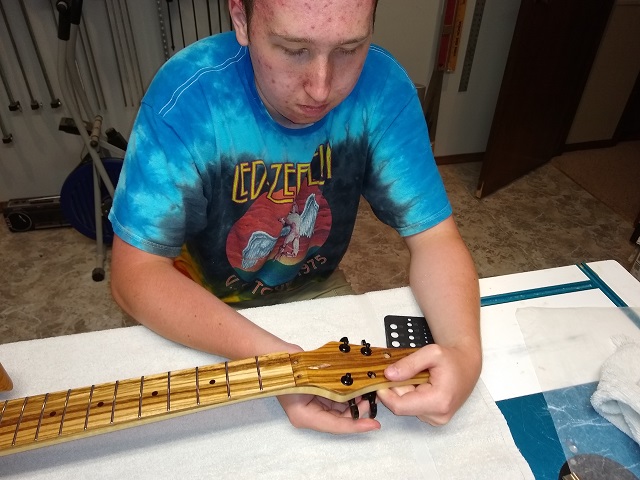
Next up was the other end of the guitar. The Tundra Boy installed the tuning keys, locking nut and the string retainer.
Holes were drilled for the strap pegs, and they were screwed in place.
The studs for the Floyd Rose bridge were a little concerning. The holes we drilled were 3/8". The studs appeared to be an extremely tight fit in these holes, but my next larger bit appeared to be too large. I'm suspecting that perhaps these studs are designed for a metric sized bit? Not sure.
In the past I have installed Tune-O-Matic studs using a deep throat clamp and just pressing them into place. We first attempted this method, but the stud didn't want to stay straight once clamp pressure was applied. After a couple failed attempts we decided to abandon this method.
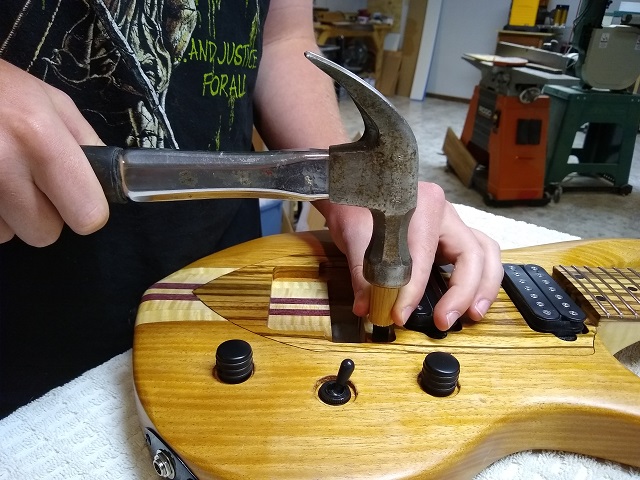
After a couple minutes of pondering we decided to try the brute force method. With a 1" section of scrap dowel to use on top of the stud, we gently pounded the studs into place. They actually went in really easy using this method. In less than two minutes we had both studs installed.
A Floyd Rose bridge doesn't have a lot of physical connection to the guitar. It just sets in the hole in the body with the front two edges resting against the posts screwed into the studs. On the back the springs were attached from the bridge to the claw. We initially started with four springs, but once the strings were installed it quickly became clear that was too many, so one of the springs was removed.

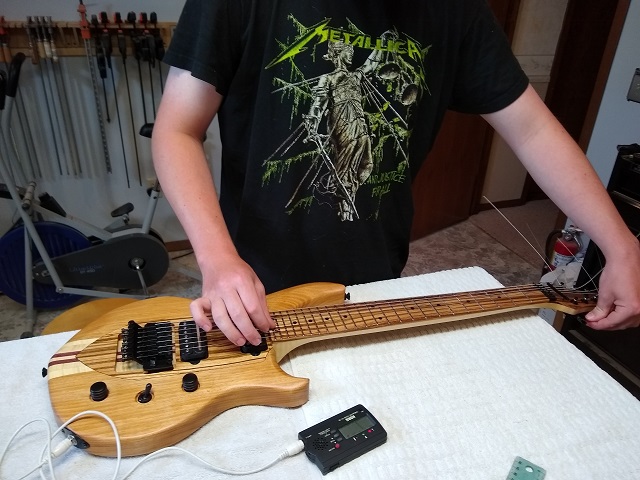
Speaking of strings, that was the next thing to install. Tundra Boy exclaimed, "We're so close I can taste it."
Now it was time to set up the guitar. It was immediately apparent that the nut was too low, so we had to shim it up. That was a lot of trial and error until we found the correct thickness material to place under the nut so that the strings would clear the first fret, but still be low enough for comfortable playing.
Next we proceeded with adjusting the spring claw so the bridge was level with the strings in tune. This can be quite the balancing act (pun intended) with a Floyd Rose, as adjusting the spring tension moves the bridge which changes the tuning, but changing the tuning also moves the bridge which changes spring tension. You have to enjoy tuning when setting up a Floyd Rose as you do a ton of it.
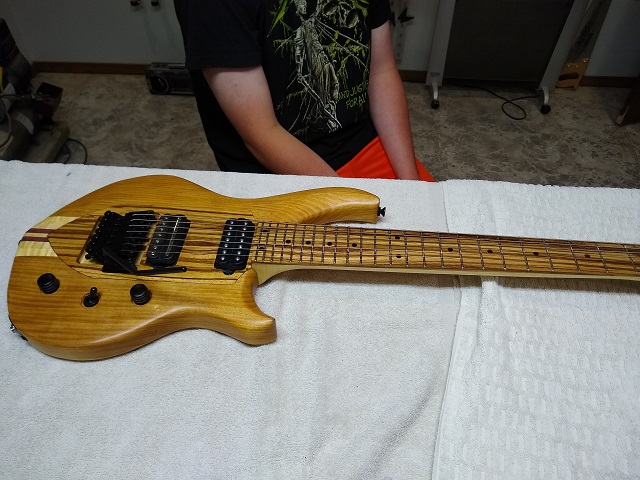
After that, it was the standard setup order of truss rod adjustment, bridge height and then intonation. Before long, the Tundra Boy had a playable guitar.
With everything ready to go, the final two covers were installed. One over the truss rod adjustment hole, and the other over the rear spring cavity.

The guitar was finally completed! The Tundra Boy had to spend a few minutes playing it just for fun before we snapped the final pictures. Later on that night we both would play the guitar live at the Saturday night church service we play at.

Click here to see the final photos of this guitar!
Return To The Main Guitar Gallery
This page last updated on 06/08/2020