


Having never previously built a drum, the very first thing I did was research. Lots and lots of research. I discovered that there are four primary methods of building drums.
The first, and most common type of construction is using thin layers of wood laminated together and glued around round forms. When you go to a music store and purchase a set of drums, this is what you'll end up buying 99% of the time. As the millions of drums will testify, there's certainly nothing wrong with this type of construction. Building this type of drum requires a round "form" that the thin plys are bent and clamped around as the glue dries. Once accurate forms are built, this is the fastest method of building drums and very material efficient which is why commercial drums are generally made like this.
Another type of construction is to actually take a single piece of wood and steam bend it into a circle. This is a tricky method of making a drum, and as a result you don't see them very often. Care must be taken to ensure the bent piece of wood is perfectly round. The nature of forcing a piece of wood into an unnatural shape means that the risk of the drum warping over time exists. All drums have the potential to warp, but from my research this type carries a higher risk.
A third method is to just take a chunk of a tree stump and carve a drum shell from a single piece of wood. The easiest way of accomplishing this would be to use a lathe, which I do not possess. It also is the least efficient use of lumber, as most of the stump winds up on the shop floor in the form of wood chips.
The fourth method, and the one that I chose, is to build a "stave" drum. Stave drums are built by gluing together smaller mitered pieces in order to make a mostly round shape. Once glued together the pieces are then carved on both the inside and outside in order to create a round shell. The main disadvantages of stave drums is that they are a bit labor intensive to build, and create a more waste than all but the one piece drum. The advantages, however are numerous. There is not much glue used, which makes the drum sound good. The staves are usually oriented so the grain runs vertically, which also improves sound. But most importantly (for me anyway) is that stave drums are the easiest for the non-production hobbyist to build.
So, the first thing I discovered when researching how to build drums is that nearly every method relies heavily on jigs. So before I could start building anything that even looked like a drum, I had to first start with jigs.
After the staves are glued together, the easiest way to round the shell out is to use a lathe. As I mentioned above, I don't own a lathe. So in lieu of a lathe I had to build a jig that would allow me to use my router in a similar manner to a lathe.
I wish I could claim I was smart enough to come up with this jig idea by myself. But I didn't. I came across an excellent article on the Instructables web site describing how to build a stave drum. I followed the instructions on that site fairly closely, with minor deviations to improve on things as I saw fit.
I also found a valuable resource at a web site called Union Town Labs. Todd Trece runs that site and he hosts a very useful calculator that helps you plan out the angles and sizes needed for building a stave drum.
So I was going to build a stave drum jig similar to the one in the Instructables article linked above. Part of building this jig required cutting two pieces perfectly round and the exact size of the drum I'm making. In woodworking, cutting straight lines is pretty easy. Cutting perfect curves and circles can be tricky. I knew there was no way I could freehand cut the circles with anything even resembling accuracy. So before I could start building my jig, I had to build a jig.
The easiest way (that I know how, anyway) to cut a perfect circle is on the band saw using a circle cutting jig. This is simply a sub-table that slides over the existing table the band saw and has a pin on which the center of the piece to be cut will rotate.
Building the circle-cutting jig was fairly simple, so I didn't take many photos of the process itself. Here are a couple pictures of the jig itself. This first picture is a view of the bottom. The vertical strip is what slides in the miter slot of the band saw. The strip along the back side is there to keep the jig from sliding too far; it butts up against the front of the band saw table. The saw kerf is where the saw blade runs when the jig is slid onto the table.
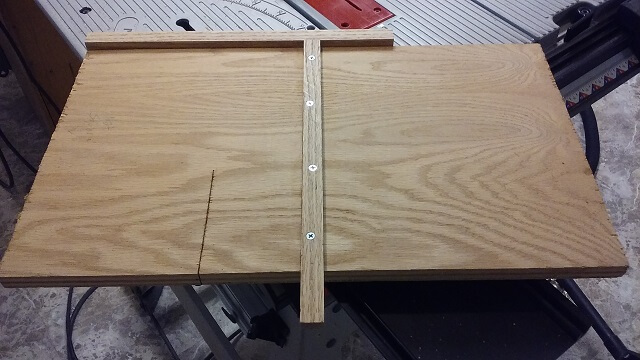
Here's a (terrible) photo of the jig installed on the band saw. From the top it's just a flat panel. Roughly 7" to the ride of the blade is the index pin on which the piece will rotate. The actual distance was 6 15/16". Drum shells are sized 1/8" smaller than their head size. I was building a 14" drum, which meant my shell needed to be 13 7/8" in diameter. The pin sets the radius size, and the radius is half of the diameter which resulted in the 6 15/16" measurement.
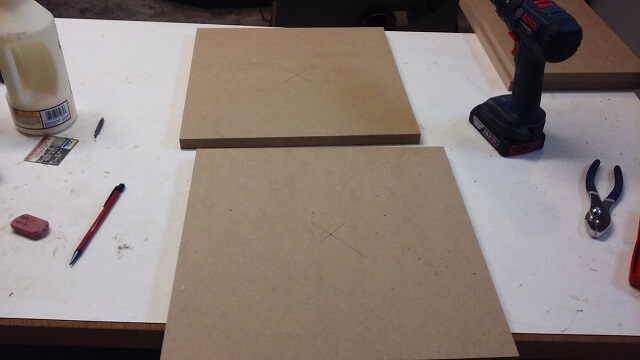
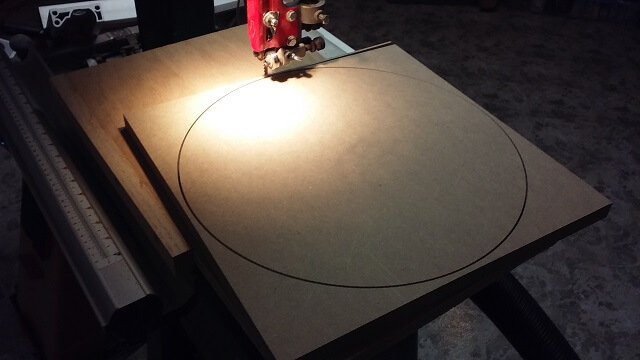
With the circle cutting jig ready, I could now cut the round pieces needed for the drum jig. I started by cutting out two pieces of MDF about 14.25" square. I marked the center point of each and drilled a small hole that the index pin will use as the center of the circle.
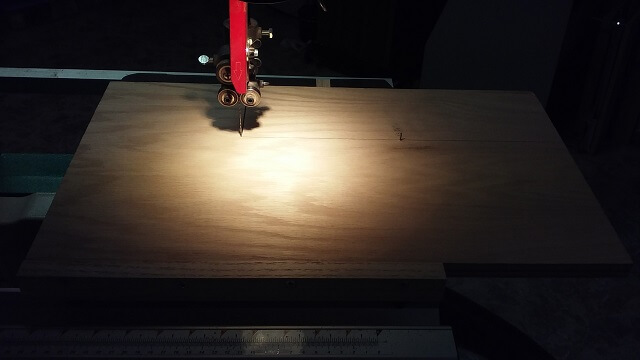
I then placed one of the pieces on the pin on the circle cutting jig, started up the saw and then slid the jig into place. As I slid the jig onto the band saw the blade made the entry cut into the MDF.
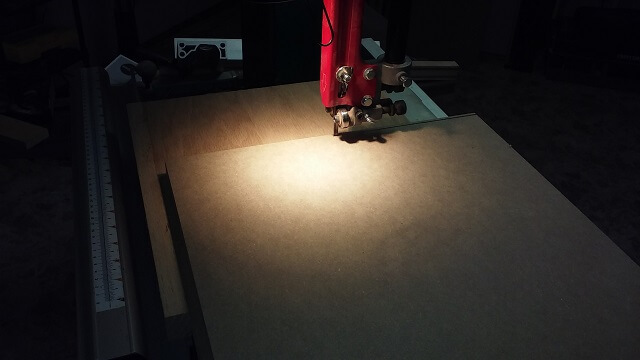
Once the jig was all the way onto the saw, I simply had to rotate the work piece on the index pin. The result is that the band saw cut a perfect circle.
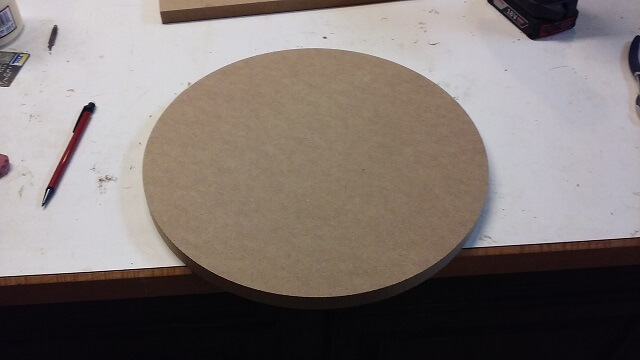
Here you can see the finished piece. Then I repeated the above process to cut the second circle needed for the jig.
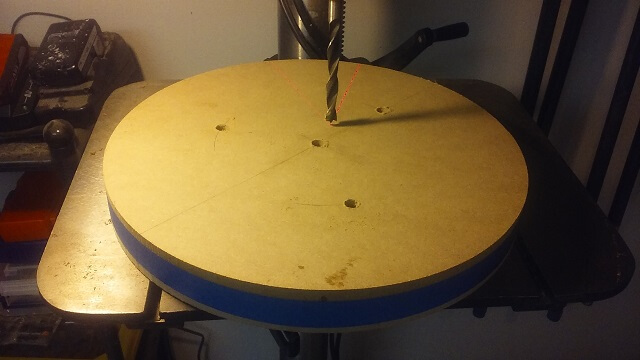
The two circular pieces needed four holes drilled in them. One in the center and three at 120 degree increments. The holes on both pieces needed to line up exactly with each other, so the easiest way to accomplish that feat was to stack the two pieces and drill the holes on both at the same time. I used masking tape to keep the circles aligned with each other. A side benefit of drilling them both is I only had to mark out the hole locations on one piece.
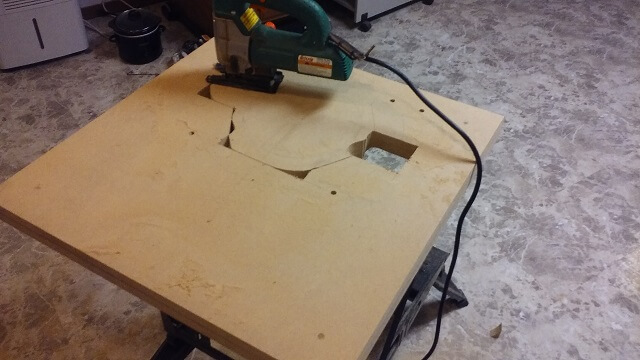
Turning my attention to the other part of the drum routing jig, I needed to cut out two mirror image sides of the jig. Again, the easiest way to accomplish this task to was to attach the pieces to each other and then cut them at the same time. Instead of blue tape, I used four screws to hold the pieces together. I marked out the cut lines on one of the pieces, then drilled some of the holes I would need.
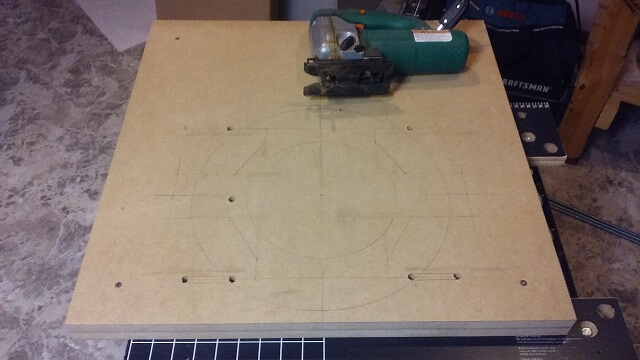
While it doesn't provide the cleanest cut in the world, my jigsaw was good enough for this purpose. I just went slow and tried to follow the lines as accurately as I could.
Here's all the cuts completed in the two sides.
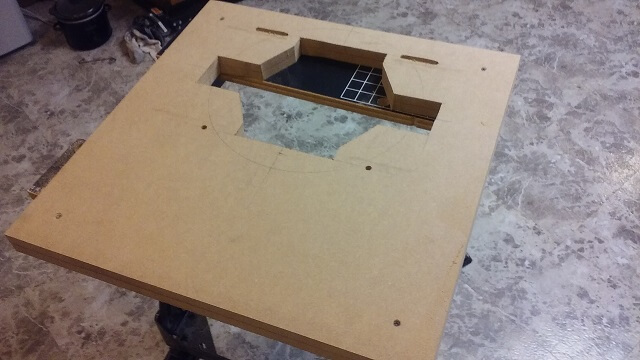
Next, it was time to attach the two sides to each other. This was done by cutting some threaded rod into one foot sections and attaching them securely to one side of the jig. The other side was left loose for the time being as this would be removed and reattached as the drum piece gets inserted into the jig for routing. I also installed the bearings on which the drum will rotate to the sides of the jig. The bottom bearings are in a fixed location. The top bearings slide in a slot where they can be adjusted to account for slight size differences in the drum diameter.

At this point the drum routing jig is pretty much ready to use. How it works isn't immediately apparent though. In fact, the Tundra Boy in his teenage insolence kept insisting that this jig wasn't going to do anything useful, and that I didn't know what I was doing. Well, admittedly it can be argued that I never really know what I'm doing. But the way this jig works should become apparent on the next page when I start building the drum shell.
Which I did. And things were progressing along splendidly until I came to the snare bed. Do you know what a snare bed is? Neither did I until I started doing some research and learned that snare drums have a slightly recessed area on the bottom bearing edge where the snare wires pass through. To create this recess, I would need another jig. And once again to build that jig, I would need to use my circle cutting jig.
The trick was that the jig for the snare bed needed a slight curve on one side, which I calculated to be a three foot radius. Unfortunately I hadn't anticipated needing to cut radiuses that large when I built my circle cutting jig, so first I had to modify that jig to add an extension to allow me to cut larger circles. I did this by just scabbing on another piece of plywood to the end of the current jig. Because I wasn't going to use this jig frequently I didn't bother adding legs or some sort of fancy support system. I figured I'd just use my adjustable support stand to hold up the long end of the jig.
I also sized the jig so that a three foot radius is probably the most I could ever use it to cut. Maybe I could squeeze 3'1" if I absolutely needed to. I took a gamble that because I've never needed a circle cutting jig of any size up to this point in my life, three feet is probably the biggest radius I'll ever need to cut. If I have to go bigger I'll need to scab on more to this jig. But I probably never will encounter that need.
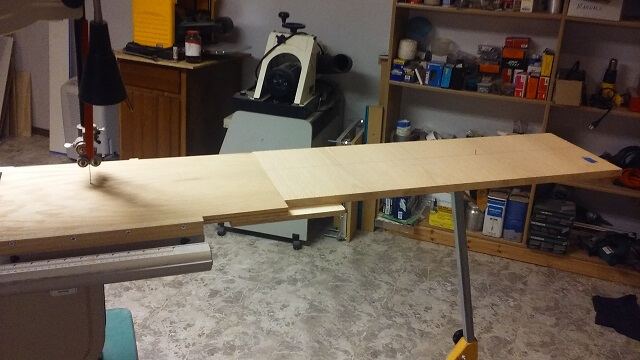
The snare bed jig really isn't that large, but unfortunately because I needed a three foot radius curve on one side I needed to start with a four foot long board. I used the circle cutting jig to cut the curve and separate my jig piece from the long board.
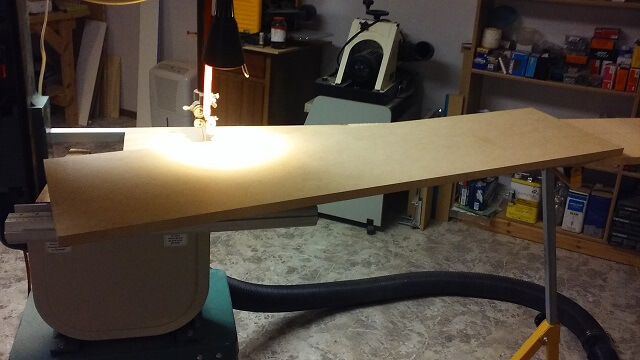
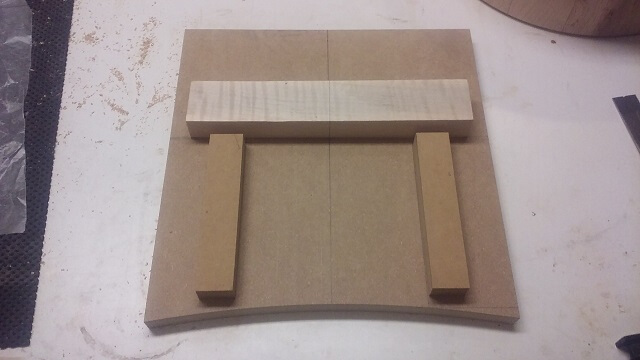
The snare bed jig itself it pretty simple. The base with the curved edge, and a few pieces of scrap wood attached to help me line up the drum. Like the routing jig above, how this jig works isn't really apparent at first glance. But it will all make sense once I begin building the drum shell.
Return To The Main Music Gallery
This page last updated on 06/28/2018