


When building a fretboard, the first thing I do is select and prepare the stock. In this case, I selected the stock when I purchased it from the supplier. And the stock was already the size I wanted (about 3" wide, 20" long and .25" thick.)
So, with that already done I could get right to work cutting the fret slots. With this guitar I switched from my old fretboard slotting jig to use a Stew Mac jig. My old method worked OK, but relied on my eye to line up with a scale for each fret slot. The Stew Mac jig utilizes a pin sunk into an auxillary fence for locating each fret slot. Both methods use the same thin-kerf saw blade. The new method is less error prone and has faster setup time, although the jig itself wasn't cheap ($35) for what is basically a piece of aluminum with some notches in it.
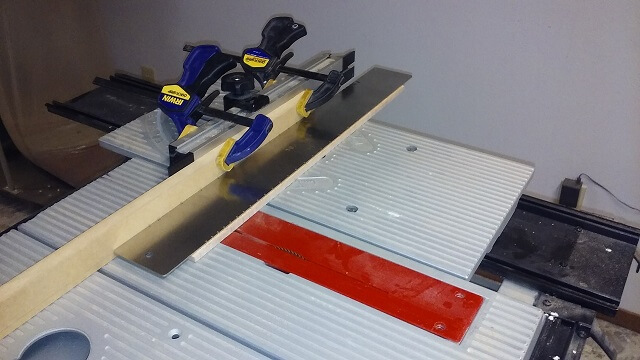
However, I can't argue with the results as the fret slots were spot-on.
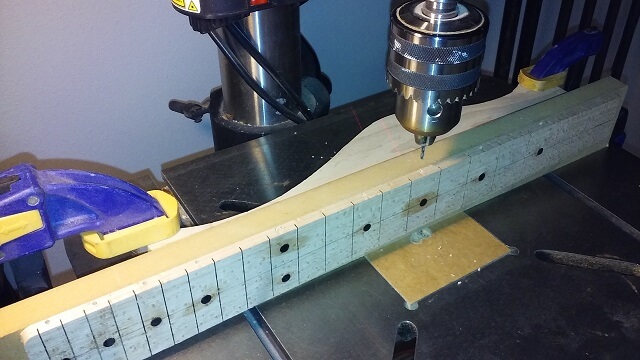
Next, I set up a fence on the drill press and drilled holes for the dot inlays. I do this while the side of the fretboard is still straight so that each dot is drilled in a perfectly straight line. Well, each dot except for the two on the 12 fret.

The dots themselves are black plastic and are held in place with superglue.

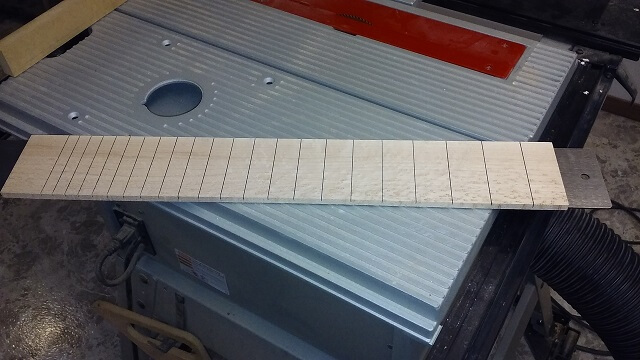
Now I could cut the fretboard sides to shape. I started at the bandsaw and stayed outside my marked line by about 1/16".
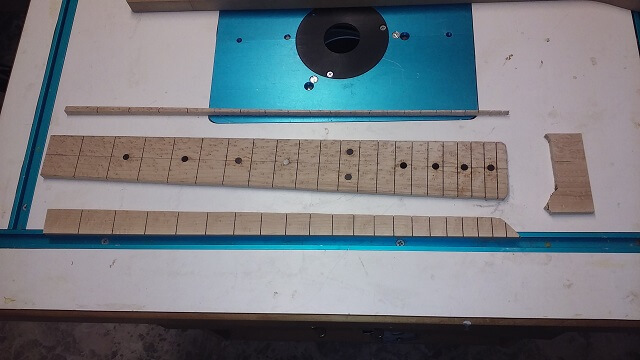
Then I taped my fretboard to my neck template and used a flush trim bit on the router table to make the fretboard the exact size and shape desired.
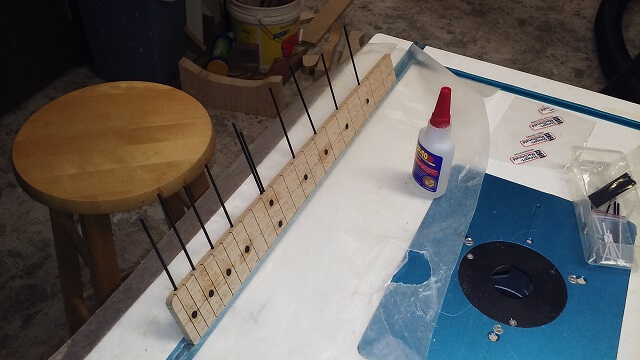
Back over at the drill press, I drilled the holes for the side dots.
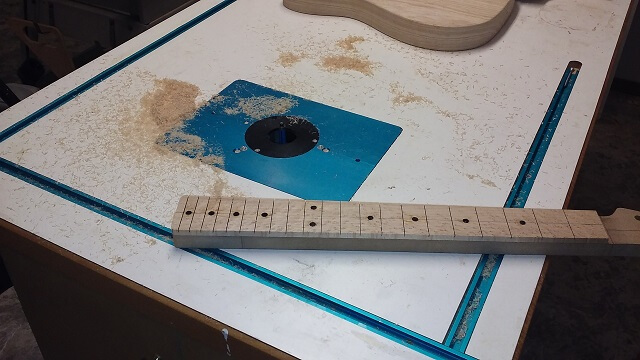
The side dot material is a piece of black plastic rod that is glued in place with superglue.
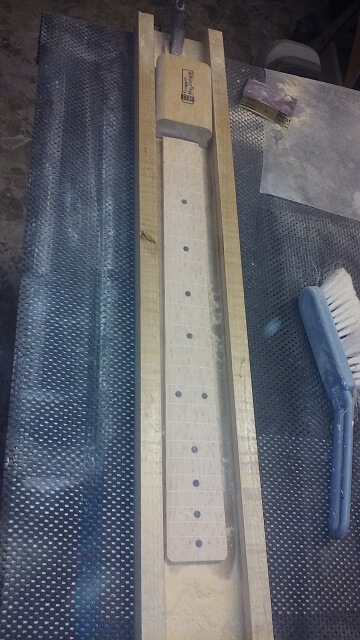
After the glue dried I cut the rods off flush with the edge of the fretboard.
Then it was time to sand the radius into the face of the fretboard. I used my 10" radius block. This step also sanded the dot inlays perfectly flush with the face of the fretboard. Two birds with one stone!
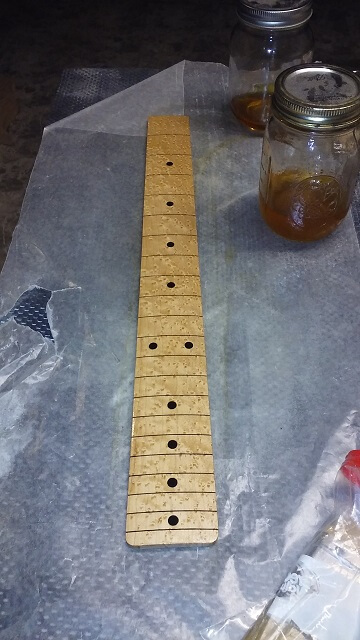
I decided to give the fretboard a few coats of shellac before installing the frets. I did this for a couple reasons. First, it's a lot easier to get the shellac smooth before the frets are installed. And second, I want to use superglue to hold down the ends of the frets. Superglue sometimes can change the color on maple where it soaks in. A coat of shellac prevents this from happening.
As a bonus, the shellac really brings out the beauty of the birdseye maple.
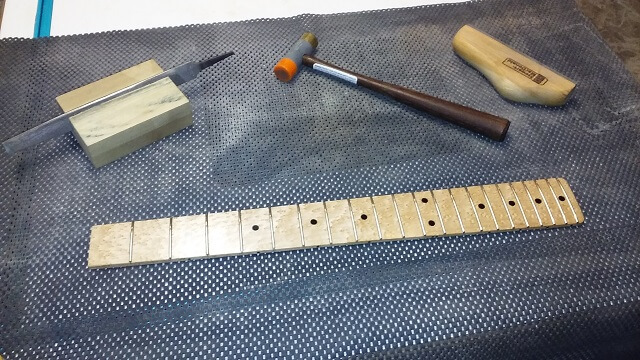
The last step in building the fretboard was to install the frets. They were hammered into place, trimmed flush with the side of the neck, had the ends glued down and then had the edges beveled to a slight angle. The rest of the fret leveling and shaping will happen later on after the fretboard is attached to the neck.
With the fretboard pretty much done, now it's time to build the neck.
Return To The Main Music Gallery
This page last updated on 06/28/2018