


With the construction complete, it was time to spray the finish. To be honest, it had been time for quite a while. I had completed the "building" part of the guitar at least six months earlier in early 2018. At the time of this writing (April 2020), over the last several years life circumstances have been getting in the way more often than I would care to have happen. Priorities get shifted around, and when I would have time to work on a guitar I was frequently too weary to care. Not a healthy situation to be in, but I'm being honest.
In late October 2018 I was spraying the finish on Doug's guitar. As long as I was in the spraying mode I also shot finish on this guitar, along with the Bubinga Pudding guitar at the same time.
I had already grain filled the body on this guitar months prior, using the Crystalac product I've used several times before. I didn't get any pictures of the grain filling process (you're welcome) so I'll spare my redundant rant about how much I dislike grain filling. At least this guitar had a neck completely made of maple which required no pore filling, so I only had to worry about the ash body.
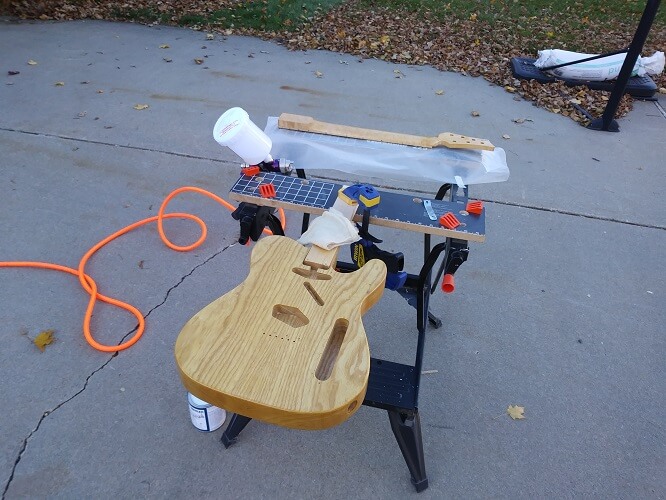
I set up to spray out in the driveway. I used nitrocellulose lacquer, which is extremely toxic stuff. I don't like to spray it in my garage, and you for sure don't want to spray it inside the house unless you just hate having brain cells. Even out in the driveway I make sure to wear a respirator.

Over a span of a couple weeks I balanced wind, temperature and sunlight in order to find opportune times to spray. This was becoming difficult in South Dakota during late October. One particularly nice day I actually alternated shooting coats of finish with raking leaves. I wait about 15 minutes between coats, so rather than just sitting around wasting time I would go work on the leaf piles.
When using lacquer, after you're done spraying you have to let the finish cure (harden and shrink) before moving on to the next step. Most people say two weeks is a good minimum amount of time to wait, although there's nothing wrong with waiting longer. The longer you let the finish cure, the better the finish will buff out. Although a majority of the shrinkage happens in the first two weeks, lacquer will continue to cure for eternity. This is why it's pretty much impossible to find guitars made in the 50s and 60s that have an uncracked original finish, as the lacquer slowly gets smaller but the wood stays the same size.
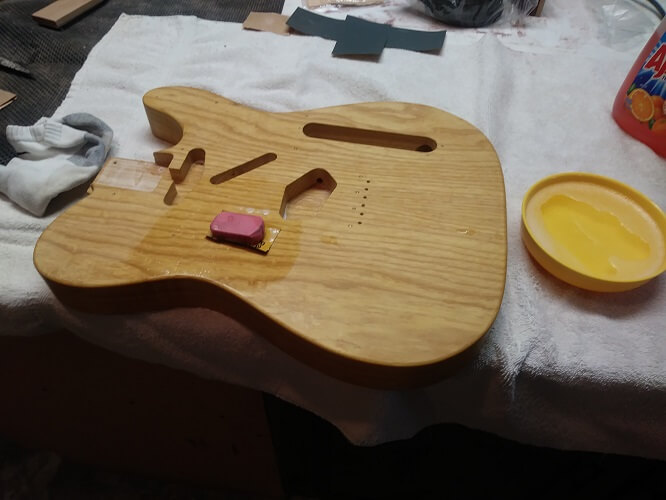
Anyway, I guess I took the waiting to heart, as it was more than a year before I got around to working on this guitar again. The good news is, after a year the finish was nice and hard. I didn't get a lot of pictures of the level sanding process (again, you're welcome) but I started with 800 grit using an eraser as a sanding block to take all of the orange peel and surface imperfections out of the lacquer. Then I repeated the process with 1000, 1500 and 2000 grit sandpaper. I keep the sandpaper wet and use a drop of dish soap in the water to help lubricate things as I sand. This helps the sandpaper not clog up, and greatly reduces the chance of scratching the finish as you sand.
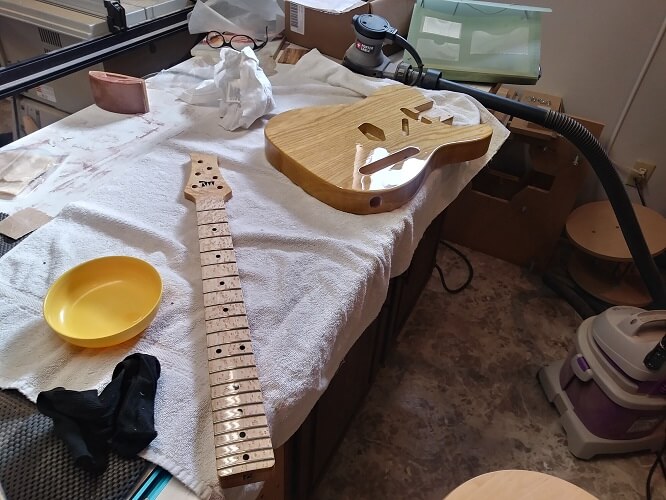
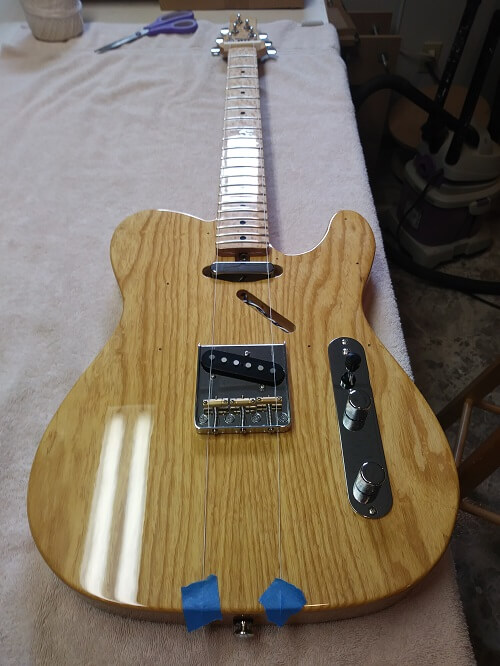
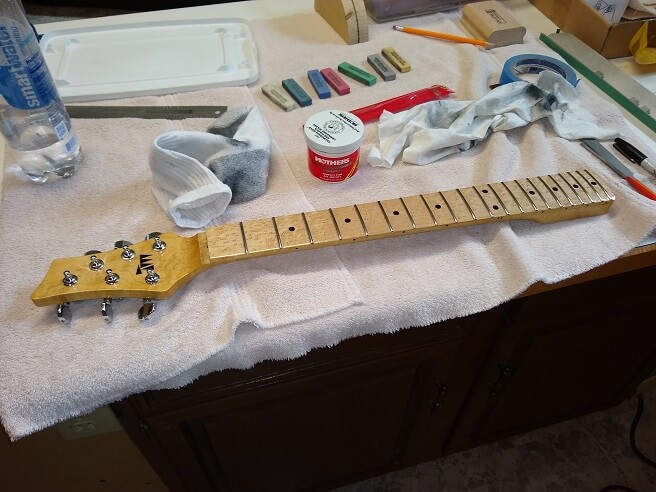
After the body and neck were sanded, I then buffed them both using a foam pad on my drill press. I first buffed with medium grit compound, then switched to fine grit (always change buffing pads when changing grits.) Because this is a maple neck, there is finish sprayed on the face of the fretboard which also needed to be buffed. The result of the buffing process turned out very well, especially with the body which turned into a mirror.
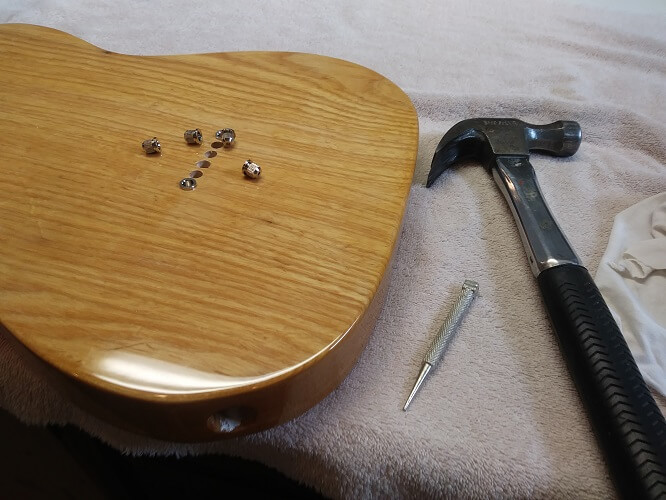
At last with the finish complete I could move on to putting the guitar together. I started by installing the string ferrules on the back of the body. On previous guitars I had used a deep-jaw clamp to press the ferrules into place. It worked, but it was pretty awkward. I decided to try a different method this time around: I used a nail set and lightly hammered them into place. I would push the point of the nail set into the hole inside the ferrule, set it in place and just tap until the ferrule was seated. It worked pretty well and was a lot easier than the old way I had done it.
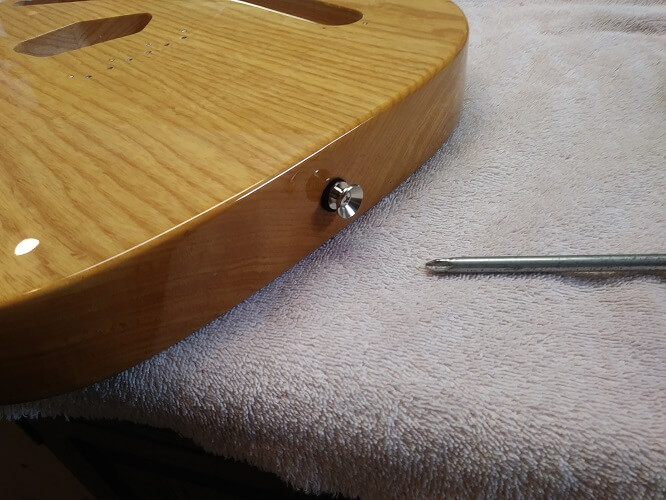
Next up was screwing the strap buttons in place. I had drilled the holes back when I originally built the body, but they had gotten covered up during the grain filling process. I quick reamed the filler out of the holes and screwed in the buttons, adding a felt washer to protect the finish. I'm not sure how much finish protection is actually needed, but the felt washers give it a bit more of a professional look.
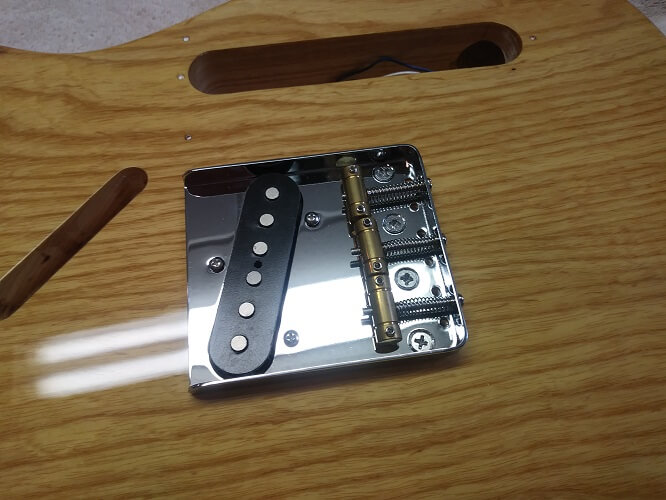
The bridge pickup on a telecaster mounts into the bridge itself. I then ran the pickup wires down the hole into the control cavity and screwed the bridge in place. That's a big piece of chrome.
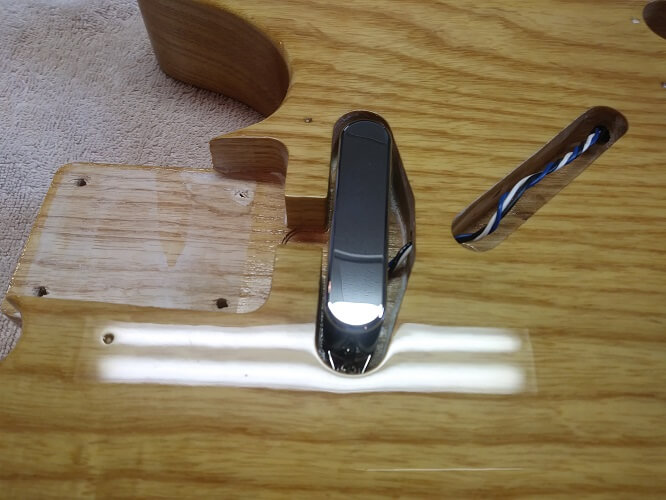
There are two methods of mounting neck pickups on a telecaster. Newer teles have the pickup mounted to the pickguard, suspended in place similar to the way they are on a Strat. The advantage of this method is that it allows easier pickup height adjustments without having to remove the pickguard. The other "vintage" method is to screw the pickup into the body wood itself. The advantage of the vintage method is a cleaner look (no screw holes in the pickguard) and some would argue a better tone. I'm not sure if I buy the tone argument, but I went this route because I wanted the vintage look and that's the way the 50s teles were made.
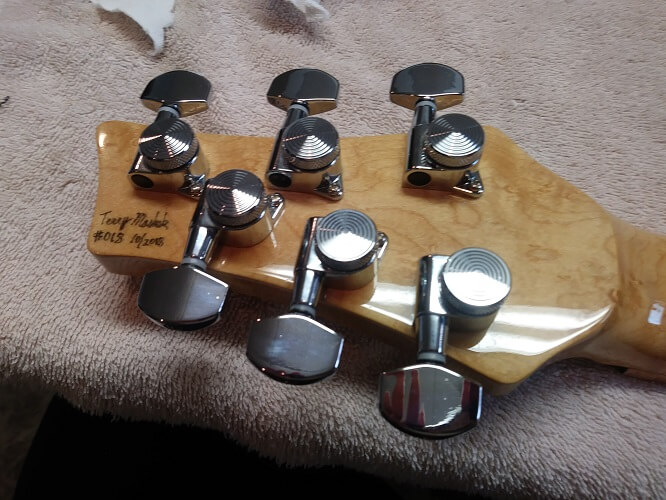
On the neck side, the tuning keys were installed. While I was striving for a vintage theme with this guitar, I wanted to use my own headstock design which is definitely not vintage. Because of this I decided to go ahead and use the same tuners I always use even though they don't look vintage either. So this guitar is vintage looking only below the nut.
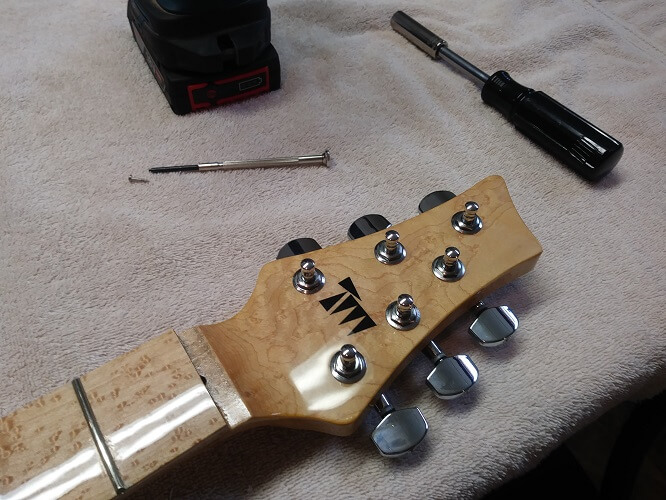
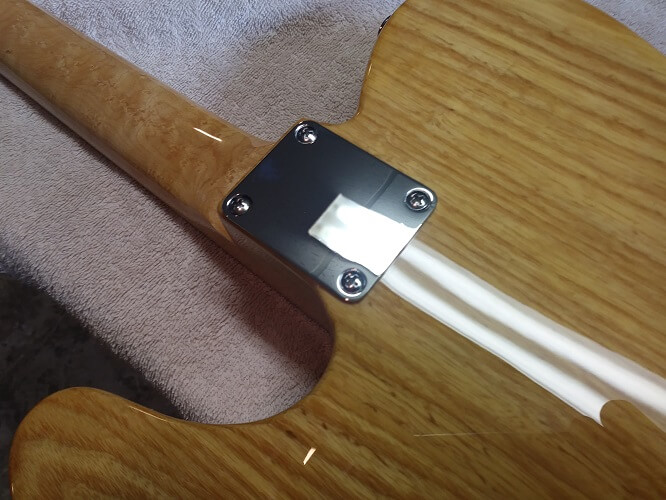
This slightly out-of-focus picture shows the back of the headstock. I use locking tuners. I really like them as it makes string changes fast and keeps the guitar in tune very well. The only downside to them is they weigh a fair amount more than other tuners. I think the trade off is worth it, though.
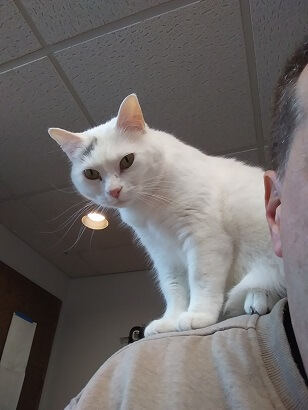
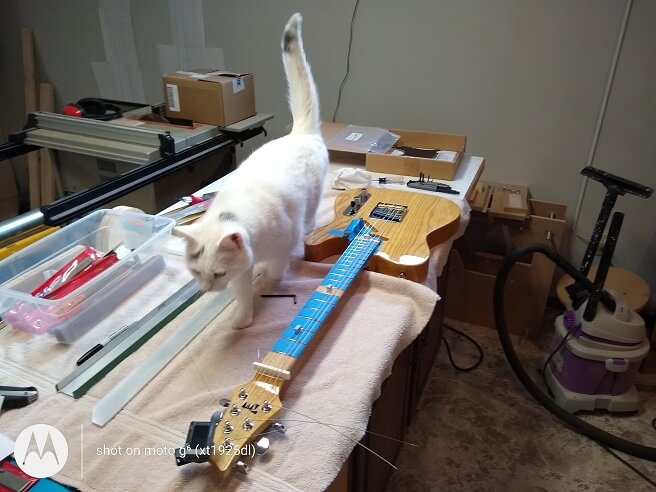
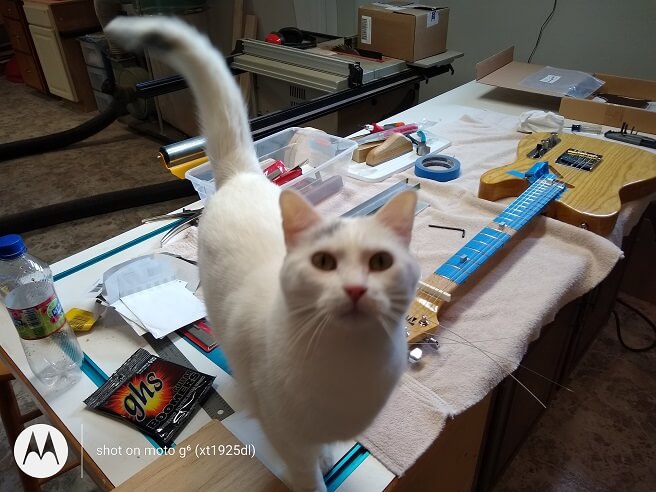
I turned my attention to soldering up the electronics. Spot the cat wasn't happy that had turned my attention away from her, so she climbed up on my shoulder to oversee my work. I must say that soldering with a cat balancing on your shoulder is difficult.
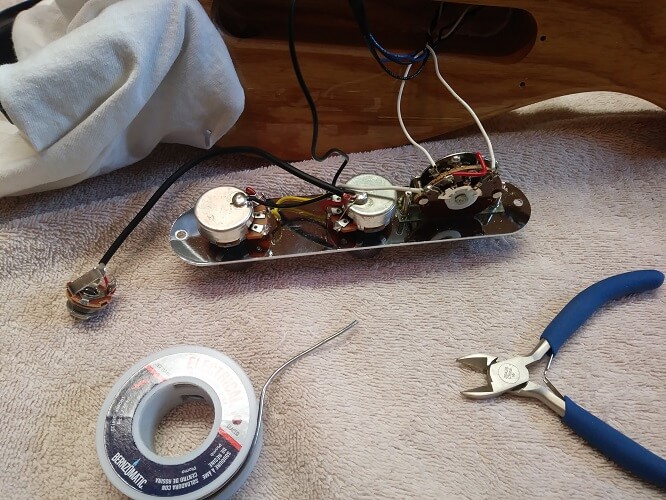
Here's my finished wiring job. I tested it before installing, and learned that I had pickup wires backwards on the switch so that when put in the bridge position the neck pickup would be active, and vice-versa. So I had to fix it. That's what happens when you solder with a cat balancing on your shoulder.
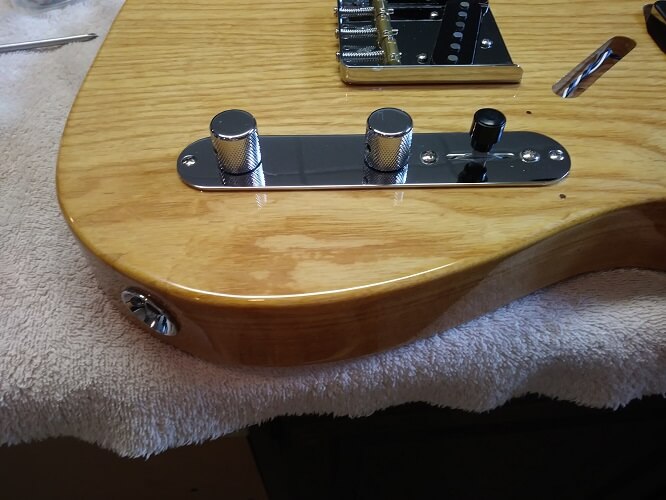
The control plate and output jack were then ready to be installed. The output jack is another spot where I varied from the vintage motif. The old style telecaster output jack plates are notoriously crappy, and require a special tool to easily install them. I upgraded this to a Electrosocket jack mount, which doesn't suffer from the same flaws as the original.
It was almost time to attach the neck. It is tempting to just drill the holes and screw it in place, but in being hasty one risks not having the strings line up properly. A slight shift in the neck pocket can create an exponentially larger shift at the nut end of the neck, which would cause the two outer strings not to be an equal distance from each side of the fretboard. So I took a couple extra minutes to run some strings (cloth strings, not guitar strings) over the nut down to the bridge, and move the neck around until everything is lined up.
With the neck properly aligned, I clamped it in place, double checked that it didn't move while clamping, then flipped the guitar over and drilled the neck holes.
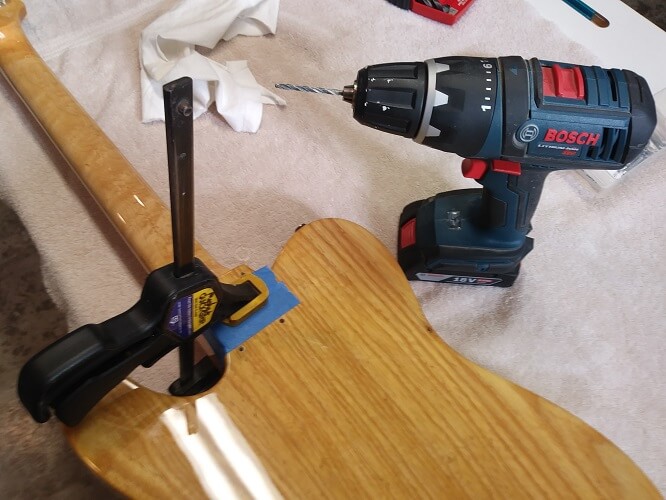
Now I could screw the neck in place knowing that it was aligned properly.
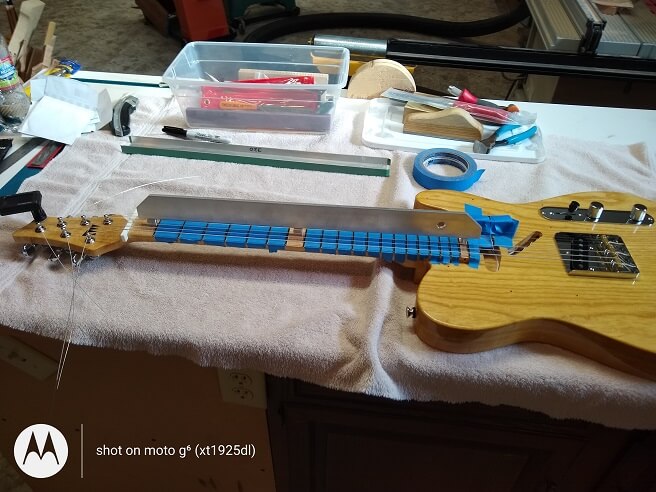
I was ready to take on another one of the tedious parts of building a guitar: the fretwork. My process starts with stringing the guitar up to tension and using the truss rod to adjust the neck to be as straight as possible, measuring with a precision milled straightedge that sits on spacers to raise it above the frets. The idea is to adjust the truss rod until the straightedge touches all three spacers with no gaps or wobble.
In attempting to do this, I learned that when gluing the fretboard to the neck I must have induced a little bit of relief (forward bow) into the neck. I also learned how well carbon fiber rods help keep the neck straight. I had to crank the truss rod a scary amount in order to get the neck sufficiently flat. I was a bit worried I would suddenly have the rod explode through the back of the neck destroying months of work (I've had it happen before.) Thankfully I was finally able to get the neck straight enough without any catastrophic failure.
Once again Spot the cat interrupted the process for a petting session. You'll also notice that a few of these photos have a watermark in them. I got a new phone, and by default the camera would put that watermark on all the pictures. I figured out how to turn that "feature" off, but I had already taken a couple of pictures.
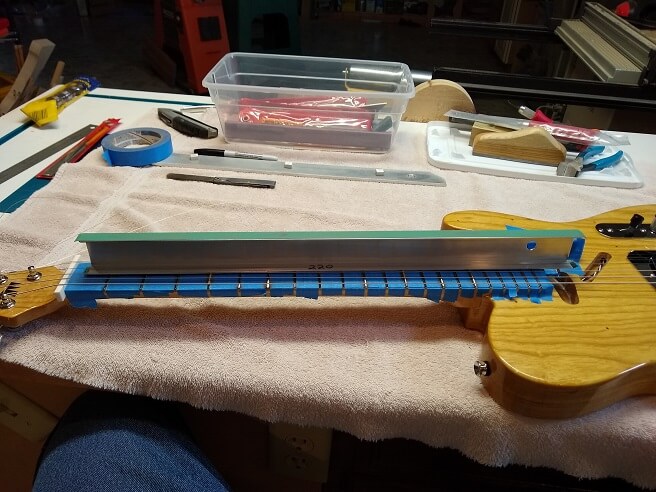
With the fretboard perfectly level I now used my Technofret system to level the frets even with each other. It is basically a perfectly straight piece of aluminum that has sandpaper on an "L" shaped side. That sanpaper will slip under the strings and allow me to level the frets while the neck is under string tension. Kind of like a poor man's PLEK system.
After leveling, I then crowned and polished the frets. I got the fretwork finished, but I have to admit it's probably the worst fretwork I've done on any guitar. Playable, but not ideal.
During the leveling process, I wound up taking a huge amount of metal off of some of the frets, and barely touched some of the others. The frets that were significantly filed down weren't all in the same area of the neck, which tells me it wasn't an issue with the straighness of the neck, but due to a poor job of hammering the frets into place so that they were all seated evenly. I suspect I had over-radiused the fretwire which caused some of them to spring back and sit higher than others. I'll have to address this issue for future guitars.
Due to the amount of metal removed from some of the frets, there's not enough material left for another level/crowning down the road. I thought about just throwing in the towel, removing all the frets and starting over. But then I decided that I might as well get some playing time out of what is left of these frets first. I'll just know that eventually when things get worn enough I'll have to do a complete refret at that time.
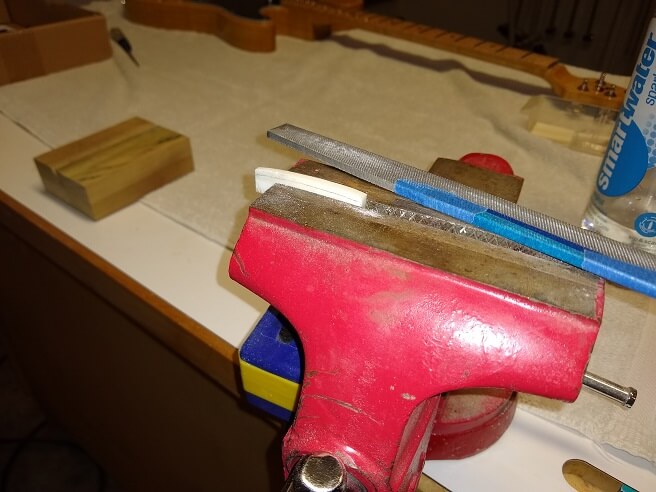
We're almost done now! The last bit of work includes shaping and cutting a nut. I took a square bone blank and marked it up, then took it over to the vice and started the shaping process. I got the rough shape done, after which I marked the spaces for the slots and filed them to approximate depth.
From there, I placed the nut on the guitar and fine tuned the nut slot depth until it was perfect. I filed them so the string distance on the 1st string was .01" over the 1st fret, increasing an additional .002" for the 2nd through 5th strings, and ending with the 6th string .02" over the 1st fret. I measured these tiny amounts with a feeler gauge, as there's no way to get that precise by eye. It involves lots of trial and error, filing and testing over and over until each slot is perfect. The nice thing is that by getting the nut filed this low, bar chords in the first few positions almost fret themeselves. My son played the guitar right after I had finished it and the first thing he remarked about was how easy it was to form those chords.
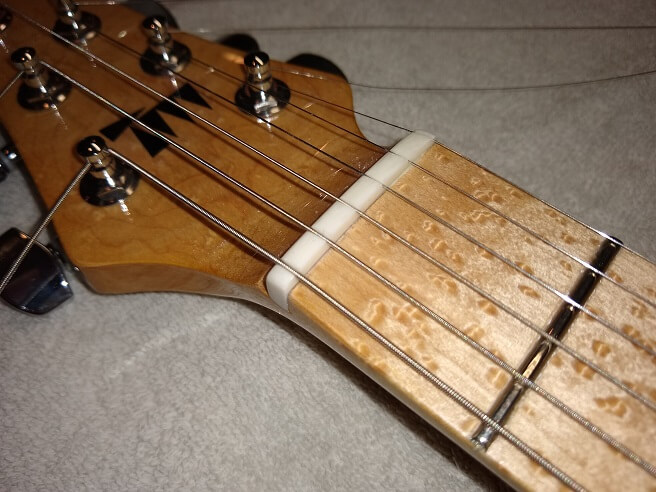
With the nut slots at proper depth, I then removed the nut and did the final shaping to bring down the top of the nut in order to get it even with the top of the string. I sanded and polished the bone to make it smooth and shiny, then installed the nut. A couple drops of wood glue on the fretboard end is all that is needed to keep the nut in place. The strings do a good job keeping the nut from moving so we don't have to use extreme amounts of glue. Using wood glue (versus superglue or epoxy) will also allow the nut to be easily removed for service down the road.
All that was left after the nut was finished was to do a final setup. I roughed in the bridge height and intonation and strung the guitar up to pitch. I then adjusted the truss rod to give me .01" of relief at the 8th fret. Thankfully this adjustment took some of the tension out of the rod that I had put into it earlier.
With the relief set, I dialed in the bridge height to get the action down low where I like it, but not so low that it buzzed. With the action at the proper level I was able to adjust the pickup heights to be the proper distance from the strings.
Finally, I set the intonation. With a vintage bridge like this one where each saddle serves two strings it's impossible to get the intonation dialed in perfectly, so you have to find a happy medium between each pair of strings. Thankfully most of us don't have the ear to really notice that the strings are off by a cent or two at the 12 fret.
This guitar is finally done! Return to the main page for this instrument to see the finished photos.
Return To The Main Music Gallery
This page last updated on 04/06/2020