


So I was back to square one with the neck. Patching the mistake wasn't possible. Or so it seemed, at least. As often happens after a catastrophe, if I give myself some time to mull it over I come up with another option I hadn't originally though about.
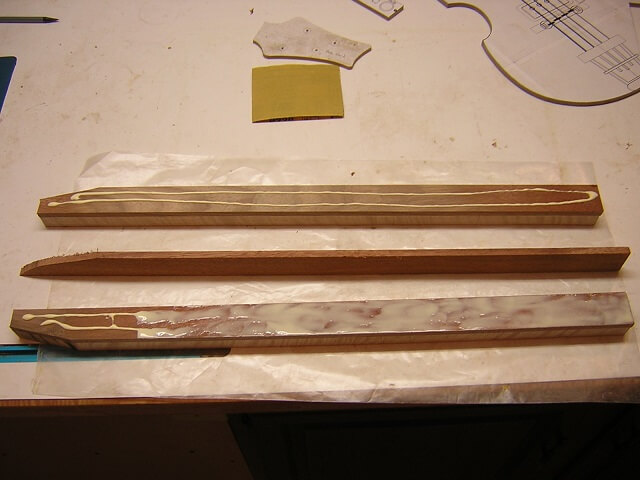
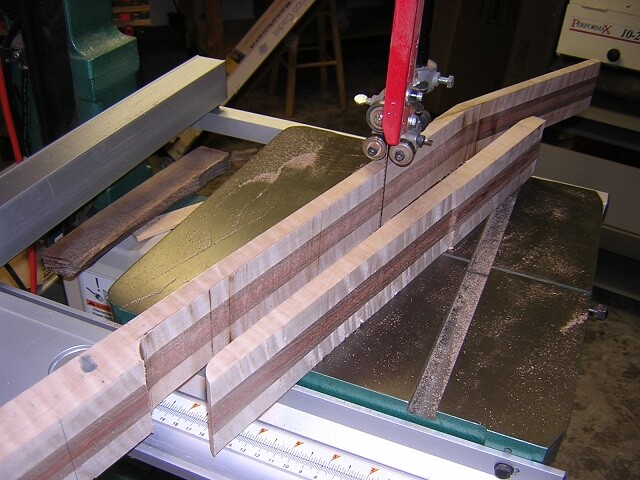
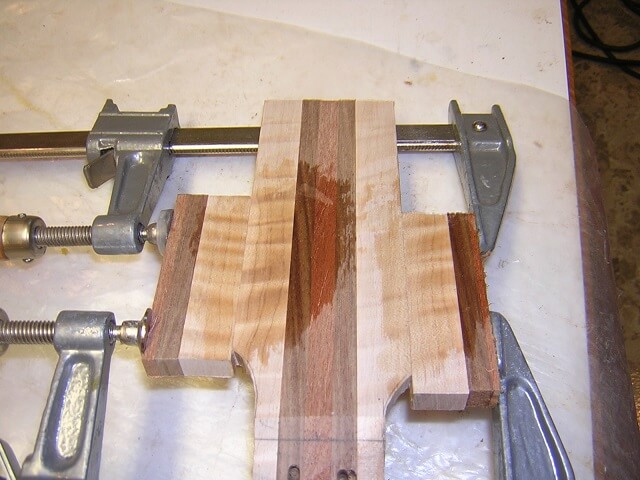
Tundra Boy's biggest disappointment with the loss of the neck was mainly due to not being able to have the beautiful pieces of figured maple he'd picked out. Upon looking at the destroyed neck, I noticed that I was dead-on with the centering of the truss-rod route which meant the slot was only in the mahogany and didn't touch any of the walnut on either side. At this point I realized that it might be possible to saw down the center of the old neck blank, remove the mahogany, then glue the pieces back together with a new piece of mahogany in the middle.
I would have to cut off the old headstock and create a new piece. I would also have to re-cut the scarf joint, and I didn't have much extra length on the neck blank so I'd have to be extra careful. Thankfully I hadn't yet glued the headstock veneers in place so those were still able to be used, although the previous tapering I'd done on them for the scarf joint would have to be redone.
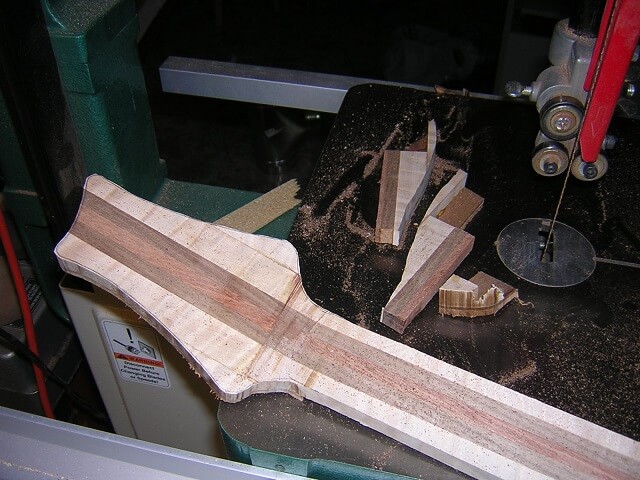
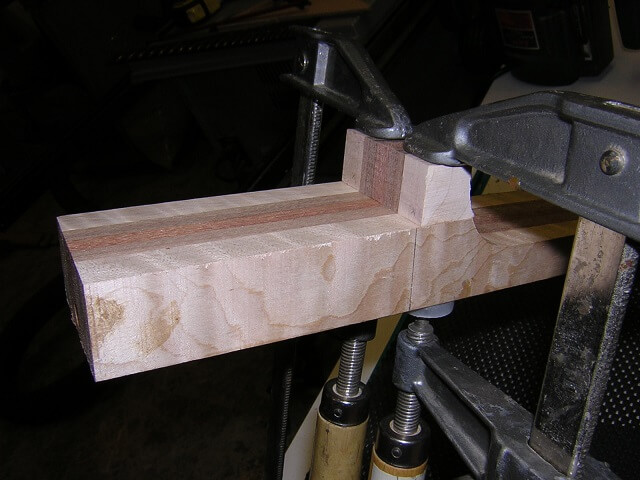
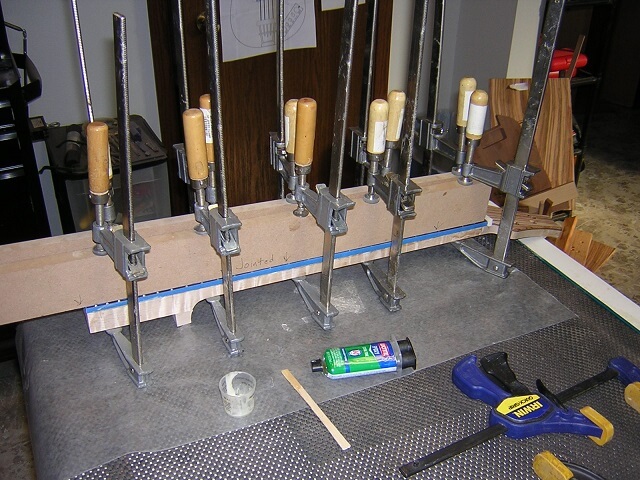
It would be tricky, but I could salvage the beautiful maple, and even the walnut. So I did just that, cutting the neck apart, sanding the remnants of the old mahogany out from the pieces and then cutting a new piece of mahogany to be placed back in the middle. Here's the two original sides of the neck getting ready to be glued to the new mahogany center section.
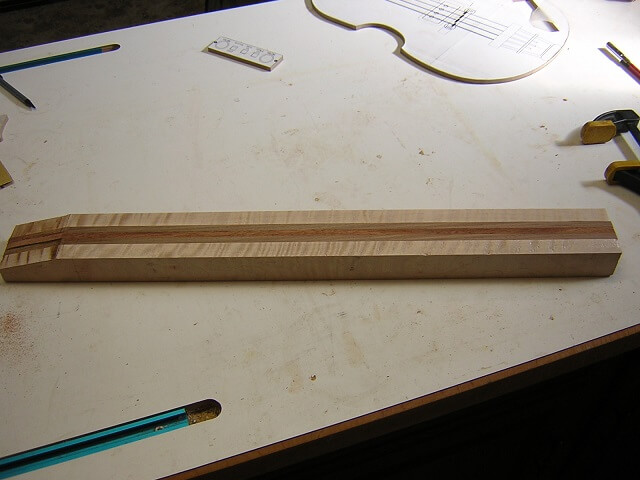
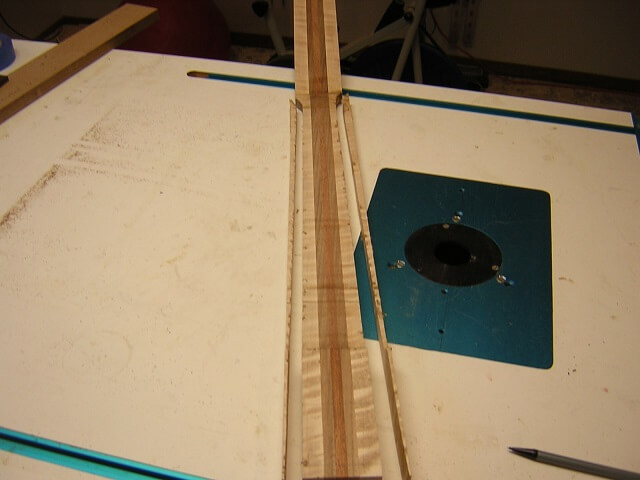
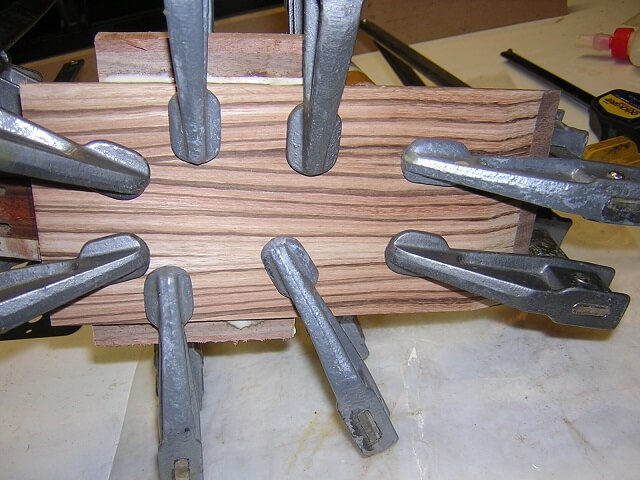
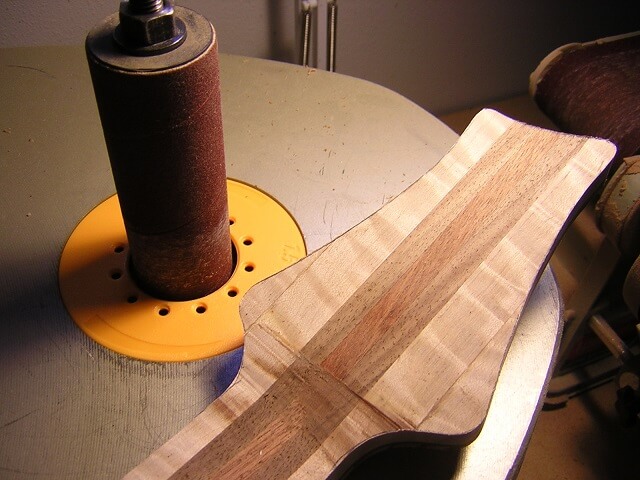
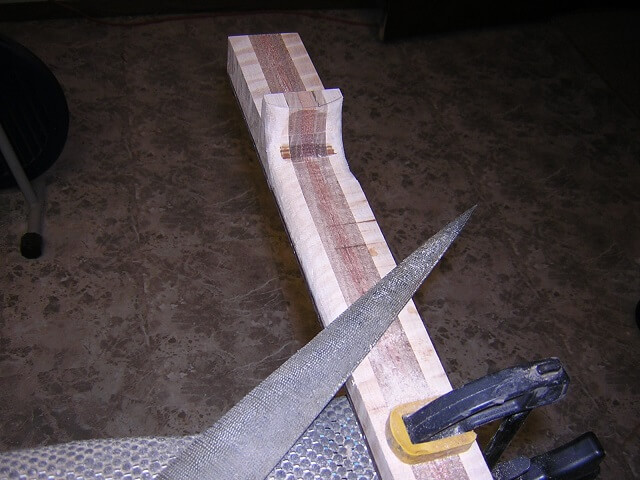
After the glue dried I sanded the new center section flush with the sides. I would re-joint the face after the new headstock piece was scarfed in place.
The original headstock piece wasn't worth the effort of trying to salvage. I had a scrap piece of the old neck blank that I was able to use to cut a new headstock from. Then I re-did the scarfing process.
For some reason I just had a devil of a time getting this 2nd headstock glued to the salvaged neck blank. I had to take it off before the glue had a chance to set and try again a couple times before I got it lined up to my satisfaction. It's not perfect, but I finally accepted it as good enough. I told Tundra Boy that there's a defect in the neck and he's yet to find it, so I'm guessing I'll be the only one who ever notices.
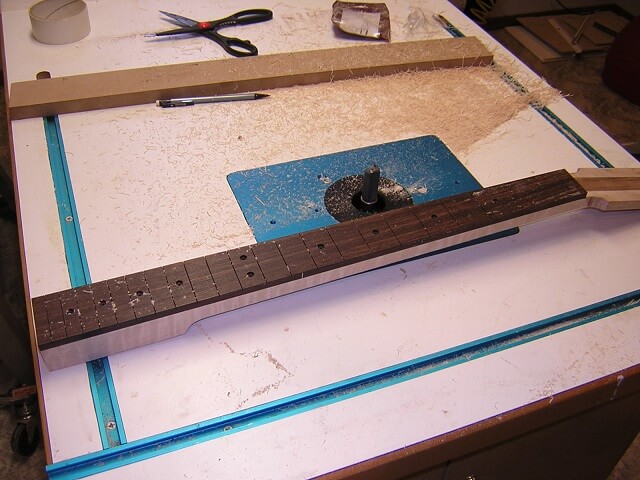
With the new headstock glued in place once again I ran the face of the neck across the jointer to create a flat surface to hold the fretboard.
Now I was back to the point where I was ready to route the truss rod channel. This is where the previous neck went south. I knew if I messed it up a second time I probably wouldn't be able to salvage enough of the wood for a third attempt so I only had one crack at it. You can bet I triple checked that the router collet was crazy tight. Thankfully this time everything went smooth and I wound up with a truss rod channel of the proper depth.

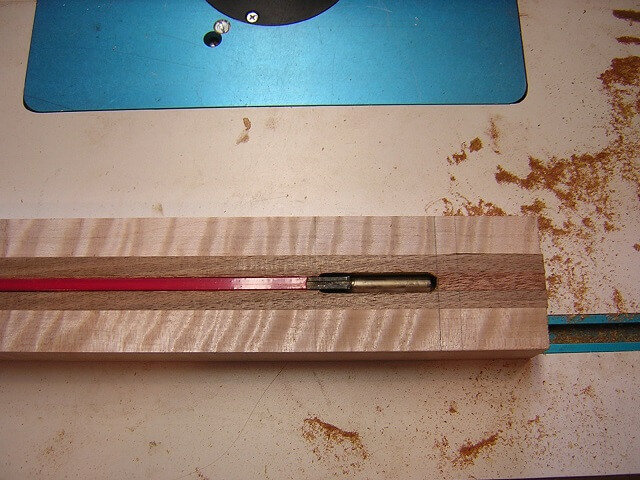
The truss rod I'm using has a adjustment head that is larger than the rest of the rod, so that end of the channel had to be enlarged to fit. I just did this with a sharp chisel.
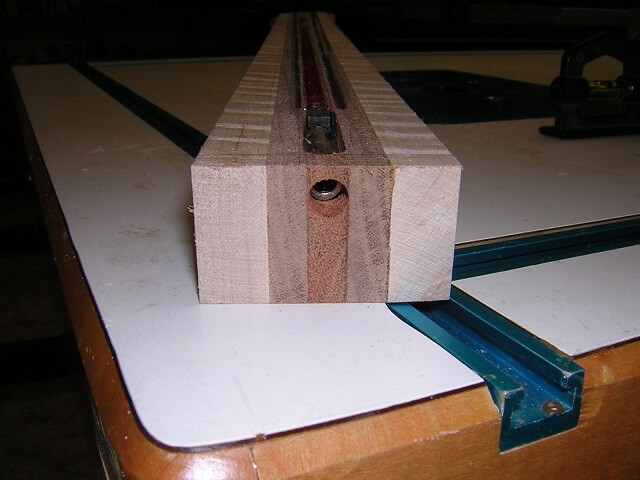
One change I made with this instrument was the direction in which I installed the truss rod. All of my previous instruments have the truss rod adjustment on the headstock end. I decided to flip it around on this instrument and do a heel end adjustment. I made this decision for two reasons: first, the additional size slot required for this truss rod's adjustment head would have weakened the nut end of the neck, whereas buried in the heel there would be plenty of wood left around the cavity. Second, it solved the dilemma of how to hide the adjustment hole on the headstock end and blend it in with the headstock veneer.
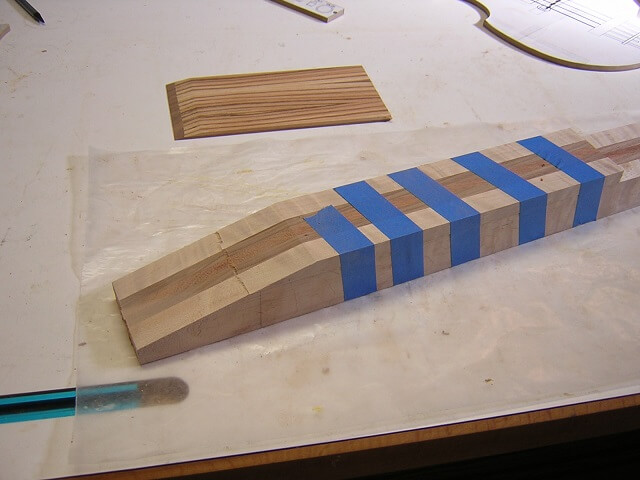
With the channels for the truss rod and the carbon fiber slots (not pictured) routed, I then removed the extra wood on the back of the piece to provide the right thickness to the neck.
Next, I cut the majority of waste material off the sides of the neck. I didn't try to get it exact quite yet.
Here's an obvious example of where I was working on multiple pieces of the instrument at the same time. I wanted to trim the neck to the exact size of the fretboard. The fretboard was tapered to final size at this point, so I used double sided tape to temporarily attach it to the neck blank. I then used a flush trim router bit to cut the neck to the exact size of the fretboard.
With the truss rod adjustment buried in the heel of the neck, there needs to be a way to adjust it. I drilled a hole in the end of the neck. Once glued into the body the neck will sit just proud enough to allow a wrench to go into this hole and adjust the truss rod.
The headstock shape is wider than the neck blank. "Ears" were cut from some scrap pieces and glued to the headstock to make this area wide enough.
Now our veneer could be glued to the face of the headstock. Honestly, it doesn't look that great right at the moment but that will soon change!
I used my headstock template and traced the outline onto the back of the headstock. I'm using my own shape instead of the Hofner shape because frankly I like mine better. That, and I'm intending this to be my own instrument and not an exact clone. After I traced the outline I cut the headstock out at the band saw. Again, I didn't bring it to final size, but stayed outside the line about 1/16".
In the past I've used my headstock template with a flush trim router bit to shape the headstock to final size. However I've had some bad tear-out incidents when I've used this method in the past and given that I've already started over on this neck once before I decided not to risk it. I just fired up my oscillating spindle sander and sanded the headstock to final shape. No worries of tear-out using this method.
I used epoxy and glued the carbon fiber rods in place. Using carbon fiber is another area where I deviate from the way Hofner builds their instruments.
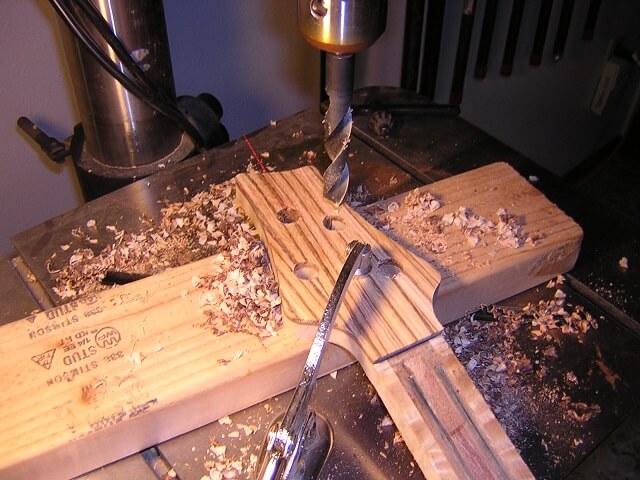
The holes for the tuning key hardware were drilled in the headstock.
Hofners have a pretty pronounced neck heel. Their heel is a structural part of the neck attachment and utilizes a dovetail joint. I'm using a different method of attaching the neck, so in my case it's merely an asthetic addition to the guitar. So I went ahead and glued in a piece to the neck that will create the heel.
Because this neck will sit in the body pocket at an angle, I had to cut the neck piece at the corresponding angle so it will sit flush against the body. Had I just left it at 90 degrees there would have been an obvious gap. If you look closely you can see to little "X" pencil marks. Because the angle is only about 3.5 degrees it's not immediately apparent. I marked the block so I was less likely to accidentally glue it onto the neck backwards.
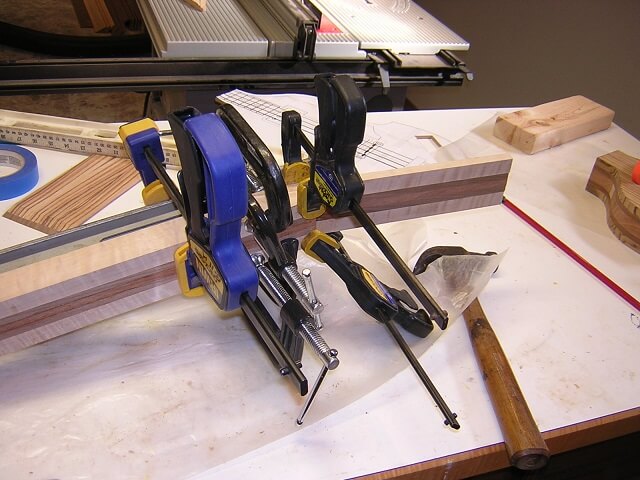
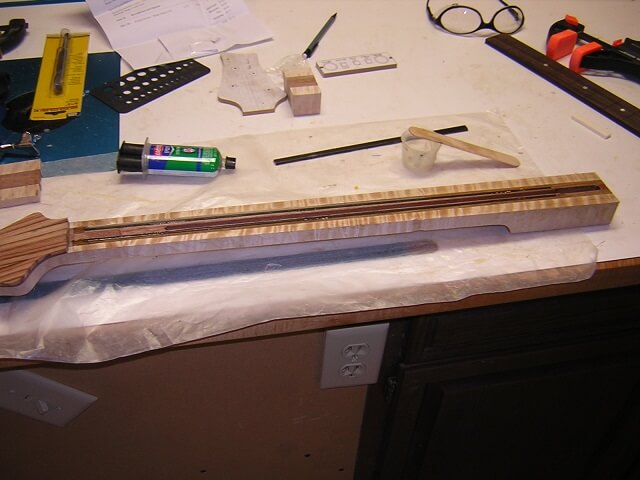
Now I was able to glue my completed fretboard in place. I use epoxy to glue my fretboards in place because I find I have fewer backbow issues than I do when I use PVA (yellow wood glue.) Also, I make sure to use the slow-cure epoxy (the fast cure stuff is usually marked as "5 minute" epoxy.) The slow cure stuff is much stronger. Also, on tricky glue-ups like a fretboard the 60 minute open time of the slow cure epoxy produces much less panic to get the clamps properly in place.
The clamped fretboard was left to dry. It takes about 24 hours to for the slow set epoxy to fully cure so I just set the assembly in a corner of the shop and forgot about it for a while.
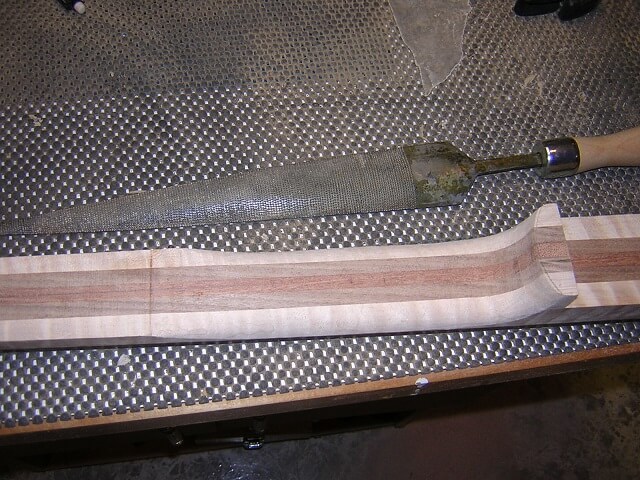
Now I could start carving the neck. I know I always say this but it remains true: I absolutely love carving necks. It's the most fun part of building a guitar. This was the first neck I carved using my new dragon rasp which my wife had given me as a birthday gift a few years ago. Previously I used a surform tool. The dragon rasp isn't quite as aggressive, but the control is much better and I'm less likely to have big chunks of wood tear out.
I started carving at the heel end. Here you can see I pretty much have this end of the neck shaped. If you look at some of the other guitars I've built, you can also compare how much smoother the dragon rasp leaves the surface. It almost looks sanded, where my old surform made the necks looked like they'd been gnawed to shape by beavers.
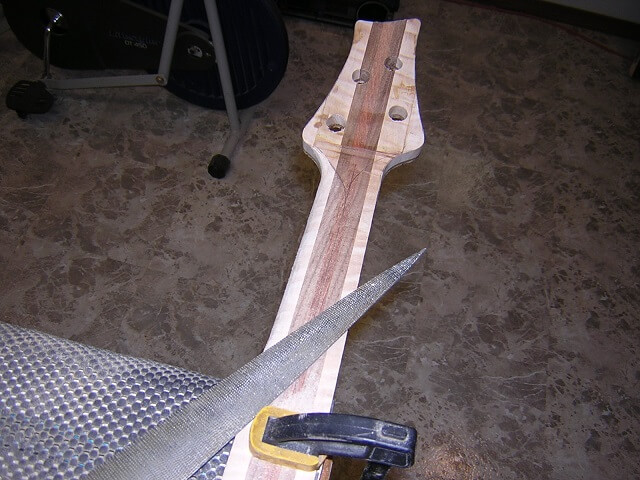
I then spun the neck around and carved out the nut end, which included the transition to the back of the headstock.
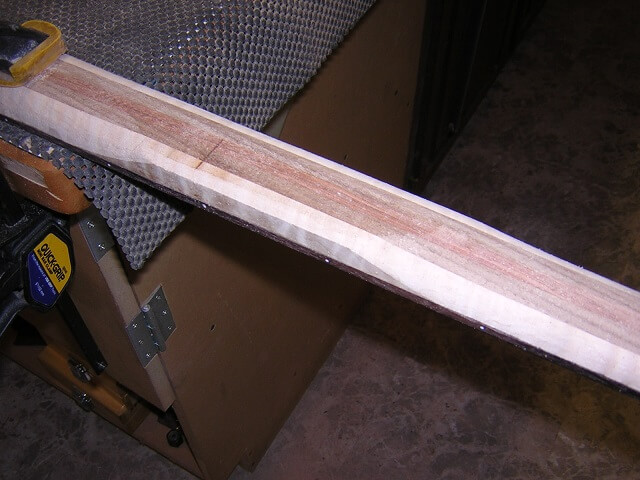
With both ends done I just had to carve the center section to join the two.

The tricky part of joining the two ends is getting the profiles to match.
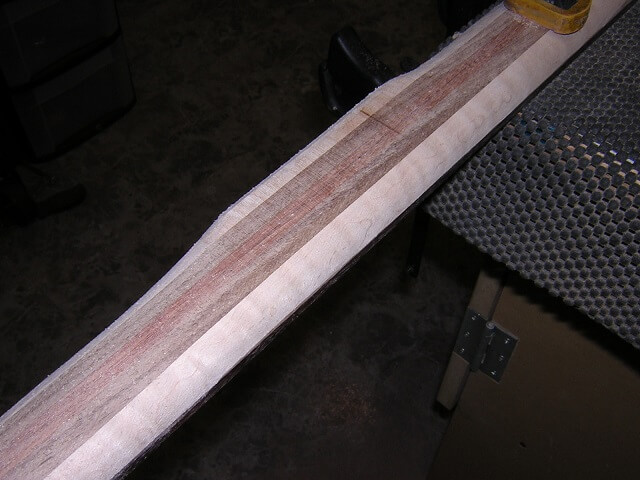
One thing I noticed is that previously with the surform I'd have to do so much sanding that a lot of the neck profile would get blended in that process. With the dragon rasp I have to do a lot less sanding, which means I have to spend more time getting the profiles right while carving.
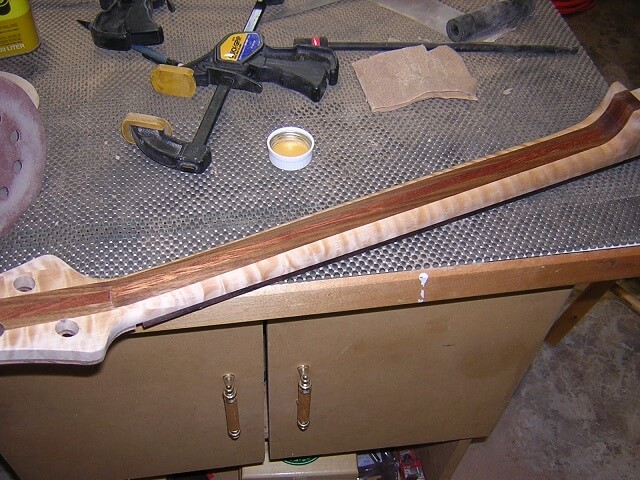
After carving was complete and final sanding was done, I now had a finshed neck.
Now it was time to build a body. Or at least attempt to build a body. As you're about to see, similar to the neck there were issues and I wound up having to start over on the body too. But here's my first attempt at the body.
Return To The Main Music Gallery
This page last updated on 06/28/2018