


Seeing as this bass is a neck-through design, the logical starting point for construction is the neck, as every other aspect of the instrument will connect to it in some form or fashion. My plans for this bass were to make it tastefully simple in design. I planned to have the neck made of only maple, with no decorative laminates of other wood types like I've done in every other instrument I've built as of this point in time.
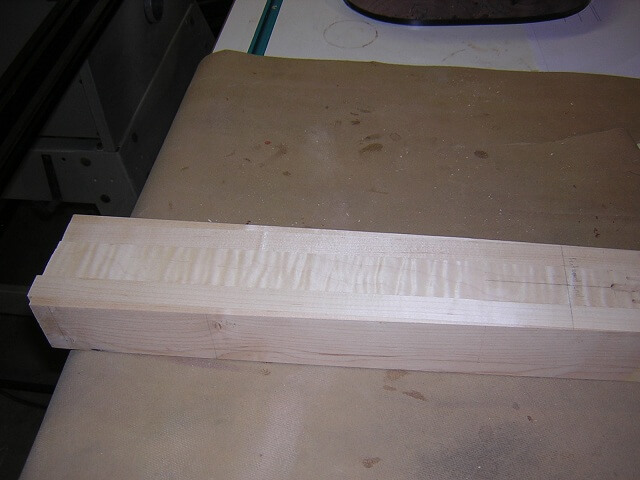
However rather than just using a big hunk of maple and calling it good, I still wanted to build it up from laminated pieces. I decided it would be a subtle touch to orient the center lamination with the grain running 90 degrees perpendicular from the outside laminates. The pieces I was planning on using for the outside laminates were purposely rather plain looking, with no figuring or interesting grain. For this center section I decided to use some tiger stripe maple to really make a visual contrast from the outside layers. So I began the process by gluing together three pieces of tiger stripe maple to make my center layer of the neck.
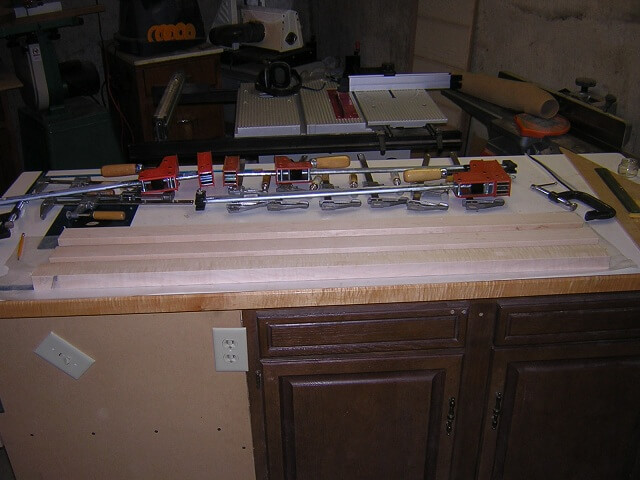
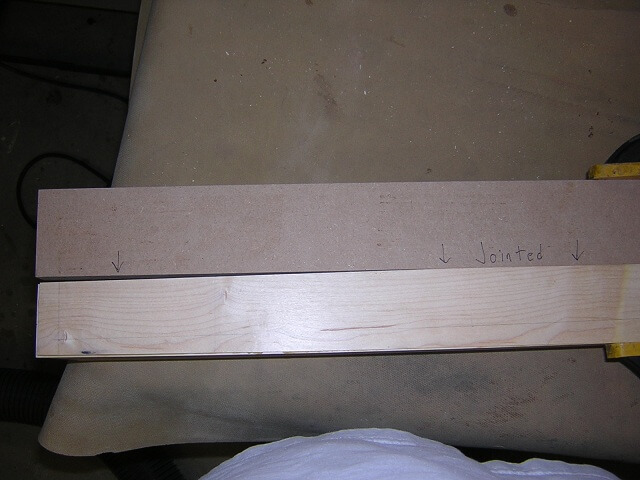
With the center portion glued together, I trimmed and jointed the sides so they were completely flush and arrow straight and would fit flush next to the outer laminates with no gaps. Here you can see the milled center block (closest to the camera), with the two outer pieces sitting next to it.
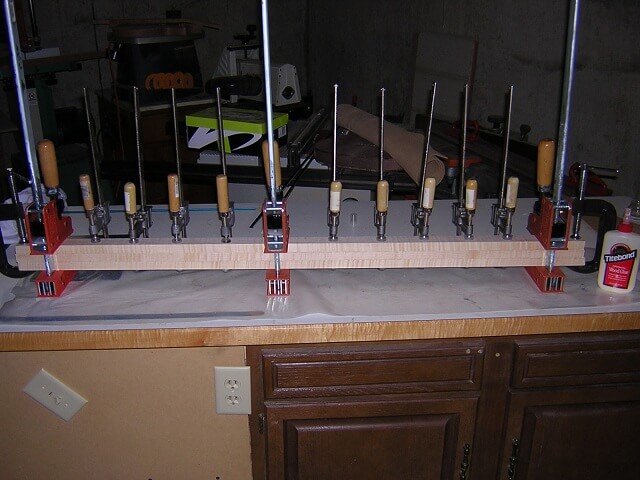
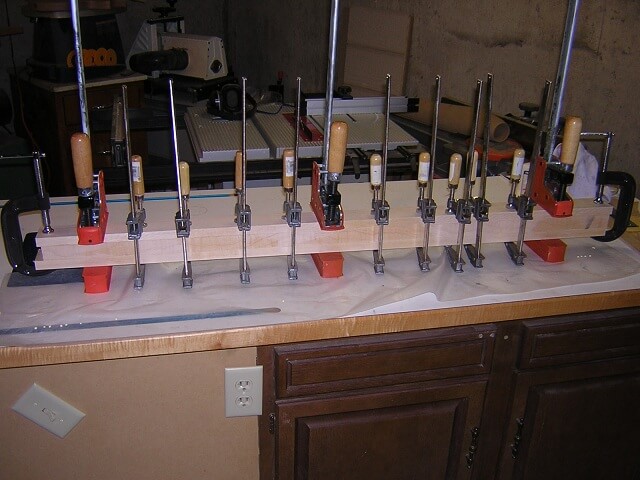
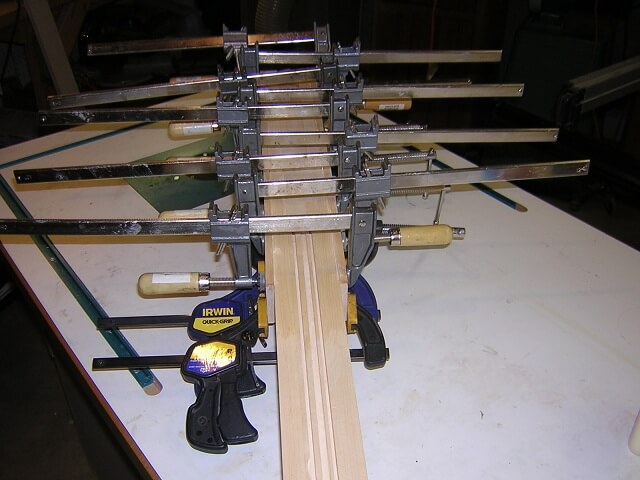
Then it was just a matter of gluing them all together.
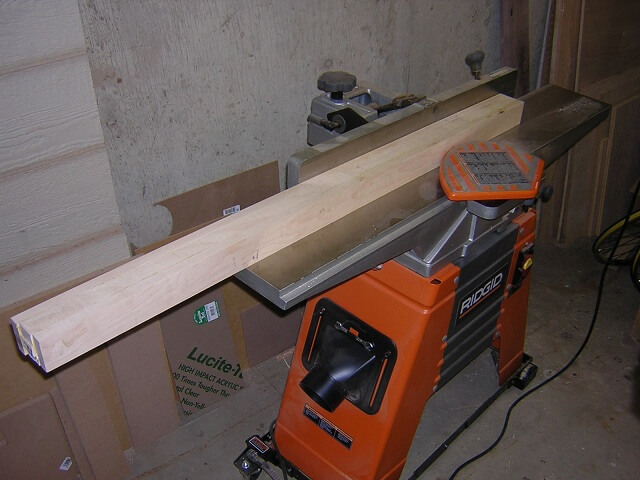
With the glue dry in the neck blank, I removed it from the clamps. I then spent some time on the jointer cleaning up the face of the neck blank so that it was perfectly flat. The flatter you can make your neck, the better the instrument will play once it's finished.
Next on the list was to cut the channel for the truss rod. Normally I do this using my router table, but I decided to try something different and use my plunge router with an edge guide. It worked without any issues, but not well enough to make me change my usual methods. Since this time I've gone back to my router table approach. Every once in a while you have to try something different. Sometimes you discover an approach that works better. Other times it's just fun to have a change of mental pace.
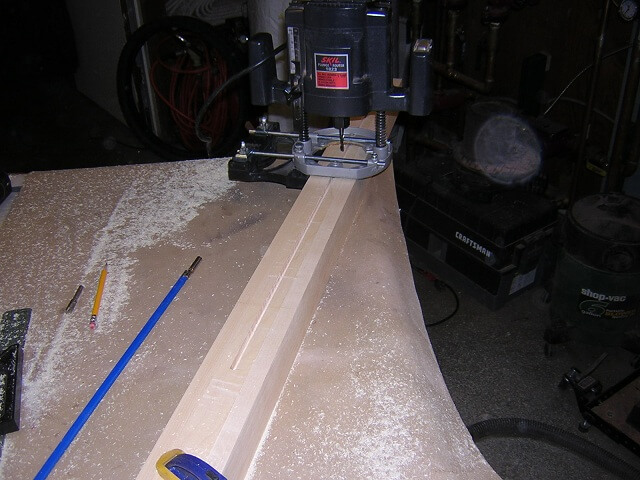
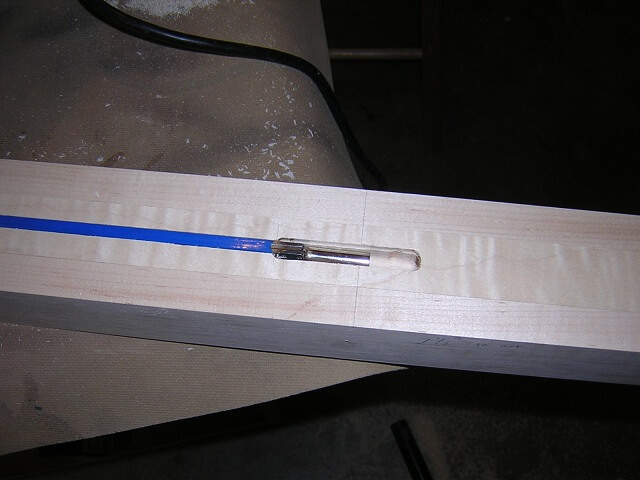
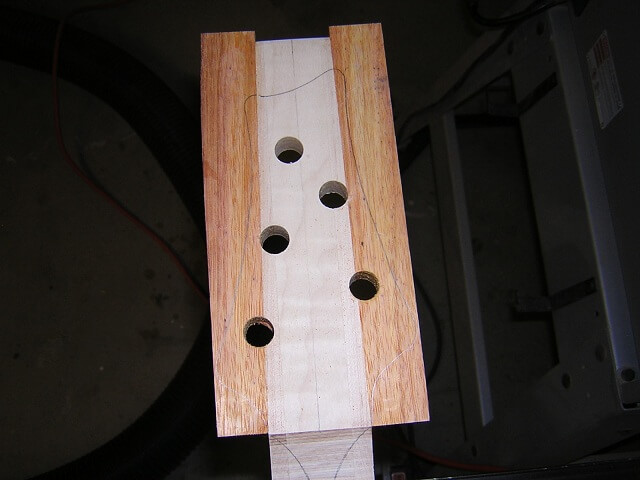
The truss rod I was using was a two-way model (can adjust the neck forward and back as needed.) On this particular rod the adjustment head was slightly larger than the rest of the rod, so I had to route a larger slot at the top for it to fit.
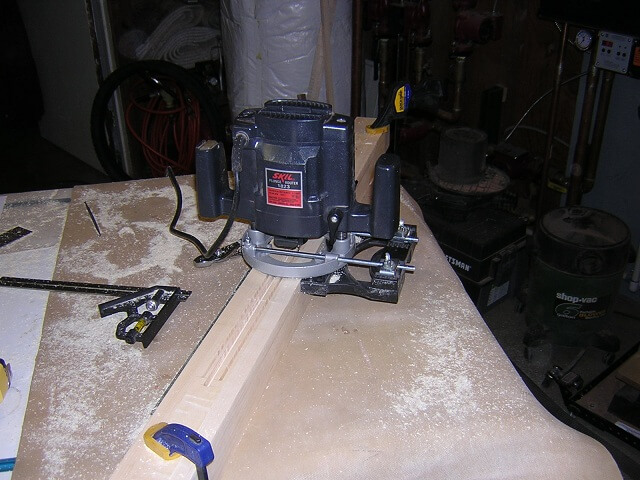
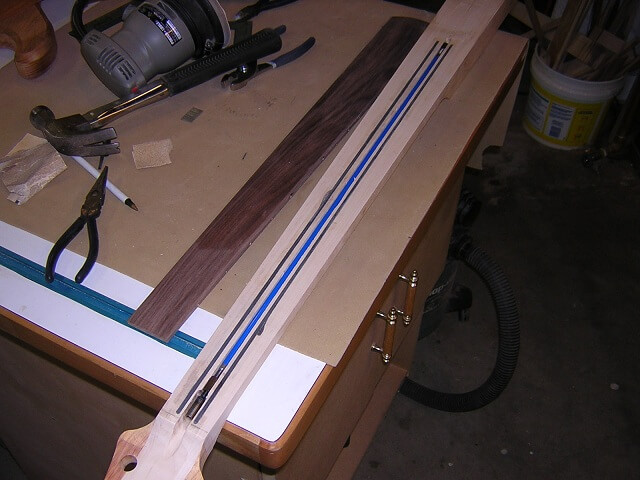
With the truss rod slots done, I routed the 1/8" wide slots for the carbon fiber rods that will be glued in place to stiffen the neck. A slot was routed on either side.
A guitar neck naturally tapers from being narrower at the nut, to wider at the body. On most neck-through guitars the neck blank is left square in the body area, and tapered through the neck. I decided I wanted to do something different with this guitar, and taper the entire neck blank all the way from the top to the bottom. The neck blank was originally sized to be the exact width of the fretboard at its widest point. However to accomplish this full length taper that would mean the neck blank at the butt end of the instrument would be wider than the neck blank was currently. So I glued a couple pieces of maple to each side of the body portion of the neck blank to allow this added width.
Another alternative to gluing on these extra pieces would have been to make the entire neck blank wide enough. What I didn't like about that approach would be gluing on some long pieces of maple that would just get cut off and thrown away. While maple trees aren't exactly endangered, I still like to conserve wood whenever possible. Wood is a finite resource so it just makes sense to me that I try and utilize it responsibly.
I didn't need much. 3/8" on each side gave me the proper amount of width at the bottom.
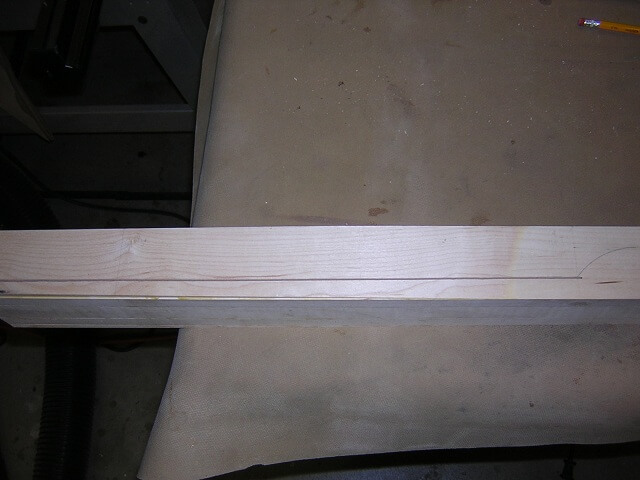
To ensure I had the neck blank tapered to the proper width, I decided to taper the fretboard to its final width first. I covered this over on the page where I built the fretboard. One of the reasons I used this method for tapering my fretboard was as a test-run for tapering the neck blank. The neck blank was done the same way, just on a larger scale. I taped the neck blank to the piece of MDF at the proper angle and ran it through the saw.
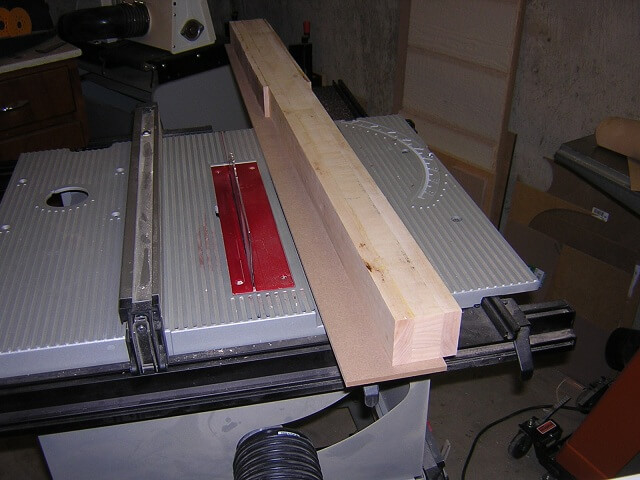
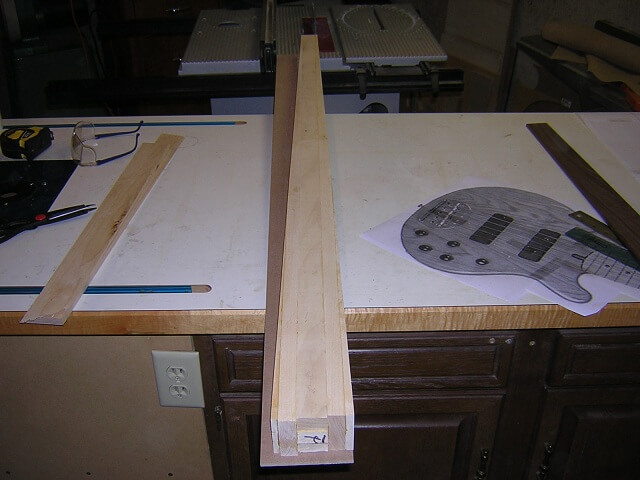
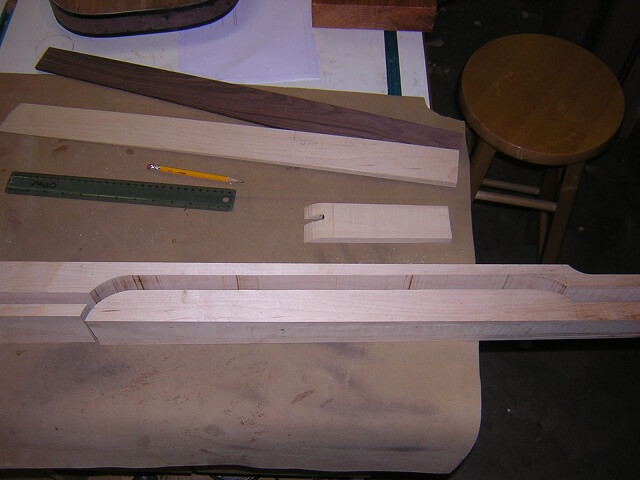
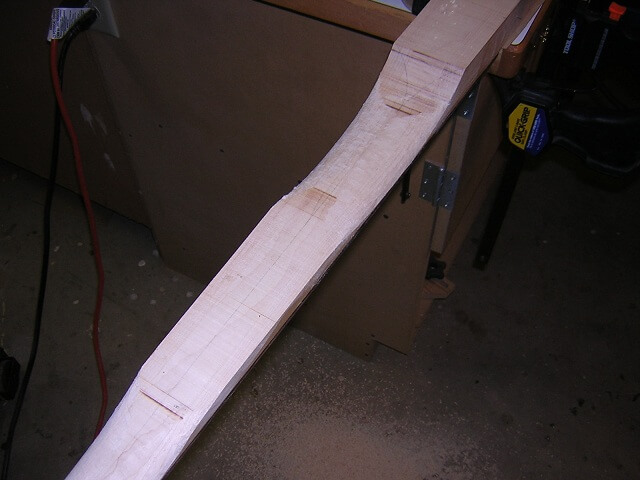
With the one side cut, I then taped the other side to the MDF and cut it. From this picture you can see how the entire neck blank tapers evenly from the neck side (farthest from the camera) to the body side. This picture also gives a good visual of how the different layers of the neck laminations were oriented to each other.
Many instruments require a neck angle in order to play correctly. I go into great detail as to why a neck angle might be necessary on the bottom of this page so I won't go into it again here. In any event I needed one.
A common question asked on many guitar building forums is, "how do you create a neck angle on a neck-through instrument, as the neck is part of the body?" I'm going to try and explain that here through pictures.
First, on bolt-on and set-neck guitars are more typical so most people think of the neck angle from the perspective of these guitars. In these cases you think of the top of the guitar body as the reference plane, and the neck is attached at an angle relative to the body.
For a neck-through instrument, I find it helpful to think of it the other way around: the face of the neck is the reference plane, and the body is cut to the proper angle relative to the neck. It's a subtle difference but for me it helps keep things organized in my head.
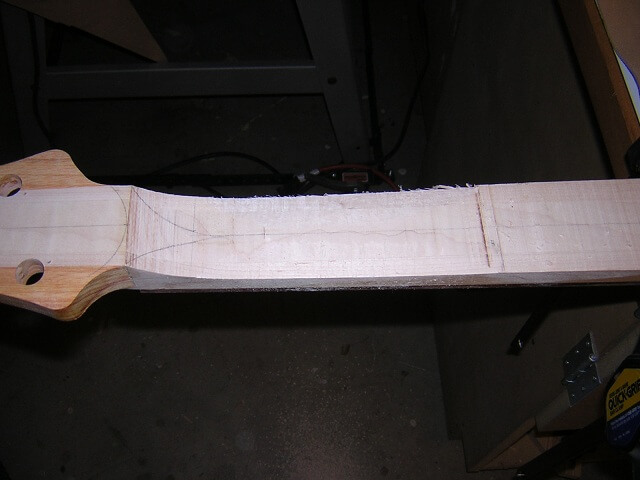
So I started by figuring out what neck angle I needed. Then, I marked the end of the where the fretboard will be attached and from that point drew a line to the body end of the neck blank at the proper angle. In a similar method to what I did above, I used double stick tape and attached my MDF to my neck blank so the edge of the MDF lines up with my marked line.
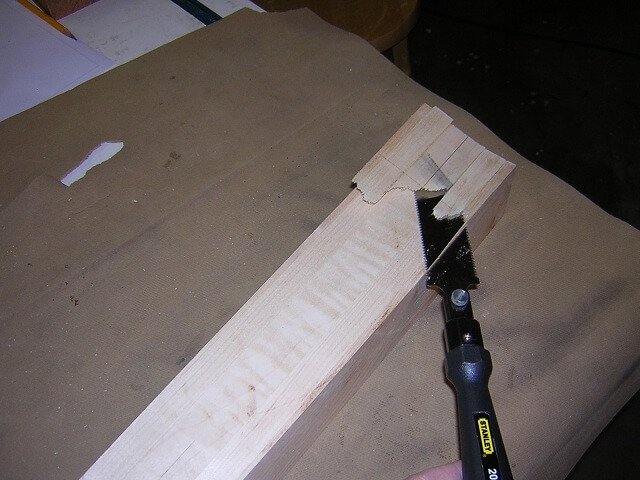
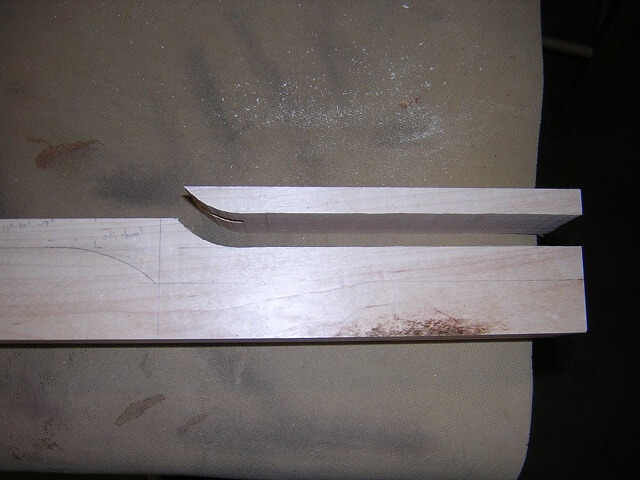
I then ran my neck through the saw, which proceeded to cut the proper "angle" into the face of the body end of the neck blank. One little snag was that my neck blank was about 1/8 taller than my saw blade would cut, so when I was done I had to finish the cut with my flush-trim saw.
I quick cleaned up my cut on the jointer so it was nice and smooth.
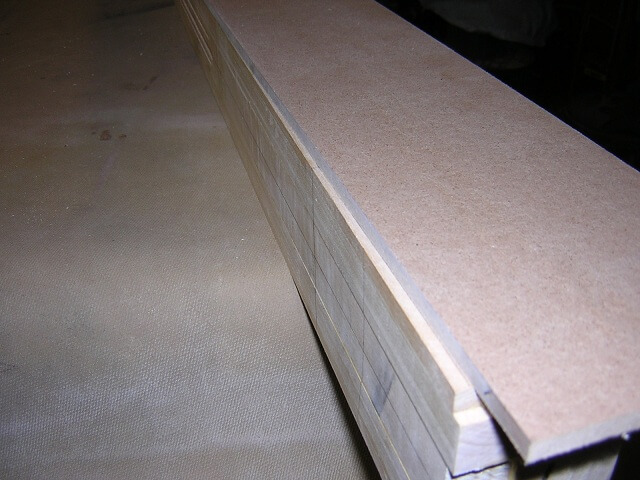
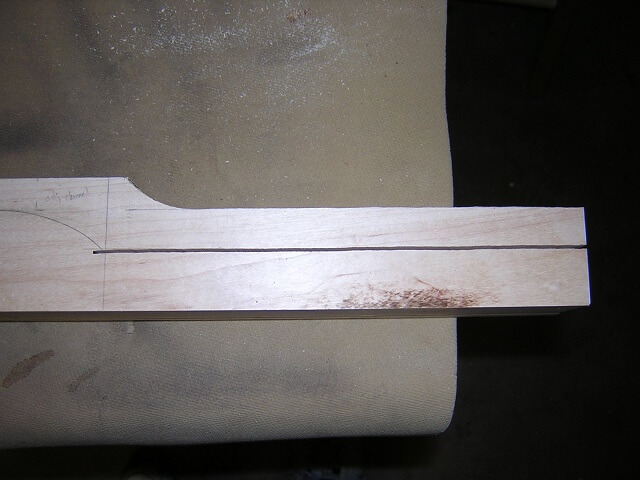
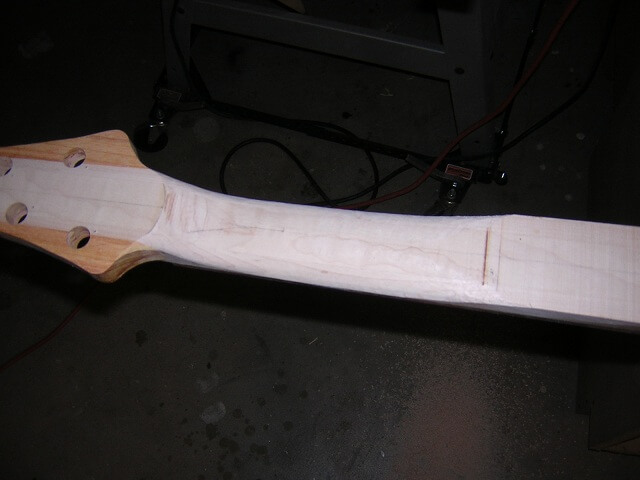
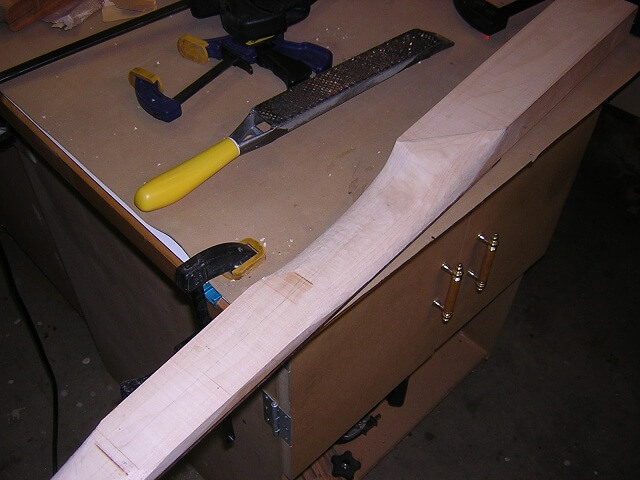
Here I'm demonstrating how the face of the body end of the neck blank tapers away from the portion of the neck where the fretboard will attach. In this picture I've clamped a piece of jointed MDF to the face of my neck and you can see how the body end now falls away about 1/4" from the fretboard end.
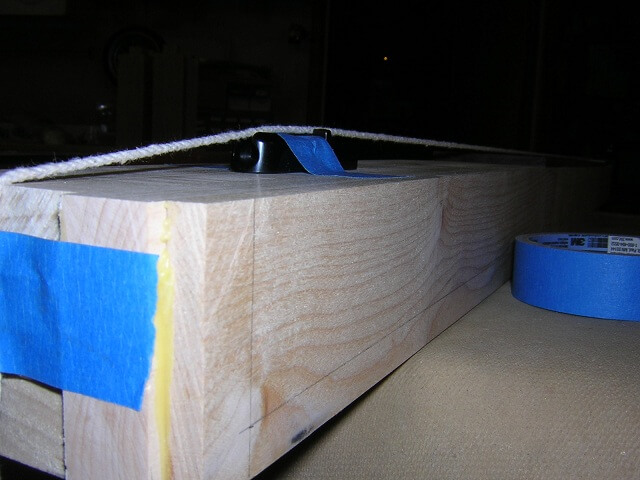
Because the neck angle is a critical aspect of the design, you don't want to get to the end of the project and discover you have the wrong angle. It's good to test things and make sure beforehand. In this photo I've taped one of my bridges at the proper location on the neck blank, and used a string to visualize what the height of the guitar string will be over the fretboard. If this were off, I am still early enough in the project where I could correct it. Once I go any further though, the neck angle is pretty much set in stone.
Now I'm able to cut the thickness of the neck blank at the body end. Because of the angle I cut in the face of the instrument, I can't just mark the spot and run it through the saw. I had to mark this line so that it was parallel to the angled cut. That way the body thickness will be uniform rather than thinner at the neck end and thicker at the body end. With the line marked I made the cut using the band saw.
Turing my focus to the other end of the neck blank for a moment, I removed the face of the headstock area. On this instrument I am using a Fender style flat headstock approach versus the Gibson style angled headstock approach. To ensure there is sufficient downward pull on the string over the nut, the face of the headstock is lowered about 5/8" from the face of the neck.
The back side of the headstock was now cut on the bandsaw to bring the headstock to the proper thickness.
Now I could remove the portion of the neck behind the fretboard to bring the neck to proper thickness. Here you can see the cut neck sitting with the off-cuts to give a good visual of how the pieces were removed.
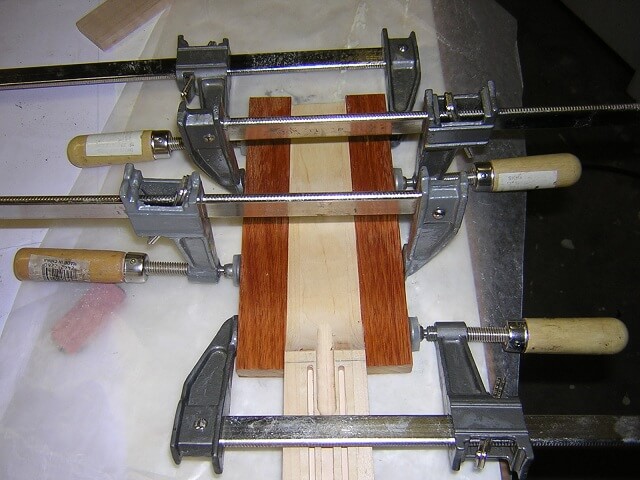
The tapered neck blank obviously wasn't wide enough to shape headstock. I glued on a couple pieces of canarywood (scrap pieces from my body wood) to either side. This will allow me to cut out the headstock and give a good visual contrast to the headstock area.
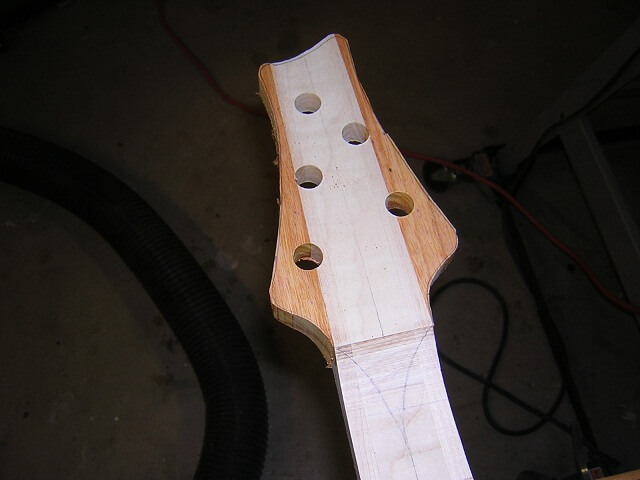
I drilled the holes for the tuning pegs. I could have done this after I cut the headstock to shape, but it really didn't matter which I did first.
Now I cut out the headstock shape on the band saw. As usual I cut just outside the line so that I can remove the saw scratches when trimming to final size.
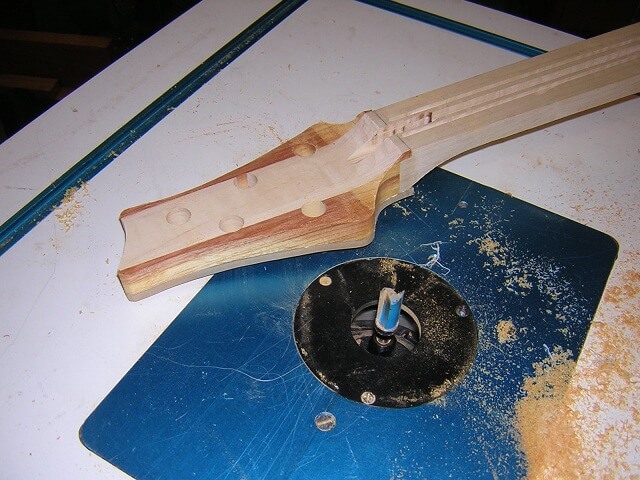
I attached my headstock template to the back of the neck with double stick tape, then used a pattern cutting bit on the router table to bring the headstock to final size. When doing this, one has to be extremely careful around the top of the headstock as the bit has a tendency to grab the wood and tear out large hunks. This little tidbit falls in the "I don't know that because I'm smart" category.
It was now time to glue the carbon fiber rods in place, and install the truss rod.
While on the web site I'm presenting the construction in the order of neck, fretboard then the body, in reality I worked on all the pieces simultaneously. This is the reason in this next step you see a finished fretboard.
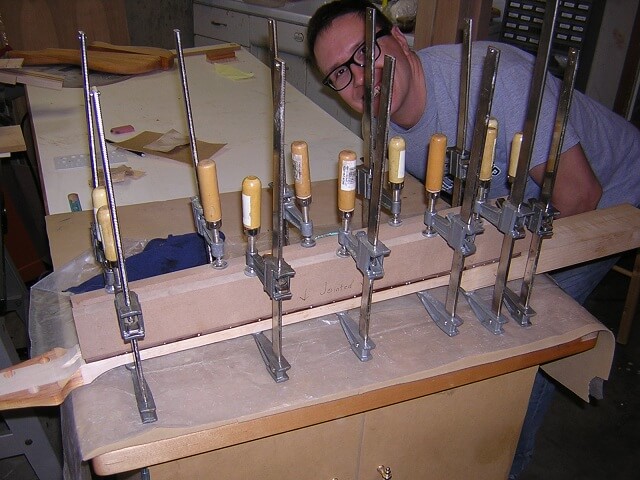
I used epoxy to glue the fretboard in place. I have two clamping cauls made out of MDF that have one side jointed perfectly straight. I use these when gluing fretboards in place so the neck has less of a chance to warp while the glue is drying. Right as I snapped this picture my brother photo-bombed it.
Once the glue was dry and the clamps were removed I began the process of carving the neck. Out of tradition I start at the headstock end of the neck. I could easily have started at the other end.
I love carving necks. It's my favorite part of building guitars.
Once the headstock side of the neck carve was roughed out, I then switched and carved the heel end.
I began shaping the heel. I'd do the rough heel carve at this point, and I'll finalize it once the body wings are glued in place so I can blend the carve into the body pieces.
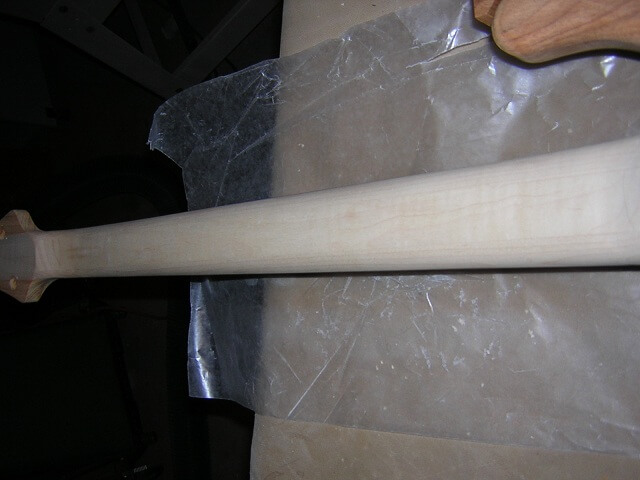
Once I carve each end of the neck, I then carve the middle to connect the two. After carving, I spend lots of time sanding the neck smooth to remove all of the surform gouges and scratches. I was particularly pleased with the way this neck carve turned out. It may be the best neck I've shaped to date.
At this point the everything on the neck was taken as far as I could get it before it was attached to the body. In order to attach it to a body, though, one needs to build a body. But before I describe that process I'll first go over how I built the fretboard. Continue the adventure...
Return To The Main Music Gallery
This page last updated on 06/28/2018