


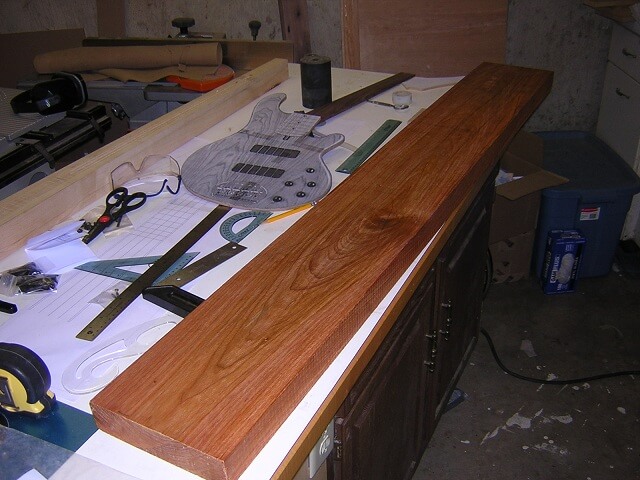
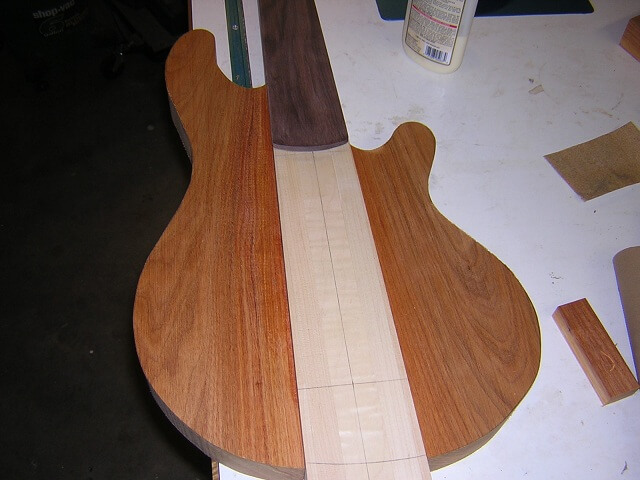
Now it was time to shift my focus over to the body. The "wings" of the body were going to be a South American wood called canarywood. I had never used canarywood previously, so I had no idea what to expect. Now that the project is done I can provide my thoughts. First, I love the color. It looks a lot like mahogany, but with more of the color from cherry. Much like cherry, over time it would darken noticeably from when it was first cut. It is fairly heavy, but not quite to the level of ebony or bubinga. It is pretty oily which meant that it would gum up sandpaper quickly, especially with finer grits. Here is my raw board before I started.
I cut two pieces of canarywood for my body. Because the control side of the bass is shorter than the top side, I cut a shorter piece of wood. No sense wasting canarywood if I don't have to.
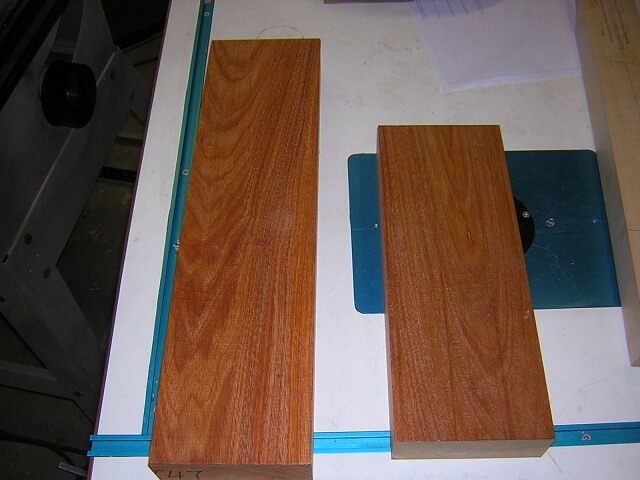
The canarywood lumber I purchased was a full 2" thick. Seeing as my body was only going to be 1 3/4" thick I needed to thin the stock. I could have just sanded off the excess, but per my diatribe above about conserving wood I decided to use the band saw to trim off the extra. This left me with two pieces of 1/8" canarywood that I could use later.
The band saw leaves a very rough surface, so I used my drum sander to sand the pieces smooth. As I had mentioned, canarywood really gums up your sand paper. I had to replace the paper on my drum once I had the body pieces smooth.

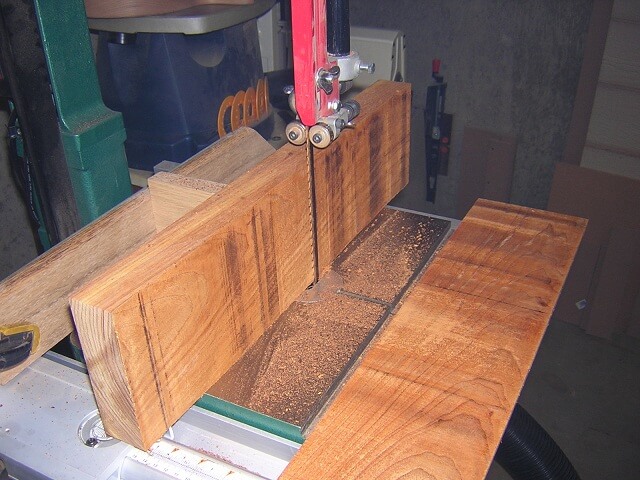
I used the planer to make sure I had a completely flat edge on each body wing piece so that it would fit tight against the neck blank with no gaps. I then used my template and traced an outline of the body on the pieces.

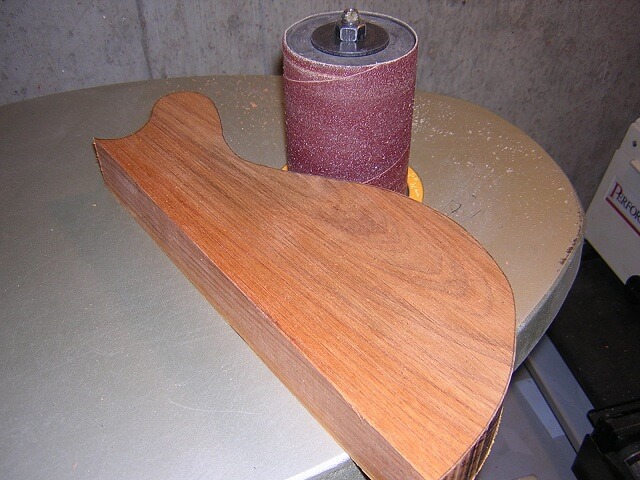
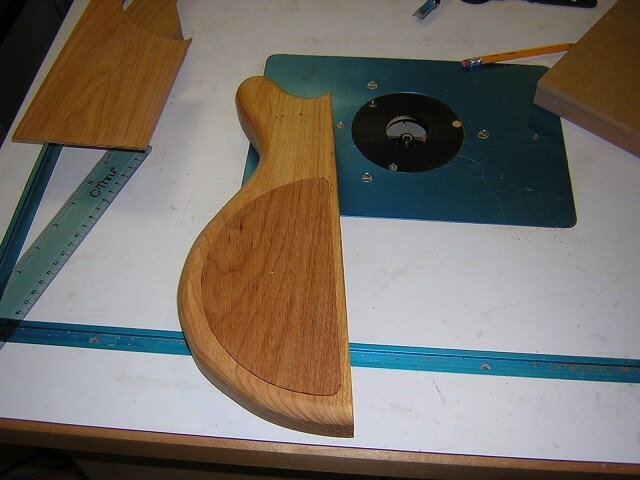
I then cut out each body piece on the band saw. It is a lot easier to cut the shape now than after they are glued to the neck blank. One of the things I like to do on neck-through instruments is wait as long as possible before I glue the body pieces. Wrestling a full sized instrument around is awkward, especially when it's a long scale bass.
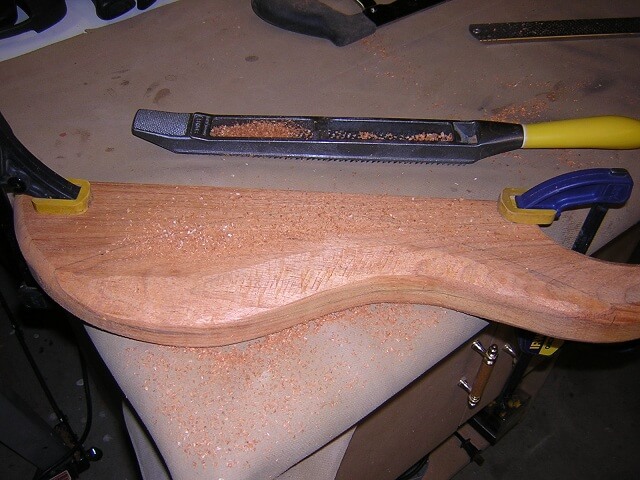
I made sure I cut my body pieces just outside of my marked lines. I did this because of the band saw scratches. Once the pieces were rough cut I put them on the spindle sander and sanded them all the way up to the line. By doing it this way I removed the scratches and was left with a very nice edge.
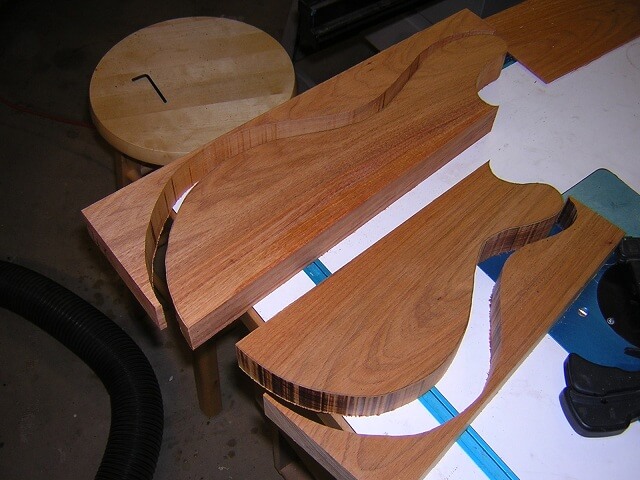
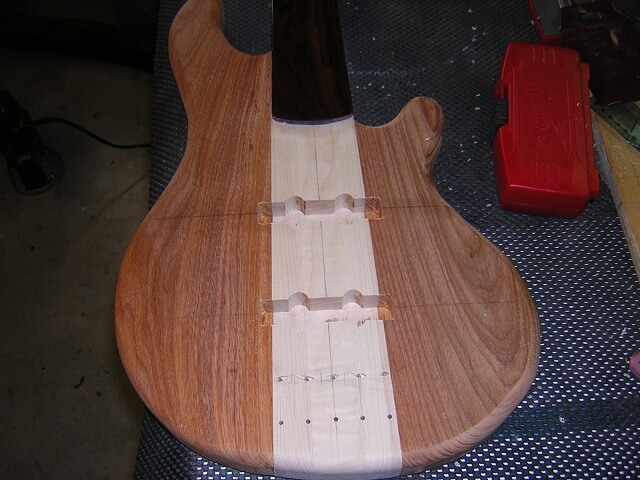
Now it's actually starting to look like a bass.
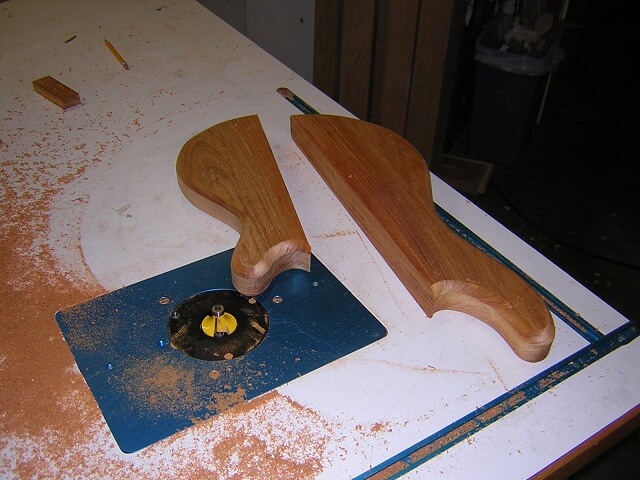
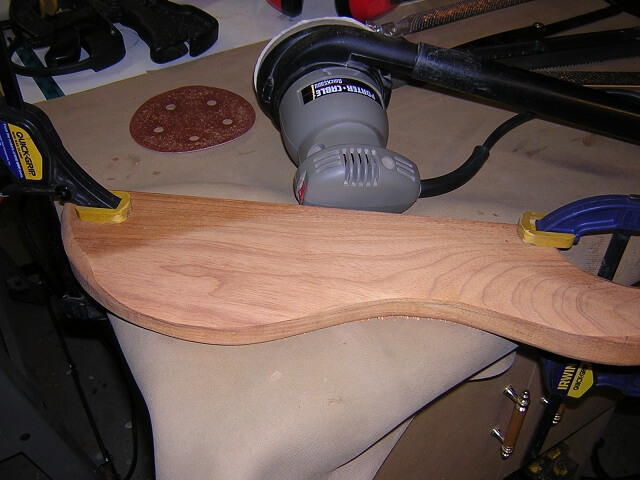
I wanted the edges of the body to be significantly rounded over, like on a Stratocaster. I put a 1/2" roundover bit in my router table and ran the pieces through on each side. I was careful not to accidentally let the bit slide around the corners and round over the faces that were to be glue to the neck.
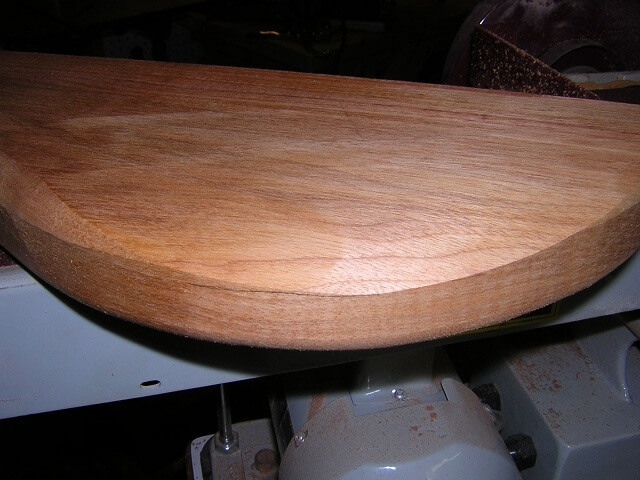
The bass was to have a subtle forearm cutaway. Usually I do this with a surform or a microplane, but seeing as I was trying all sorts of new techniques on this instrument I decided to just use my belt sander to carve the cutaway. Using this method wasn't very fast, but the cutaway was very smooth when I was done.
For the rear belly cutout, I couldn't use the sanding method so I went back to my surform. It makes a lot of wood chips and leaves an extremely rough surface, but it's a fast way to make carvings like this.
After the carving was done I broke out my orbital sander and removed the deep gouges the surform leaves. Once smooth I had my belly contour finished.
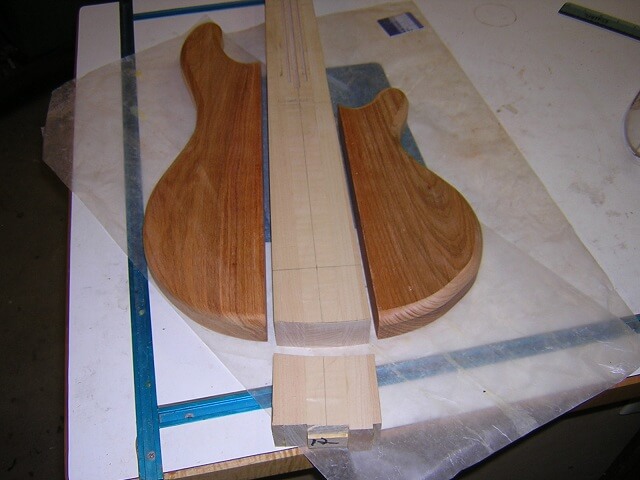
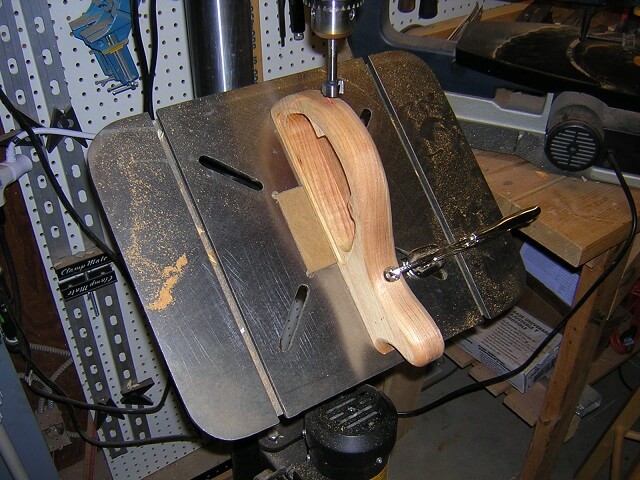
Next I cut the neck blank to length. Like the body pieces, I cut it long on the band saw and sanded it to the line on the spindle sander.
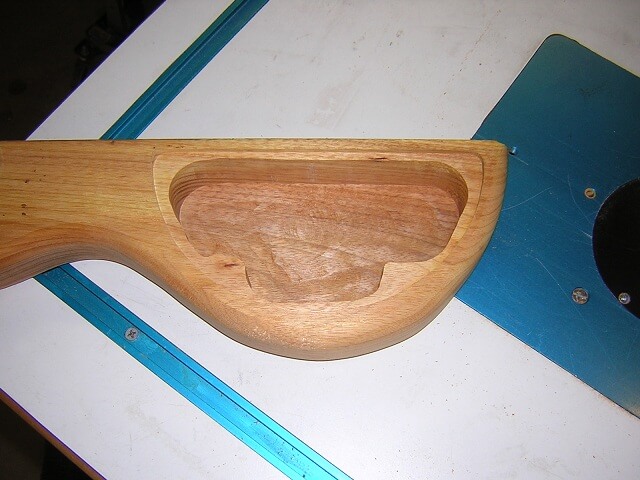
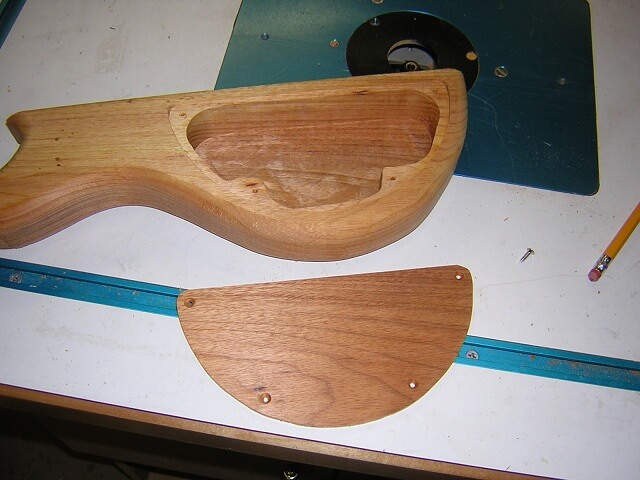
Now my attention turned to the control cavity. I marked the shape on the piece, then used a forstner bit on the drill press to remove a majority of the waste. This makes things a lot easier on your router not to have to hog out all this wood.
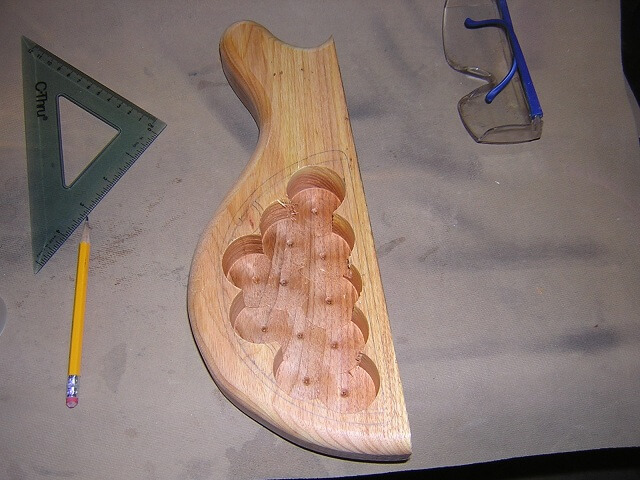
The router was used to remove the rest of the material. This smoothed the bottom of the cavity and the edges of the cavity.
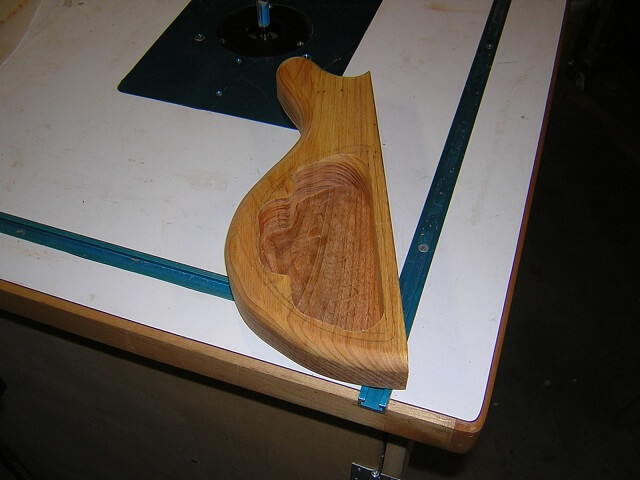
To provide a recess for the control cover I used my template and a pattern routing bit.
Here's the final control cavity. I still need to drill holes for the electronics and the cover screws.
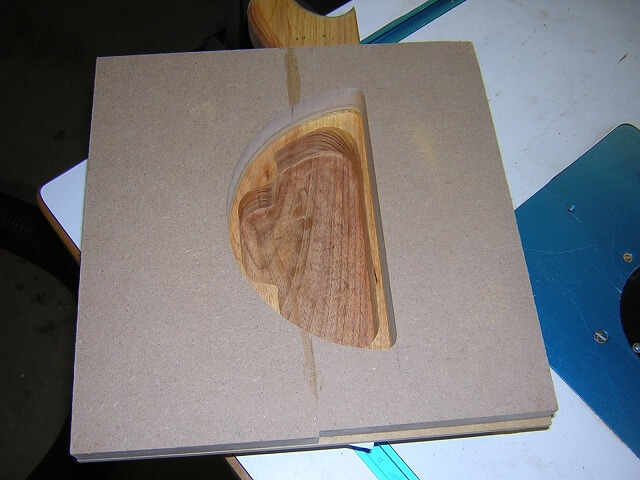
I like creating wood control cavity covers where the grain matches. This is a fairly easy thing to do on instruments that have tops glued in place, as I can cut the cavity out prior to gluing the top in place, and then cut the control cavity cover from the very piece of wood I removed to make the cavity.
With a one piece body, creating a matching cavity cover gets a little trickier. One thing I had to help me accomplish my goal was the 1/8" slice I removed when I thinned the body. I carefully lined up the grain on the slice and marked the cavity location. I then cut out the cover on the scroll saw.
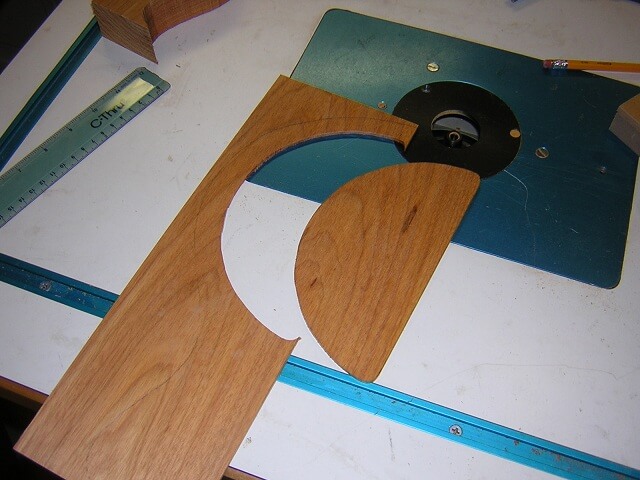
One thing I noticed about canarywood is that the color can vary drastically even within the same board. Even though the slice removed from the board grew just millimeters away, it is noticeably darker in shade. Nevertheless, I now had a grain matching control cavity cover.
Holes were drilled and countersunk for the screws that would hold the cover in place.
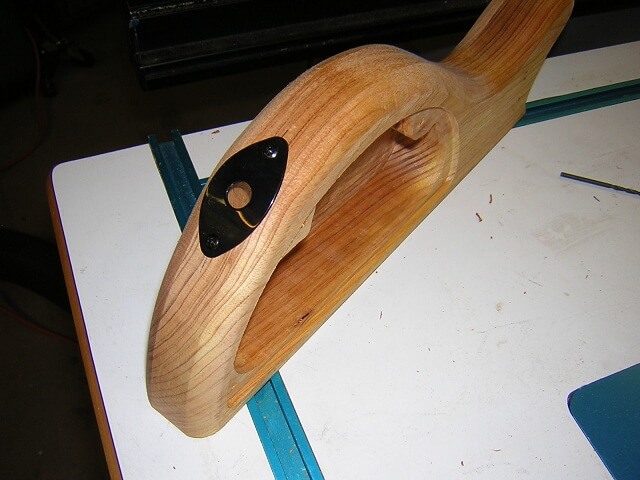
Most things about building a neck-through instrument are a little more challenging than other instrument types. One thing that is easier, however, is drilling the hole for the output jack. It was a piece of cake to clamp the body piece to the table, then tilt it to drill the hole at the correct angle.
With the hole cut, I lined up my jack plate cover and marked and drilled the holes for the screws.
I had done everything I could on the individual pieces, so now it was time to put them all together. I glued the body wings in place on each side of the neck. I had kept the off-cuts from the body pieces to use as clamping cauls. It's a lot easier to clamp to the flat edge of the off-cuts than it is to try and balance the clamps on the curved body sides.
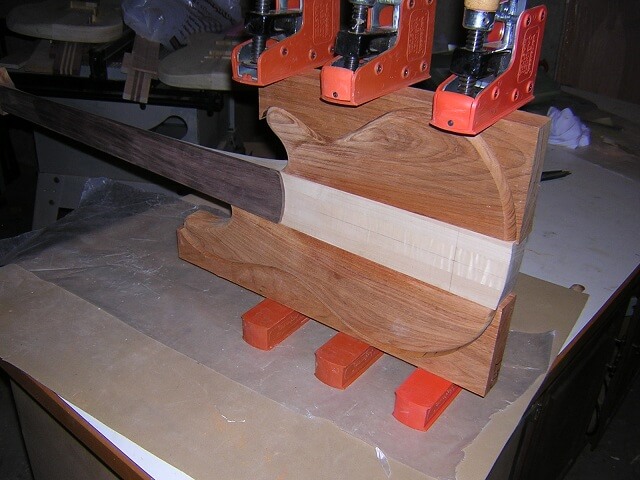
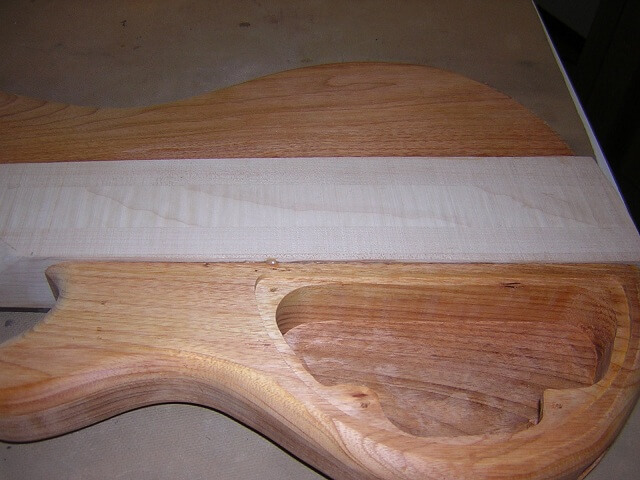
When the body pieces were attached, I made sure they lined up perfectly flush on the face of the guitar. This meant that the neck was just slightly proud on the back side. This was done intentionally knowing that I could remove the excess once the glue was dry.
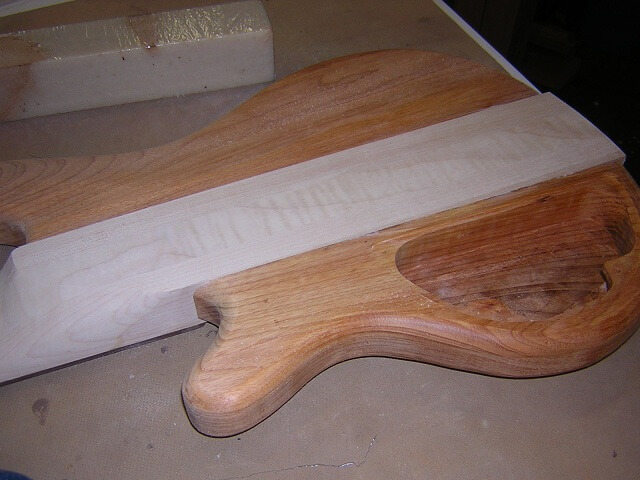
My belt sander was used to sand the neck flush with the body pieces.
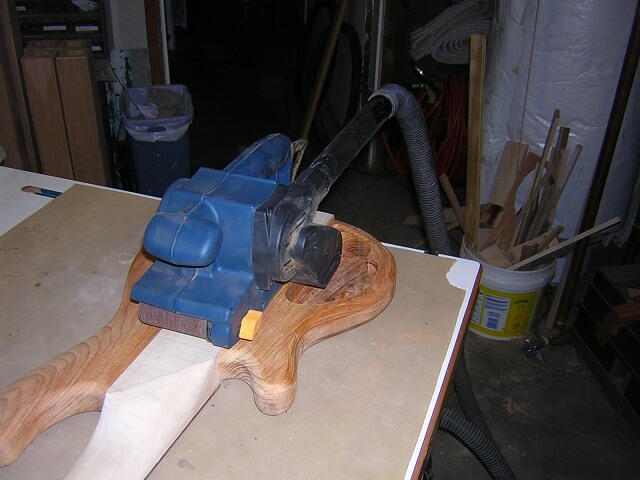
After the belt sander I switched to my random orbital sander to get everything perfect.
Now it was time to blend the neck heel with the body. I began by drawing a line to guide me as I carved.
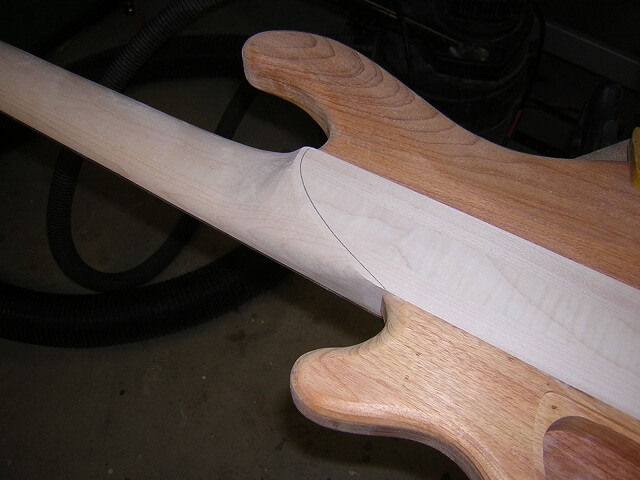
My round microplane works well for curved carves such as this.
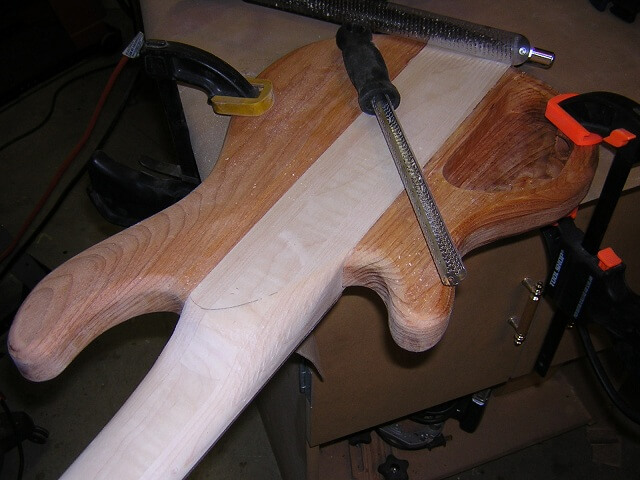
With some sanding, I have the neck heel well blended into the body.
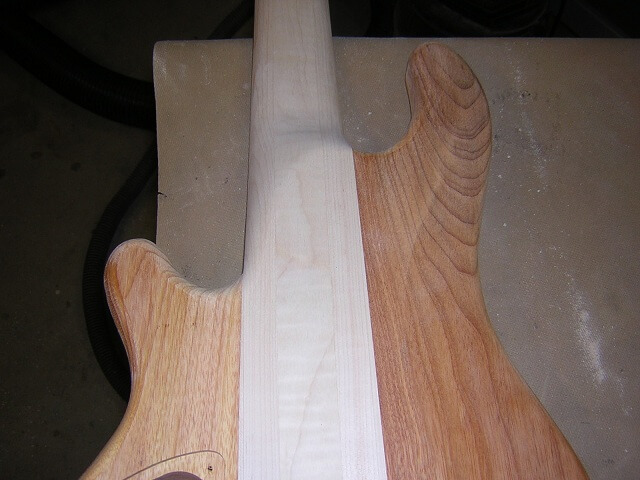
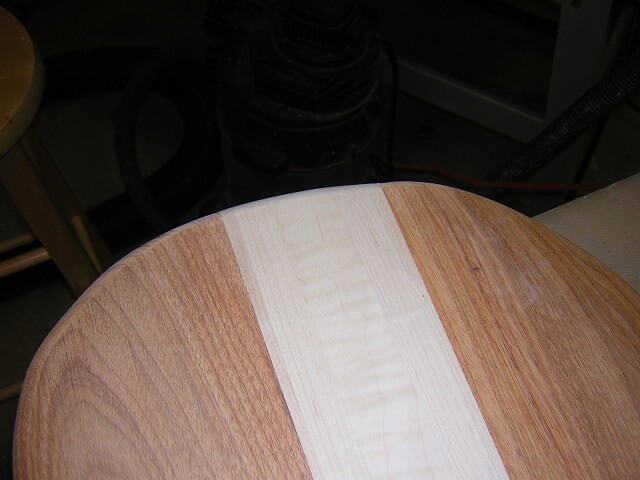
The ends of the neck were still square, while the body pieces had the 1/2" round over. I broke out the router and made the maple match the canarywood. I had to do both sizes.
On this instrument I'm using individual bridges. I lined them up in place and marked where the mounting holes should be drilled.
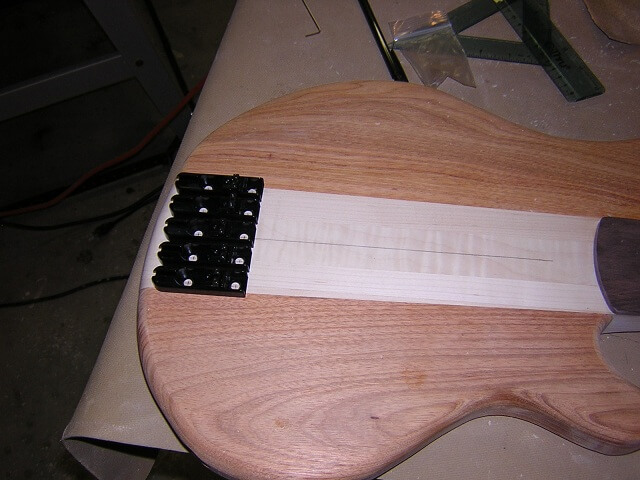
I had to be extra careful to make sure the holes were drilled perfectly in place, as any variance would be quite noticeable once the bridges were mounted.
Guitars should have a ground wire attached to the bridge to prevent noise. If you've ever played an instrument that had a loud buzz until you touched the strings, then that is a result of an ungrounded bridge.
With individual bridges, grounding becomes tricky. Some people just forgo grounding altogether and hope the instrument doesn't buzz too loud. Others ground one bridge, then use a zero fret, brass nut or string tree to electrically connect all the strings on the other side. I didn't care for either of these options.
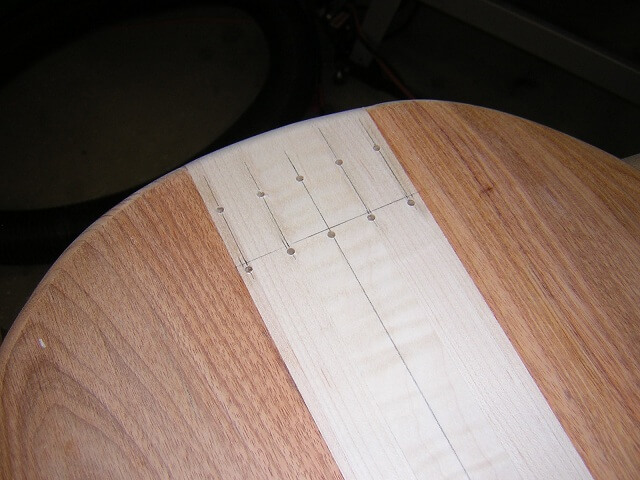
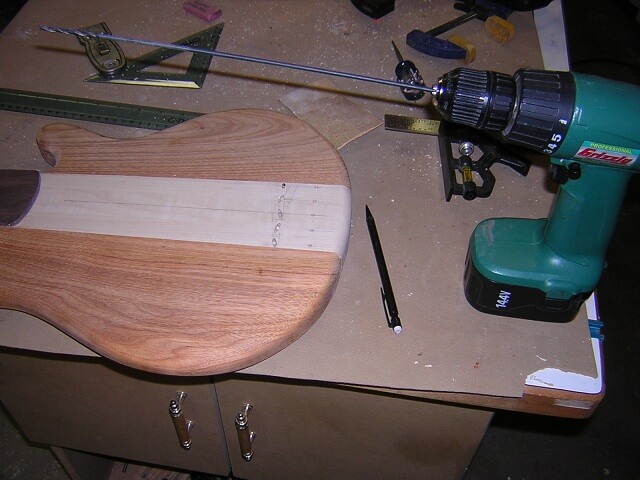
Instead, I drilled an individual hole below each bridge where a ground wire could be run to the control cavity. On this instrument I would have five wires grounding the bridge. I had to be extra careful not to let the holes run into each other while drilling.
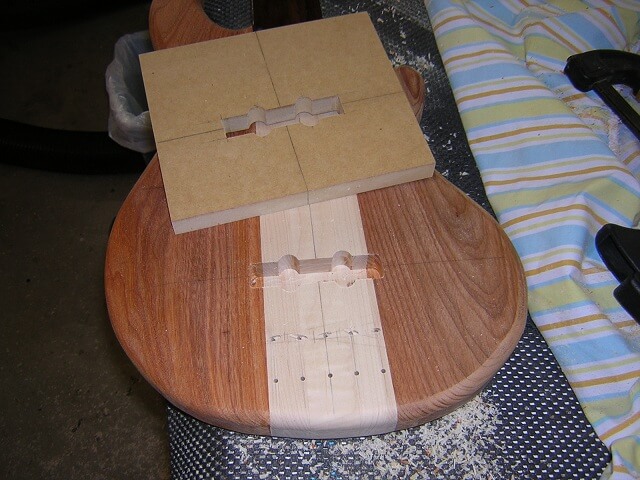
I created a routing template for the Dimarzio pickups I would be using for this instrument. I stuck it in place with double stick tape, then used my pattern cutting bit to carve out the cavities.
With both pickup cavities routed, construction is done. This instrument was ready for final sanding and spraying of the lacquer finish.
Click here to return to the pictures of the finished instrument.
Return To The Main Music Gallery
This page last updated on 06/28/2018