


This bass took much longer to finish than I had anticipated. With a statement such as that, my verbose nature does not allow me to make this declaration without further description. So before we get to pictures of the bass, let me explain:
I love playing bass. Although guitar is my primary instrument, there has always been something about the bass that I have enjoyed. When I listen to music I often find myself studying the bass line. A good bass line can make or break a song.
For example, when I was a wee lad in the fourth grade, the song "We Are Family" by Sister Sledge was popular. I am proud to say that I didn't like that song. In fact, when I was at the roller rink and that song came on over the PA, I usually chose that time to seek out the vending machine or the restroom.
Years later, I was in Ohio over the Christmas holidays visiting my wife's family when the song came on the radio. I was driving in the car and had the stereo cranked up thoroughly enjoying the previous track, whatever it was. Suddenly the car was filled with this old disco hit, and my heart sunk. It seemed to put a serious harsh on my musical buzz.
But suddenly, the bass line caught my attention. It was funky, complex and completely drove the song. The fabulous bass on this song just happened to be played by the late Bernard Edwards, whose prowess can be also heard in the music of the band Chic. I couldn't believe that I had ignored this song for so many years without noticing what masterful bass playing it contained. Since then if that song comes on the radio I revel in it. The bass line completely makes that song what it is.
While I will never aspire to play at the caliber of Bernard Edwards, I still love finding a funky bass groove and jamming. I don't get a chance to play bass very often, perhaps two or three times per year. However, I truly believe that if I were to find the time to sit and practice that I could be a better bass player than guitarist, and that bass could become my primary instrument.
During those rare times I would get to play bass, I would often play an old 80s Ibanez bass. This bass, while solid, was nothing to write home about. The church had purchased it years beforehand for a specific purpose. After it was no longer needed, I was worried that it would grow legs and walk away from the storage room, so I took it home and stored it in my basement. Of course, this made it readily available for me to play when I needed.
I had used the bass for about five years when a sister church was in need of an instrument. They had a bass player, just no bass. So I gave the bass to them so they would have something to use. This left me without an instrument of my own. When I needed to play bass I would borrow one from a friend.
I decided that seeing as I was in need of a bass of my own, and coincidentally seeing as I build instruments, I would build myself a nice bass that I would be proud to play for many years.
Back in 2005 I had designed a bass for Phil Zach. This bass I designed was similar to the five string Peavey Cirrus he was playing at the time. The body shape was my own design, but didn't drift far from conventional. Phil thought the design was OK, but he figured as long as I was going to build him an instrument he would like something completely unique. So I shelved this design and built him the Mor Phil. I really liked how this original design looked so when it was time to start my bass I pulled the design down from my storage area, modified it to be a four string, and began construction.
This instrument started life as a neck-through, which means the wood from the neck goes all the way through to the end of the body, versus the neck being bolted or glued to the body wood. I spent approximately two years building this bass, my progress being slowed significantly by the time I was investing in a new church we started.
I was nearly done with the instrument, and was doing the fretwork prior to spraying the finish. The neck had developed a back-bow as the result of gluing the fretboard with PVA glue (which I since have stopped doing.) While attempting to straighten the neck prior to fretting, I managed to blow the truss rod out of the back of the neck, effectively destroying the instrument. I remained remarkably calm about the situation. SERENITY NOW! I set the ruined instrument aside for a time to reflect upon its demise.
After another long span of time had passed I decided that the body was too nice to throw away and devised a way to salvage this part of the instrument. I carefully cut off the headstock and removed the truss rod. I then delicately cut the neck from the body and sanded off the fretboard even with the top. From there, I built a new neck then routed a neck pocket in the body and glued it in place. So although the bass gives the illusion of a neck-through, it is actually now a set neck.
A flaw like this would be unacceptable in an instrument that I would intend to sell. This bass, however, was going to be mine and mine alone. The surgery is only visible from the back side, and most of the time that will be pressed tight against my fat body. So in my mind this was a perfectly acceptable compromise that would allow me to salvage the beautiful wood contained in the body of the instrument.
Here are the specifications of the instrument:
Neck Type: Set neck
Neck Wood: Seven layer laminate of maple, walnut and mahogany
Truss Rod: Dual action "Hot Rod"
Reinforcement: Two carbon fiber rods
Headstock: Fender-esque flat style (non-angled)
Tuners: Wilkinson
Nut: Graphite
Body Wood: Bubinga, maple and mahogany
Body Features: Chambered for weight reduction
Control Cavity: Grain matched
Battery Access: Two 9V battery boxes mounted on the back
Fretboard: Ebony 24 fret
Scale Length: 34"
Inlays: Mother of pearl/abalone "V" shaped
Pickups: Bartolini P/J set
Preamp: Bartolini active wired for 18 volts
Controls: Two volume controls, bass and treble controls, push-pull switch on lover volume for active/passive modes
Hardware: Gold
Finish: Gloss nitrocellulose lacquer
Weight: Nine pound range (guesstimate)
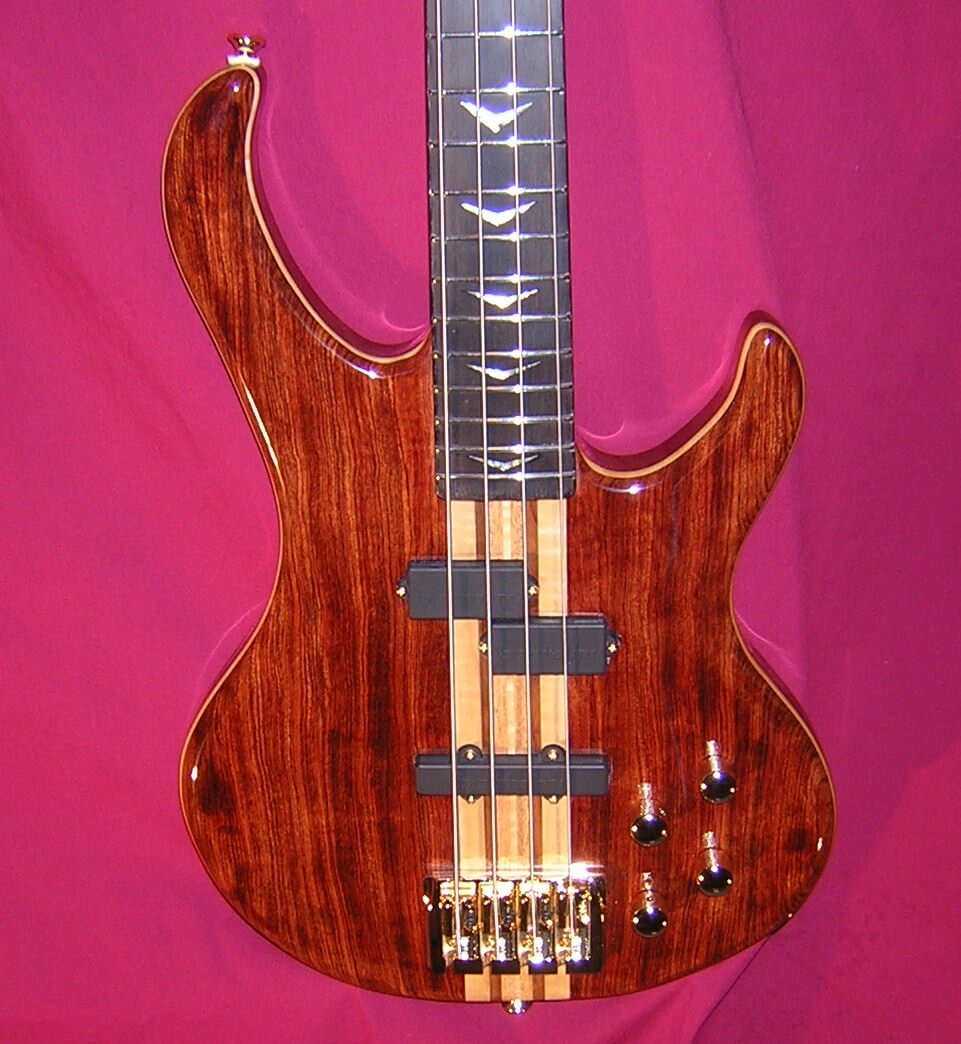
We'll start with a straight-on view of the front of the bass. The shiny finish and the flash bulb makes for some tricky photography, of which I am not an expert.

Here is another view of the entire front of the instrument, this time slightly from the left. You can see the 1/8" thick layer of maple peeking out from the side of the body wings.
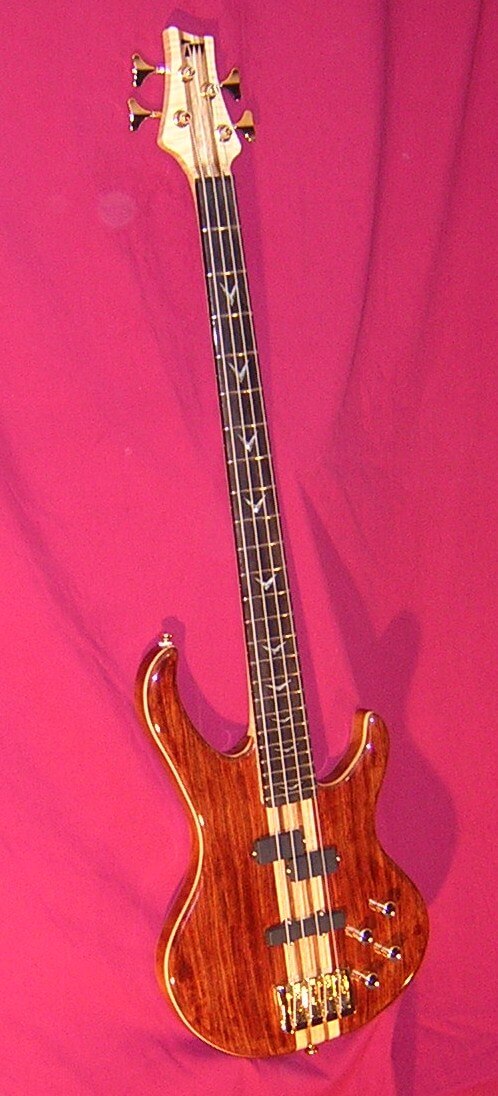
This angle demonstrates that the surgery to replace the neck is nearly invisible from the front of the instrument. You have to be looking for it to see where the new neck is grafted in place.
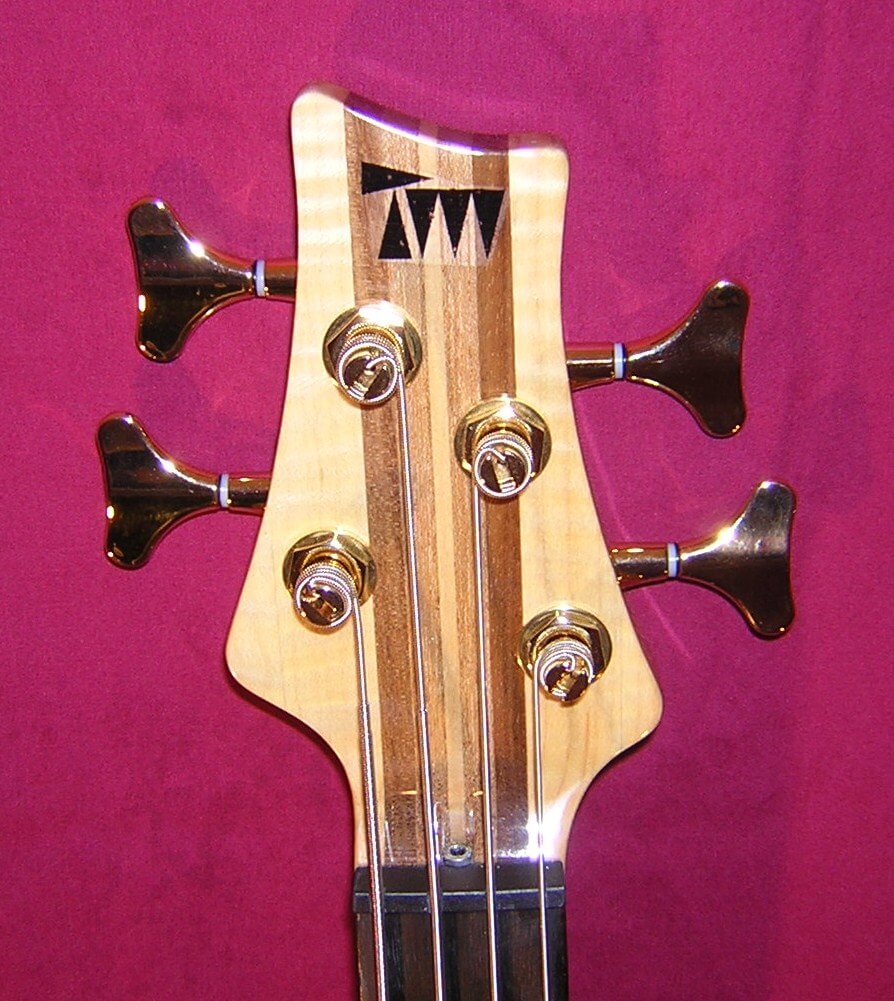
A close-up shot of the headstock. The Tundra Man logo is on prominent display. The headstock was designed to provide straight string pull over the nut, which increases tuning stability. You can see the top of the truss rod peeking out in the adjustment slot.
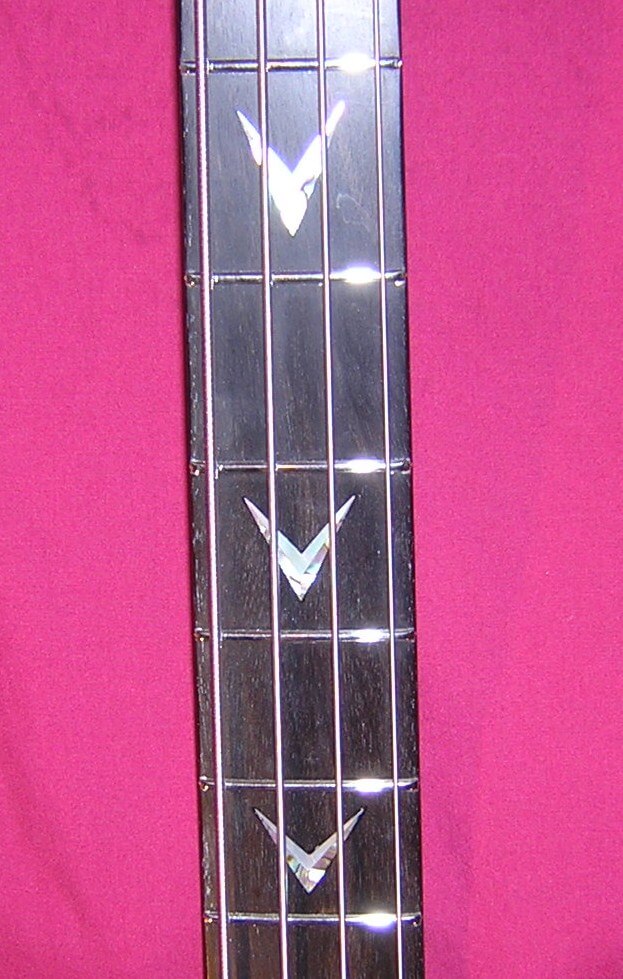
Here is a close-up shot of the neck inlays. The flash makes it hard to see that the top of the inlays are mother of pearl, and the bottoms are made from abalone. The flash sure makes every bit of white dust on the fretboard show up, though!
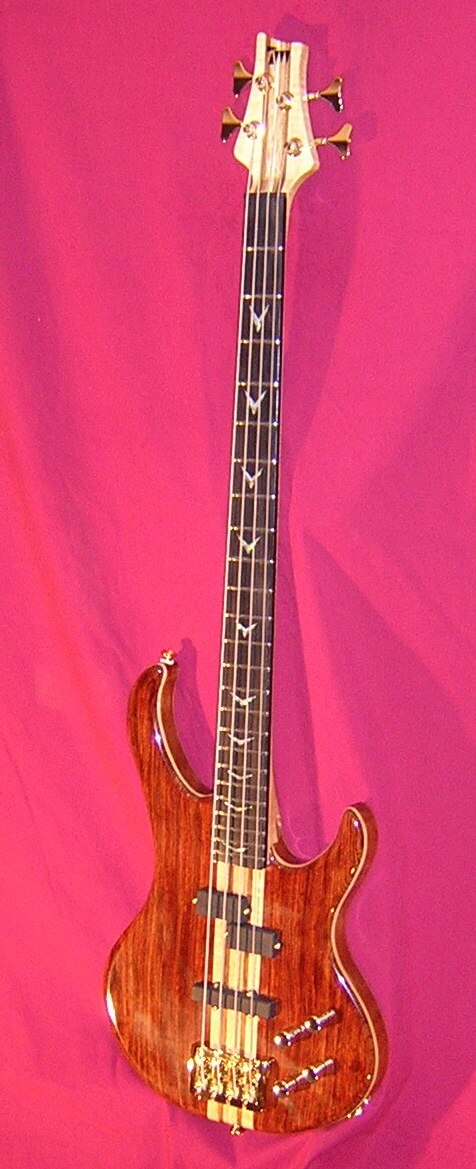
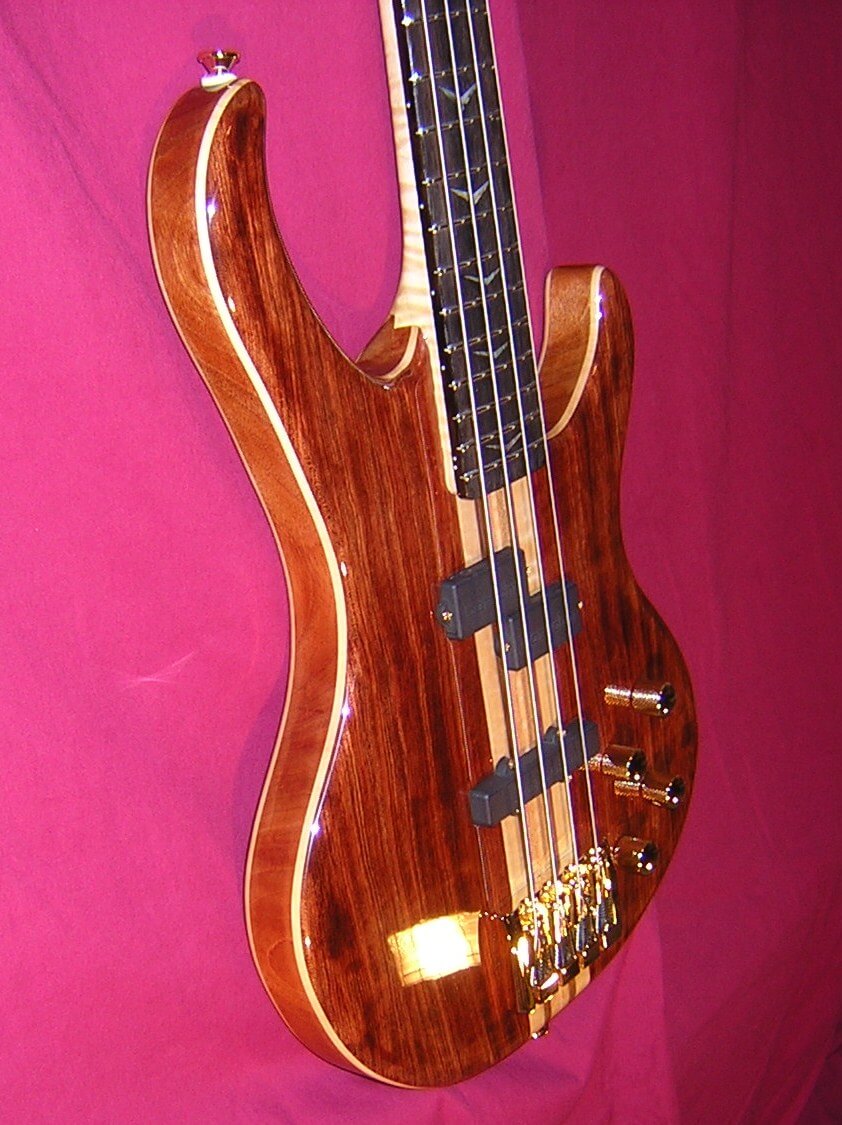
This is a full shot of the body of the bass. The slight downward angle of the camera distorts the dimensions slightly, which makes the horns look like they are just as wide as the butt end of the instrument. In reality, the horns are slightly narrower.
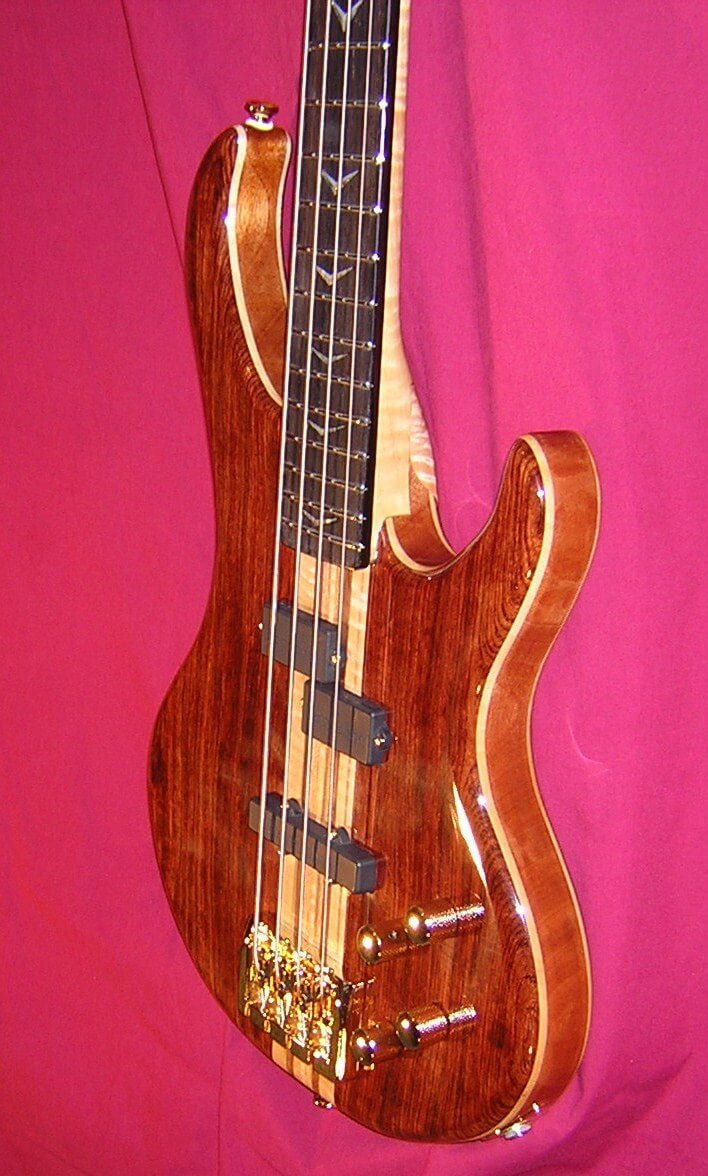
This angle of the body prominently displays a reflection of the shop light I was using to light up the room. However, it does give a good example of how shiny the finish turned out.
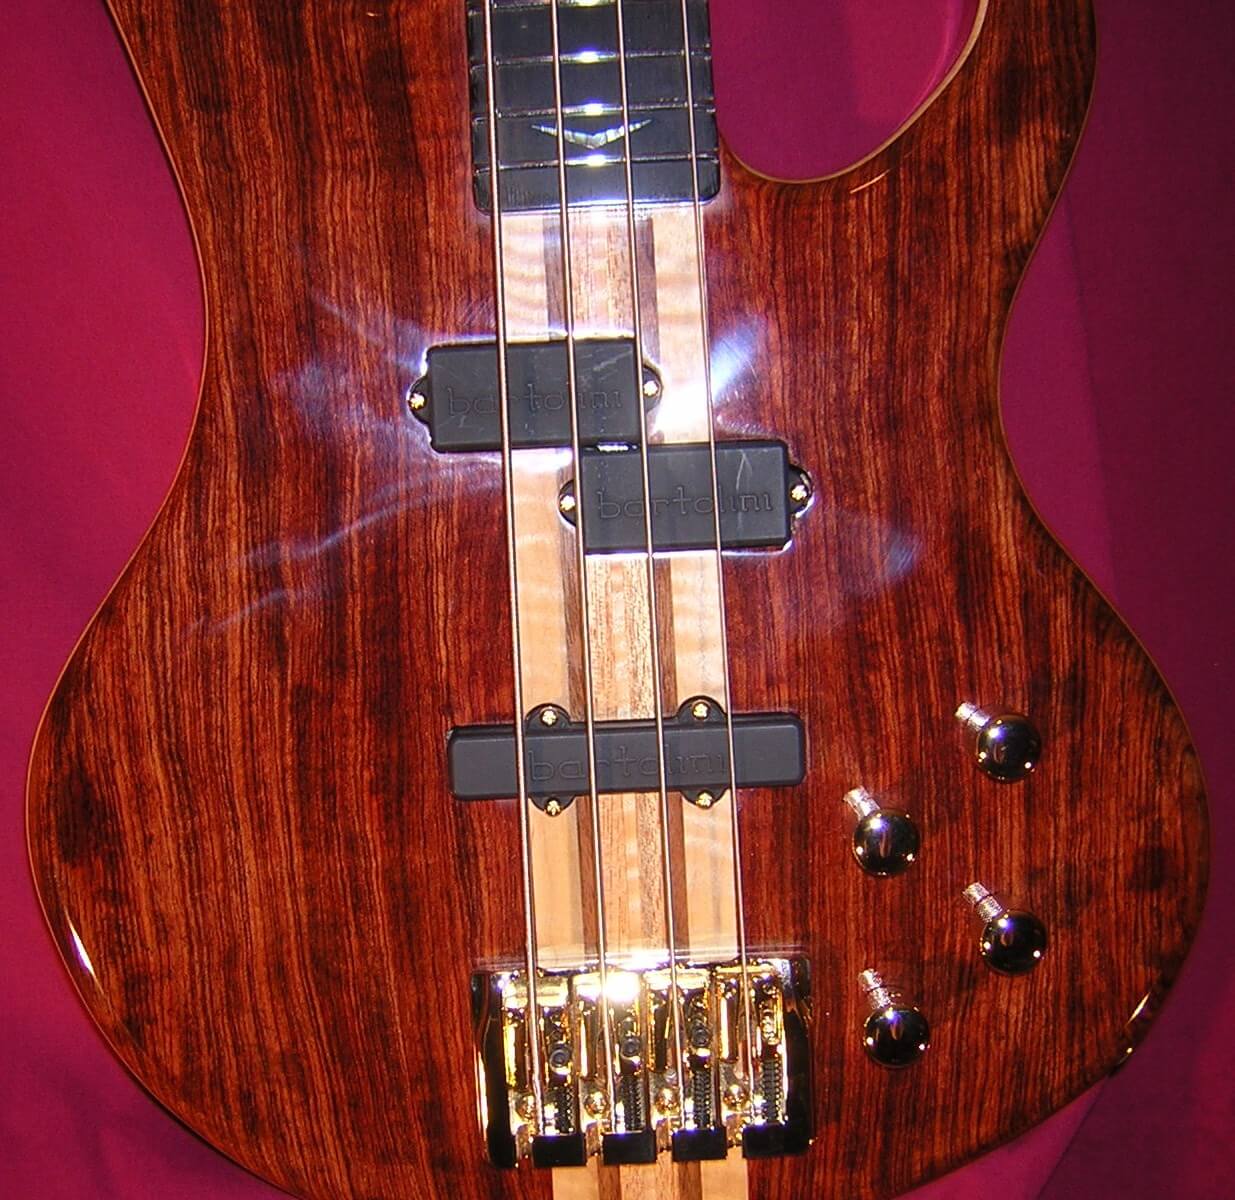
The big gold brass bridge, and the four metal knobs probably add a pound to the weight of the guitar. But they look so good I decided they're worth the weight. Get it? Worth the weight? Har har...
Here is a good view of the Bartolini pickups and the beautiful grain of the bubinga wood.
Here's a straight-on shot of the back of the bass.
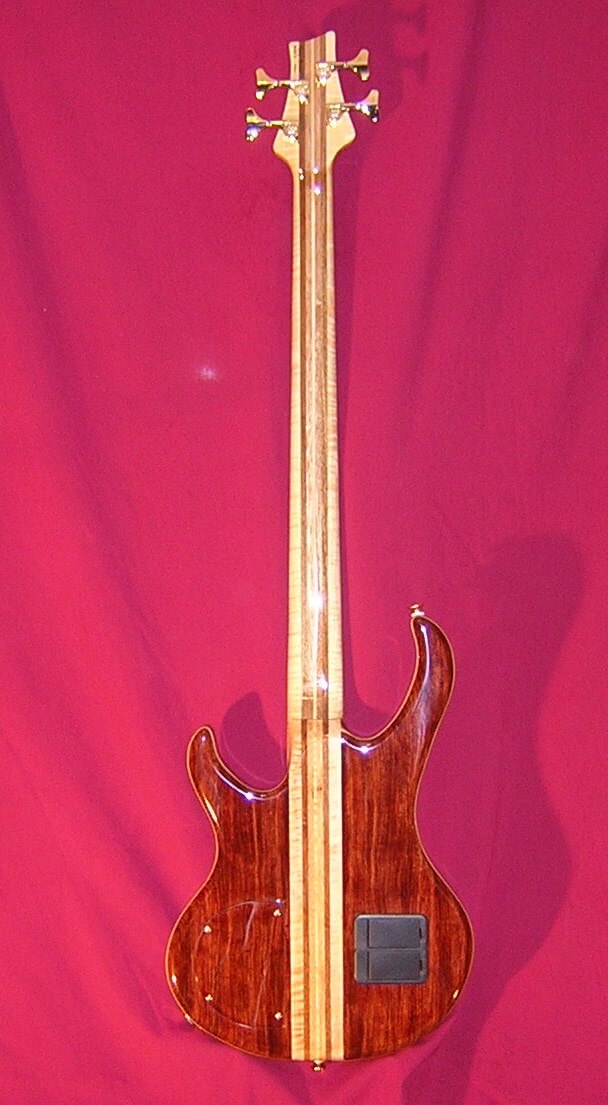
The cavity control cover was cut out of the wood before the body wing was glued together, making for an exact grain match.
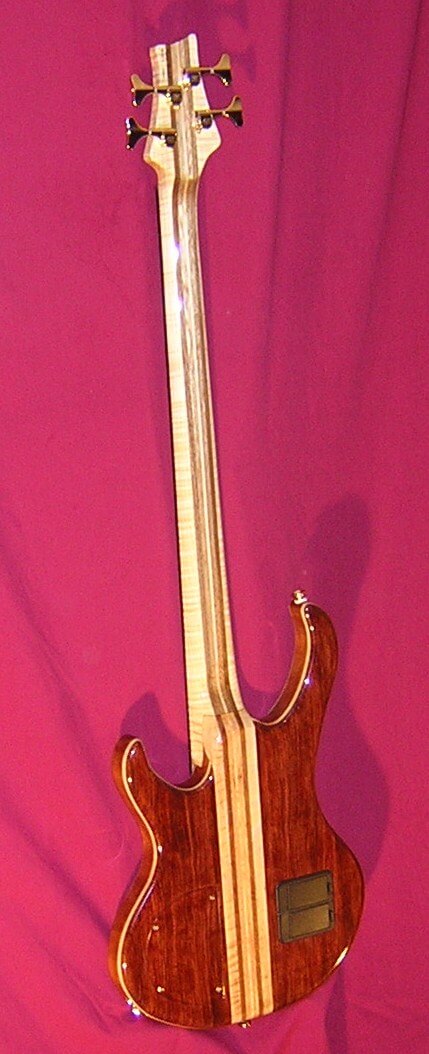
A picture showing another angle of the back of the instrument.
Here is a close picture of the back of the headstock. I sign, date and number all of my instruments. The number is sequential in the order I started the instrument. The date is the date the instrument was finished. So I have some instruments with a smaller number but a later date, as they sat around in the shop for a while prior to being finished.

This view gives a good look of how the replacement neck was grafted to the original body. The different laminates of the new neck were sized exactly to those in the existing body. Unfortunately, due to slight wood color differences the repair is more visible than I had hoped. Still, with it being on the back of the instrument it will rarely get noticed.

The two 9 volt battery boxes are for the active preamp, running at 18v. The electronics should seldom need to be accessed, so they are held behind the screw-on cover. Batteries need to be changed fairly often, however, so those are in dedicated boxes. The black battery boxes don't look as clean as a wood cover, but allows the batteries to be changed between songs. Unscrewing a cover wouldn't be as quick.
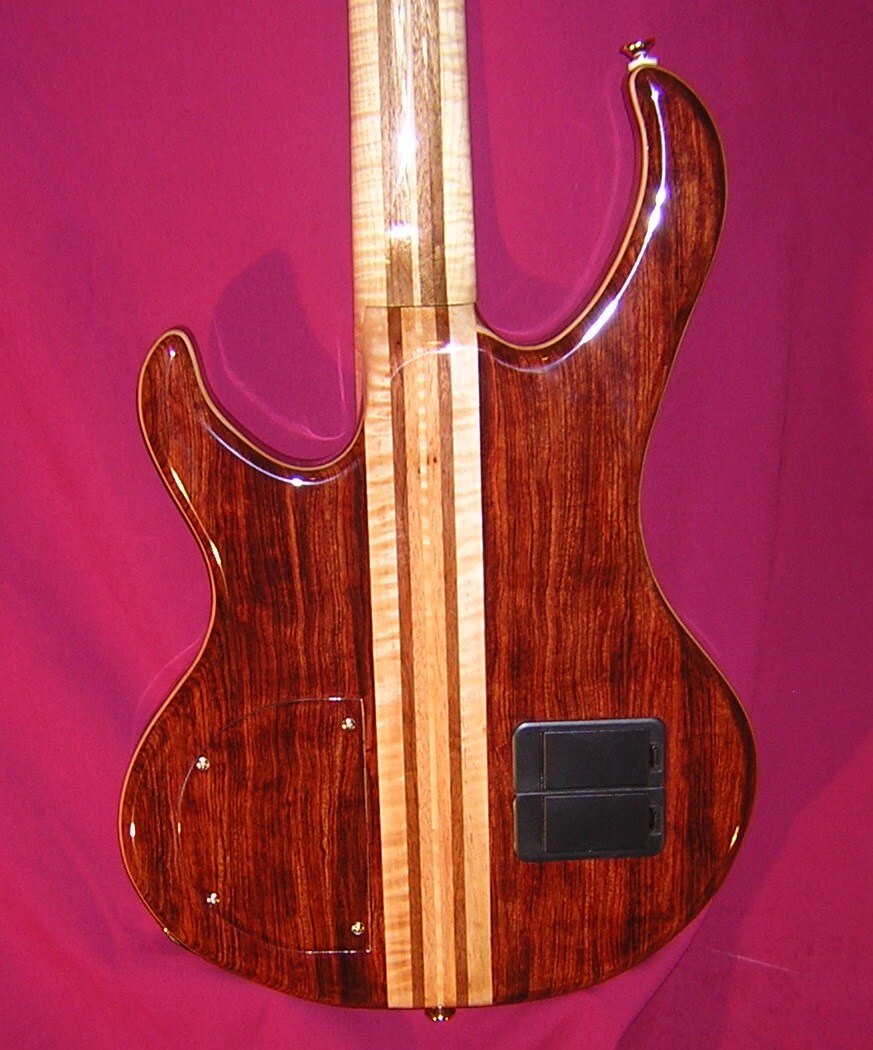
This picture gives a good view of the mahogany which makes up the center layer of the body wings.
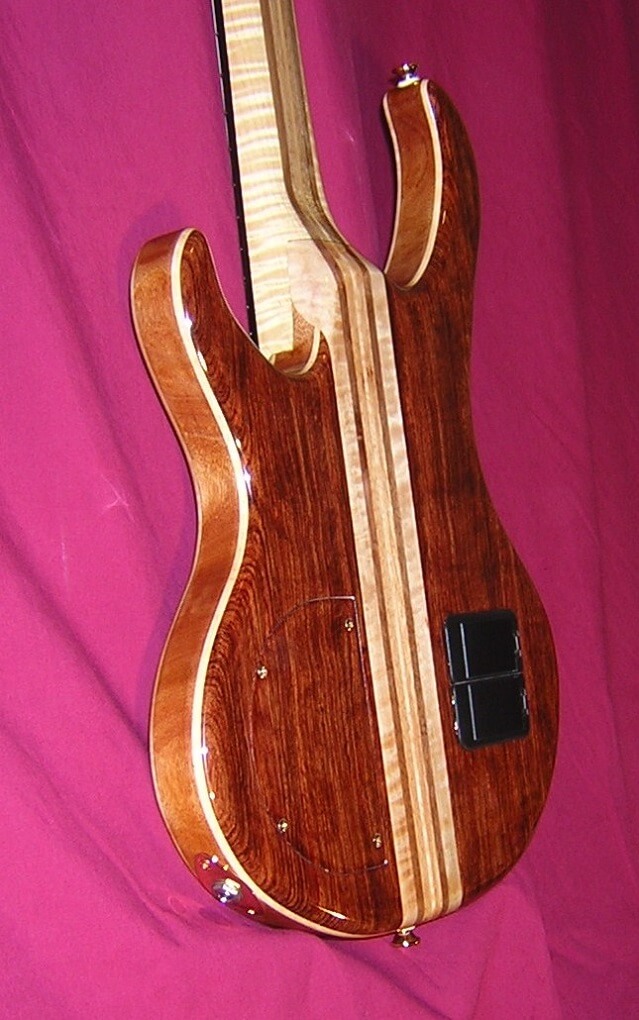
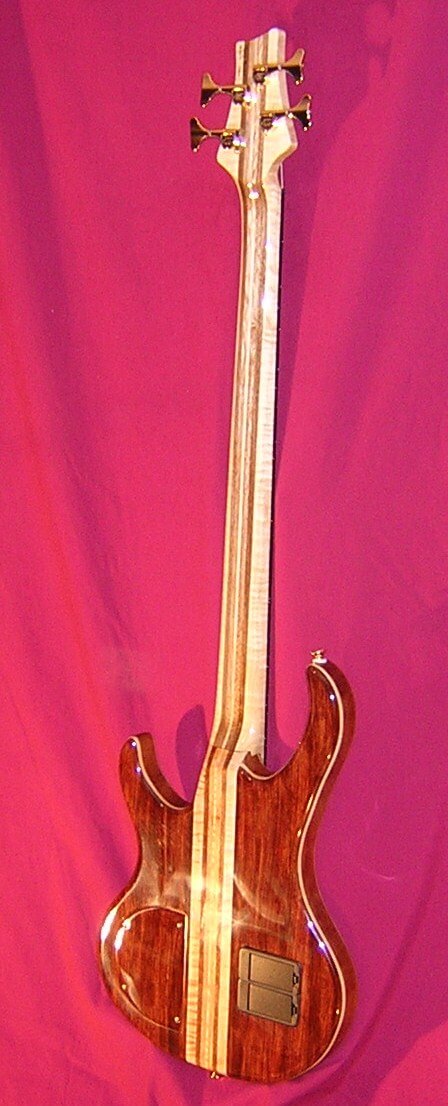
Finally, this is one last picture showing the right side of the instrument back.

Check out the photos of this bass during construction.
Return To The Main Music Gallery
This page last updated on 06/28/2018