


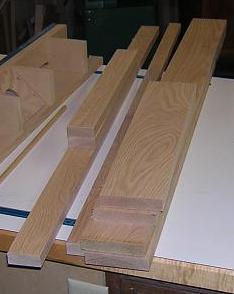
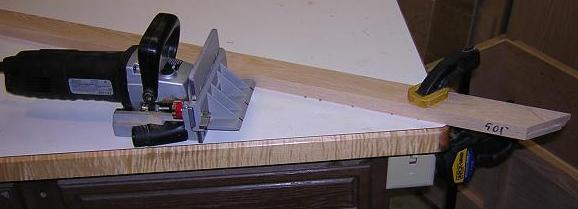
Now that the outer trim has been installed, I wanted to put skirting around the bottom of the box and a crown around the top with a profile that matches the skirting. The original plans called for purchasing pre-fab oak molding and using that, but anyone who knows me knows I wouldn't accept that as a solution. Instead, I opted to cut the pieces from oak and rout a profile on them. First I cut the stock to two widths, the wider to be used for the skirting.
Seeing as he's got a vested interest in the project when it's done, Tundra Boy was helping around the shop quite a bit through the whole process. Soon he'll be old enough for me to assign him sanding chores!

I used an ogee bit in my router table and routed a profile on both the skirting and crown pieces. I took care to ensure the profile would be oriented correctly so as to match when the pieces were installed. This required that I ran the skirting pieces through on end, and the crown pieces through on their width. Another subtle detail, but one that pays dividends once the project is done. Also, if you look closely in the pic below, to the left you'll see a notepad with some scribbling on it. This was the master plan for this whole project. Most of what I do, I wind up doing off the top of my head. Not the best way, but it's how I've always worked.
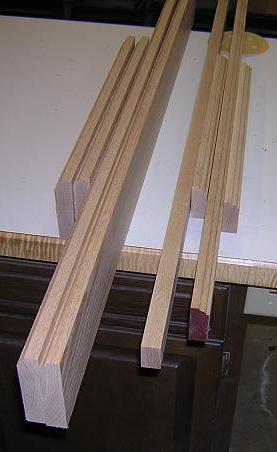
Because the skirting was so wide, I wanted to add a little more to the profile on the top edge. Using the table saw, I cut a 1/16" deep groove slightly below the profile. It's difficult to see in the pic below, but doing this lightens the overall look of the base.
I then moved on to the crown and cut the pieces to size.
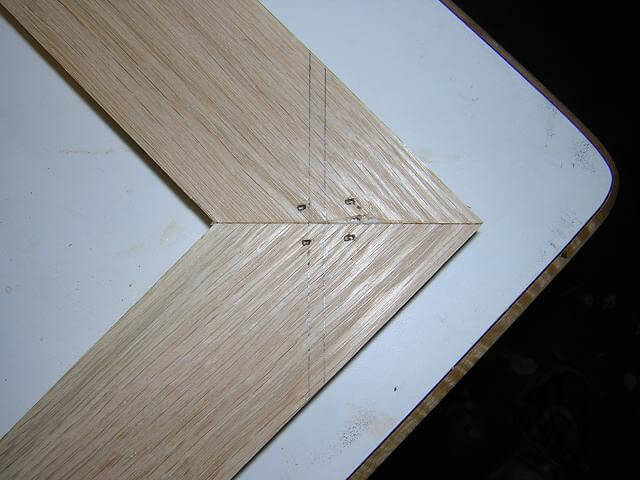
I didn't want the miters on the corners of the crown to pull apart over time, so I cut bisuit slots to strengthen them.
Here's a little trick I've picked up over the years. Miter joints are difficult to clamp if you're not doing four of them to form a rectangle. To hold a joint tight until the glue dries, I drive two brads on either side of the joint line through the edges of the biscuit. This keeps things from moving around until the glue sets up. Just be sure you use short enough brads to not blow through the back of the piece!
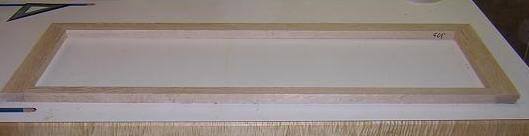
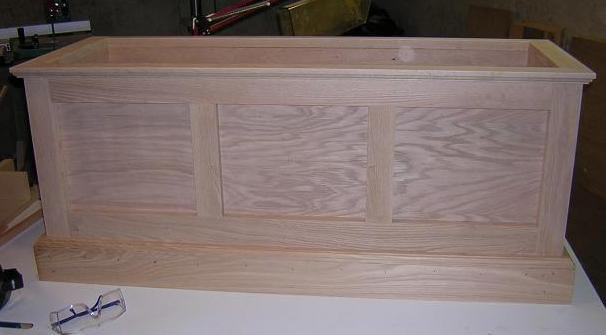
While the crown was drying, I worked on installing the skirting. I mitered the ends of the pieces, then used glue and brads to hold them in place. Again, this should be sufficient as the skirting is decorative, not structural. The weight of the toy box should be supported by the legs.
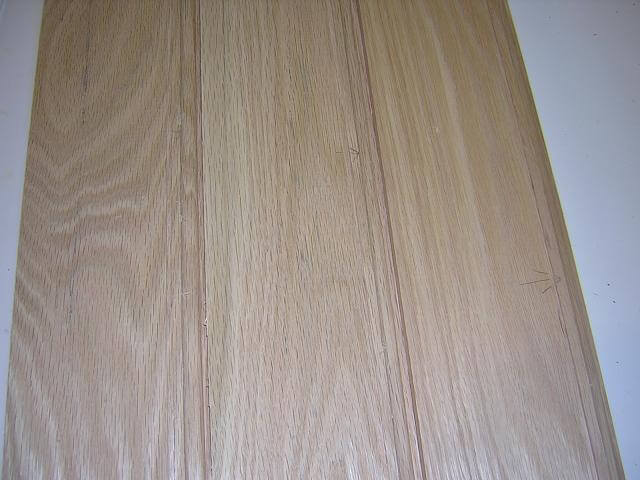
This is a very visable part of the project, so I took plenty of time and made sure my miters were good and tight. I used lots of glue to ensure the joint line didn't have any gaps. I could clean up the squeeze out later.
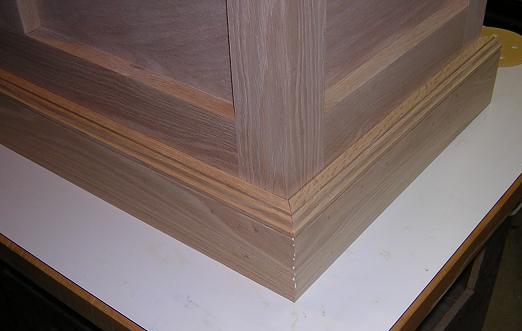
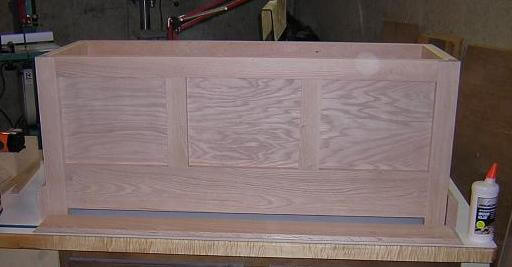
Once the skirting was complete, I attached the crown with glue and brads, then sanded everything to make it pretty.
Now the fun really begins: the inner molding!
Return to where we built and installed the outer trim.
Back to the toy box main page.
Return To The Main Wood Gallery
This page last updated on 06/28/2018