


The carcass and lid of the toy box was to be made out of plywood. The original plans called for 1/2" plywood for everything, but I was concerned that this would be a little flimsy for the lid, especially if it was going to do double duty as a window seat. I changed my design to use 3/4" for the lid. I stuck with 1/2" material for the sides and bottom, as it would be adequate strength wise and it would help keep the weight down.
Many people (myself included) prefer to cut plywood down to workable sizes using a circular saw. I find it much easier to do it this way, rather than trying to wrestle a full sheet of plywood on a table saw and attempt to achieve any degree of accuracy. My shop is small and the weather was nice this day, so to cut down the plywood I moved out to the driveway.
Rather than using sawhorses and trying to support the off-cuts adequately, I decided to do my cutting on the ground. I have two side boards I built for my truck to allow me to haul large loads, so I simply laid these down on the ground about 8 inches apart. This gave me two inches of blade clearance under the cut, which was more than adequate.
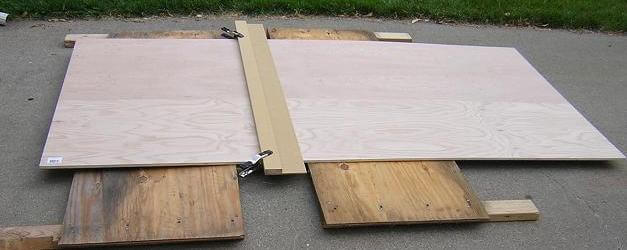
I clamped a saw board to the plywood, and began cutting the pieces for the carcass. I intentionally cut my pieces 1/8" oversize, with the intent to trim them to final size on the table saw.
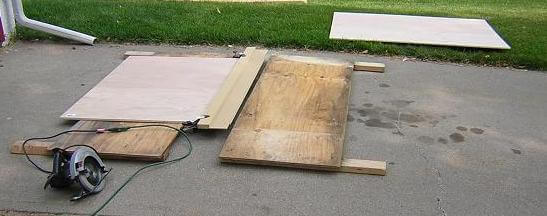
I continued cutting until I had the four sides of the box, a bottom piece and a top (out of the 3/4" stock.)
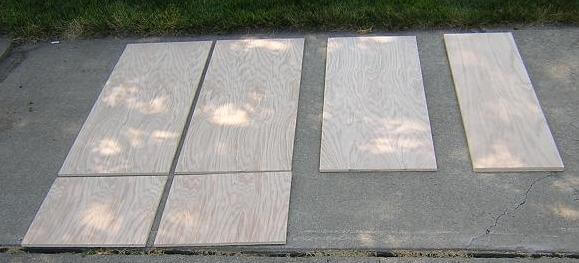
Once all the pieces were rough cut to a managable size, I moved back into the shop.
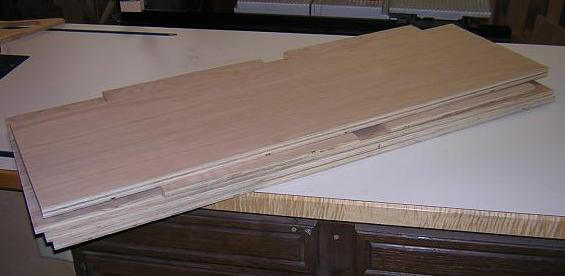
Next up, building and assembling the plywood carcass.
Back to the toy box main page.
Return To The Main Wood Gallery
This page last updated on 06/28/2018