


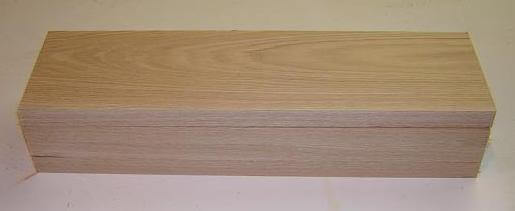
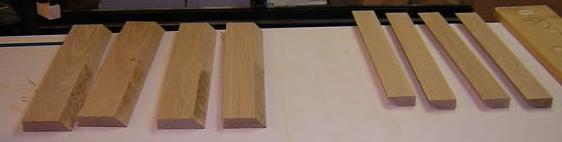
Now that the box carcass was glued up, it was time to build some legs to hold it up. I took some 3/4" oak and cut 4 pieces to length. I used a stop block on the Sliding Miter Table to ensure that all four were the exact same size.
The original plans called for the legs to be butt-jointed into 90 degree corners. While I liked the corner leg idea, I didn't like the butt joint idea because I wasn't going to paint the finished piece and a butt joint would make the two sides of the leg look assymetrical. Also, butt joints notoriously weak and the legs would be supporting the weight of the box. Instead, I decided to miter the 90 degree corner legs, so that no end grain would show in the joint. I also wanted to give the illusion that the corner piece was one large 2" square piece of wood, so I wanted the grain on each side of the miter to line up. To accomplish this, I had to cut the pieces carefully. First, I cut one side of the corner piece to width, beveling one edge to 45 degrees.
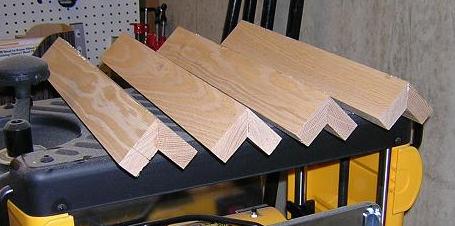
Next, taking care to keep the pieces in order, I cut the other side of the corner piece to width with a 45 degree bevel in the opposite direction, so that the grain would match up on each side of the mitered corner. Doing it this way took a lot more time than just ripping wood to the correct width, but the outcome gives a nice subtle attention to detail.
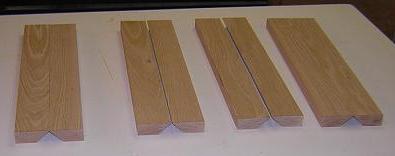
Knowing that a plain miter joint isn't extremely strong, and that these legs would be suporting the weight of the toybox, contents and the weight of anyone sitting on it, I wanted to reinforce the joint with biscuits. Cutting the biscuit slots on beveled edges takes a little extra time and measuring, but it's not impossible.
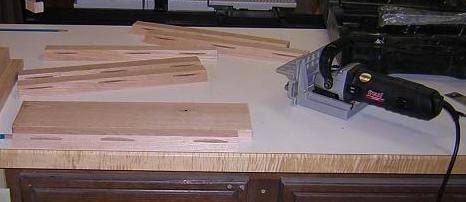
After the biscuit slots were cut, I glued up the legs, making sure I had matching pieces on the left and right sides. Clamping pieces like this can be difficult, so once they were glued I shot some brads in the joint to hold it until the glue dries. I then set the legs aside to dry (I have limited shop space, so I set them on top of my planer for the time being.)
Now it's time to attach the legs and outer trim.
Return to where we built the carcass.
Back to the toy box main page.
Return To The Main Wood Gallery
This page last updated on 06/28/2018