


Building the neck started by picking out the stock. Tundra Boy went through my wood storage and found a very impressive piece of figured maple that he wanted for his neck. Knowing that figured maple by itself can sometimes do weird things, I suggested we use the maple for the outside of the neck, but add some additional wood layers between them. This would increase the strength and stability of the neck, and also add a decorative feature. He agreed and we found a piece of walnut and a piece of mahogany that we could use to create veneers for the inner layers.
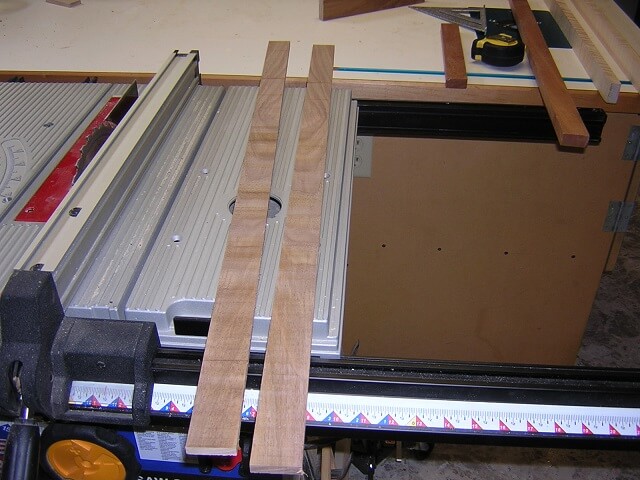
The neck layers would be arranged: maple/walnut/mahogany/walnut/maple. The inner three laminates would be 1/4" thick. We started by cutting the pieces of 3/4" mahogany and walnut in half. This yielded two pieces of each slightly thicker than 1/4". I know that 3/4" divided by two is 3/8", but the band saw blade kerf removes about 1/8" worth of wood so the resulting pieces are thinner than 3/8". Here's our two pieces of walnut.
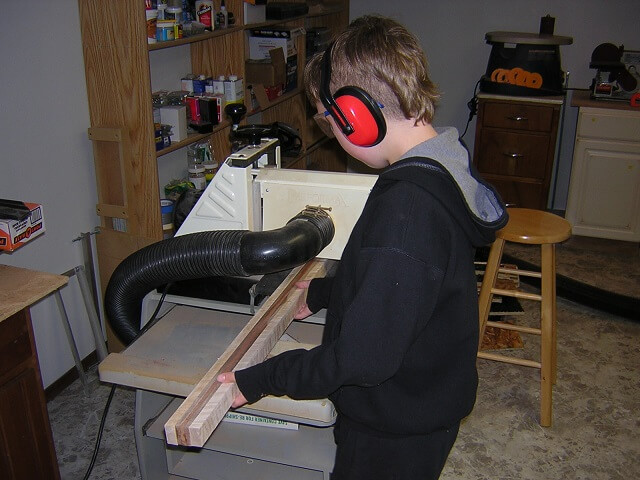
To bring the veneers to their final thickness we used the belt sander. I could have used the planer to do this as well, but it's a lot harder to control tear-out with the planer, especially when working with figured wood. In all honesty, the walnut and mahogany probably would have been fine to run through the planer but we had the sander out and set up anyway, so we just used that.
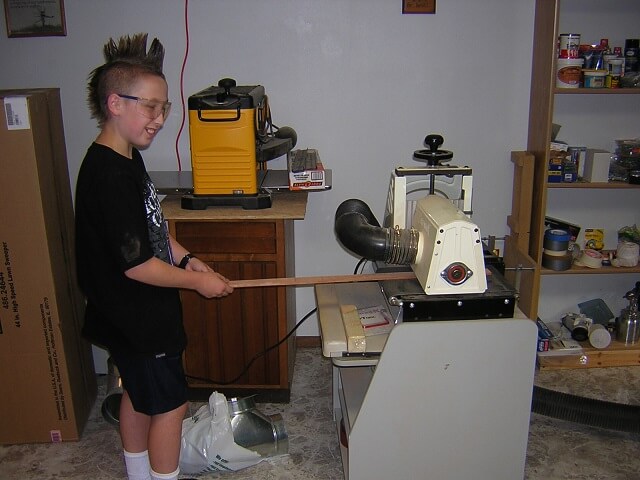
Here's Tundra Boy running the walnut strips through the sander. On the floor behind him you can see some scraps from a bedroom remodeling project I also had going on at the time. The scrap pile grew bigger before I finally hauled it off to the dump.

He also was in charge of sanding the mahogany veneer to size.
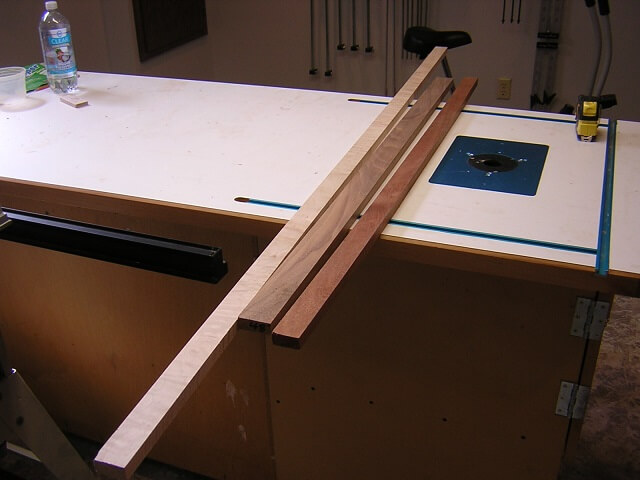
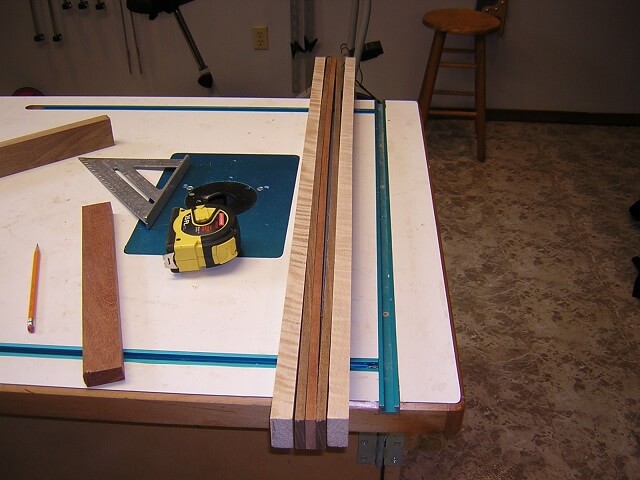
With all the strips of wood sitting next to each other it's easier to see how the neck blank will look.
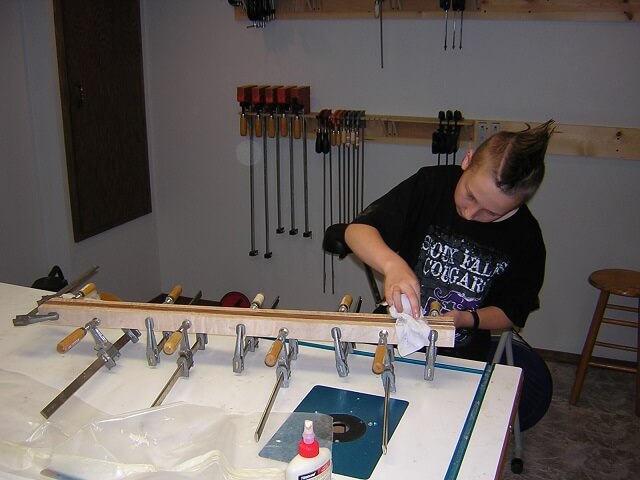
Now it was time to glue the strips together. Tundra Boy was in charge of the glue-up. Standard Titebond PVA glue was used.
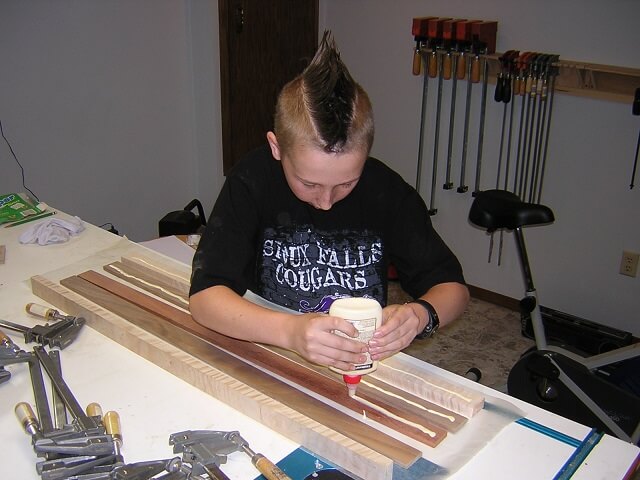
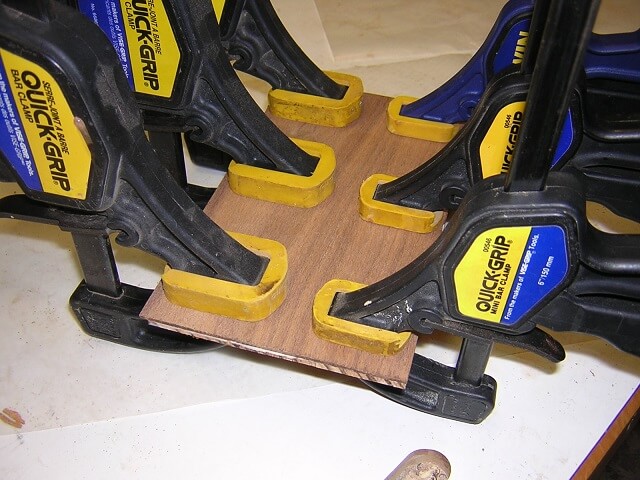
With the glue applied, clamps were applied. Lots of glue squeezed out after pressure was applied from the clamps, so Tundra Boy wiped off the excess while it was still wet. It's a lot easier to wipe it down right away rather than wait until it dries when you end up sanding or scraping the dried glue.
Once the glue on the neck blank had dried we wanted to smooth out one of the faces that will eventually become the fretboard side of the neck. There are a variety of ways I've done this in the past, but once again we opted for the belt sander. Highly figured maple has a bad tendancy to tear-out when using a planer, so the sander eliminated that problem. "Tear-out" is a fancy woodworking term that means the spinning planer blades yank out big chunks of wood instead of just shaving off a thin layer. We don't like tear-out.
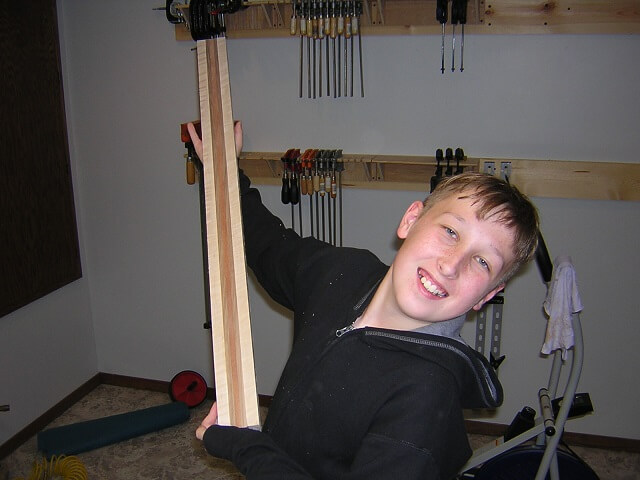
After a handfull of passes through the sander the face of the neck blank was smooth. This picture must have been taken on a Saturday. Tundra Boy usually doesn't go through the trouble of spiking his mohawk on Saturdays unless we're going out somewhere.
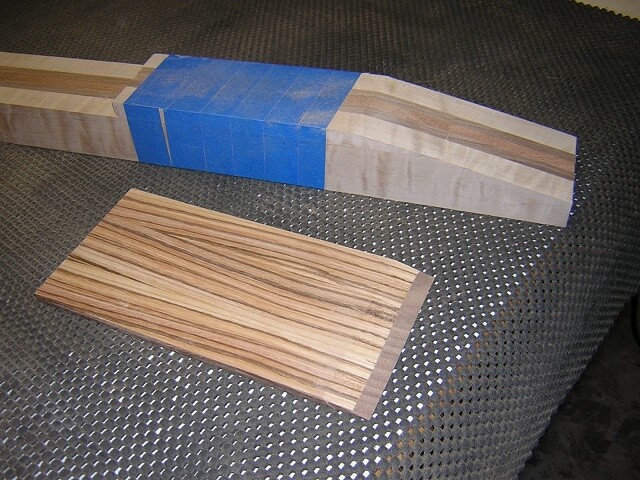
This bass will have a scarf jointed headstock, which is to say that the headstock will tilt backwards from the face of the neck by 12 degrees. This tilt causes downward pressure on the strings as they pass over the nut, and keeps the strings from buzzing. The scarf joint is created by cutting a piece off the end of the neck at an angle, flipping it around and then gluing it back on. It's easier to see how it works than it is to describe it. After the piece was cut, the saw blade marks had to be removed to provide smooth surfaces for gluing. This was done by taping the pieces together and running them on the belt sander. I'll get to explaining that piece of zebrawood in a minute...
After the pieces were sanded, the scarf joint was glued together. This is always a tough joint to clamp up as the combination of the glue and angle makes the pieces want to slip out of place.
Tundra Boy decided that rather than have the neck laminates on display on the front of the headstock (which is what I usually do on my instruments,) he'd rather have the front of the headstock match the top of the body. So to do this we had to find some thin zebrawood. I found some suitable pieces in the scrap bucket, but they weren't wide enough. So they were glued together.
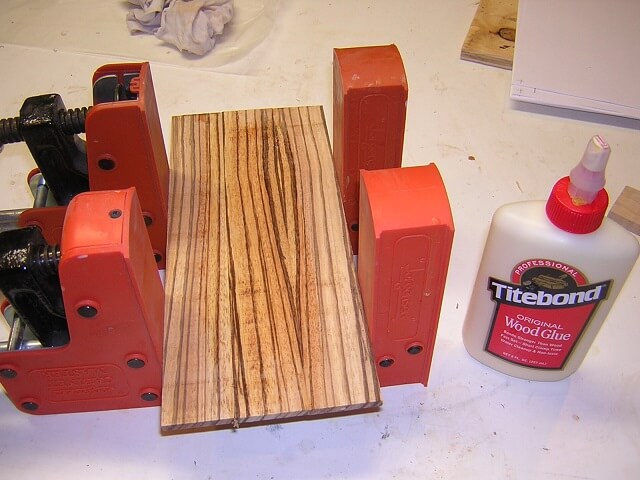
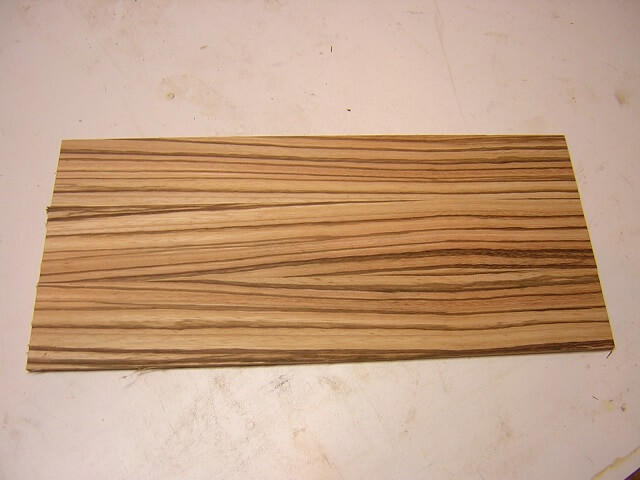
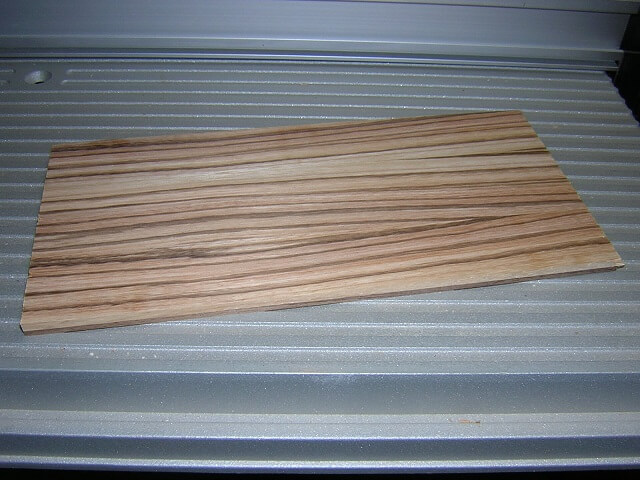
After the glue dried, the headstock veneer was sanded to even out the glue joint and reduce the overall thickness of the veneer.
Measuring the thickness of the zebrawood veneer and the headstock piece cut from the neck, and comparing that to the tuner hardware we had picked out I realized that the headstock would wind up just a hair thin. And I don't think I'm exaggerating when I say a hair thin. It was really close. The last thing I wanted was to finish the bass and then find out that the tuners couldn't be completely tightened against the headstock. So we decided to add an additional walnut veneer underneath the zebrawood. Not only would this give us the additional thickness we need, it also would add another decorative layer to the bass. In the end it won't look like as much of a problem fix as a design element.
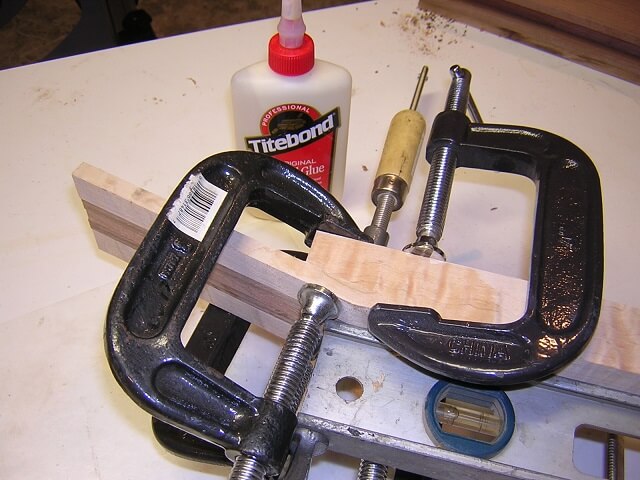
The thin piece of walnut was glued to the zebrawood veneer.
Once the glue on the scarf joint had dried I ran the face of the neck blank through the jointer. This would give a perfectly flat surface on which the fretboard can be attached.

And here's the downside to woodworking. Sometimes things go wrong, nice wood is wrecked and the time spent is nullified.
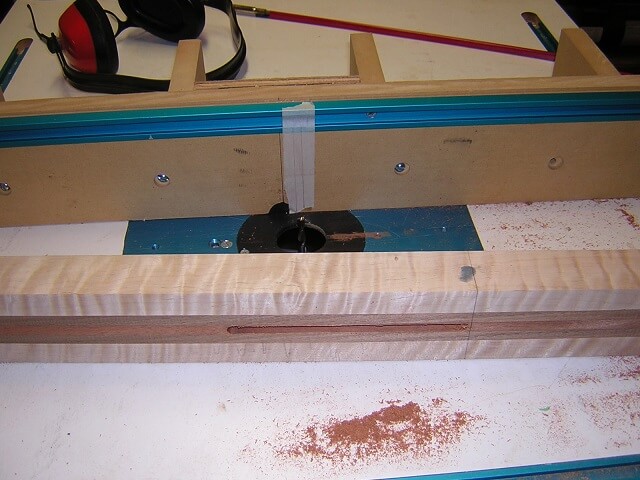
Like I've done many times before I set up the router table to cut the channel for the truss rod. The fence was adjusted and the neck was marked so I knew how far to take the route. The truss rod channel needed to be 3/8" deep, but I usually like to route in two or three passes rather than going full depth all at once. So I adjusted the router bit height to be about 3/16" and proceeded to make my first pass.
I hadn't gone too far when I noticed a change in the router's sound. After a few seconds I decide that it didn't sound right, so I shut the router off and removed the work piece. At this point I discovered that the router bit had slipped in the collet, and the bit had slid from a depth of 3/16" up to a depth of 3/4" (hence the change in sound.) So there was now a portion of the truss rod slot that was deeper than the neck would be once it was carved, which meant if I continued building this neck there would be a nice rectangular slot cut in the back of the neck.
I pondered for a few minutes to decide if there was a resonable way to patch this hole. I finally accepted the fact that there was no way to patch it without the result being quite obvious. I had to toss this neck and start over. I broke the news to Tundra Boy, who was disappointed not only in the setback of the lost labor, but the fact that such a nice piece of maple had been destroyed in the process. And unfortunately I didn't have another piece that nice sitting in my wood pile.
With the neck ruined, I had no choice but to start over building a new neck.
Return To The Main Music Gallery
This page last updated on 06/28/2018