


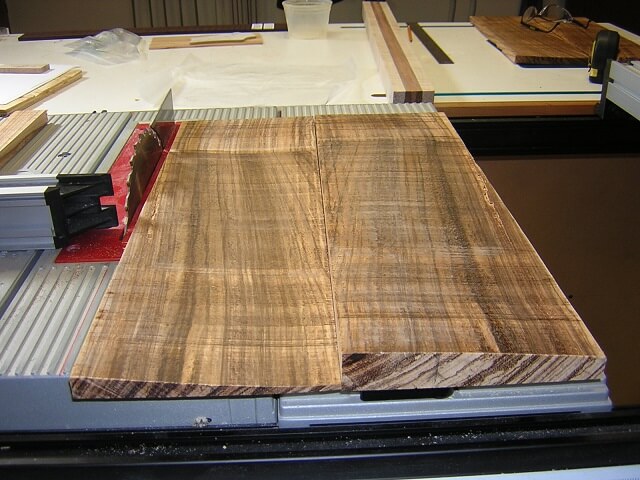
To start the body the Tundra Boy selected this piece of zebrawood to be the front and the back. This was an attractive piece of wood, but had a few disturbing cracks at various points. I was hoping that maybe the cracks were only surface defects and that we could cut around them or shave them off.
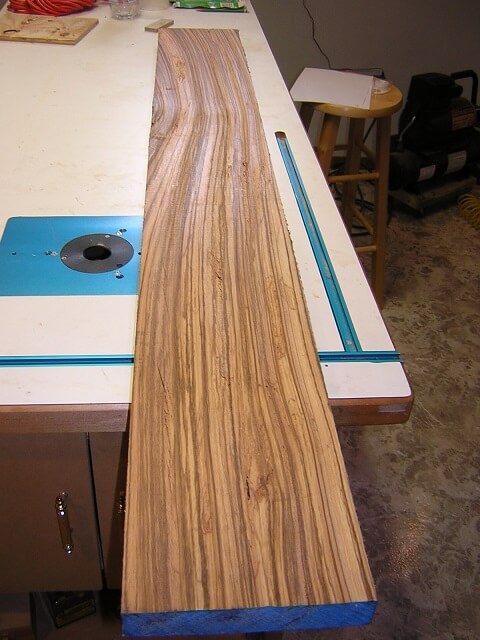
To begin, the body is only going to be about 18" long. Our stock was much longer than that, so we started by cutting a couple of 18" chunks off the main board.

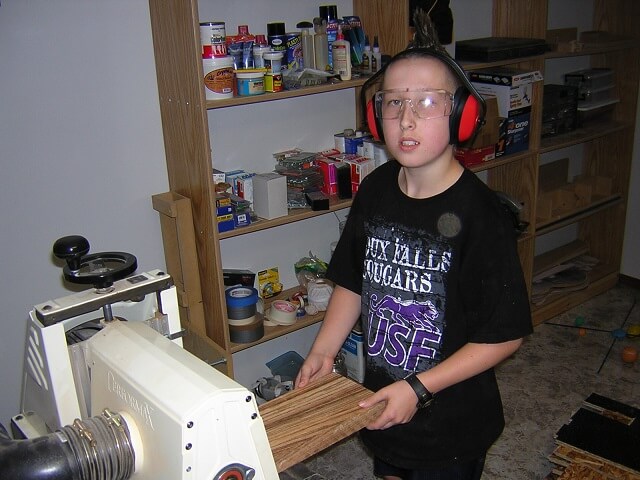
The board was originally 2" thick. Our front and backs only need to be about 1/2" thick, which means we need to start with 1 1/4" thick stock. Rather than just turning the extra 3/4" into sawdust I cut it off at the bandsaw. That extra piece can be used for another project in the future. Tundra Boy then ran the now thinner piece through the sander to remove the bandsaw scratches.
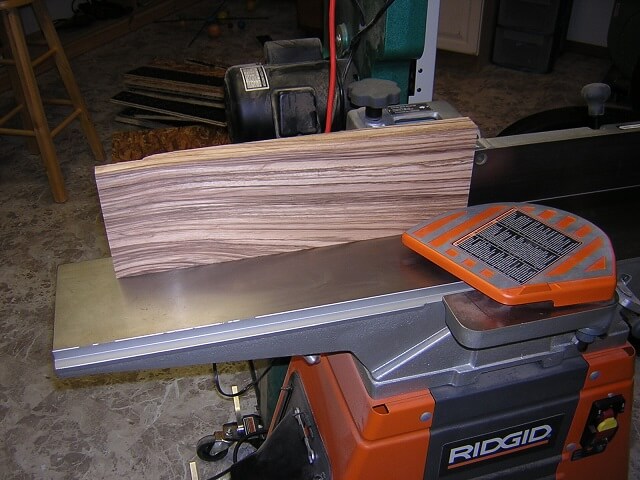
The plan was to split the front and back into bookmatched pieces and glue them back together. I went ahead and jointed one edge before we split the pieces rather than jointing each piece separately after we cut them in half.
Now the plan was to split this board down the middle. We do this with a process called "resawing" which just means we'll cut the board in half by it's thickness. This is the least common method of cutting a board. Most of the time boards are cut across their width (called ripping) or their length (called crosscutting.) By resawing we should wind up with two boards roughly half their original thickness. The bonus is the two cut faces should closely mirror each other when the two boards are glued back together on their edge.
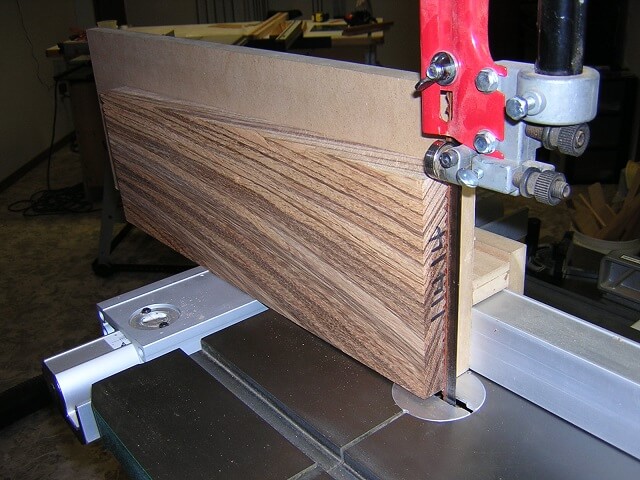
Here's where things started to head south. As I mentioned above, when Tundra Boy pulled this board off the shelf there were a few cracks that concerned me. As it turned out, this board was not wanting to cooperate. As I was cutting I ran the blade down a line I had scribed on the top edge. The board seemed to be fighting the cut. Unfortunately once the blade finally emerged from the back of the board I discovered that the wood had forced the bandsaw blade to bend (called "drift") inside the wood. The top edge I could see was on center, but where the blade exited the wood on the bottom whwere I couldn't see it started center but got further and further off as the cut progressed. Set next to each other it's easy to see that the far end looks pretty decent, but the end closest to the camera is off by a significant amount.
This wasn't ideal at all. The plans were to have a 1/2" thick front and back that would then be carved similar to a violin top. Once we sanded these two pieces so that they were of equal thicknesses, they were now only 3/16" thick. This obviously didn't provide enough material to carve the profile in them. In addition, so much of the material had been removed that the "bookmatch" effect wasn't as good as it should have been.
So we had to step back and make some decisions. We had a few options. First, we could replace the rear piece of wood with a different species from my stash (I didn't have any more zebrawood on hand.) Our second option was to discard this piece of zebrawood and hunt down and purchase another piece (not real easy because you can't just go buy zebrawood at Home Depot.) Our third option was to use the thin pieces as-is and leave the back flat without any carved profile.
I left the choice up to Tundra Boy. He didn't like option one because he really wanted a zebrawood back. He didn't like option two because he's a conservationist at heart and the idea of discarding useful lumber really bothered him. He didn't like option three either, but he liked it better than the first two so that's the one he chose. We then proceeded by gluing these now too-thin pieces together.
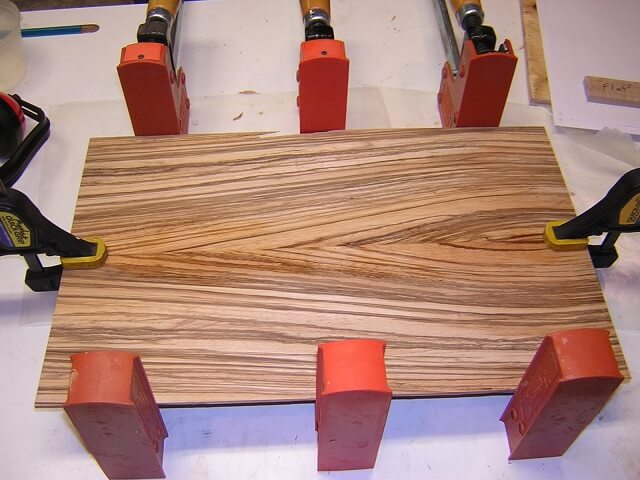
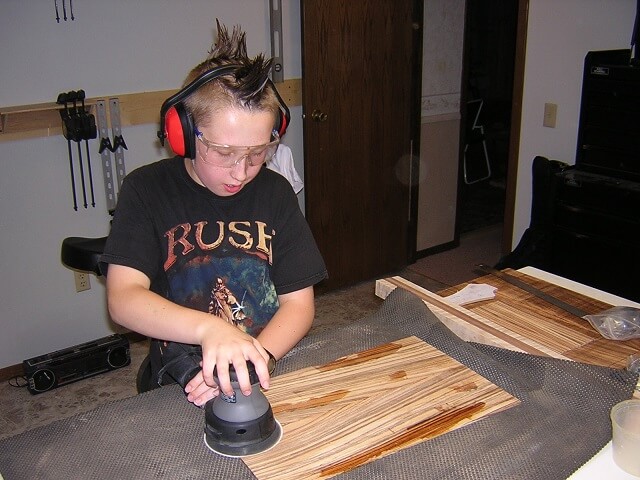
In addition to being thin, the cracks this board suffered from weren't just "skin deep" and went through the entire board. They were more than just simple cracks as well, and had areas where the voids were as much as 1/4" wide. In an attempt to deal with these defects I mixed up some epoxy and filled them hoping that this would give the board adequate strength and fill in the craters. Once the epoxy dried Tundra Boy sanded the glue spots flat.
The resaw of the front piece went smoother than the back did, but still fought me enough that it wasn't very even. Once sanded we wound up close enough to the 1/2" that we could still use the board for a carved top, although it was still a few hundredths thinner than I had intended.
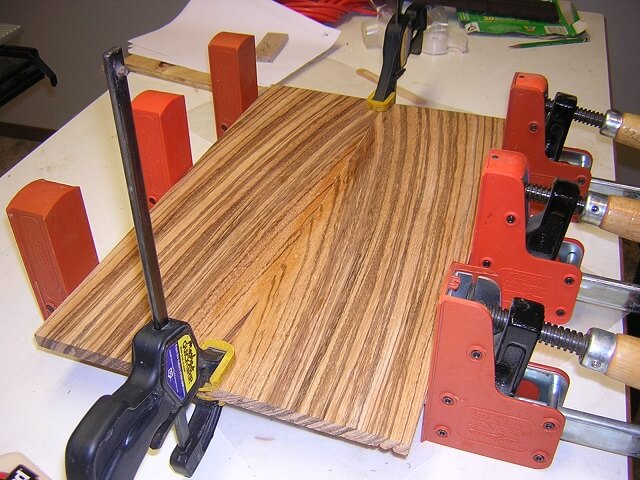
Once the glue had dried and we started to sand the front piece, more issues arose with the wood. This piece also had a few cracks, but most concerning was that the board just felt brittle. Out of curiousity I applied just a little pressure across the board and it split in half. This was alarming. I really didn't have to try very hard to snap the board in half. The back piece had come off the same piece of lumber, so I suspect that one was fragile as well. On a hollow instrument the last thing you want is fragile wood for the top and bottom. The good news is I discovered it before we got any farther with construction.
So Tundra Boy and I had another discussion. From our previous options, after trying number three it didn't work out. Option number one (new lumber from my existing supply) could still work, but now would also mean that the front wouldn't be zebrawood either. The decision was made to go with option number two: order more zebrawood and start over.
I went on the hunt for a new piece of zebrawood that hopefully didn't have the defects and attitude that this one did. The work we'd done on the body up to this point was wasted and we were pretty much starting from scratch.
Seeing as we're starting over with the body, I figured I'd begin with a fresh web page too. Here's where we built the 2nd attempt at a body.
Return To The Main Music Gallery
This page last updated on 06/28/2018