


We'll start with building the fretboard. Technically this wasn't the first thing I worked on, but like most of my projects I've got various portions of the instrument in process at the same time. Because I have to pick something to present first, and because this was the part of the instrument that went with the fewest "incidents" I figure we'll start here.
The Hofner 500/1 bass uses a short scale length of 30". Scale length is the distance between the nut and the bridge. A common value for a bass is 34". When we first planned this project I thought a short scale would actually work out well for Tundra Boy starting out because the frets would be closer together. However the combination of me not completing the bass as fast as I had hoped, and Tundra Boy growing like a weed probably nullified this benefit. He has been playing my 34" and 35" basses without any trouble. In any event, the 30" scale length is one of the big ingredients for the way a Hofner bass sounds, so there are other benefits as well.
I usually slot my own fretboards. I have a jig built that allows me to slot them at a variety of different scale lengths. Unfortunately my jig doesn't have a setup for a 30" scale. So I had a choice: either modify my jig to add a 30" scale length, or order a fretboard already slotted. Seeing as I probably wouldn't be building 30" scale length instruments very often, I decided to just purchase a fretboard pre-slotted. I didn't have any rosewood in my stash long enough for a bass fretboard, so I had to order the wood anyway and it was only $7 more to have it slotted. I figured it was worth the $7.
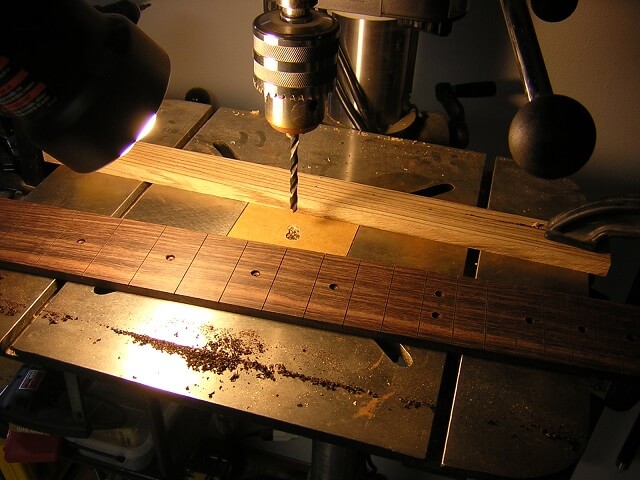
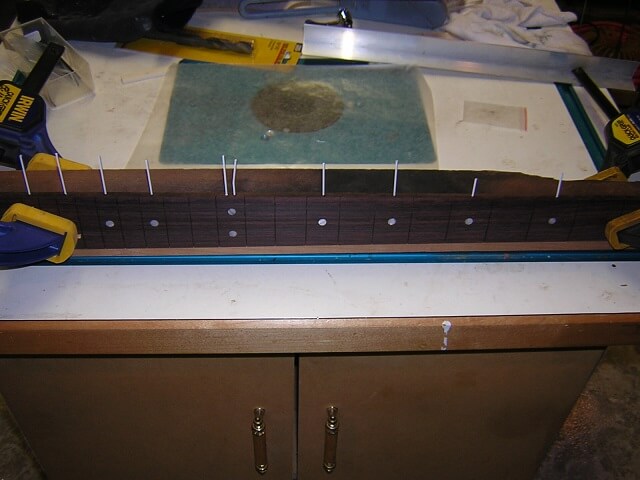
The fretboard arrived at the right thickness and with the slots cut, so there wasn't any prep work that needed to be done. While the sides were still square I marked the locations of where the dot inlays would be installed and drilled the holes for them.
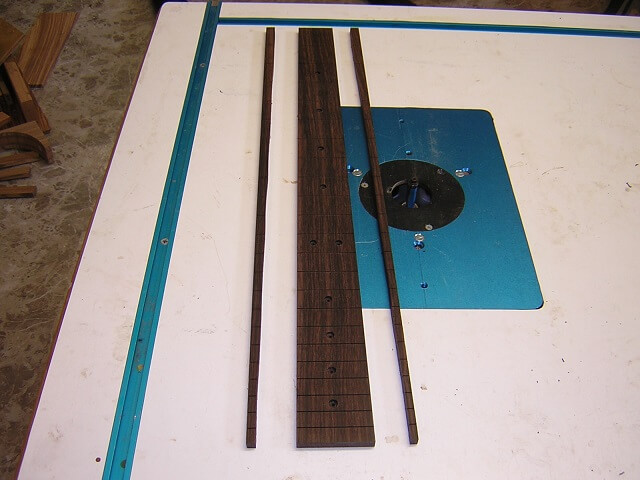
Guitar/bass necks aren't square. Viewed from the front, they are narrower at the top (nut) and grow wider as it gets closer to the body (bridge side). I marked the appropriate taper I wanted, and cut the fretboard to size at the band saw. I cut just outside the lines leaving a hair of excess material.
I didn't get a photo of the fine-tapering, but my standard process is to attach a jointed piece of MDF to the fretboard and trim it to final dimensions at the router table with a flush-trim bit. This process works well to get laser straight fretboard edges. I've got pictures of this process on my other guitar build threads so if you want to see it in more detail you can check them out there.
Next, we glued the dot inlays in place. A bit of super glue holds them just fine. The glue squeeze out isn't a problem because it will get removed when we sand the radius into the face of the fretboard.
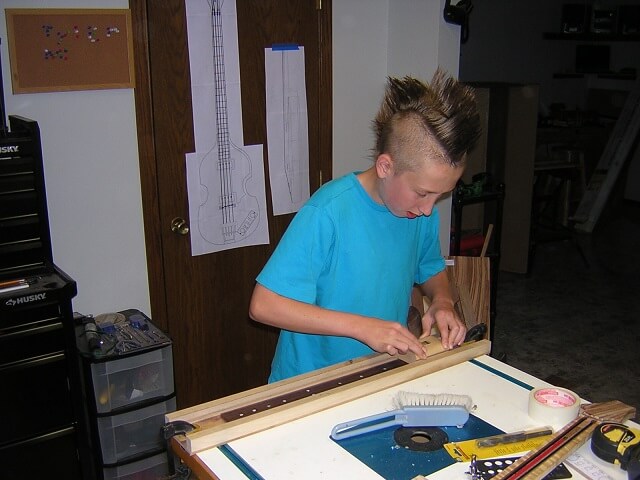
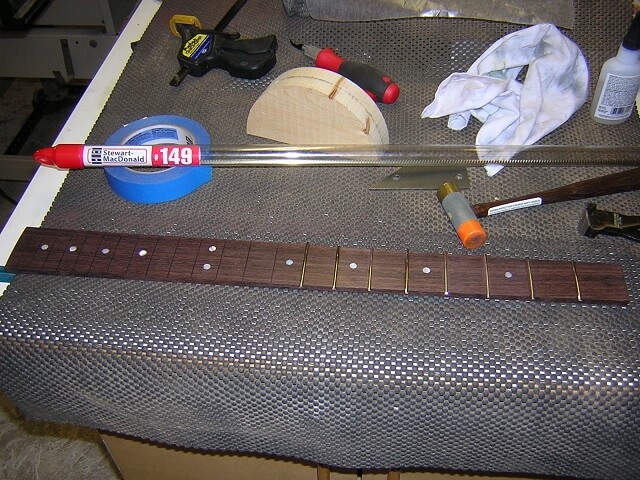
So once the glue was dry that's exactly what we did. The face of the fretboard had a 12" radius sanded across its face. We didn't do anything fancy with compound radii. Just ran the curved sanding block up and down the fretboard until the entire board had the proper curve. Tundra Boy started the sanding process until it was time for him to head to bed, then I quick finished it before I called it a night myself.
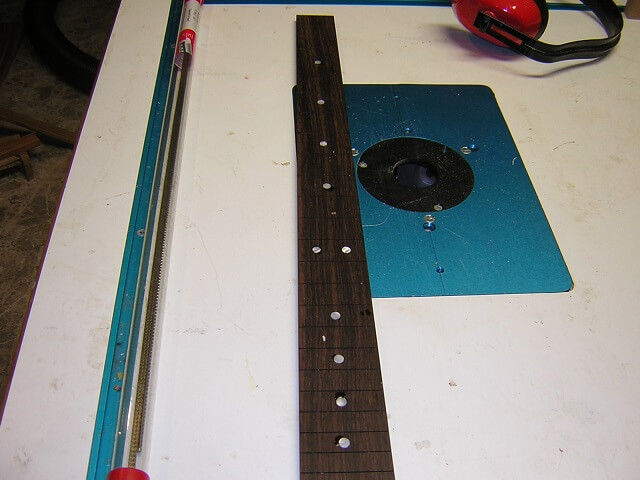
Holes were drilled into the side of the fretboard and the side dot material was glued in place. Once the glue dried the excess material is trimmed off and the fretboard is sanded smooth to remove any of the material nubs or glue squeeze-out that was left over.
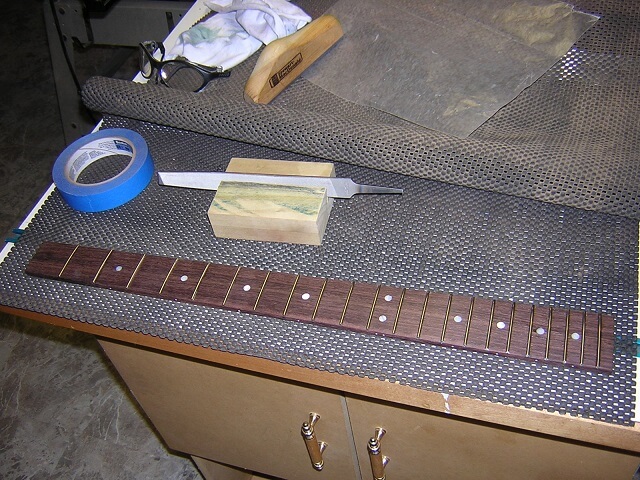
Usually I install the frets at some point after the fretboard is glued to the neck. I know quite a few builders do it this way as well, but conversely quite a few of them fret prior to gluing the fretboard too. Just for something different I decided to change it up a little from normal and install the frets before gluing.
I frequently try new methods of doing things just to keep it interesting. Many times I'll discover that my original procedure works better, so I'll abandon the new method. However, sometimes I'll happily discover that the new method works better and I'll change my tradition. And occasionally I'll discover it's a tie and both methods work equally well, or have trade-offs that balance them out. I think that's what I discovered with fretting before or after gluing the fretboard to the neck: they both work, and they both have advantages and disadvantages.
The advantages of fretting first are that the frets are easier to install when the board is flat on your bench. The disadvantage is that it's a little trickier to glue the fretted board to the neck, and if you mess up the neck in some other form or fashion you've got the additional work of fretting that you've lost.
In any event, fretting went smooth and the later glue-up to the neck went fine as well. So it worked for me. Here's the completed fretboard ready to attach to the neck.
With the fretboard completed, let's go look at the first attempt at making a neck.
Return To The Main Music Gallery
This page last updated on 06/28/2018