


It was time to get the fretboard ready. Being a baritone, this guitar is going to use a 28.5" scale. This is an unusual scale length, so I couldn't just buy a pre-slotted fingerboard off the shelf. With a little care, however, it's not impossible to cut one yourself. The first step is to accurately mark the fretboard where the fret slots should be cut. I marked them with an X-acto knife and then rubbed chalk in the scratches to make them more visible in the dark ebony.

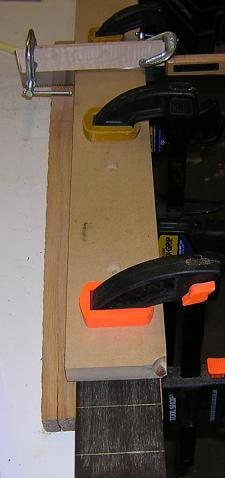
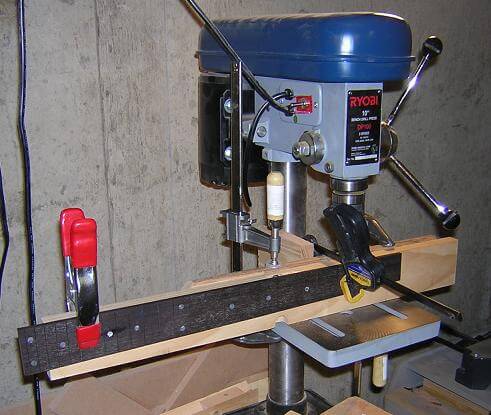
Here's a picture of my home-brew fret slotting setup. It starts with a piece of wood that the fretboard sits on. This elevates it off the workbench so if my saw slips I don't gouge the top of the bench. I then clamp a piece of MDF on either side of the saw blade, at the exact position of the fret. This keeps the blade running true both vertically and parallel to the slot marking. Finally, I clamp a couple of pieces of scrap wood to the top of the saw to act as a depth stop for the blade. This makes all of the fret slots the same depth.
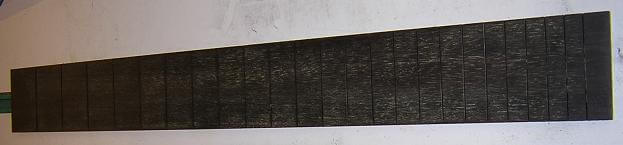
After an hour or so of cutting, here's the completely slotted board.
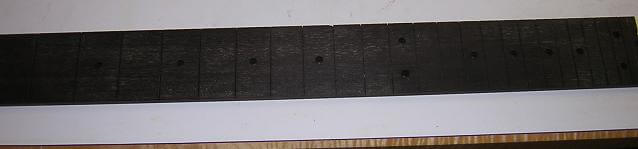
With the fingerboard slots cut, I then layed out the locations of the dot inlays by drawing an "X" in the center of each location where a dot should be placed. The 12th and 24th frets get two dots. With everything marked, I drilled the holes on the drill press to the precise depth of the abalone dots I will be inlaying. Sorry about the dark picture. When you photograph ebony sometimes it's hard to see what's really going on.
The inlays are installed by placing a drop of CA (super glue) into the hole, then pressing the inlay into place. It takes a little force as the holes are drilled with no extra clearance. The hole depth must be accurate enough so that the inlay sits flush with the face of the fingerboard. Any slight uneven areas will be sanded out when we radius profile the board.

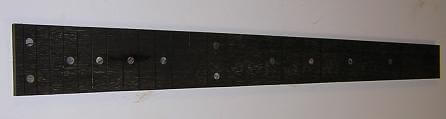
Next I cut the fingerboard taper. The nut width is 1 5/8". In this picture the taper looks pretty extreme, but it's mainly because of the camera angle.
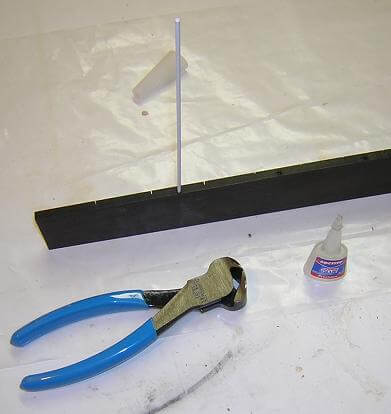
The side dots are installed next, and are made up of a white plastic rod with a 3/32" diameter. Holes are drilled in the appropriate places on the side of the fretboard.
Then, a drop of CA is placed into the hole and the plastic rod is inserted. When the CA cures (about 30 seconds) the rod is trimmed flush and the process repeats itself for the remaining dots on the side of the fingerboard. Once all the dots are glued in place and the CA has cured fully, I will sand the dots even with the fingerboard.
The fretboard is now complete to the point of assembly. Follow me over to the assembly page, or you can go back to the page where we built the neck.
Return To The Main Music Gallery
This page last updated on 06/28/2018