


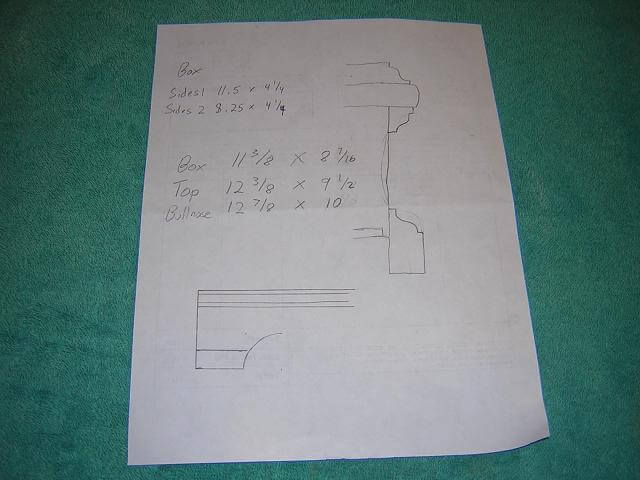
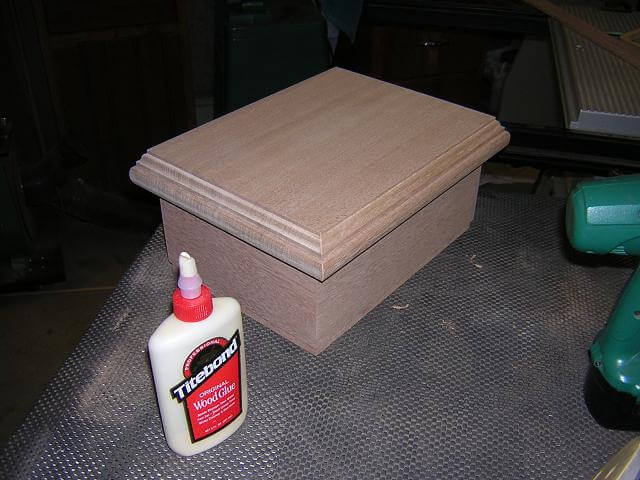
Having finished my dad's cremation urn just three months prior, I still had my "plans" sitting in the corner of the shop. The plans were not much more than a rough sketch and some dimensions scribbled on the back of a receipt. Also, because we hadn't yet interned my father's ashes I still had his urn available for comparison.
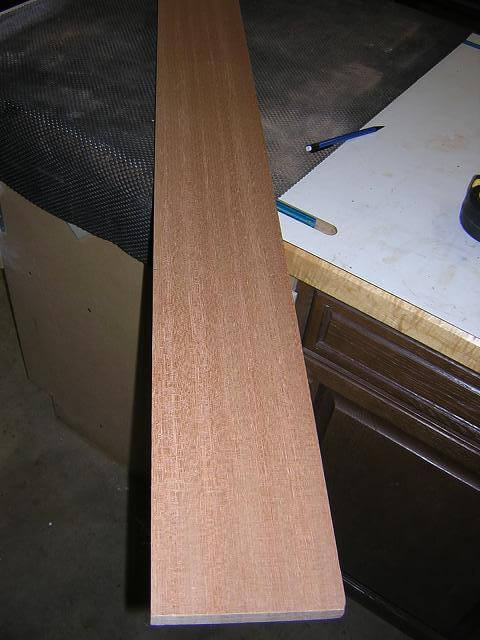
My dad's urn started with rough lumber from the walnut tree on the farm. Because I found myself with only three days to finish the entire project, I decided I didn't have time to use rough lumber. Instead, I went to my local supplier and picked up a few planks of mahogany. Having it already milled into dimensioned 4/4 planks would greatly reduce how much time this project would take.
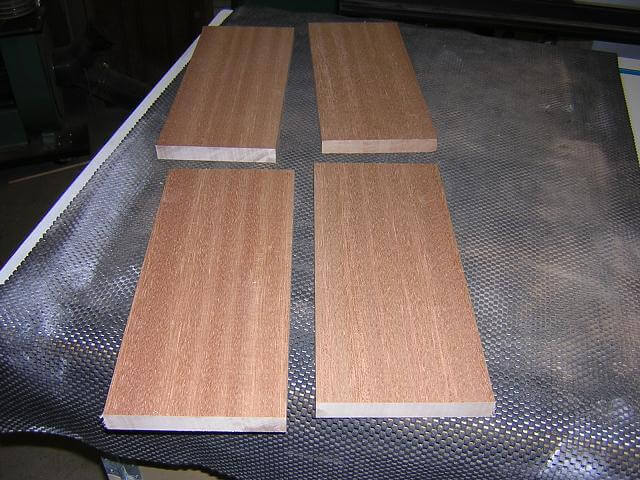
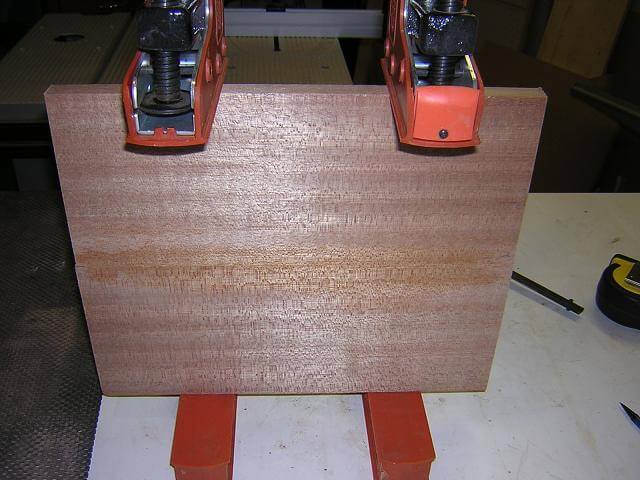
The boards I purchased were not wide enough for the top layers. So I started by cutting pieces that I could glue together to create larger pieces.
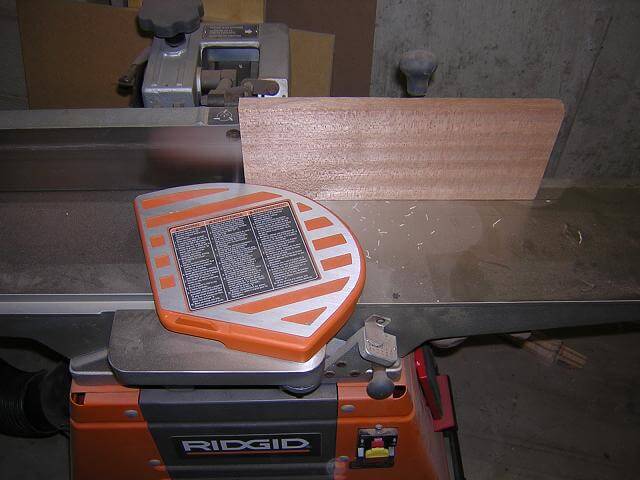
In order to make tight glue seams, I ran the edges of the pieces through the jointer. This makes the edges perfectly straight and flat.
With the edges jointed, I glued and clamped the pieces of the top layers together, turning the four narrower pieces into two wider pieces.
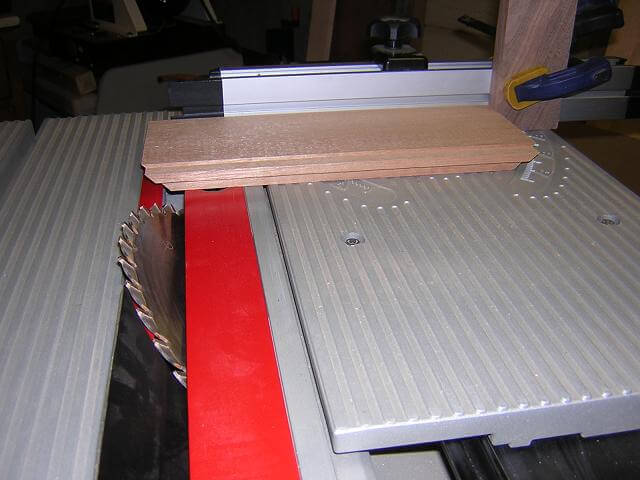
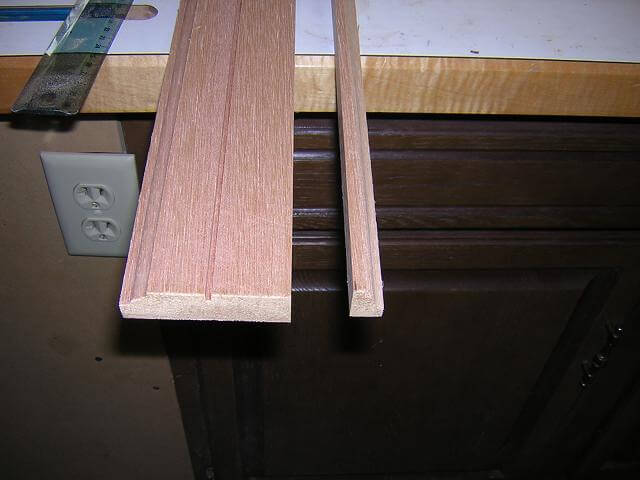
With the top pieces cooking in the clamps, I turned my focus to the sides of the box. I started by cutting a board to the proper width. This board will soon be cut into smaller pieces.
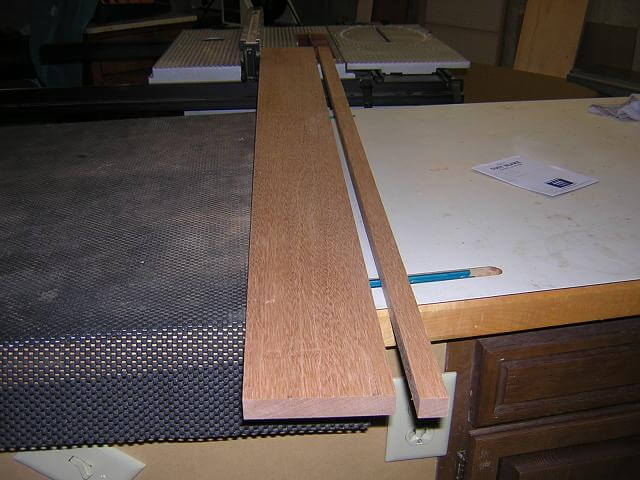
The bottom of the sides need a rabbet cut in them to hold the bottom once the box is assembled. I did this with a straight bit at the router table. It's easier to do the milling operations on one larger board rather than four separate ones, so that's why the board hasn't been cut into the side widths yet.
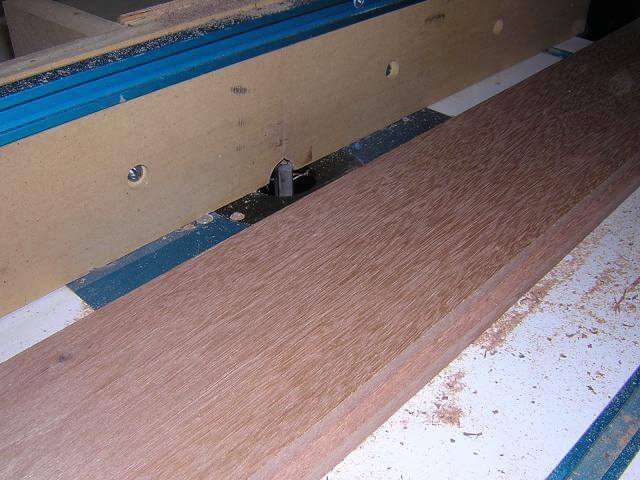
When I built dad's urn, I created a slight rabbet on the back of the base pieces to create a slight ledge for the sides to sit on. This worked, although it made things challenging to miter the base pieces. This time around, I decided to create the rabbet on the bottom of the side pieces to see if it made things easier. I used the same straight bit on the router table to create this shallow rabbet.
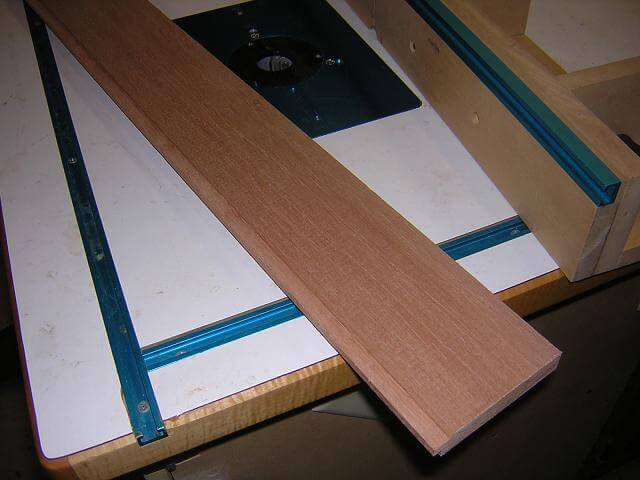
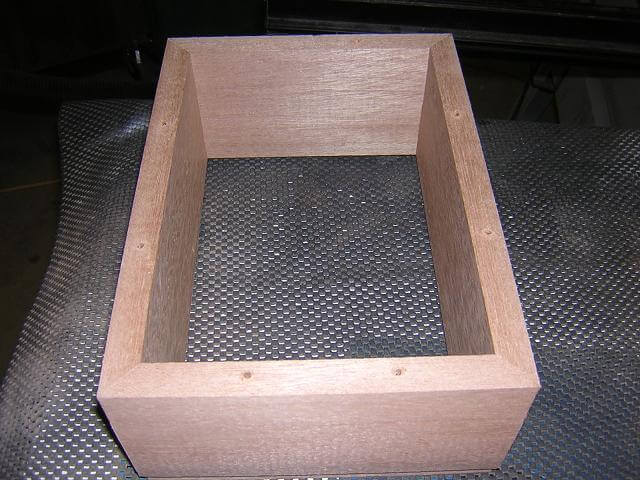
With the rabbets cut, I could now split the board into the four pieces for the sides. I used a stop block to ensure the opposite sides were exactly the same size.
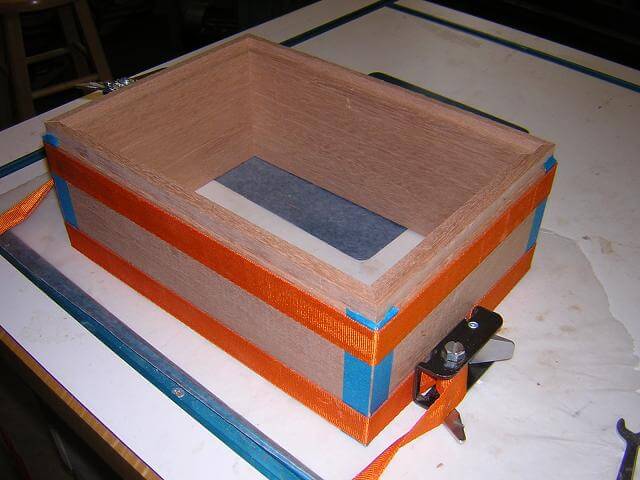
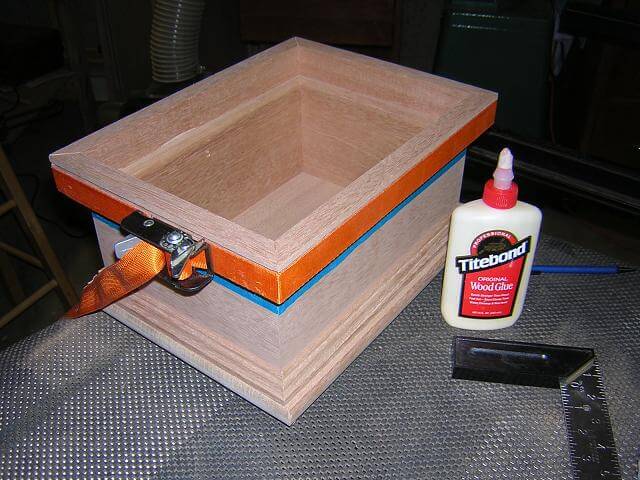
With all four pieces mitered, I glued them together using band clamps to hold them tight. The blue tape is to keep any glue squeeze-out under control. If glue seeps into the grain it can make a visible spot once the finish topcoats are applied.
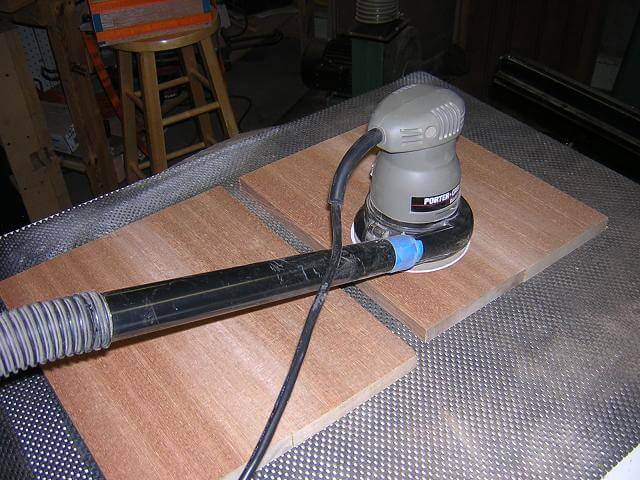
By now the top pieces were dry, so I removed them from the clamps and sanded them smooth. Once I was done sanding you couldn't tell they were each made from two pieces of wood.
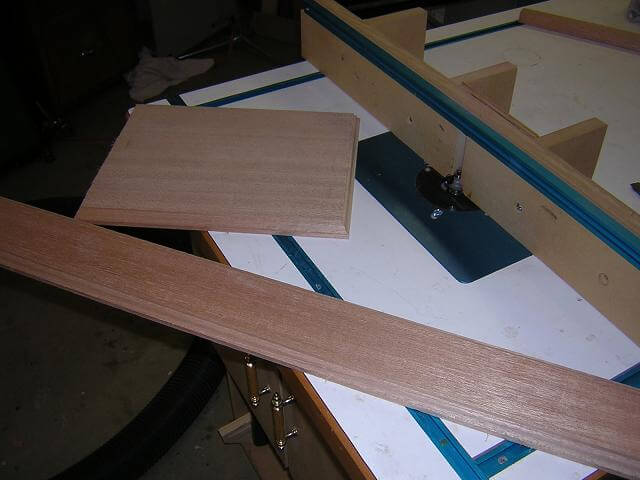
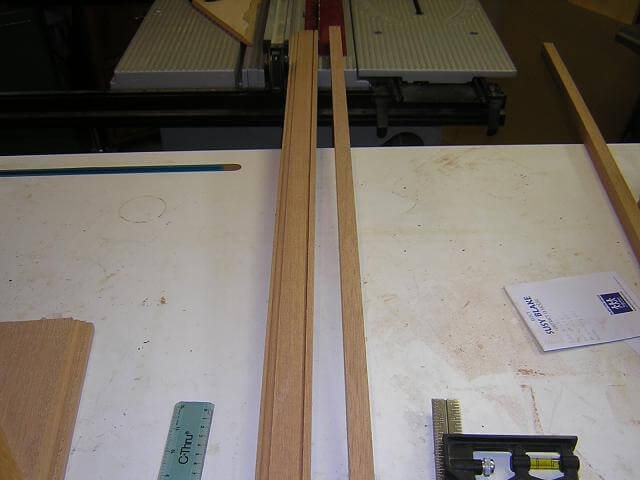
The top, the upper molding and the base all needed to have an ogee profile routed on them. I did all of the pieces at the same time. I routed the profile on both sides of the long board. In a later step I will cut this board apart, making one side the molding and the other side the base.
The second layer of the top required a bullnose profile. I accomplished this by putting a 1/2" roundover bit in the router table, but lowering the router so only a portion of the cutting area was exposed. Then I routed all four sides of the piece, flipped it over, and routed them again.

On the bottom of the base I wanted a decorative "accent" to visually break up the base. This was done by lowering the saw blade to cut a 1/8" groove. Again, I did this before cutting the base piece from the larger board as it was a lot easier to handle the larger board.

The trim portion was now cut from the larger stock.
Likewise, the base piece was now cut to size.
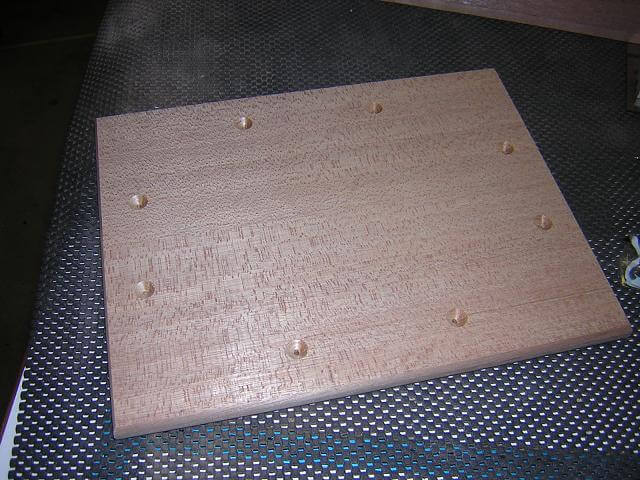
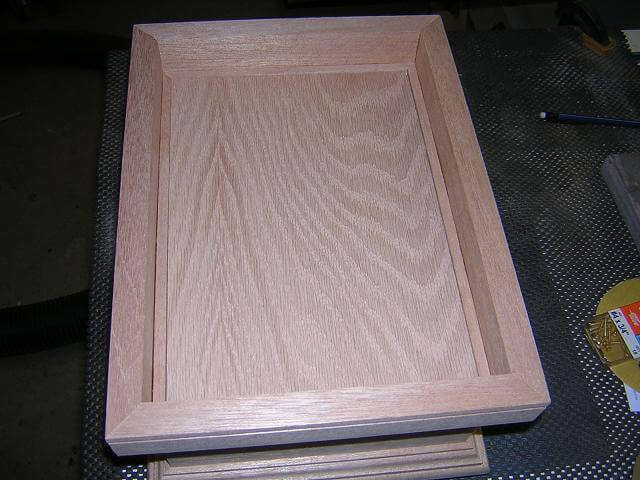
The first layer of the top is attached to the box sides with screws. I drilled the holes for the screws in the proper place, then cut countersinks so the screw heads would be lower than the surface. This will allow the top layer to be glued in place.
Corresponding holes had to be drilled in the top of the box sides.
The top was put in place. As mentioned above, the first layer was screwed in place then the second layer was glued to the first layer.
Next, it was time to miter and glue the trim piece in place. I took my time to carefully cut the pieces to the exact size. You can always cut them shorter, but you can't make them bigger.

I then did the same with the base pieces, mitering them to fit. Unlike the trim pieces, rather than gluing them individually I cut them all to proper length then glued them all at once using a band clamp to hold them in place.
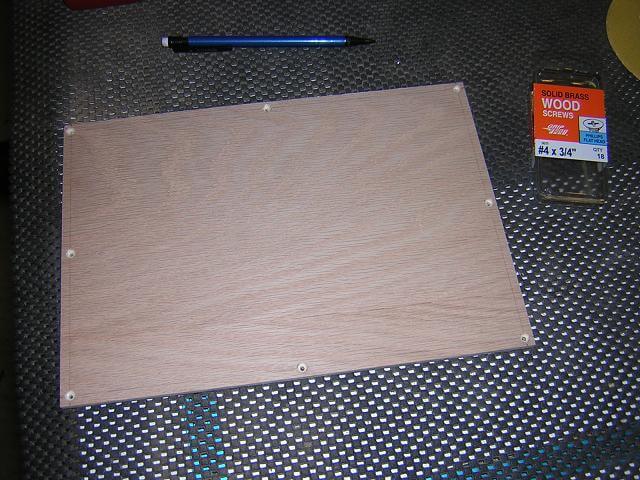
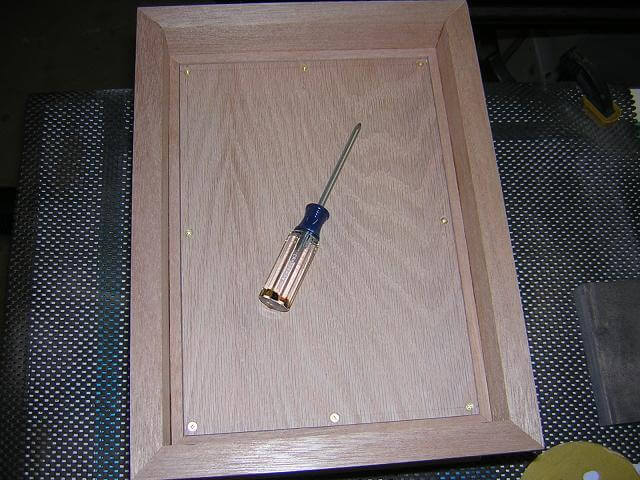
The last thing to do was to create the bottom. I made this from a 1/4" piece of plywood.
Screw holes were marked, drilled and countersunk.
The bottom was test fit by screwing it in place.
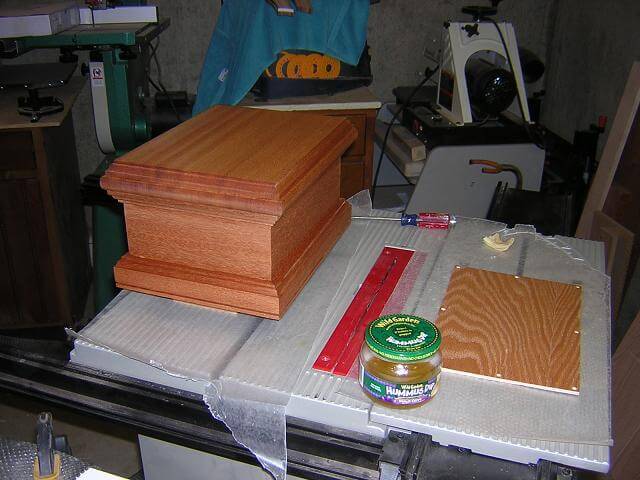
The construction was completed. I had finished all of the assembly in about a day's worth of work. Now it was time to start applying the protective finish. For this project I mixed up my own batch of wiping varnish by combining 50% satin polyurethane and 50% naptha.
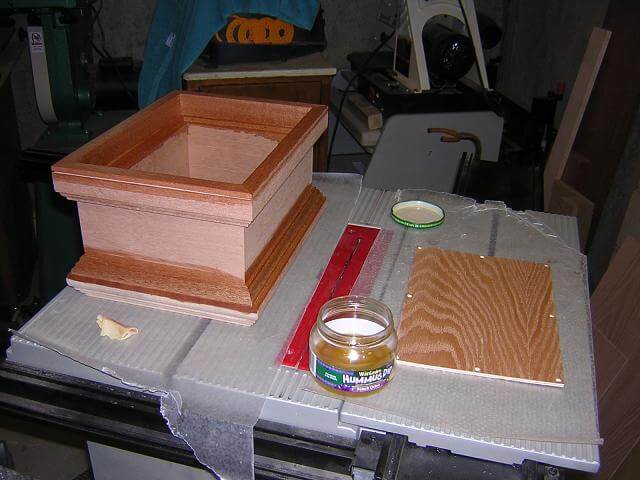
A total of six coats would be applied, rubbing the project down with #0000 steel wool after coats 2 and 4.
Click here to return to the finished project pictures.
Return To The Main Wood Gallery
This page last updated on 06/28/2018