


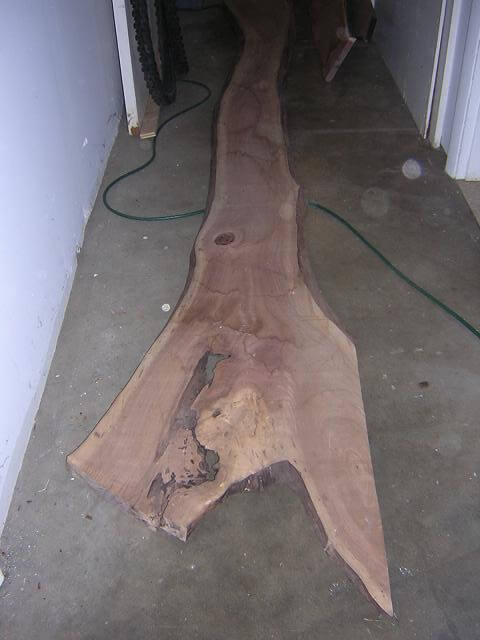
This project started with a basement hallway full of raw lumber. My cousin had hauled about four boards back from the farm and left them in the driveway. I moved them into the basement for a few days, then began the process of turning these planks into usable, dimensioned lumber.
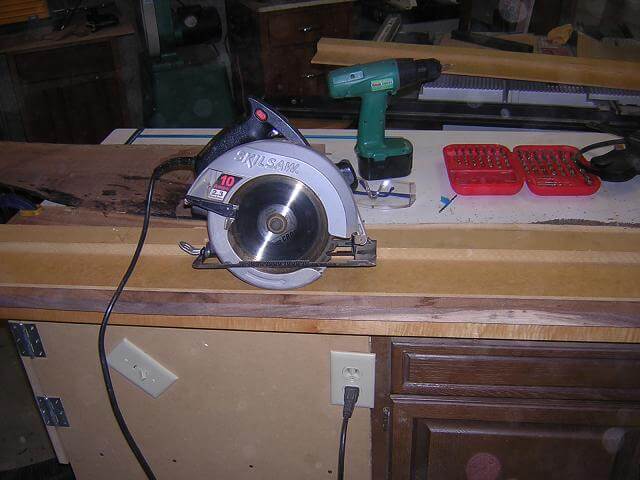
The first step was to cut up the planks to rough size. This was mostly done with the circular saw, removing defective areas of the boards and cutting a relatively straight edge using my saw board. I then ran this side through the jointer, which gave me a reference edge from which I could dimension the rest of the board.
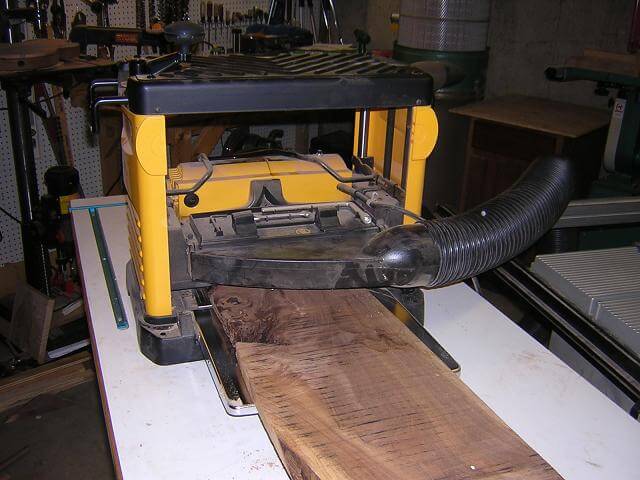
I then ran the boards through the planer. The saw mill cut them to 1" rough thickness. I planed both sides smooth to a final thickness of 3/4".
Next, the straight edge I cut on each board with the circular saw was made perfectly straight by running it through the jointer.
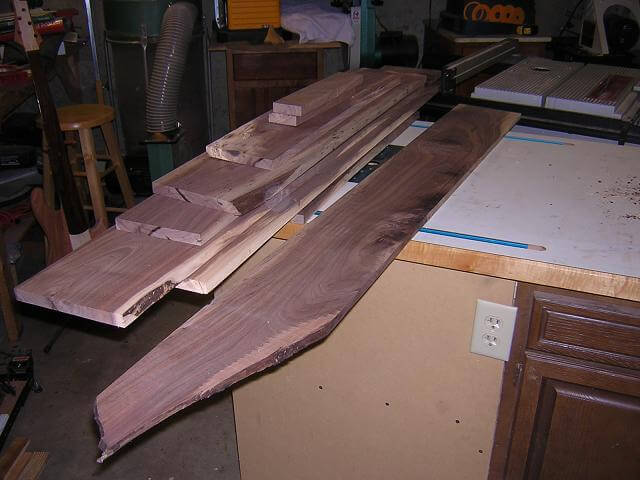
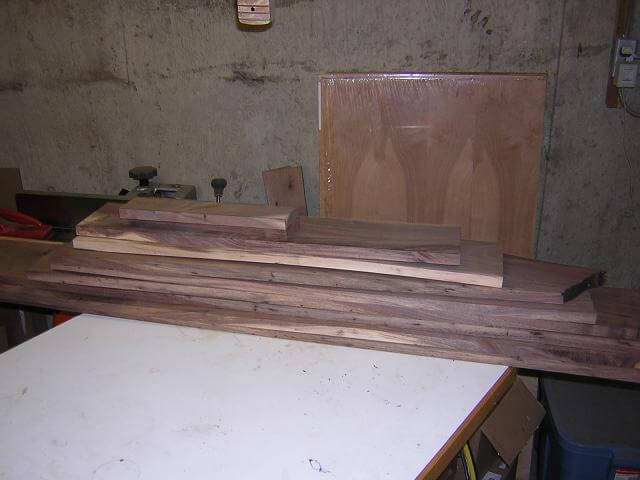
By running this jointed edge of the lumber against my table saw fence I could cut the boards to final width. At this point I had a stack of dimensioned lumber ready to use.
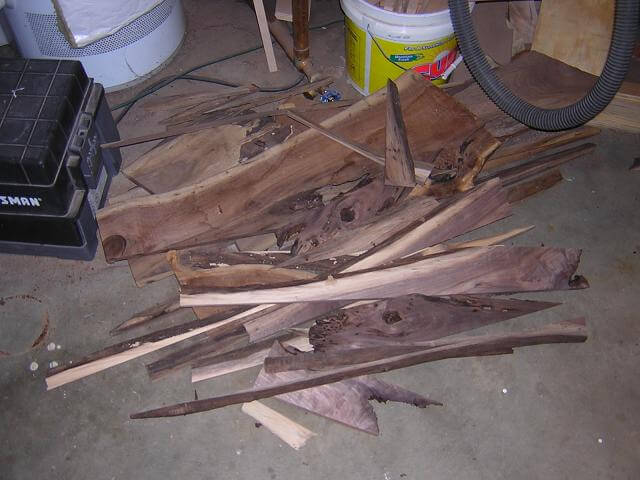
When using rough lumber, a good portion of it winds up as waste. I guesstimate that I had to discard 30 to 40% of the lumber. Here's a picture of the scrap pile after I finished dimensioning all of my material.
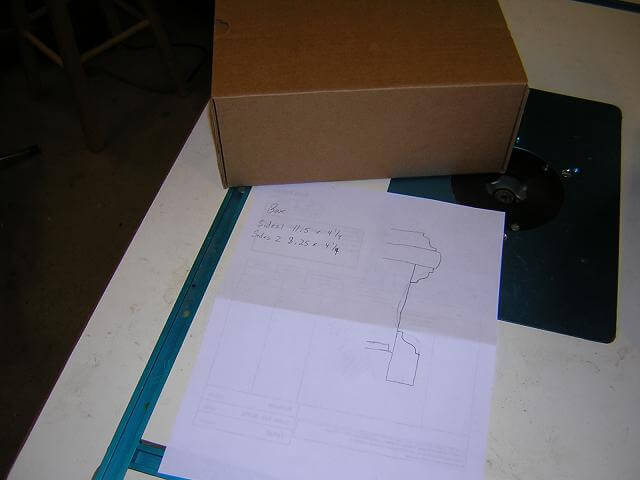
Before I could go any further I needed a plan. First, I obtained a box from the funeral home that they use to hold the ashes after cremation. My idea was that if I sized the urn to fit this box, then it would be the correct size to hold dad's ashes. From there, I rough sketched a profile of what I thought the urn should look like using the back of a receipt. Most of my planning was done in my head and never got written down. Here's a picture of my sketch.
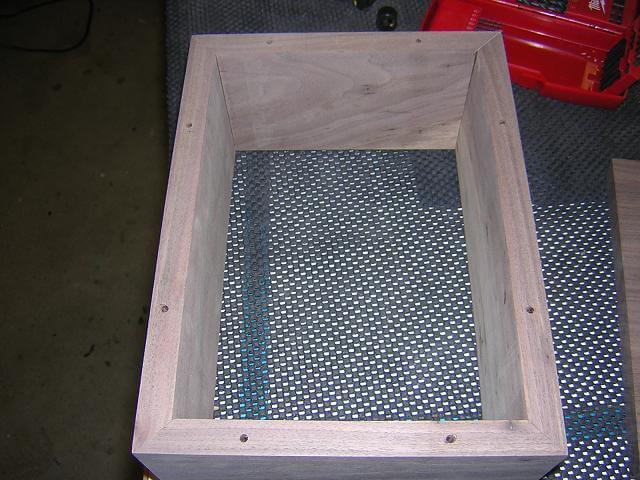
I started by putting together the main portion of the urn, which would be made up of four mitered pieces cut to surround the cardboard box so they would be the proper size. These four pieces would be cut in sequence from a single board so that the grain would be continuous as you look around the urn. I selected a board from the stack which would be large enough and cut it to width.
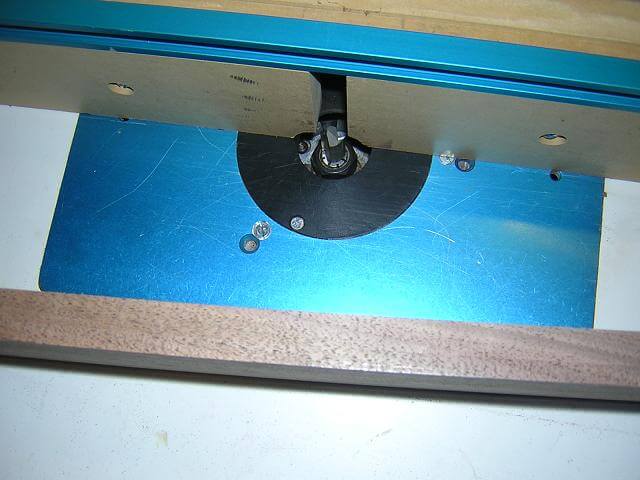
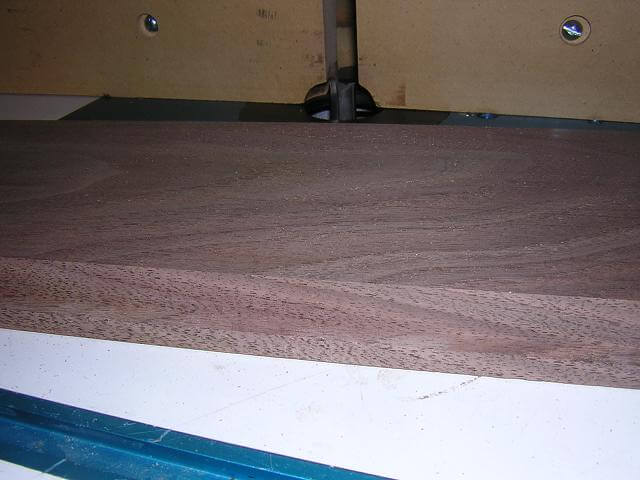
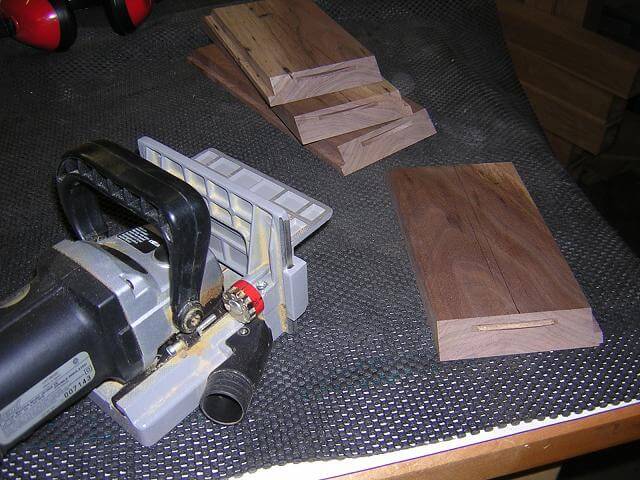
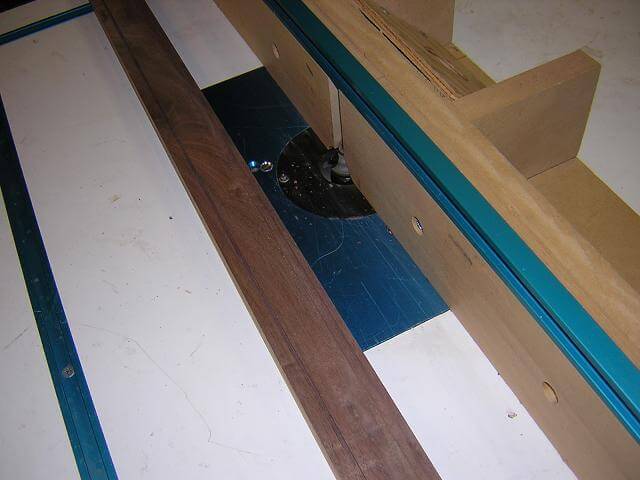
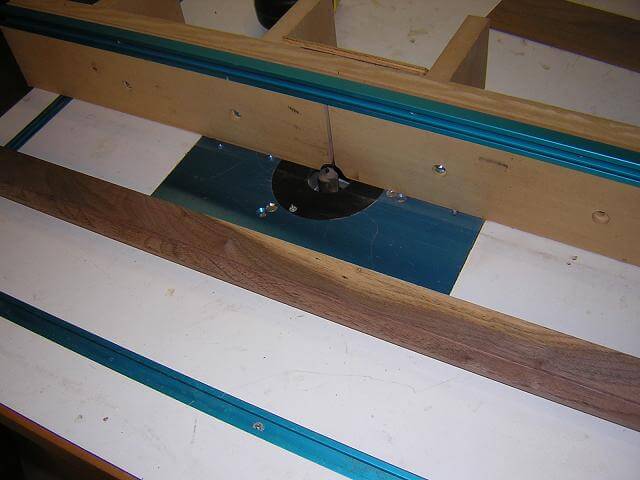
The bottom of the urn would be removable, to allow the ashes to be placed inside. This removable panel will sit in a rabbeted portion cut into the side pieces. It was easier to cut this rabbet before I cut the board into the individual mitered pieces. I did this at the router table with a straight bit. Due to the nature of walnut, the pictures don't show this rabbet very clearly even though I took two snapshots:
I then cut this long board into four mitered pieces. I used a stop block on each pair of pieces so they were the exact same length. This ensured the box would be square and the miters would line up perfectly.
Here are the four pieces after being cut. At the moment they're just sitting on the workbench with nothing holding them together. You can see that this particular board had one side with some sap wood and some defects. I oriented the mitered pieces so the "presentation" side of the board would be on the outside and the defects would be on the inside where nobody but me (and now you) would ever see them.
In all reality, just gluing the mitered side pieces together would be sufficient. Especially in light of the fact that the urn would be buried in a few months so it really didn't need to last for generations. Nevertheless, my perfectionist side in me didn't feel right about not using some reinforcement in the joints so I cut biscuit slots. The biscuits would make the joints stronger over time. Dad would have appreciated my perfectionism.
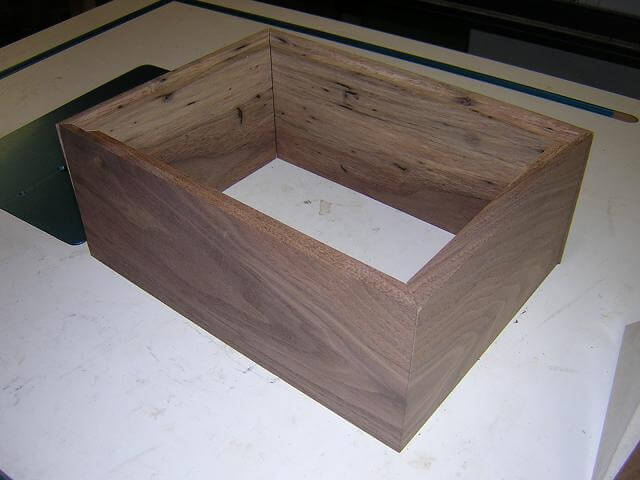
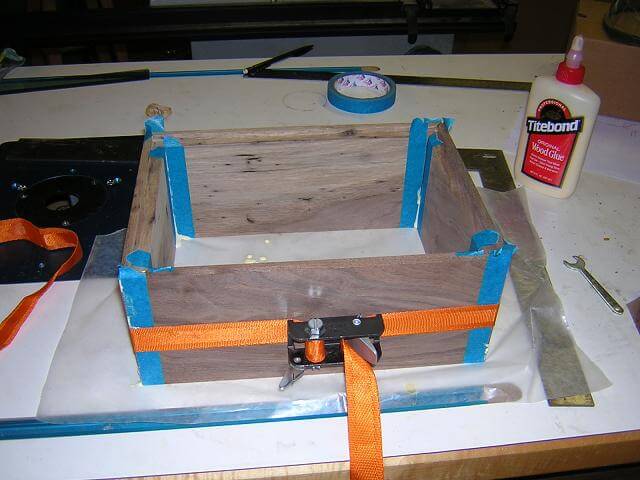
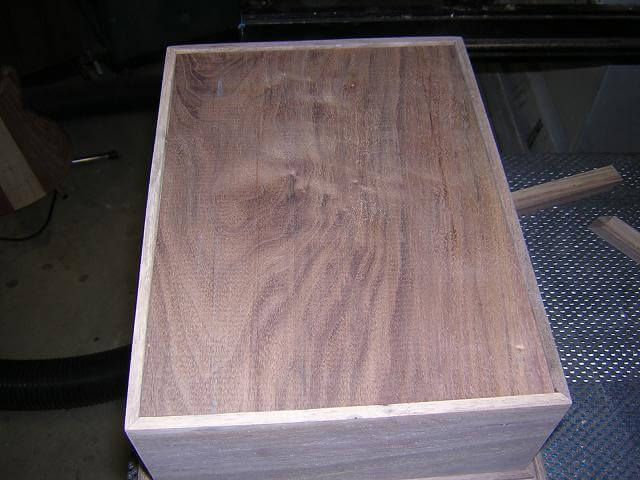
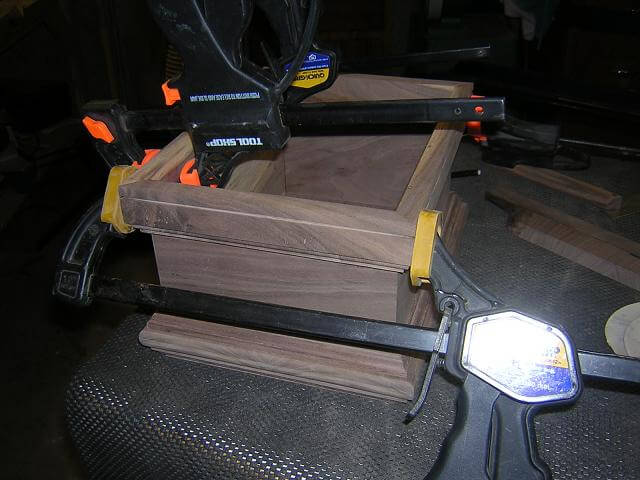
With the slots cut, I applied glue to the miters and the biscuits and stuck everything together. A couple of band clamps pulled the joints tight until the glue set. I made sure the two diagonal measurements of the box were identical, which indicated the angles were all 90 degrees. The blue painters tape helped keep the glue squeeze-out off of the wood where I would have to sand it away later. I peeled the tape off after the glue started to set up, but before it dried hard. This tape was really beneficial on the inside of the box where it would be difficult to sand into the corners to remove excess glue.
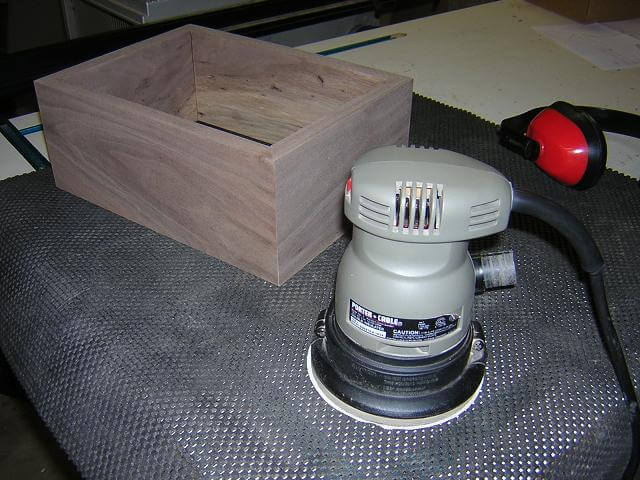
Once the glue was dry, I spent some time sanding the box. The tape really saved me a lot of sanding time. On this project I was able to take a different approach to sanding. Usually I wait until the entire project is completed, then spend many tedious hours final sanding it to perfection. With this project I was able to final sand each step as I added it to the box. This meant once the construction was done there was just a little bit of touch-up sanding to do and then I was ready to apply the finish.
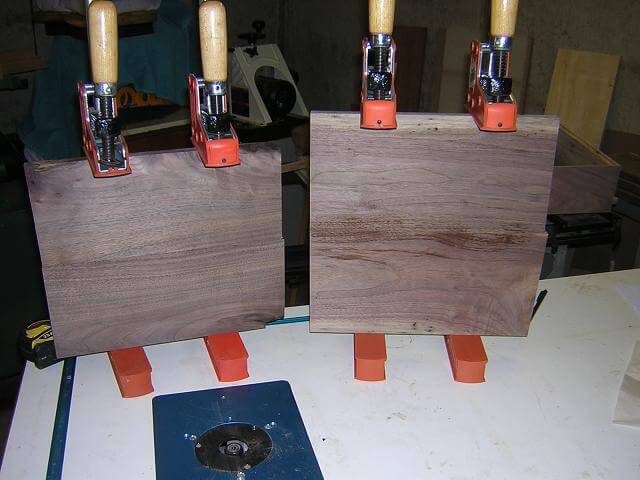
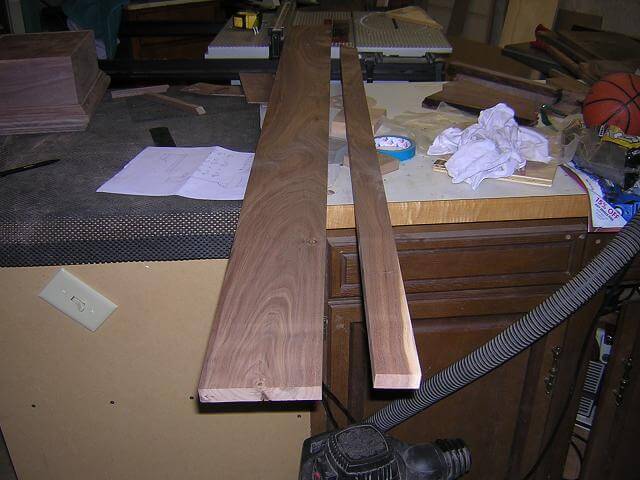
The top of the box was made up of two 3/4" layers of wood. After cutting the rough wood into usable lumber, I didn't have any boards wide enough for either of the top layers. To make pieces wide enough for each top piece I would have to glue boards together. I cut some pieces and did a little positioning so that the grain of the pieces would match as close as possible.
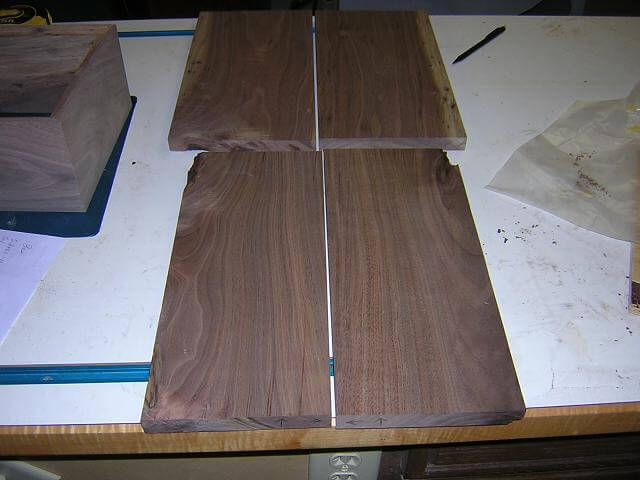
I then ran the facing edges of the pieces through the jointer to ensure they were perfectly straight and glued them together. The weird spots on the right boards were wet areas from the damp rag I used when wiping off some excess glue the squeezed out of the joint.
After the glue dried I spent some more time sanding. No matter how careful you are when you glue boards together there's always a little bit of unevenness in the joint that has to be sanded smooth.
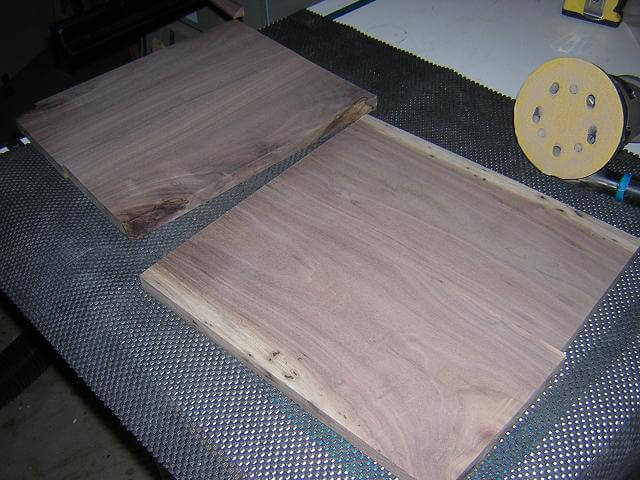
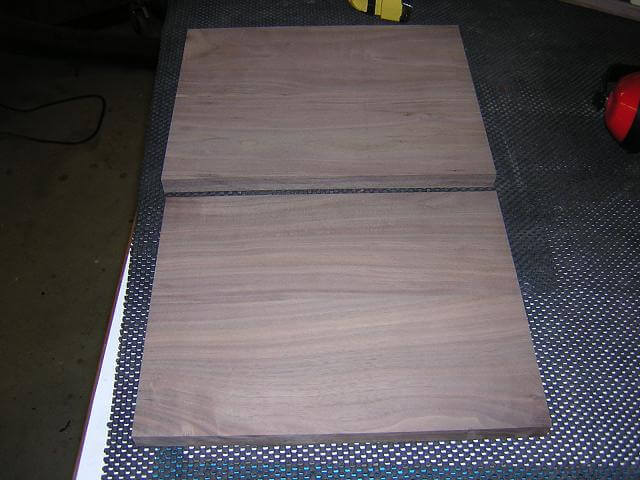
The glued-up boards were slightly larger than the final size needed. At this point I cut them to exact size. The piece that will be on top was a 1/4" smaller in each direction than the 2nd layer piece.
If I were to glue the pieces directly to the box sides, over time the wood movement across the differing grain directions would split the wood. Again, I know that this box would be buried long before this would ever happen, but the woodworker in me was driven to do this right. Dad deserved the best. So, the plan was to screw the lower layer of the top to the box sides, then glue the top layer to the lower layer covering the screw holes. The screws would allow enough movement between the top and the sides to prevent splitting. The two top layers were oriented so the grain ran in the same direction, which meant they could be glued together without fear of splitting over time. I started by drilling screw holes in the lower top layer, and countersinking them so the heads of the screw wouldn't interfere with the next layer sitting flush.
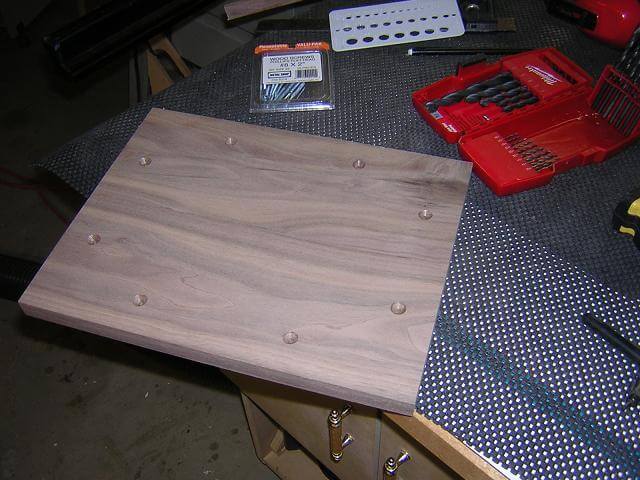
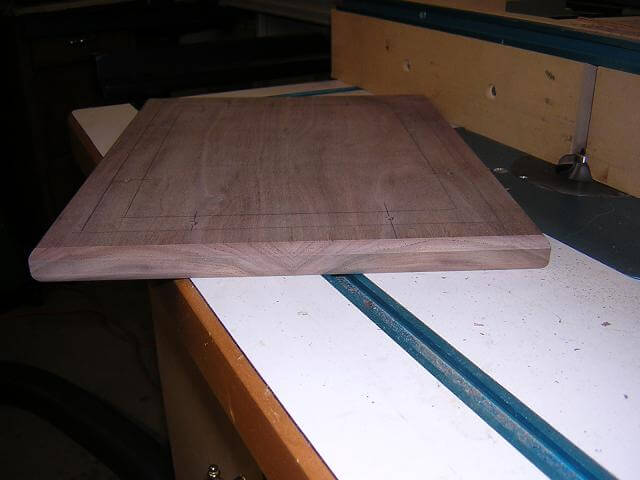
Next, I placed this board on my box sides and ensured it was perfectly centered. Once I was satisfied with the location I marked the hole locations with an awl. I could then use those marks on the drill press to drill my holes for the screws on the top of the box sides.
Before I attached this lower layer of the top, I routed a bullnose on the edges. This was done by using a portion of a 1/2" round-over bit on all four edges of both sides of the piece.
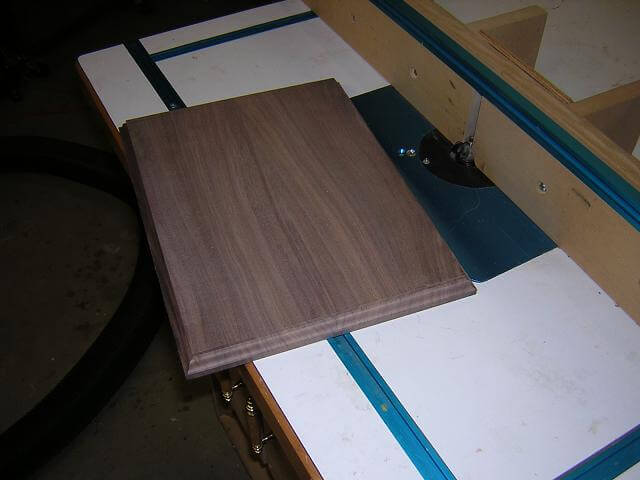
The upper layer of the top received an ogee profile around all four edges.
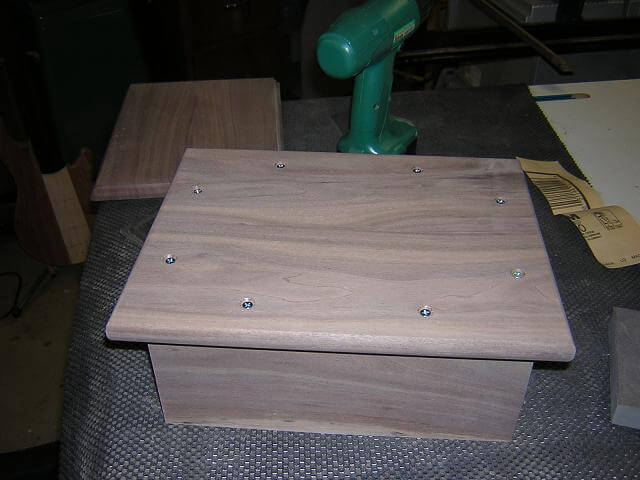
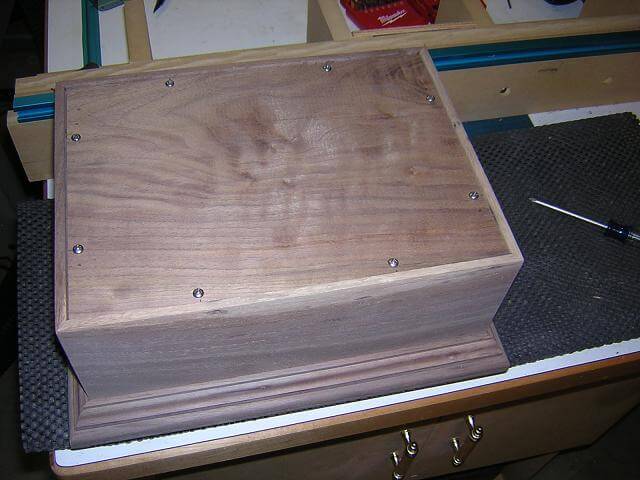
After some sanding I attached the first layer of the top to the urn sides using eight wood screws. This picture shows how the countersinks allow the head of the screws to sit lower than the surrounding wood, so they won't get in the way when I glue the next layer on.
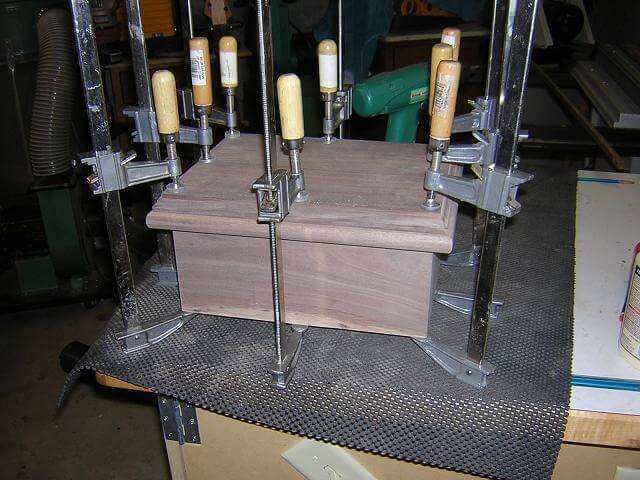
Next, I spread some wood glue evenly on this layer and attached the top. I kept the glue about 1/2 away from the edges of the piece. This will reduce how much glue squeeze out I would have to deal with between the two top layers. Wood clamps held everything tight until the glue dried.
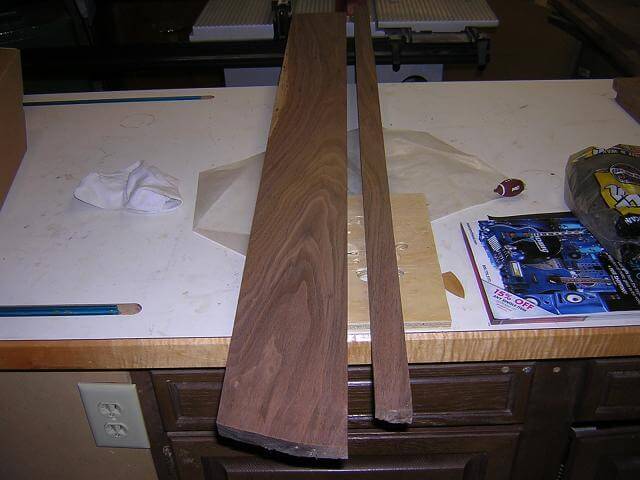
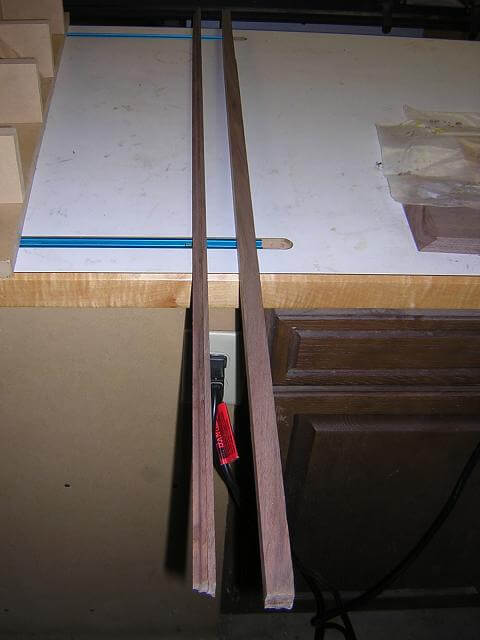
My plan called for another ogee profile underneath the bullnose of the lower top layer. I could have done this by making a three-layer top, but felt this would make the urn look too tall. Instead, I decided to create a molding that I would glue around the urn sides directly underneath the top. Because this molding would be rather thin, I didn't want to risk my fingers by trying to rout the ogee profile on a narrow piece. I took the off-cut from the box sides which was a couple inches wide and routed the profile on that strip.
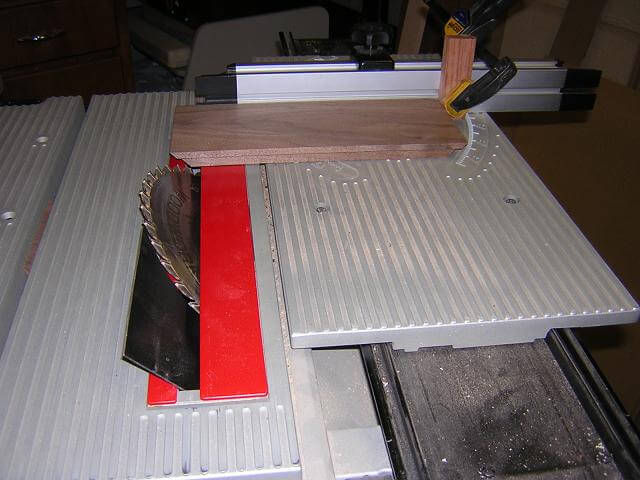
After the ogee was routed I then cut the molding strip to final width on the table saw.
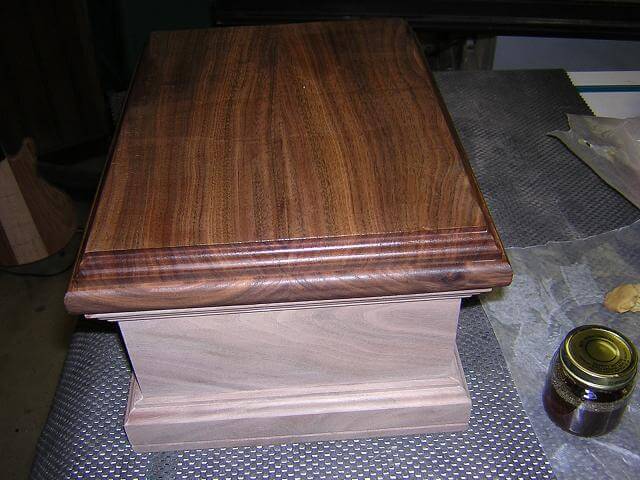
After more sanding I could then cut this molding strip into smaller pieces and glue them to the urn. This molding isn't structural, so a little bit of glue will hold it in place just fine.
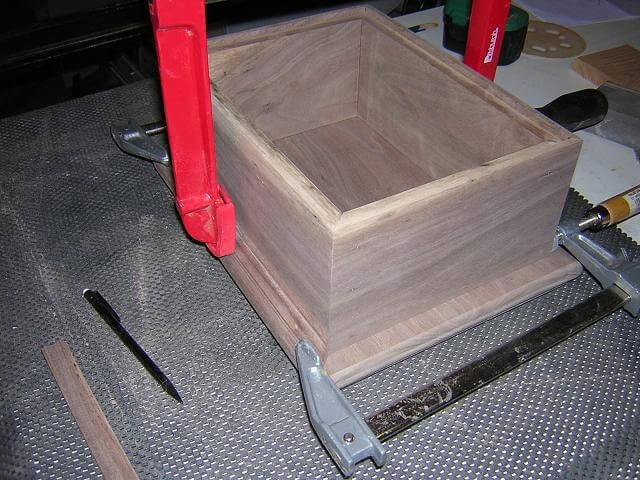
I took my time sneaking up on the length of each of the mitered molding pieces so I could get an exact fit. Once glued in place the miters were very tight and little additional sanding was needed.

I hadn't planned on doing anything fancy with the bottom. Nobody but me will ever see it, so my first thought was just to cut a piece of 1/4" plywood to fit. As I looked around the shop I came across a scrap piece of 1/8" walnut that was too small to use for any other project but was large enough to use as the bottom of the urn. I cut that piece to size to fit the bottom. Should anyone turn the urn over this will look better than plywood.
Some screws will hold the bottom in place.
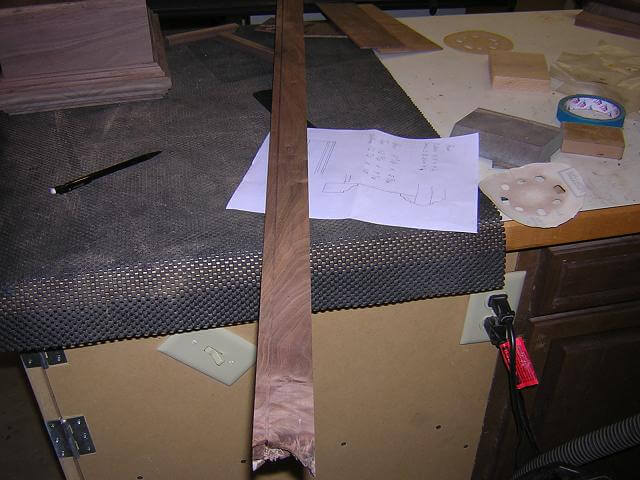
My thoughts now turned to a base. The urn just sitting on the plain sides would make it look very top heavy. I needed something to beef up the bottom. I started by cutting a long piece the height of the base from which I could miter individual pieces.
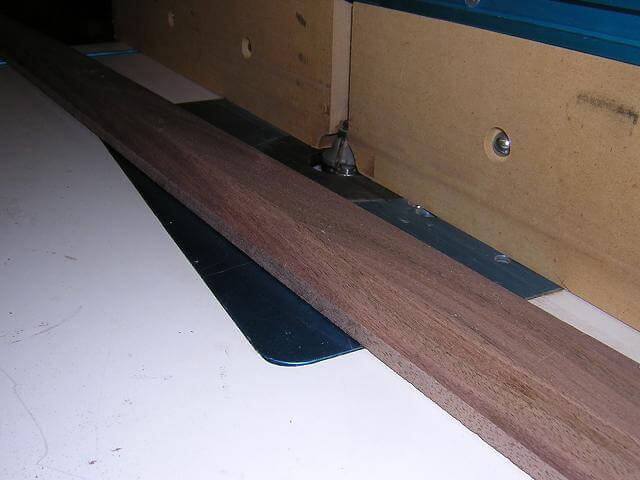
From there I routed an ogee profile to match the molding and the top piece. In order for the profile to be oriented correctly I had to rout the piece on edge rather than lying flat. The difference would be subtle, but again I wanted to do this "right." Note the knotted area at the end of this board. This would get cut off once I start mitering the individual base pieces.
The bottom of the base needed some decoration as well to make it more eye-catching. This was done by using the table saw to cut a 1/8" square groove down the board. Simple but effective.
The base pieces would be glued to the sides of the urn. However, the ashes would weigh close to 15 lbs. and while the glue would probably be plenty strong, I wanted a little insurance. I didn't want visible fasteners like screws or brads. My solution was to rout a 1/8" deep rabbet down the back side of the base. This would give a little ledge on which the sides of the urn could sit.
With all of the fancy stuff done on the base piece, now it was time to slice it into individual mitered pieces and glue them to the urn.

This was very similar to what I did with the molding under the top. It was a little trickier because the inside miters the base actually had to be sized from the 1/8" rabbet rather than from the back of the base. What I'm trying to describe is tricky to explain. Trust me, it took a lot of trial and error until I had the pieces mitered to fit. To make things more difficult, I didn't have any spare wood on my source piece, so if I cut a miter too short I was going to have to start over with the base. Thankfully I took my time and did it right.
At this point in time I was done with the construction and moved on to applying a finish. I did some final sanding, which thankfully wasn't much because of all the sanding I did during the construction process and because I handled the project with kid gloves. I then applied three coats of amber shellac to bring out the color of the walnut. After that I wiped on six coats of semi-gloss polyurethane cut 50% with naphtha, rubbing the whole urn down with #0000 steel wool between each coat. The entire finishing process took about the same amount of time as the construction. Because of the dull nature of finishing I didn't take more than one picture.
I wiped on the last coat of poly the morning of Feb 6th, 2012. Coincidentally my dad passed away later that very evening.
Click here to return to the finished project pictures.
Or you can read the full story of my father's cancer and this urn here.
Return To The Main Wood Gallery
This page last updated on 06/28/2018