


The neck for this guitar actually started back in 2004, which means that more than eight years would pass before this instrument would become playable. I originally built this neck blank for David Zach of the band Remedy Drive. I built both David and his brother Paul guitars back in 2005, and these two neck blanks were what I started with. Here's a picture of them back in the day holding their respective neck blanks. David is sitting on the right.
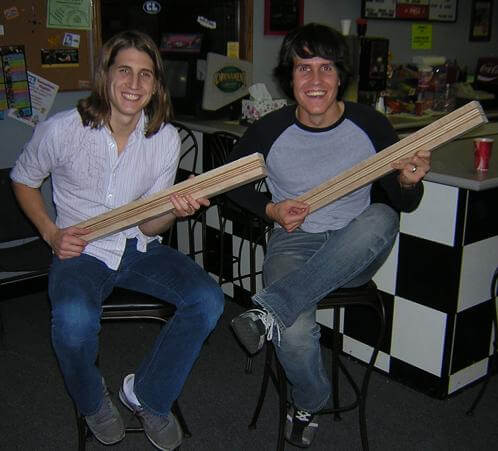
Paul's neck blank was used on his guitar. However once the project was rolling David decided he wanted a baritone guitar, which meant this neck blank was too short. So I built David a different neck and put this blank on the shelf. In 2006 when I started this project I decided to go ahead and use this neck blank.
I cut and glued a scarf joint on the end of the neck for the headstock area. Sorry I don't have pictures of that process, but I've documented the method for other guitars on my site so you can look at one of those to see how it's done.
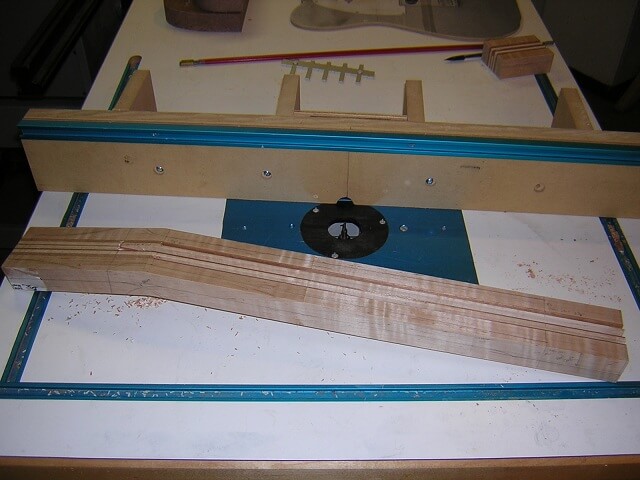
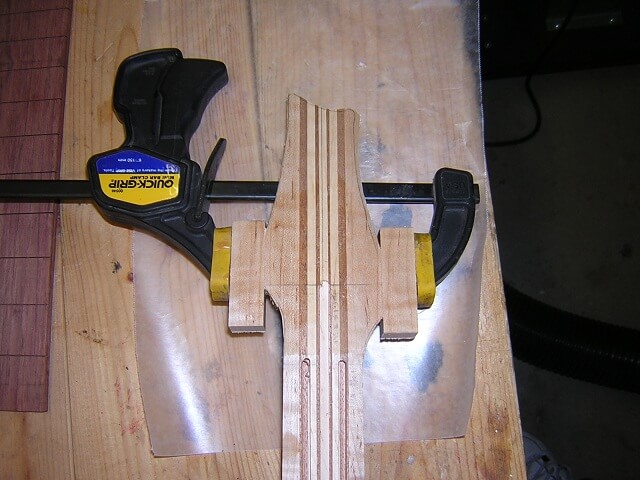
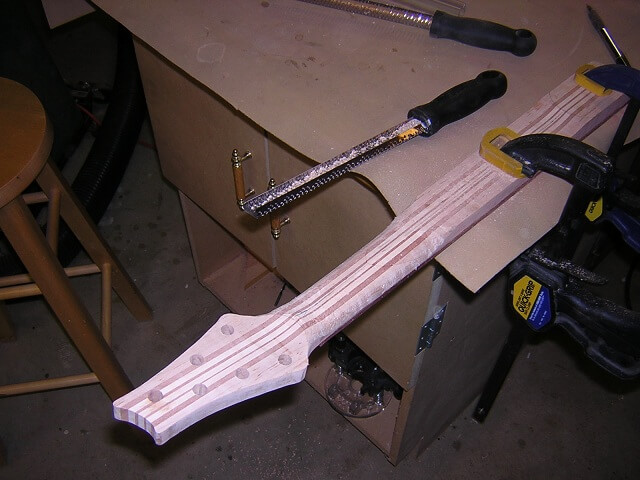
With the scarf joint dry, I planed the face of the neck straight. I then routed a channel for the truss rod. I did this at the router table. The truss rod I used for this project was a Stewart MacDonald Hot Rod, which allows both forward and backwards adjustment. The channel for the rod is 1/4" wide by 7/16" deep. Also in this picture (although they're hard to see) are the channels I routed for the carbon fiber rods that will be glued into the neck for strength.
Next, I cut the back of the neck to depth. On the back of the headstock I created a little decorative bump, called a "volute".
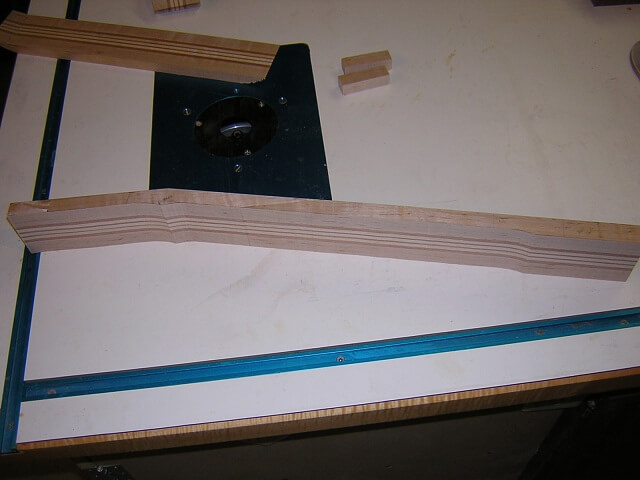
The sides of the neck were now cut to width. The headstock area and heel were left well outside my marked line. They will be cut to exact size later.
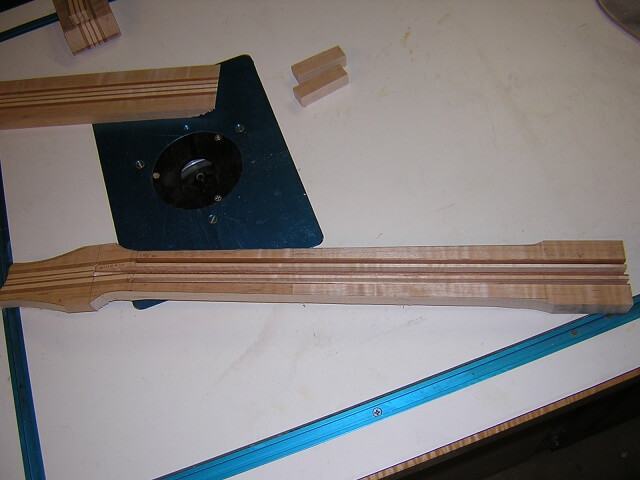
Before the headstock can be trimmed to final size, extra wood needs to be added to the widest point. I did this by gluing on "ears" cut from some of the scrap wood left from previous cuts off the neck.
When the ears had dried, the headstock was trimmed to final size. Note that this guitar uses my "Gen 3" headstock design, which I believe was the last instrument I built with this template before I moved to my current "Gen 4" design. I've found that headstocks are one of the hardest areas of a guitar to get right, so my design has evolved over time.
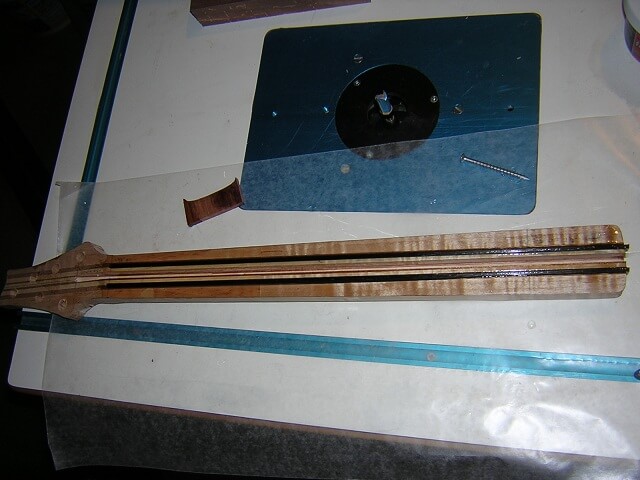
With the headstock at final shape, I marked and drilled the holes for the tuning keys. Next, I glued the carbon fiber strips in place with epoxy. Once the epoxy dried I scraped and sanded the glue/rods flush with the face of the neck.
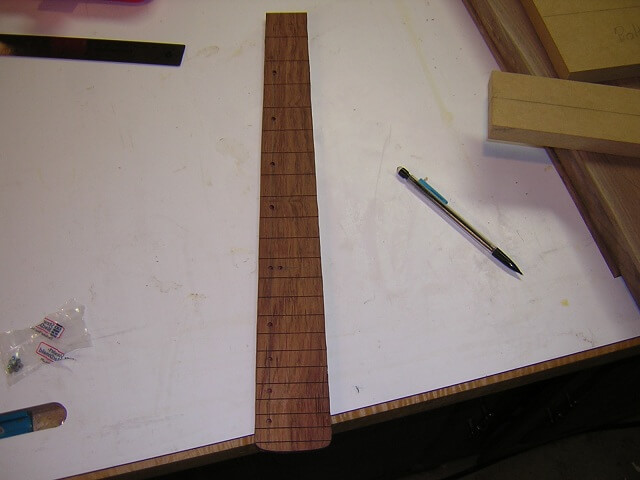
My attention turned to the fretboard. I pulled a piece of 1/4" rosewood out of my stash and slotted it to a 24 3/4" scale length. I then cut the edges of the fretboard to size and drilled holes for the dot inlays. On this guitar I decided to do something different with the dot inlays: rather than running them straight down the middle of the neck I aligned them on the left side, approximately in the area between where the E and A strings will be located.
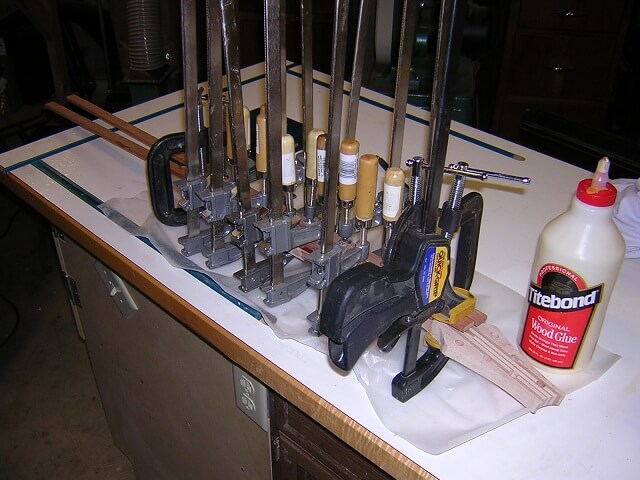
Now it was time to glue the fretboard in place. As I recall this was one of the last guitars with which I used PVA adhesive (wood glue) to attach a fretboard. I since discovered, along with many other luthiers, that being water based PVA tends to induce a back bow in the neck. This usally isn't fatal to the instrument if it utilizes a dual-action truss rod as this instrument does. Nevertheless, it is an annoyance and to avoid it with future instruments I used slow set epoxy to glue fretboards. Also I have since switched to using thick cauls which have a jointed edge in order to keep the fretboard perfectly flat during gluing.
After the glue had dried I removed the clamps. The dot inlays were glued in place using CA (super glue.) Then the fretboard was sanded to a 12" radius. Sanding the radius had the added benefit of leveling the inlays with the surrounding fretboard wood.

Now was my favorite part of all guitar building: carving the back of the neck. This is where I feel like I can really control the "personality" of the instrument. Think about it: when you pick up a guitar, the part the stands out the most to you is the way the neck feels. A great feeling neck will make a great guitar. I used my micro-planes to carve away the wood until the shape was right. The right shape is pretty much determined by how it feels in my hand. Once the shape is close to correct, I then sand the neck to remove the carving marks and tweak the final profile.
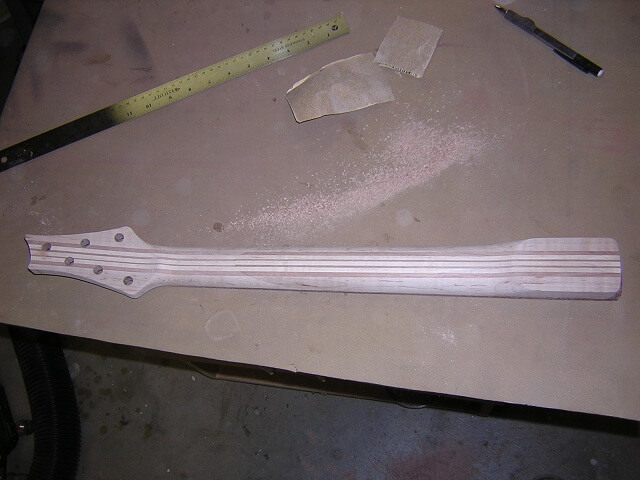
And here it is: the completed neck waiting for finish.
For finish, I wanted to try something a little different. The body was going to be gloss lacquer. I decided to take Fender's approach and finish the neck in satin. I used my custom blend of polyurethane and wiped on six coats of the finish, rubbing the neck down with #0000 steel wool between coats.
After finishing, I installed the frets then leveled and dressed them. A graphite nut was cut to size and initial slots were filed.
The neck was completed in late 2006. At this point it was put on a shelf for nearly six years before I finally got the body done.
Continue on to view the construction of the body.
Or return to see the pictures of the completed guitar.
Return To The Main Music Gallery
This page last updated on 06/28/2018