


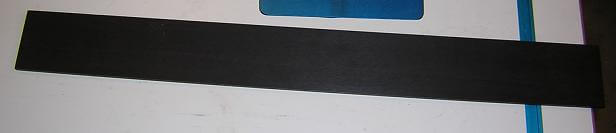
Building the fretboard starts with a blank of ebony that was 1/4" thick, 3" wide and a hair over two feet long. Our first order of business is to cut slots for the frets. We want to do this while the sides of the fretboard are still square.
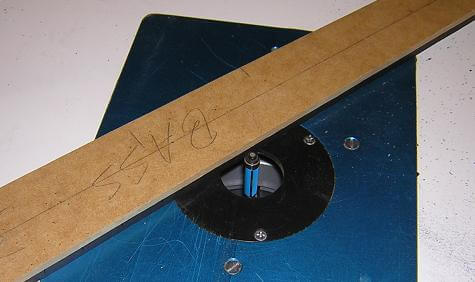
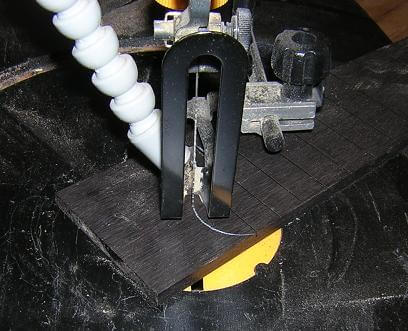
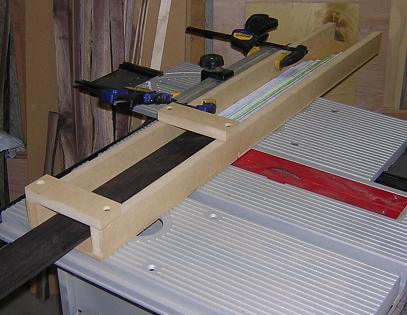
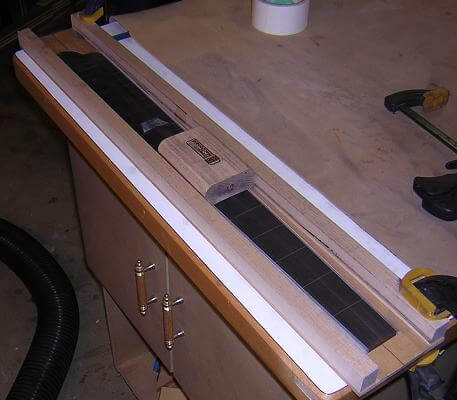
On some of my earlier guitars, I cut the fret slots with a hand saw. This got the job done, but it was a big pain in the tookus, especially when working with ebony which often is hard as a rock. A few guitars ago, I finally broke down and bought a fret slotting blade for my table saw that cuts a .023" wide kerf. Then I constructed this simple jig. The jig has the layouts for several scale lengths marked; all I have to do is line up the nut edge of the fretboard blank with the marks on the jig for that scale length, then make a pass over the blade for each successive mark.

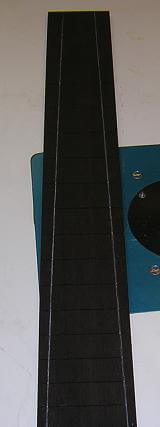
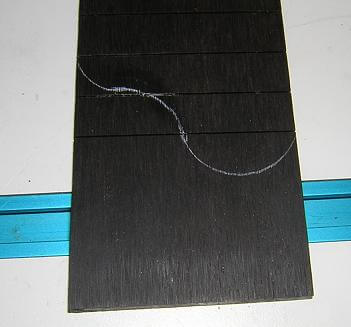
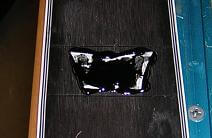
After 24 passes, the fret slotting is done. What used to take me a least an hour with lots of sweat can now be done in 15 minutes (including blade changes) and minimal physical labor, which I'm all for. Here's a picture of the slotted board. Unfortunately, ebony is so dark it's hard to get a good picture.

The next step is to cut the taper on the fretboard. This board will be bound with a five layer binding, so the taper of the board must be slightly narrower than what is necessary in the end so when the binding is added it will bring it to the proper width. I calculated that the five layers of binding was about 3 mm thick. Therefore, I had to remove 6 mm from my final fretboard width. The nut on Phil's bass is going to be 1 3/4" wide, so I removed 6 mm from that measurement and marked the blank with a 38 mm wide nut.
Yes, I use both metric and english measurement systems at the same time. Thankfully, I've always been pretty good at going back and forth between the two in my head, so I'll use whichever system will be easiest for the particular calculation.
I also finally wised up and got a white pencil for marking ebony. It's a lot easier than trying to look across the board at a steep angle to try and see the reflection of a graphite pencil line.
With my lines marked, I rough cut the taper on the band saw staying about 1/16" outside of the final lines. Then I taped my fretboard tapering jig to the blank and used a flush-cut bit to bring the fretboard to final size. Doing it this way left me a perfectly straight and smooth freboard edge with no need for sanding.
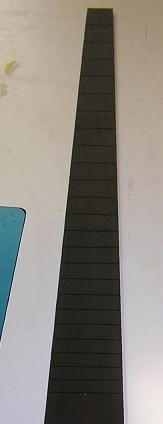
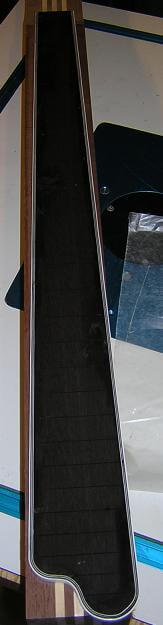
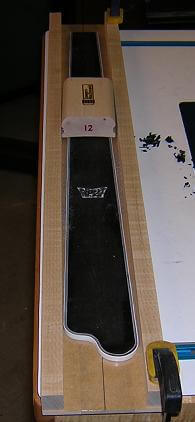
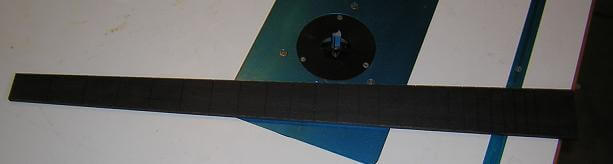
Here's the final tapered fretboard. Phil wanted this instrument to have the same neck measurements as his Peavey, which has a very pronounced taper. Once binding is added, the nut will be 1 3/4" wide, and the fretboard will be 2 7/8" wide at the 24th fret.
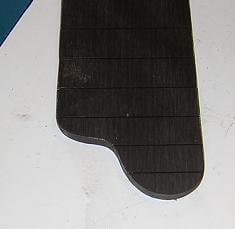
In my opinion, this style of bass looks great with a "swoop" at the end of the fretboard that mimics the shape of the single-cutaway body. I marked the swoop with my white pencil.
Then I cut it out using my scroll saw.
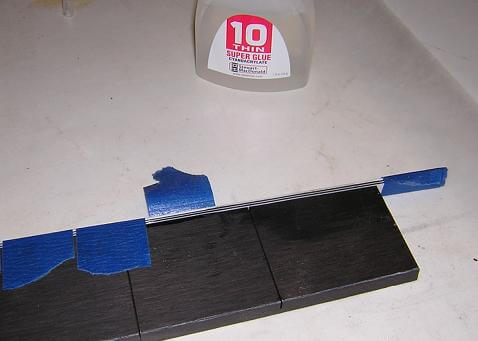
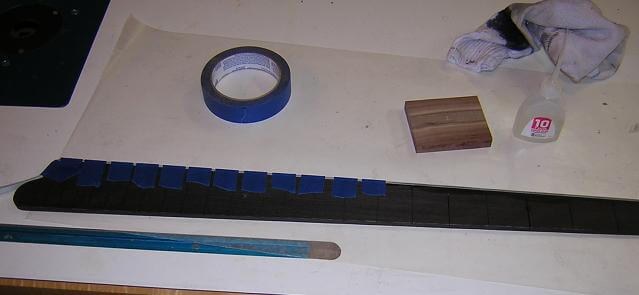
Now it was time to add the binding. This will be a five-layer binding in a white/black/white/black/white scheme. The outer layer of the binding is slightly thicker than the inner plys. To begin, I use masking tape to hold the binding in place, then remove the tape one piece at a time and flood the area with thin super glue. The thin glue wicks in between the layers of binding via capillary action and sets quickly, gluing the binding layers to each other and to the fretboard. The excess glue left on the face of the board can be wiped off while it is still wet. The glue marks that remain on the face of the board will be removed when we sand the radius into the face, so I'm not worried about them right now.
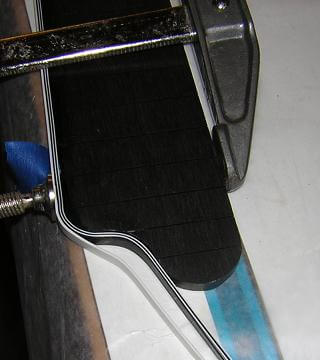
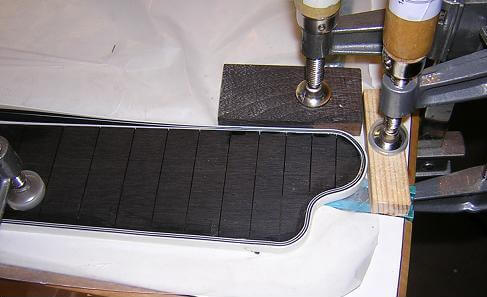
I worked my way down the board until I got to the "swoop". In this area, the force required to bend the binding was too great to allow masking tape to hold the layers in place, so I had to use clamps. The odd shape of the swoop makes it difficult to clamp, so I found that by clamping the fretboard to the work bench (making sure to put waxed paper down so the fretboard doesn't get glued to it) I could then push blocks of scrap wood against the binding and clamp those in place.
Bending and gluing the binding around this swoop turned out to be a major pain in the wazoo. I have no idea where my wazoo is, but I'm sure if I located it, it would be red and inflammed.
Here's my public service announcement: When working with super glue, there are several very important things to keep in mind:
1. The fumes are extremely noxious. Often times when gluing small pieces we don't have the bottle open long enough to really let the fumes collect in the air. When doing binding work, however, the bottle stays open for hours. It's best to do binding work in numerous short sessions rather than one marathon stint and close up the bottle when you're not using it. Otherwise, as my father says, you may "take a trip without leaving the farm."
2. CA (super glue) bonds skin instantly. The bottle says so. They ain't lying. While working on the binding, a drop of CA got on the outside of the bottle without me noticing it. The next time I grabbed the bottle and applied some glue, I couldn't put it down. My right index finger was securely fastened to the bottle. I used this opportunity to go find Tundra Boy and remind him of the dangers of super glue. Unfortunately, he's not yet at the age to truly comprehend what I'd done, and he found it funny and ran off to tell mom that "daddy is stuck to the glue bottle!" Then I spent twenty or so minutes wincing and slowly peeling the skin off my finger. It stayed on the bottle quite well. They make a solution to release skin stuck with CA, but I didn't have any available. That is going to go in the shop's first aid-kit. I'm only thankful I didn't discover the rogue glue by picking my nose.
3. Eyes are also skin (or at least skin-like), so wear safety glasses. You only need one small splash of glue to land in your eye to permanently wreck your vision. Think the chances of this happening are slim? When uncapping the bottle at one point while binding the fretboard, two small splashes of glue flew out. One landed on my shirt, the other on my chin (don't react instinctively and wipe it away with the back of your hand!) Either drop could have easily landed in my eye and had I not been wearing safety glasses, well, let's just say my whole day would have been ruined.
Now, back to my wazoo pain: I continued to clamp and glue and slowly work my way around the swoop.
Once around the swoop, the other side of the fretboard was easy as it was just a straight-shot. The binding is still a little uneven, but we'll sand it flush when we radius the fretboard.
Now it was time to do the fretboard inlay. When designing the instrument, Phil said he only wanted an inlay on the 12th fret and to have no other fretboard markers. He wanted the inlay to be a sort of "crown" shape that complemented the shape of the headstock.
I came up with a simple crown design that I liked, but I decided I'd "suprise" Phil by adding something extra. I thought the inlay would look good with Phil's initials cut out from the middle. Plus, it would be an easy way to identify the instrument should it ever get stolen. So, I came up with my inlay design which I drew on paper.
I glued my design onto the face of a mother-of-pearl blank, and cut out the shape. The inside cuts were done by drilling holes in each of the letters, then passing the saw blade through the holes before attaching and tensioning the blade. Inlay work is tedious, but rewarding when you see the final product. Here's a picture of the inlay piece after it was cut out. It still has the paper glued to it's face, so it looks kind of funny.

With the inlay cut, I temporarily glued it in the proper location on the front of the fretboard using model airplane glue. Then, I traced around the inlay with a scribe, and peeled the inlay from the face of the fretboard. Model airplane glue holds firm enough to hold the inlay securely while scribing, but loose enough to allow you to peel it away when you're done. After scribing, I rubbed chalk dust in the scribed lines to make them easier to see. It also made the spots of glue easier to see, but those will get removed.
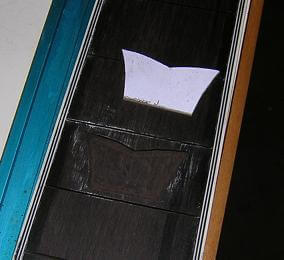
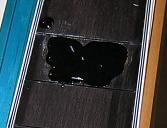
Now, the wood inside of the scribed lines is removed at the same depth as the piece of pearl. This is a slow, tedious process using a dremel with a bit similar to that which a dentist would use. Once the basic shape is routed, then there's a lot of trial and error as you slowly remove more wood until the inlay piece fits perfectly. This inlay was a little trickier, as I had to leave wood in the spots where the letters were cut out on the pearl. Here's a picture of the recess after I was done with the routing.
The inlay is then glued in place using black epoxy. The black epoxy won't show if some of it seeps into the grain of the ebony. I use plenty of glue, as evidenced by the amount that squeezed out when I pressed the inlay into the recess. After the epoxy cures, the excess will be sanded off when the pearl is leveled with the rest of the fret board.
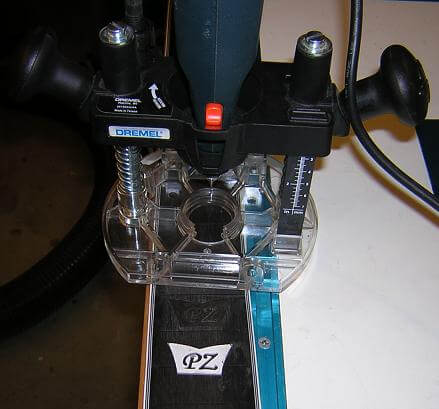
The easiest way to level an inlay on a fretboard is to do it at the same time the radius of the fretboard face is sanded. I built a little jig in which my curved sanding block will run, which keeps me from accidentally drifting while sanding and making the curve uneven. This fretboard will have a 12" radius. Radius sanding an ebony fretboard is a dirty, sweat producing job. It takes about an hour, and you wind up looking like a coal miner.
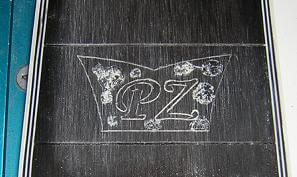
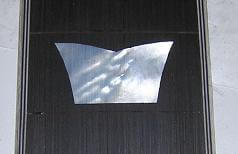
Here's a picture of the finished inlay after it was sanded level with the rest of the fretboard.
Now, I ran into a self-inflicted setback. As mentioned above, when I put Phil's initials into the inlay, I had done it as a "surprise." Well, it was indeed a surprise! Unfortunately, it wasn't a surprise that Phil wanted. He liked the shape of the inlay, but would prefer it without his initials.
Seeing as he would be the one playing this instrument for (hopefully) years to come, I decided it would be better for him to have the exact bass he wanted rather than live with something he didn't like. I gambled and lost on this one. To quote Kurt Vonnegut, "and so it goes..."
I mulled over some options for removing the inlay, or covering just the initials with another piece of pearl. In the end, I decided that I probably could do one of these options, but it would probably take longer than just starting over with a new fretboard. Oh well, in the grand scheme of things it's not that big a deal. I can always use the practice, especially with my inlay skills. I decided to leave the pictures on this page in case anyone is curious about how basic inlay work is acheived.
So, here's the photos from the second fretboard. The process is pretty much the same, so I'm not going into great detail this time around. We began with another ebony blank.

Next, we cut fret slots using my tablesaw jig.
Then, using white pencil I marked the taper lines.

The fretboard was trimmed to those lines.
I cut a "swoop" at the bottom end of the fretboard.
Binding was attached.
The inlay was cut, sans initials, and the the recess was routed out.
Black epoxy is used to glue the inlay in place.
The fretboard is radius sanded to 12".
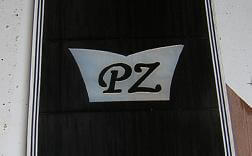
And now we're back to the same point we were on the previous fretboard. As an added bonus, this piece of pearl has some neat "figuring" to it that gives it a nice look.
The fretboard isn't finished yet, but we're also working on the body of Phil's bass. Or you can click here to return to the page where we're building the neck.
Return To The Main Music Gallery
This page last updated on 06/28/2018