


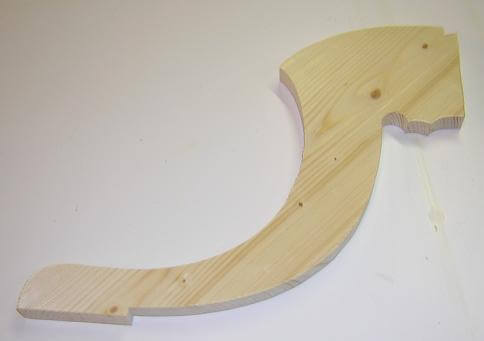
The table is going to sit on three fancy, curved feet. The trick in making the feet is to make them all exactly identical, both for asthetic and for stability reasons. Nobody likes a table that rocks back and forth because one of the legs is shorter than the others.
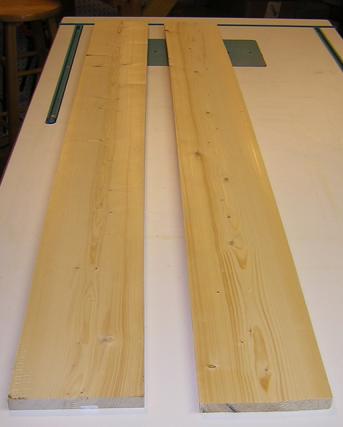
First, I took some of my stock that I'd resawn and planed, and selected a piece from which to cut the feet.
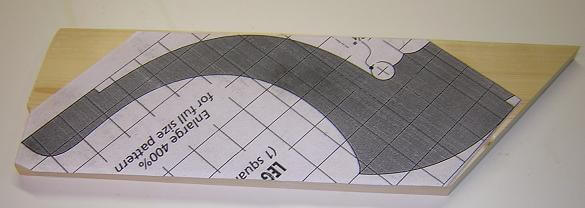
Because I was working from plans loosely based on those I found in Woodsmith, I took a copy of their leg pattern and sized it to the dimensions for my project. I then used spray adhesive and glued a copy of the pattern to one end of the stock.
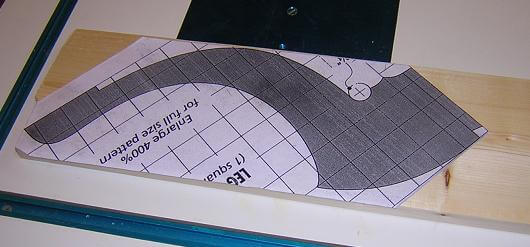
With the pattern glued in place, I could see where I needed to cut. I cut the piece free from the rest of the stock. I used an angled cut, as this would allow me to squeeze the three legs into a smaller span of stock. Preserving stock is one of the the keys to this project's success, as I don't have much extra with which to work.
With the pattern cut free, I then went to my scroll saw and cut it out. I took my time and cut exactly on the line.
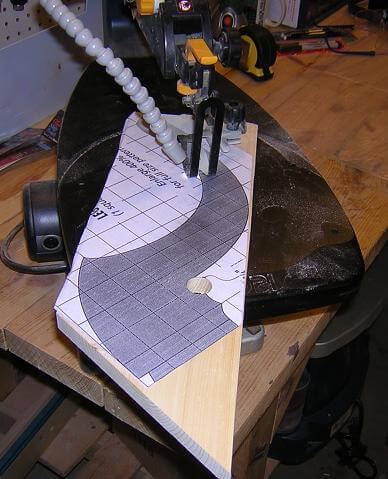
Once this first foot was completely cut, I could use it as a master template for the others.
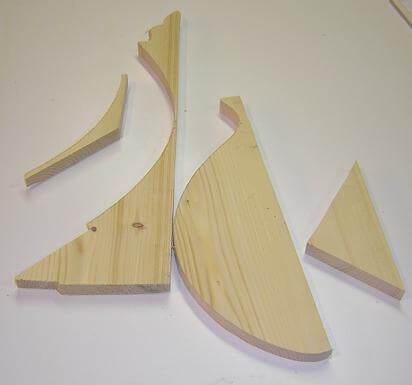
By the way, in every step of this project I made sure to set aside any scrap pieces. Later on I'm going to have to cut some smaller pieces from these bits of scrap.
To make the remaining two legs, first I placed the pattern on the rough stock and drew an outline of the leg with a pencil.
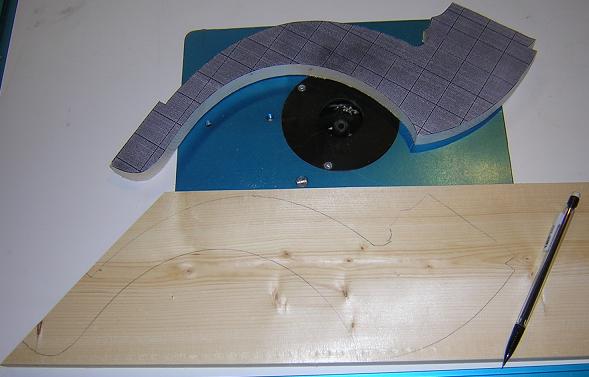
Then I cut them free from the stock on the table saw, and roughed out the legs on the band saw.
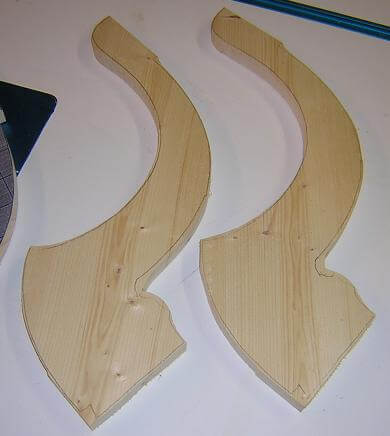
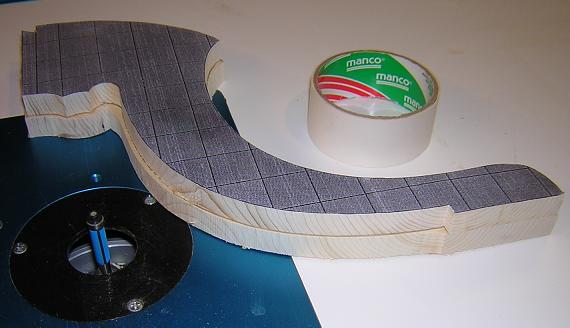
Now I switched over to my router with a pattern cutting bit (which has become probably my most used router bit as of late!) I took double sided tape and attached my master leg, then used the flush cut bit in the router table to run along the edge of the pattern and trim off the extra wood on the rough cut foot.
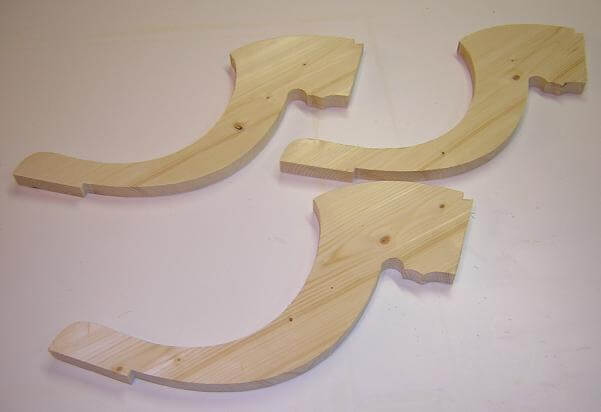
Once I did this to both legs, what I wound up with was three exact copies of the original pattern.
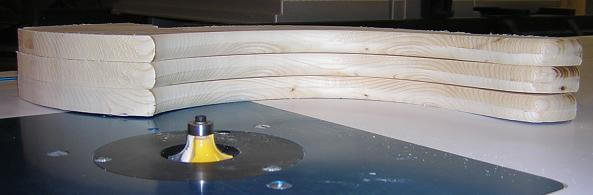
The last thing to do prior to sanding everything to make it pretty, is to put a decorative bullnose on the front of each leg. I did this with a 3/8" roundover bit in the router table.
I still need to cut the dovetails that will hold the feet to the column, but I will do that later after I have the corresponding sockets routed.
With the feet done, we need something for them to hold up. Let's build the column.
Or you can return to the page where we planned and prepared.
Return To The Main Wood Gallery
This page last updated on 06/28/2018