


With all of the different pieces finished, it was now time to put them all together and make a table! I began the process by giving everything a thorough sanding. It's a lot easier to sand individual pieces than trying to wrestle an entire table.
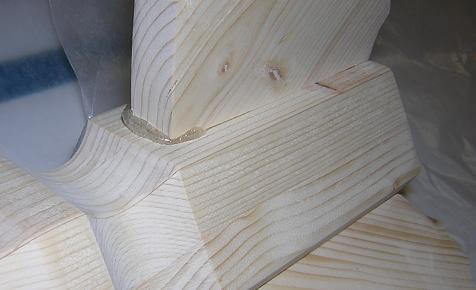
With the pieces sanded, I began by attaching the legs. Although wood glue would have been strong enough to attach the legs, I didn't have any good way to clamp them. In addition, at this time I thought I was still under the gun time-wise (the contest deadline ended up getting extended by a month), and I didn't want to let the project sit for eight hours while wood glue dried. So, I decided to use 5 minute epoxy to attach the legs. That way I only had to hold each leg in place for a few minutes until the glue set, and it would be plenty strong.
Using the epoxy is a little more difficult than wood glue, but not too bad. You squeeze out equal amounts of the glue and catalyst, mix it for a couple minutes until it's good and blended, then smear the glue in place with an applicator. I used a wood scrap as an applicator. I did have to use a different applicator for each leg, as by the time the glue was set on one leg, the applicator had firmly fastened itself to the scrap of plastic I was using to mix the epoxy.
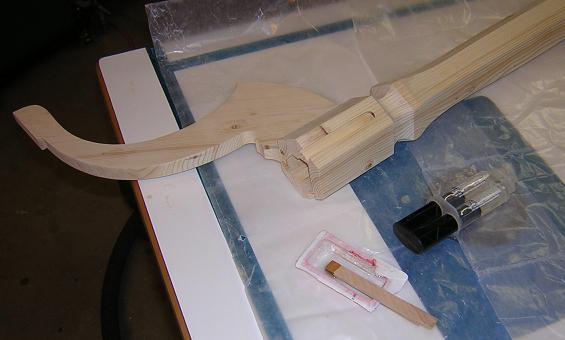
Dealing with epoxy squeeze is a little different than with wood glue. With wood glue you can just take a damp rag and wipe away the excess. With epoxy, I had to wait until the glue was slightly firm (but not too firm!) then use an X-acto knife to trim it away.
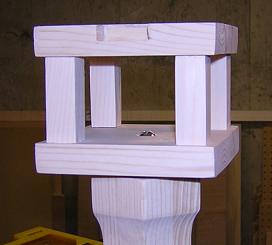
With the legs attached, I could attach the birdcage to the top of the column with a screw and two washers. The larger washer goes between the birdcage and the column to prevent them from rubbing together.
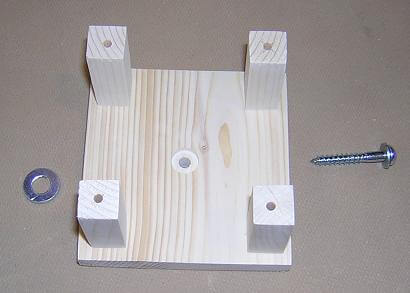
I simply screwed the birdcage bottom in place. A drop of CA (superglue) in the column hole keeps the screw from turning when the table is rotated.
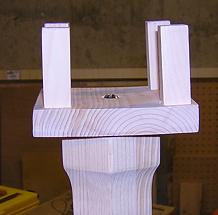
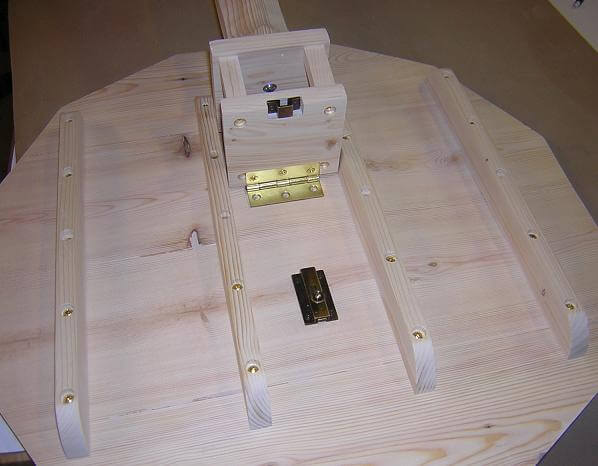
Before the top of the birdcage is attached, I first cut a mortise in the bottom of the table top where the hinge would attach. Here's a shot of the test fit:
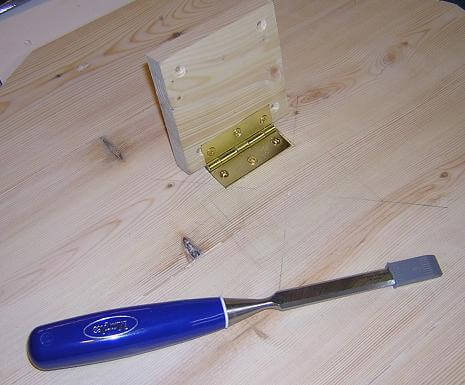
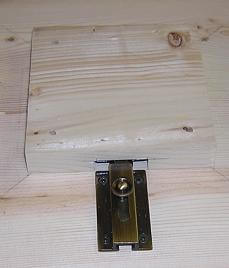
At this time I also drilled the holes and mounted the latch.
Now I could screw the birdcage top to the bottom of the birdcage assembly.
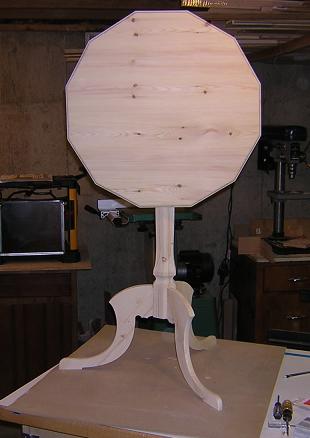
Finally, I attached the column assembly to the top via the hinge.
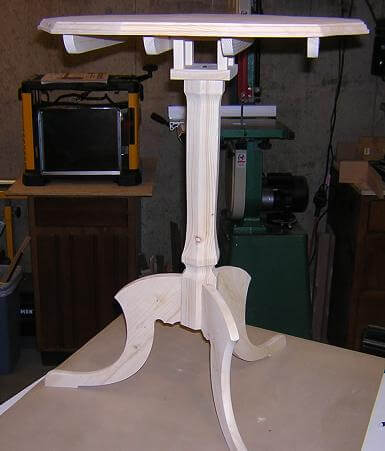
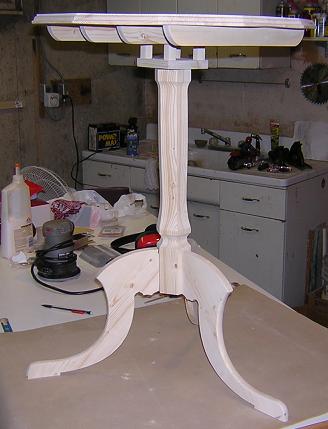
And here it is, the assembled tilt-top table. All it needs now is a finish, and we're done!
The assembly is done. Return to the completed pictures.
Or you can return to the page where we built the top.
Return To The Main Wood Gallery
This page last updated on 06/28/2018