


For the fretboard wood, the Tundra Boy wanted to use something very pretty, in more of an exotic species. The fretboard on this bass is huge. It is a 34" scale length with 24 frets, and being a six string it is over 3.5" wide at the lowest point. Therefore when hunting for a suitable piece of wood, it had to be large enough. A larger board generally means a larger price tag, so the Tundra Boy was trying to balance aesthetics with economics. After some searching, he located a nice looking piece of Bocote.
This piece was 3/4" thick. Most fretboards are closer to the 1/4" thick range, so the original idea was to split the board down the middle and create two slabs suitable for two fretboards. He would pay for half of the board, and I would pay for the other half and save it for a future project. That was the plan. To quote Robert Burns, "The best laid plains of mice and men..."
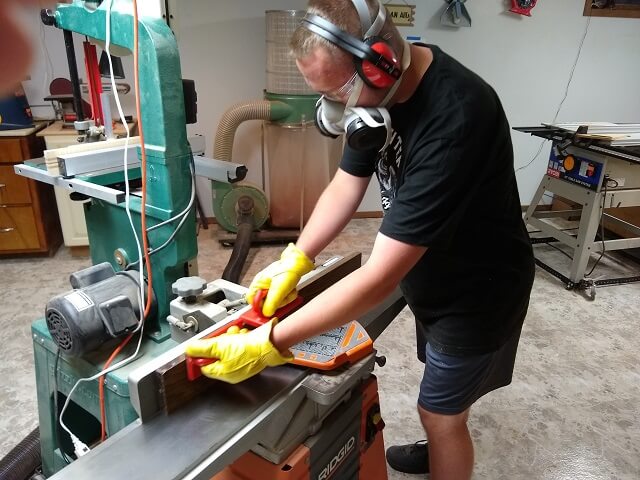
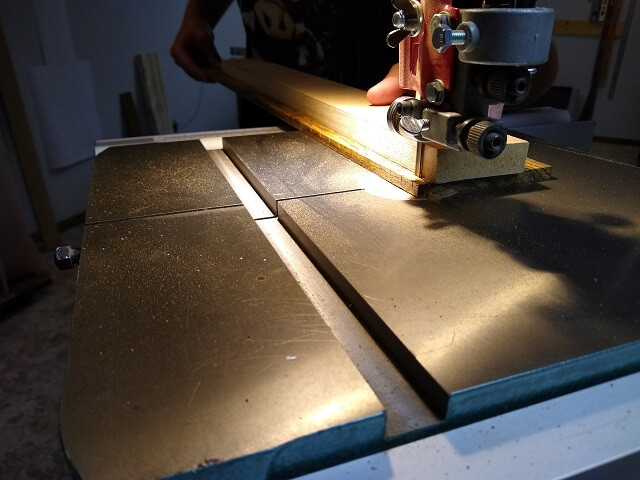
The board was S2S, with the faces rough planed but neither edge being perfectly straight. He needed a nice straight edge as a reference, so the Tundra Boy started by jointing one edge of the board perfectly flat.
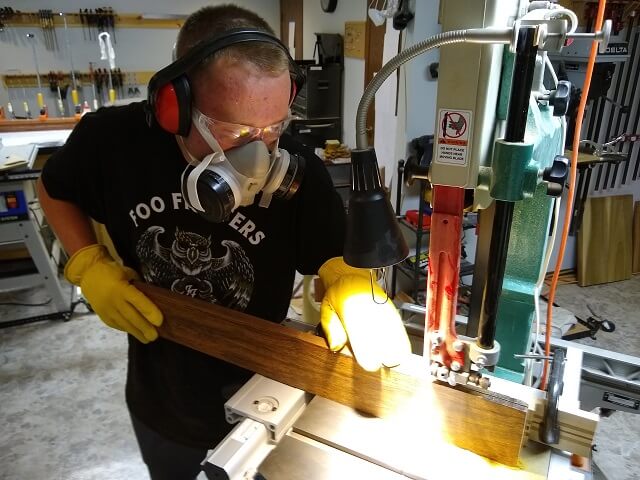
Next, he resawed the board down the middle to create the two fretboard blanks. Unfortunately, he learned that resawing wood is a skill that gets better with practice, and being fairly new to the activity it didn't go as smoothly as hoped. The top of the blade did pretty well splitting the wood down the middle. Unfortunately, the bottom of the board drifted away from the resaw fence causing the blade to wander off center in some places on the bottom of the cut. After the cut was complete, one of the pieces had an area that was over 1/2" thick, while the other piece had a mirror image area that was closer to 1/8" thick. The thick piece could be sanded down without any problem, but the thin piece was too thin to be useful as a second fretboard.
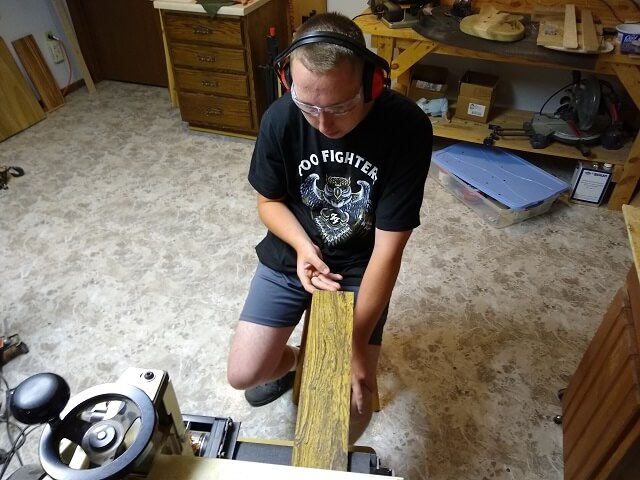
Disappointing, but it happens. Coincidentally, a few minutes before he made the cut we were talking about what kind of wood to use for the control cavity cover on the back of the bass. He wasn't sure, and at that time it didn't look like he would have enough scraps from the wood he bought for the project to create a wooden cover. Well, the 2nd Bocote board wasn't thick enough for a fretboard, but it could be made thin enough for a control cavity cover. So the bright side of the resaw cut not going smooth was that it gave him a control cavity wood that would match the theme of the rest of the instrument.
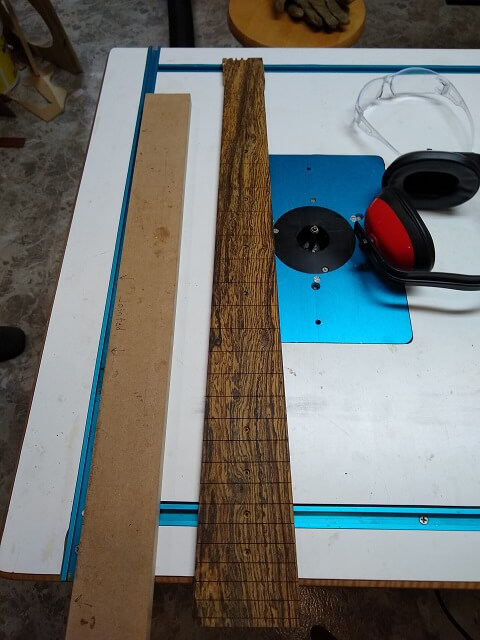
Using the drum sander, the Tundra Boy sanded the piece of Bocote intended to be the fretboard blank smooth and flat.
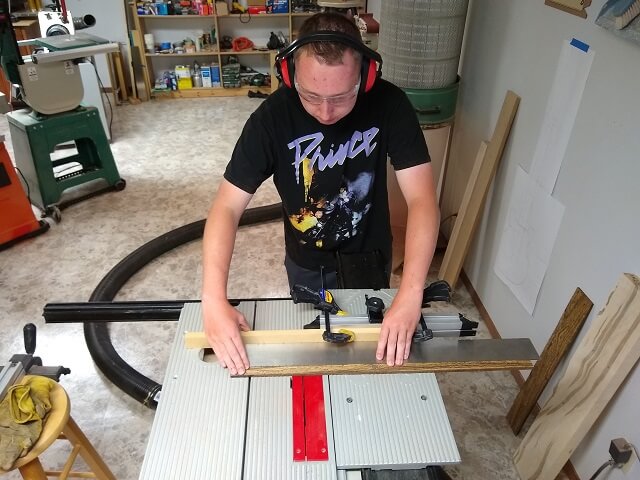
With the fingerboard blank flat, he cut the fret slots in the face of the board at the table saw using the Stewart MacDonald fret slotting blade and template. The system isn't inexpensive, but it does a great job slotting a fretboard quickly and accurately. It takes more time to swap the saw blade in and out than it does to cut the slots.
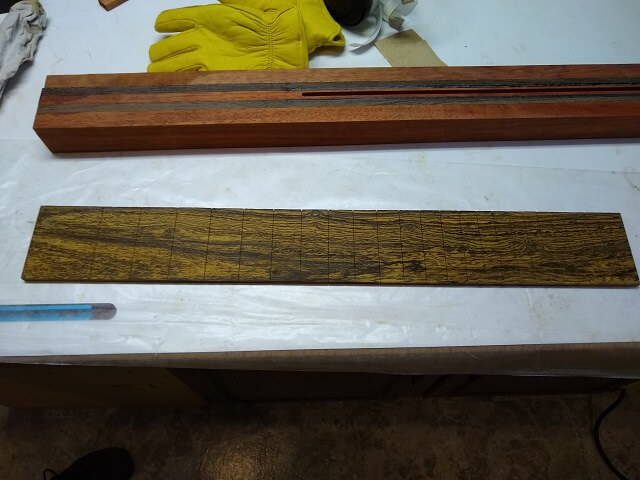
While the edge of the fretboard blank was still perpendicular to the fret slots, the holes for the mother-of-pearl dot markers were drilled in all but the 12th and 24th frets. Those holes will be drilled after the fretboard is tapered so that they will be equidistant from the tapered edge.
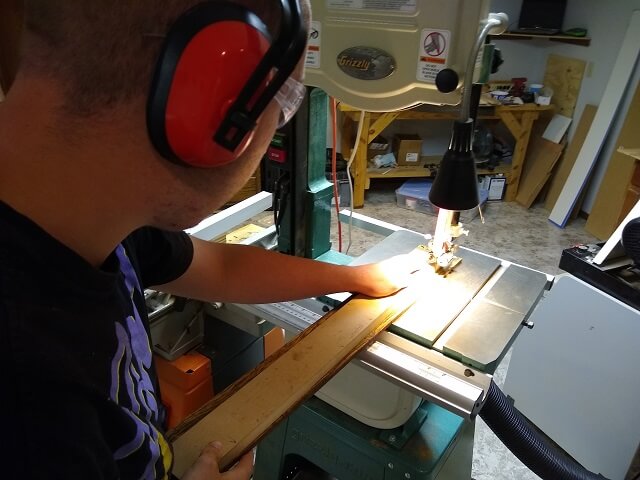
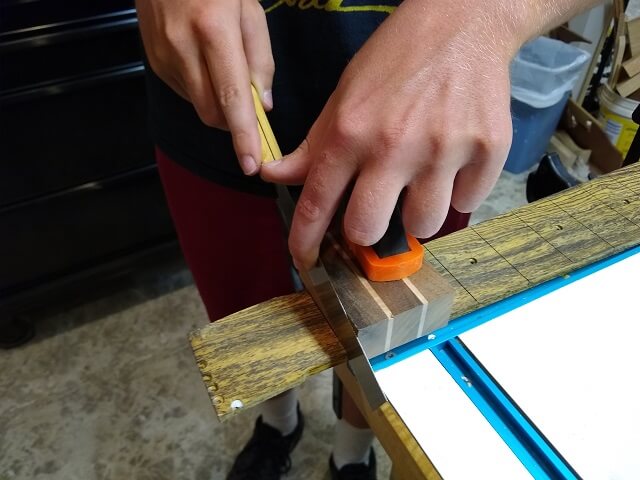
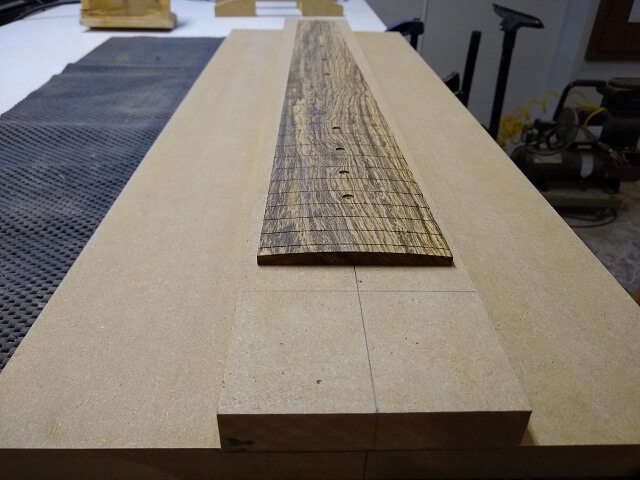
One thing the Tundra Boy quickly noticed with Bocote, is that pencil lines are almost invisible. He marked where the fretboard edges should be cut to provide the proper taper angles and drew cut lines, but then discovered they were almost invisible unless the light was hitting them just right. Worried that the line wouldn't be obvious when trying to cut these lines on the band saw, he used double-sided tape to stick a piece of MDF with a jointed edge right on the line. Then he was able to rough cut the fretboard taper on the band saw by keeping the blade near this MDF without cutting into it. First he did one side:
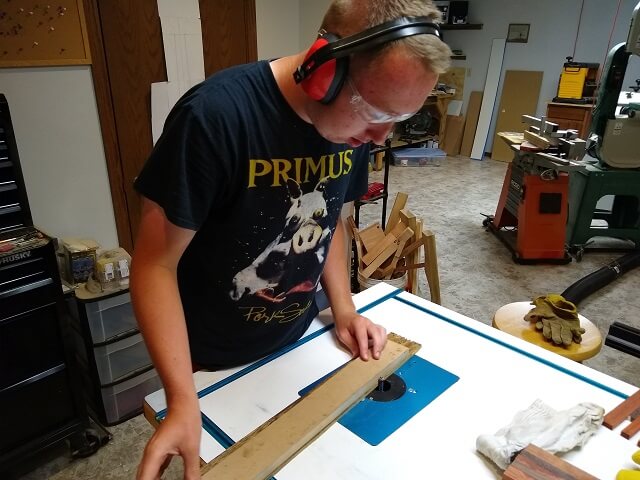
With the MDF straightedge still stuck to the board, he then used a flush cut bit at the router table to make the fretboard edge perfect.
The process was thene repeated for the other side of the fretboard. Another quirk of Bocote that was noticed is that it was oily enough that double-sided tape didn't stick to it very well. Thankfully he discovered that the MDF straight edge was slipping prior to it causing any problems. The solution was to scrub the Bocote really good with mineral spirits, then use a lot more double-sided tape than normal.
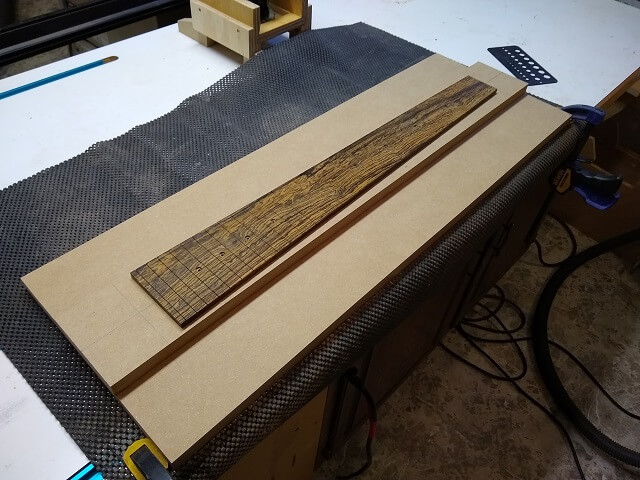
The fretboard slotting template cuts a slot where the nut should go. The wood behind that slot can be removed, so the Tundra Boy did this with a thin Japanese saw that fit inside this slot. A piece of scrap was clamped right up against the saw to help him keep the saw perfectly aligned so the nut end of the fretboard would be a 90 degree angle.
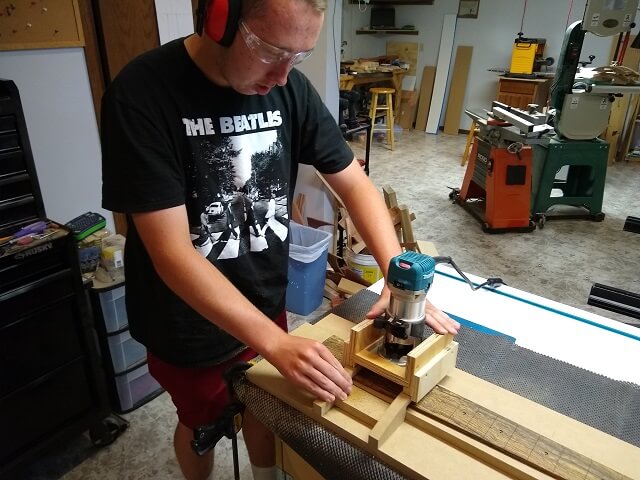
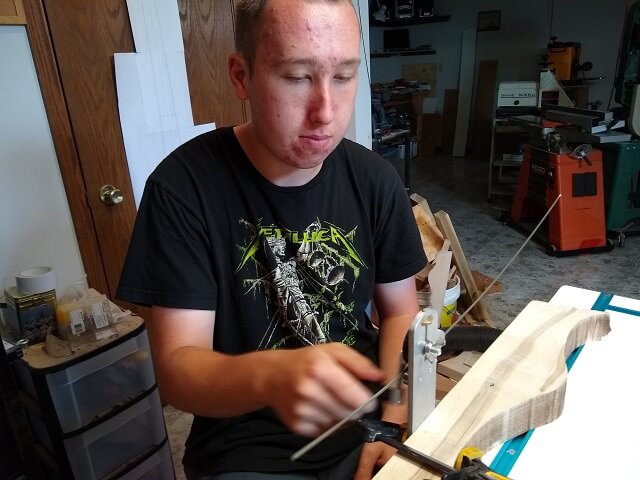
Sanding the radius into the face of the fretboard has always been a pain (literally and figuratively). This fretboard, however, posed a bigger challenge as it was 3.5" wide, and my radius sanding blocks are just 2.75" wide. So this instrument gave me an excuse to build a router jig to radius fretboards. The Tundra Boy got to use the jig for the first time. He started by using double-sided tape to attach the fretboard to the center of the radius jig table.
Then, he used the 16" radius sled and routed the fretboard. The jig was a success, as it turned out well and was a lot easier and faster than sanding.
Here is a picture of the completed radius. Note that he opted to wait to install the mother-of-pearl fretboard markers until after the fretboard was radiused, as we weren't sure if they would chip out or not. It will take a little more sanding to get the markers flush once they're glued in place, but better safe than sorry.
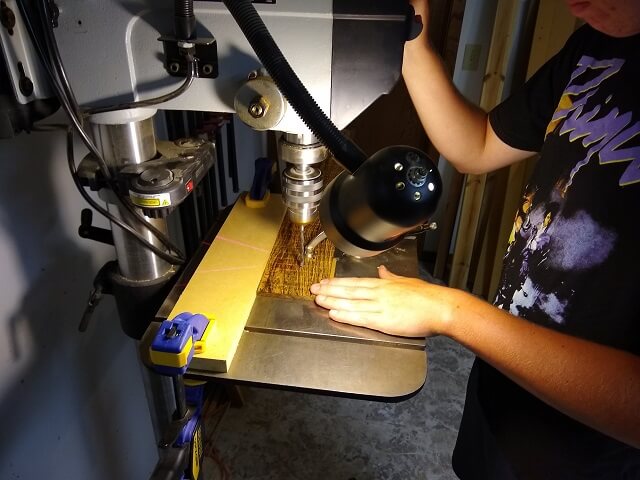
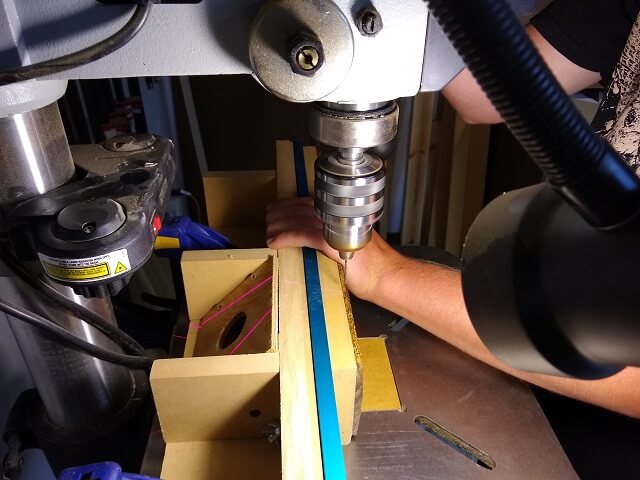
Holes for the side dots needed to be drilled. The router table fence clamped to the drill press table made a convenient fence to hold the fretboard in the right location.
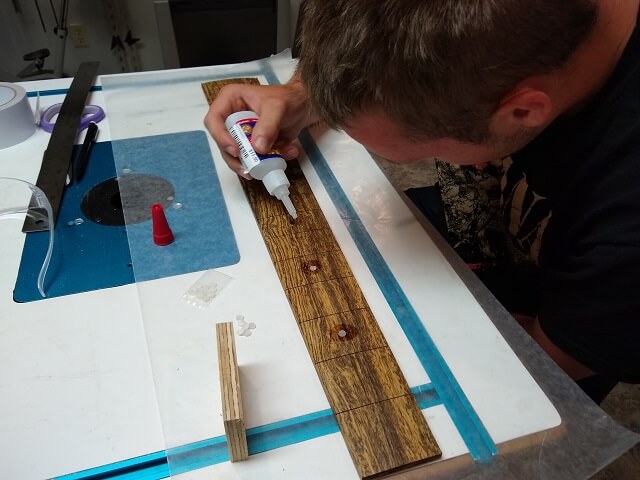
The mother of pearl dots were glued in place with super glue. The Tundra Bow got a little zealous with the glue, but the dots won't be falling out any time soon. After the glue dried he filed the dots flush with the radiused fretboard, then sanded the entire board smooth to remove any minor router marks.
Likewise, super glue was used to glue the white plastic side dot material in place. After the glue dried the excess material was cut off and the dot material was sanded flush.

Typically, dark wood fretboards are left unfinished, which I believe evolved mostly as a cost-saving measure from guitar manufacturers. Maple fretboards are finished to keep finger dirt from quickly discoloring the light wood, while dark fingerboards don't suffer from this issue (at least visibly.) There is no reason a darker wood fretboard can't be finished, it just traditionally isn't done very often. The Tundra Boy likes his fretboards to have a finish applied, mainly for aesthetic reasons as the finish adds a nice color to the wood.
So he gave his fretboard a good sanding up to 320 grit to get it nice and smooth, and then applied a couple of coats of shellac. The shellac will help hide any discoloration from the superglue used to keep the ends of the frets down. The fretboard will receive a top coat of finish later, when the rest of the guitar is sprayed.

The fretwire I buy comes in straight 36" lengths, so it has to be bent to the proper radius to match the fretboard. Previously I've use a round block and just bent the wire around it by hand. This wasn't very precise, so I decided to invest in a "fancy" fretboard radiusing tool. The Tundra Boy gave it a whirl on this guitar.
Is it more precise than my old method? Absolutely. Is it faster? No way. He found it to be very finicky, where he would roll and adjust over and over with very little change in the radius, then suddenly with one small increment of the adjusting wheel it would suddenly bend a much tighter radius. Also, once one length of fretwire was bent to the exact desired amount, you would assume you could just run the next piece of wire through the machine and have it come out with the same bend. It didn't work that way, and would actually bend a much tighter radius than desired on the next wire. So he found he had to loosen the adjuster and start from scratch with each piece of fret wire as he slowly crept closer to the right amount of bend. Very tedious.
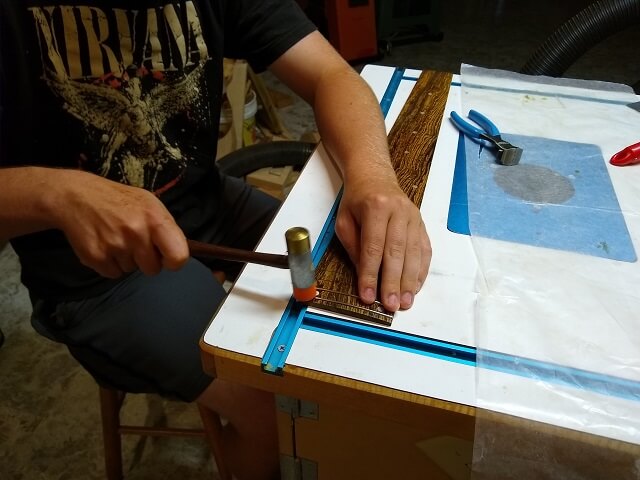
The frets were cut slightly wider than the fretboard and hammered into place. A usual guitar takes about eight feet of fret wire. This super-wide fretboard took almost eleven feet.
After the frets were pounded into place, the Tundra Boy trimmed the excess fret wire sticking out beyond the edge of the fretboard.
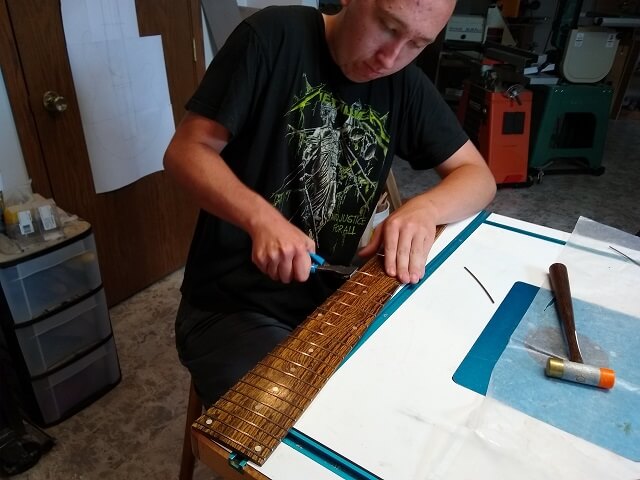
Some masking tape was applied to the face of the frets to protect them, then the Tundra Boy used my beveling tool to put a 60 degree chamfer on the fret edges.
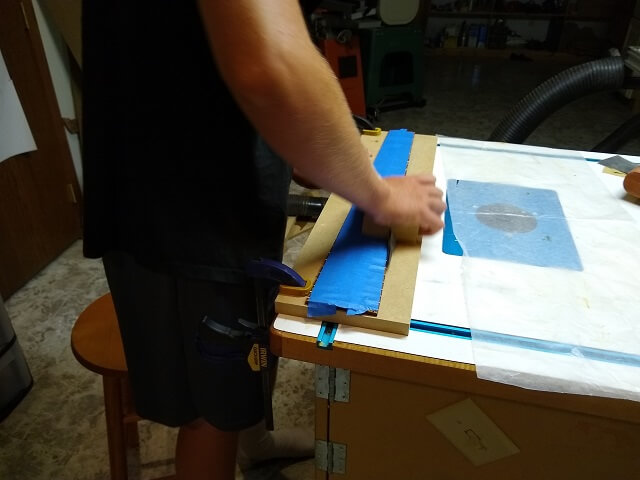
After that, the Tundra Boy dripped a small amount of superglue into the edge of each fret slot just to keep them from popping loose down the road. Once the glue was dry, the fretboard was complete and ready to be attached to the neck, which you saw happen on the previous page.
Now we can move on and see how the body wings were built.
Return To The Main Music Gallery
This page last updated on 09/28/2021