


With construction complete, now the Tundra Boy could move to the finishing stage. At this point the Tundra Boy had turned 18 years old and probably technically was no longer a "Tundra Boy". I'm not yet ready to give up the Tundra Man moniker (there can be only one) so he gets to remain the Tundra Boy whether he likes it or not. Like I'm sure many parents feel, no matter how old he gets he'll always be the Tundra Boy to me.
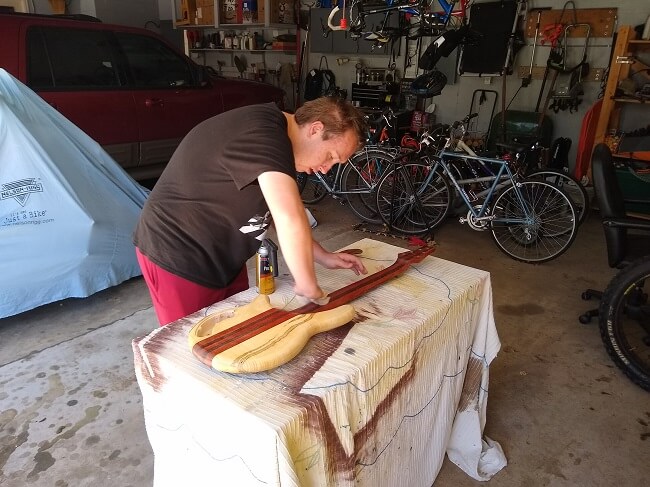
The first step in finishing is sanding. A lot of sanding. The big flat areas on the front and back are easy, as he could use the random orbital power sander to flatten and smooth those areas. He started with the front.
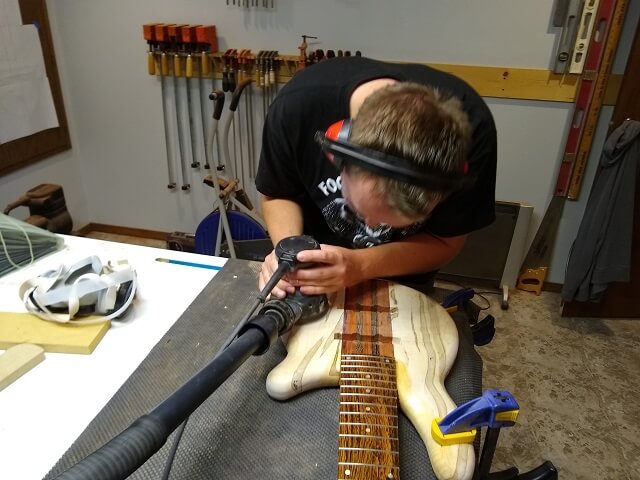
Then he flipped the instrument over and used the ROS on the back.
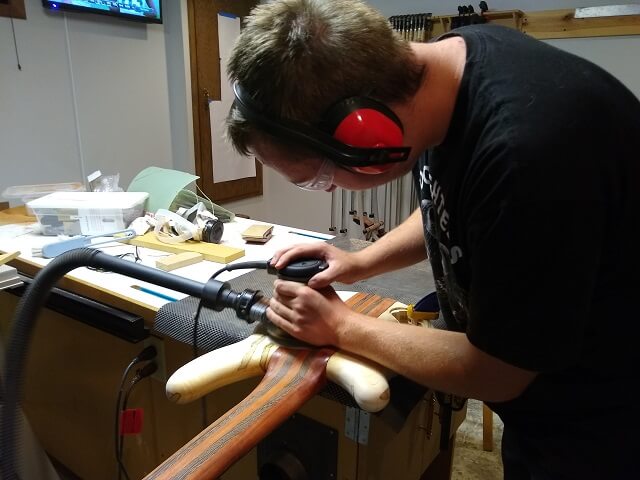
Next was the less enjoyable part, which is doing all the curved areas by hand. And there are a lot of curved areas on a bass. I didn't take a whole lot of photos during the sanding process, because there's not much to see and as dull as sanding is, looking at pictures of someone sanding is even more dull.
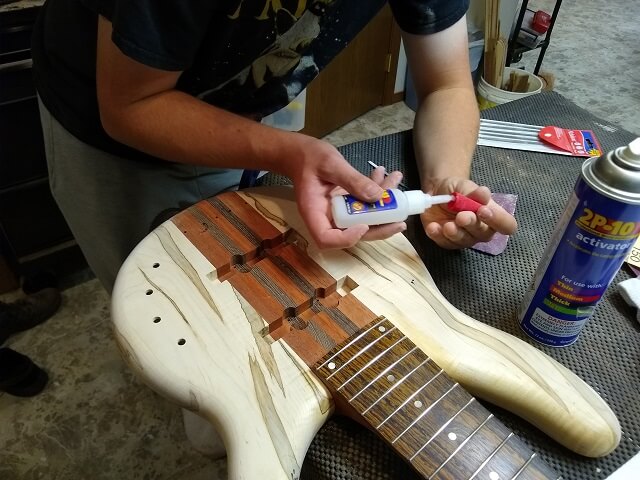
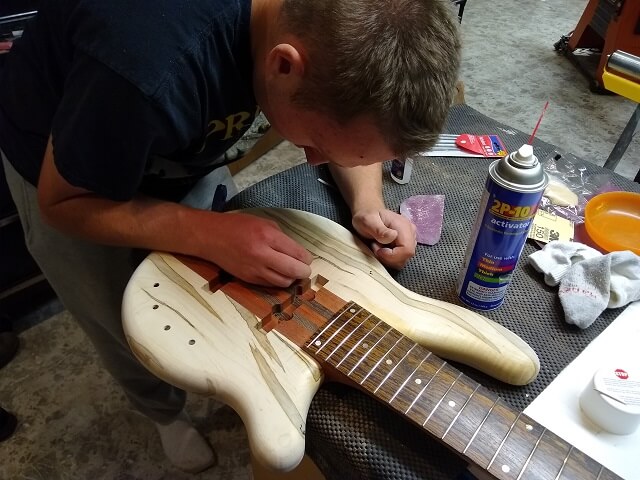
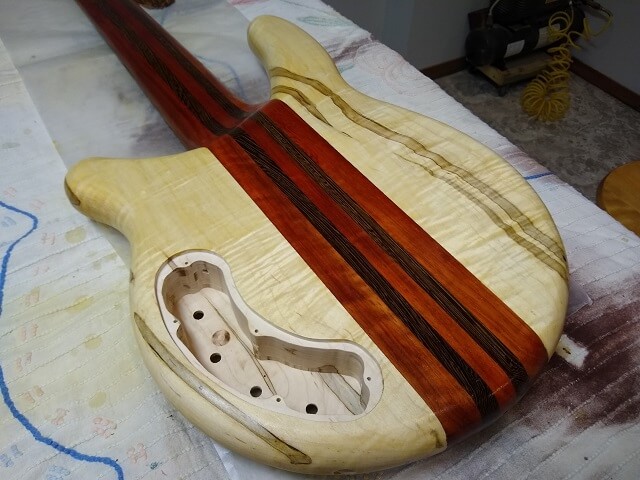
As already mentioned over on the page where he built the body, the wings of the instrument are made from ambrosia maple. One of the distinctive features of this wood are the streaks left after the beetle bores its way into the wood. However, one of the side effects of the beetle is a small hole on one end of each of the colored streaks. To fill these holes, the Tundra Boy used superglue. Some of the holes were deep and or wide enough to require multiple coats. To save time versus standing around waiting for glue to dry, he would fill them with glue and then hit them with a quick shot of accelerator. This made the CA glue dry very quickly, but you had to be careful because too much accelerator also makes the glue bubble.
After the holes were filled and glue had cured, the Tundra Boy sanded the glue flush with the rest of the guitar.
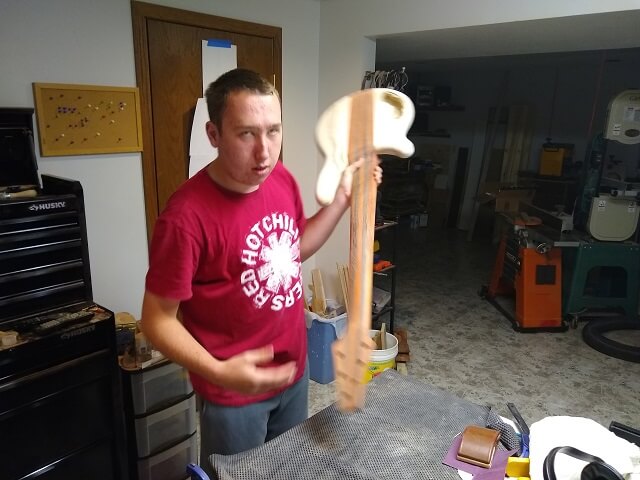
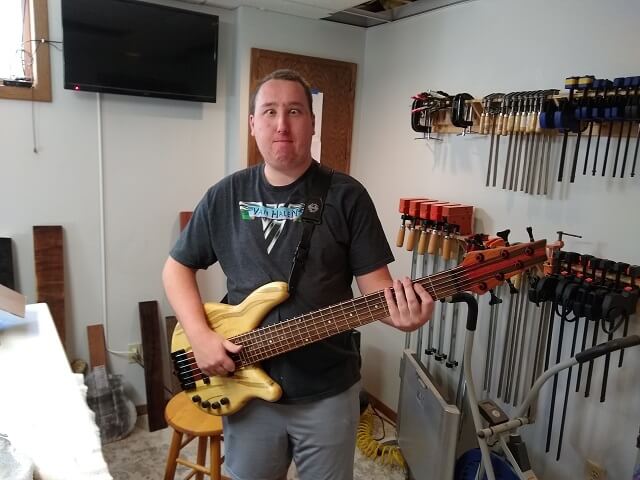
This was the Tundra Boy's reaction when I informed him it was now approaching the time to fill the grain. I thought he was going to throw the bass at me. I can somewhat understand it, as grain filling is a long, dull tedious process. The results are worth it in the end, but getting there is a bit rough.
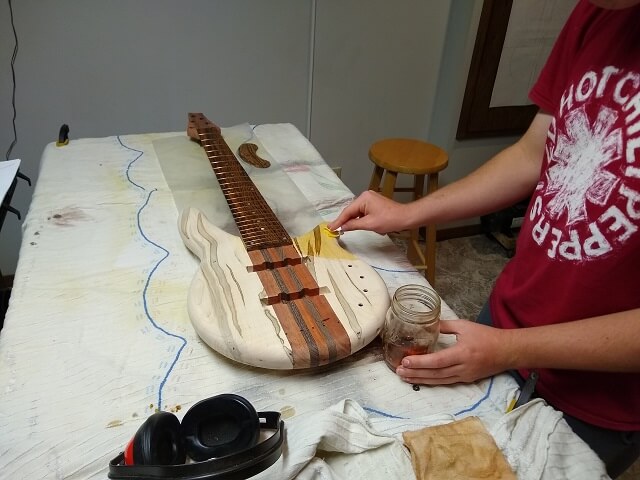
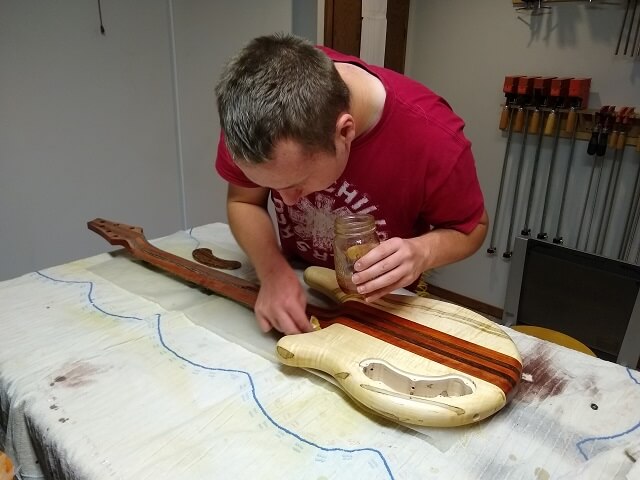
Before grain filling, however, he first wanted to put a coat of shellac on the instrument. This would do two things: first, it puts a nice "barrier" on the wood that keeps the wood from absorbing the grain filler so it actually fills the pores. Second, it gives a great amber color to the wood.
He wound up putting a couple of coats of shellac on the instrument.
One thing we noticed was the shellac I had mixed from raw flakes several months earlier was starting to get a bit thick. I think the alcohol was evaporating. By the end of the shellacking sessions it became more noticeable, but I didn't have any projects looming that required more shellac so I didn't want to mix up another batch. The dry flakes will stay good indefinitely. Mixed shellac definitely has a shelf life. So he just dealt with the thick shellac and sanded it smooth after it had dried.
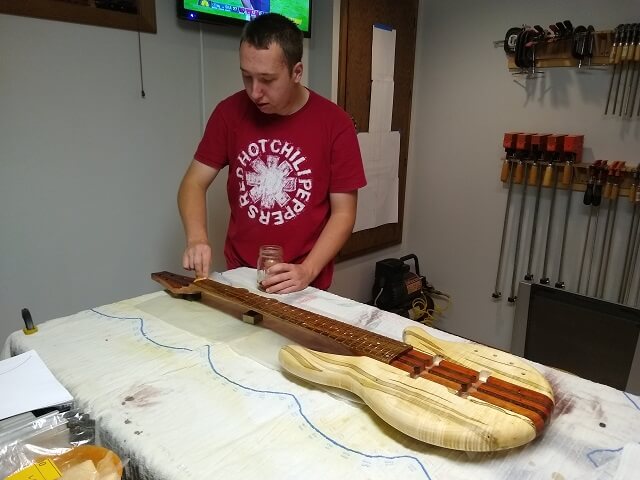
As I mentioned before, the shellac gives a nice amber hue to the wood. It also "pops" the wood grain. Here's a shot of the back of the instrument after the shellac was applied. Before the shellac the wood looked rather dull. Afterwards you can easily see the figuring in the maple.
With a final sanding, the Tundra Boy was ready to apply the finish. The Tundra Boy likes satin finishes, and for ease of applying he was going to use spray polyurethane. For reasons I'm not going to get into, spraying the finish turned into a much longer saga than expected. The first coat was applied on May 24th, and the final coat didn't get sprayed until nearly three months later on Sept 19th.
My normal schedule for spraying poly is as follows: spray three coats, approximately two hours apart. Wait at least three days for these coats to cure. Level sand those coats with 400 grit sandpaper. Repeat the above procedure three times, omitting the level sanding after the 9th and final coat is applied.
If spraying the instrument while it's sitting horizontally (versus hanging vertically), you then have to flip the instrument over and do it all again on the other side. The advantage of spraying horizontally, however, is you can lay the poly on a little thicker as it's less likely to run. If done correctly (and the prep work was also done correctly), I've learned this process creates a silky smooth finish.
One of the tricks to spraying without a fancy climate controlled spray booth is you have to wait until the weather cooperates. I like the temps between 60°F and 80°, with fairly low humidity. Also, if the wind is blowing (most days here in South Dakota) you either have to postpone spraying or find a sheltered place.
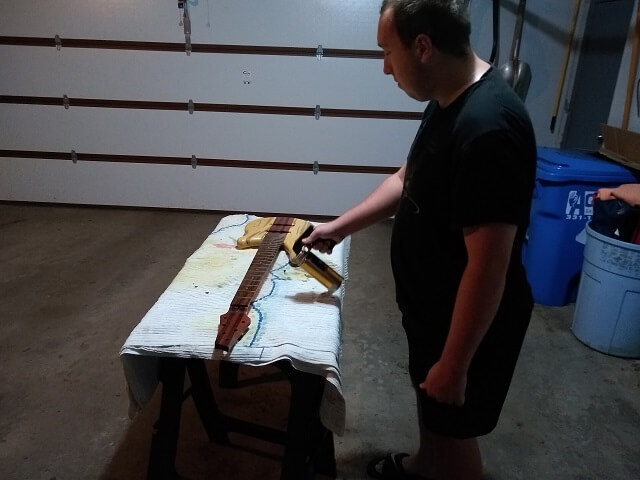
On the day the Tundra Boy started to apply the poly finish the temp was in the right range, but it was a bit breezy. So he set up to spray inside the garage. The spray setup wasn't fancy, just some plywood on sawhorses, covered with a drop cloth so the plywood could still be used for something else eventually.
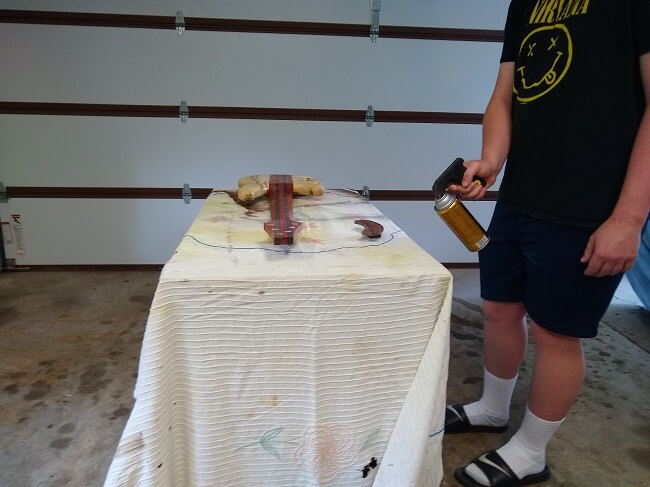
The Tundra Boy decided to spray the back of the instrument first. The reasoning was if any mistakes were made it would probably be in the earlier stages of spraying, and they would be less visible.
As I mentioned earlier, the process drug out longer than expected. He would do the three coats, two hours apart, then hang the instrument to cure for three days. But usually those three days would become three weeks. This didn't cause a problem with the actual finish, it just greatly extended the timeline on the build.
Because I don't have a spray booth, prior to applying each coat it was important to wipe the instrument down with a tack cloth to remove as many dust particles as possible.
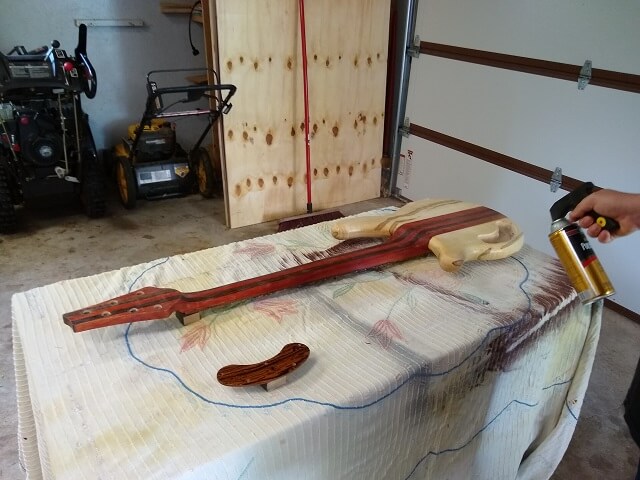
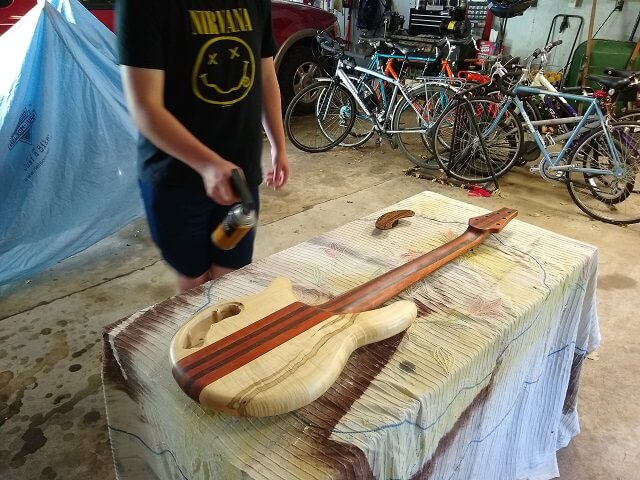
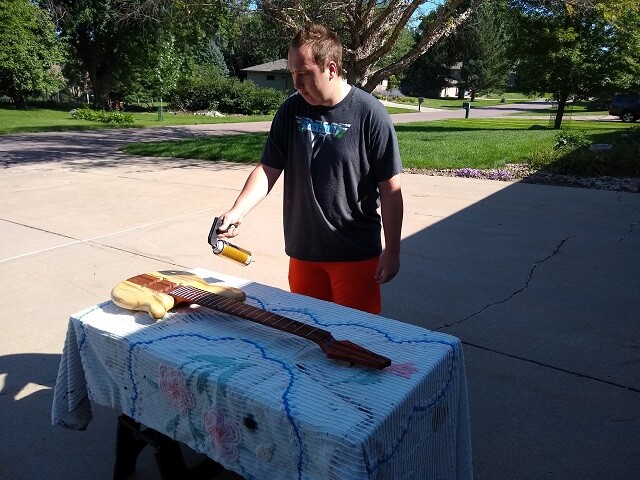
On nice days he could move the spraying out into the driveway, which was easier as we didn't have to move vehicles out of the way.
Most of the time, however, there was too much wind to deal with and he would have to relocate the cars into the driveway while the finish was getting sprayed, then move them back into the garage when he was done for the day.
After three months the Tundra Boy was finally ready to do something more than spray finish, and he unexpectedly (to me, anyway) decided to ramp up the timeline. When I got home from work the evening of Thursday, Sept 23rd, he announced that he wanted to play the instrument for our Saturday night church service on the 25th.
I did a mental checklist of everything that still needed to be completed by Saturday night, and voiced my skepticism. Of course, not everything on that "completion list" was instrument related. There are things you need to complete in life outside of building instruments (like work and sleep.) I told him we could try, but frankly I figured there was no chance he would actually get everything done in time.
So for roughly the next 48 hours, every spare minute I had when not sleeping, working, eating or at a previously scheduled appointment, the Tundra Boy and I were in the shop working on his bass. We made a list of what was left: fret leveling/crowning/polishing, wiring, install hardware, make a nut and doing a set-up.
We started with the fretwork. First we got the neck as straight as we could by adjusting the truss rod. This turned out to be tricky. The neck was originally planed straight, but as often happens gluing the fretboard on introduced a slight backbow. Normally a simple truss rod adjustment will straighten it right out. However, most necks aren't 4" wide, have carbon fiber rods and made from stiff padouk and wenge. Pressing on the neck and cranking the truss rod got it really, really close to straight and we decided that was as good as it was going to get.
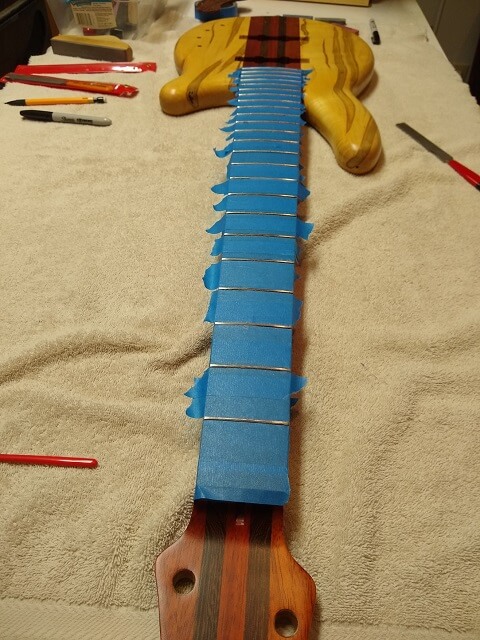
After masking off the fretboard, the frets were leveled with a file. Thankfully it took a surprisingly little amount of filing to get everything even.
Next, the Tundra Boy began recrowning the tops of the frets and dressing the fret ends. About halfway through the recrowning it was my bedtime, so I called it a night. The Tundra Boy worked a little while longer before calling it a night himself.
The next day I went to work, and after work my wife and I went to a company event at a local apple orchard. It was about 8:15 PM when we got home. The Tundra Boy had started earlier in the afternoon, and by the time I got home the fretwork was finished.
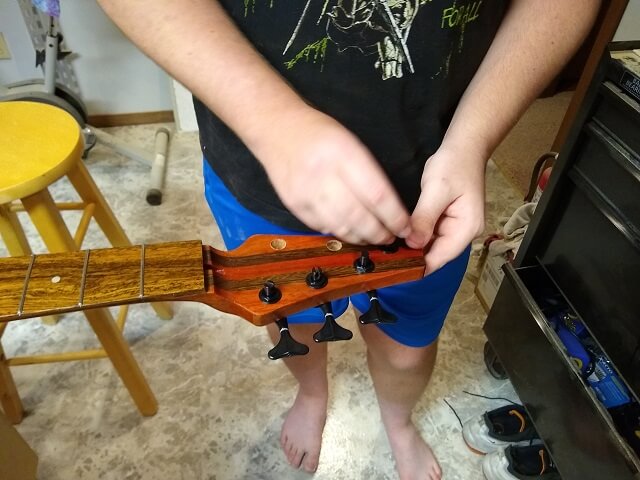
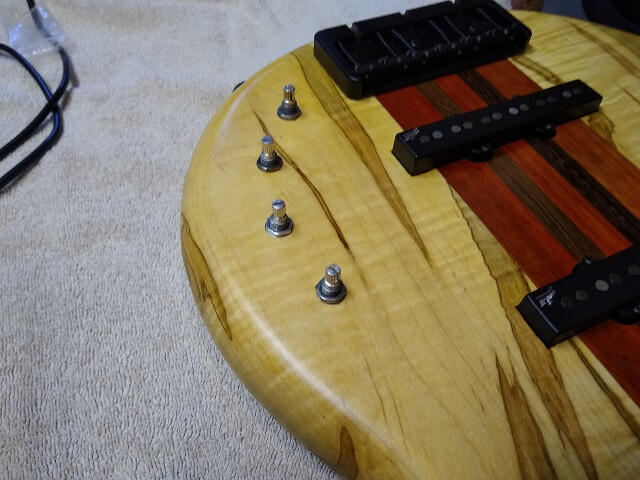
With that hurdle out of the way, he started installing the hardware. First up was the tuning pegs.
Then the bridge was screwed into place. Don't forget the ground wire!
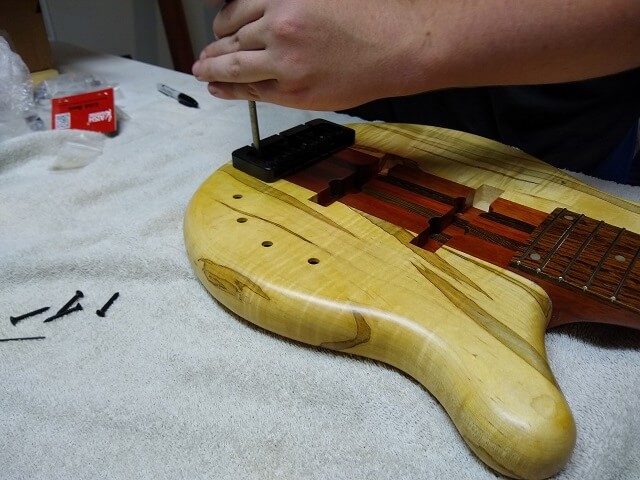
Next, the neck pickup was screwed into place. We used some foam rubber under the pickup to raise it up to proper height. The foam rubber was taken from the leftover packing material from an old box that held the pickups for another project.
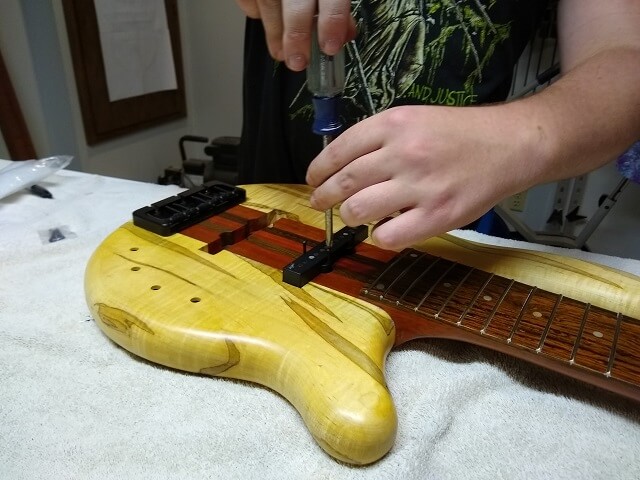
The bridge pickup was installed in the same way. The pickup screws were very long and with a super fine thread so it took a lot of turning to get the screws driven all the way down. We wound up sharing the labor to keep our hands from feeling like they were going to fall off.
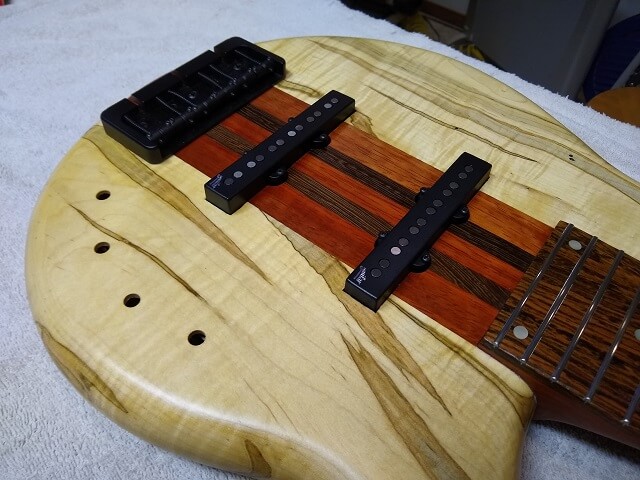
There's not a whole lot of hardware to install on this particular instrument, so we quickly found ourselves ready to wire up the electronics. Perhaps we actually had a shot at making the deadline?
I find it's a lot easier to solder everything possible outside of the control cavity. Trying to get a soldering iron down into a cavity when the pots are already installed is a lot of hassle. Instead, holes are punched on a scrap piece of cardboard and the pots are temporarily mounted on it. That helps ensure that the wires are cut to the proper length once the pots are ready to be installed.
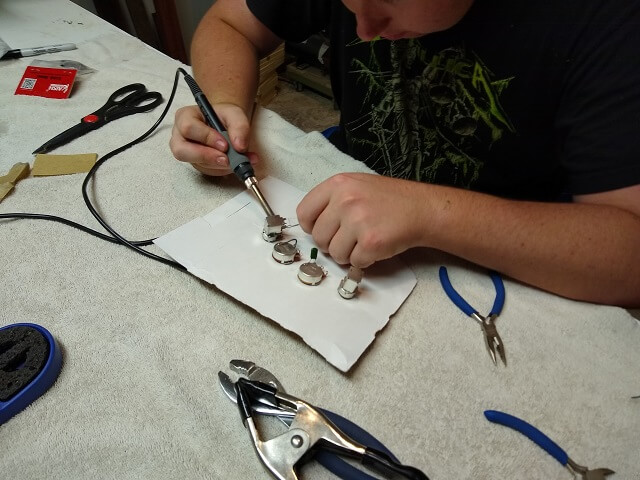
Tundra Boy soldered until almost 11 PM on Friday, when I had to call it a night and head to bed. The Tundra Boy isn't very experienced with soldering so rather than forge ahead alone he also called it a night.
The next morning was Saturday the 25th. Deadline day. I got up at 6:30 and spent almost three hours putting together music and powerpoint presentations for the Saturday night and Sunday morning services at our church. About quarter after nine I was ready to head back to the shop.
We did run into a small wiring snag. Tundra Boy's original plan was to have four knobs: two volumes and two tones so each pickup could have its own dedicated controls. In addition, two push-pull pots would be installed. One would change the pickups from parallel to series wiring, and the other would be a simple kill switch.
I figured two volumes and two tones would be no problem, after all, that's the wiring the '62 Jazz Bass came with! Well, yes. However once I dug further into it to look for a wiring diagram I also discovered that Fender changed the wiring after this first year, because it had limitations that made it unpopular.
The issue with this wiring is that without making some other concessions, the controls for one pickup interact with the controls of the other pickup. Because of this, there's no way to get just the bridge pickup or just the neck pickup active as rolling the volume all the way down for one will cut the volume for the other as well. In order to get any output, both pickup volumes must be up at least a little bit. Also, from hearing from people who have used instruments wired in this method, the individual tone controls are not very useful due to the pickup interaction. The Tundra Boy didn't like this limitation of not being able to run the pickups individually, so he was open to an alternative.
Before we go any further I'm sure some of you are saying, "Wait! A Les Paul has two volumes and two tones and you can run the pickups individually! Why don't you wire it like that you moron?" The answer to this is, "Well, yes a Les Paul is similar, but no it won't work for this situation." Yes, it is possible to get only the neck or only the bridge pickup working on these guitars. However, activating individual pickups is done via the three-way switch. If you've spent any time with a Les Paul and placed the pickup switch in the center position (both pickups) you will notice it suffers from the exact same problem I described above. The Tundra Boy didn't want (or allow space for) a pickup switch, so this wasn't an option.
There were a few remaining options available to address the issue. The first option is to install a couple of resistors that allow the pickup controls to completely isolate from each other. This seems like a good solution, except that it comes with the cost of also reducing the pickup outputs by about 20%. The Tundra Boy didn't want the reduced output so he opted not to use this method.
The next option is to install an active electronic preamp. The active wiring allows the controls to be completely independent, but comes at a (literal) cost of purchasing a preamp. Also, the control cavity needs enough space for the preamp electronics and the battery (or batteries.) The Tundra Boy didn't have the money to spend on active electronics, and his control cavity didn't have the space, so this option was quickly discounted.
He made the final decision to eliminate one of the tone knobs, which follows the more traditional Jazz Bass wiring of two volumes and one tone. Unfortunately, he already had a hole drilled in the top of the guitar for a fourth pot. What to do with that?
When it was all said and done, he decided to put the push-pull kill switch pot in that location, and leave the actual pot itself disconnected. It's similar to the "producer switch" that Leland Sklar has on some of his basses where it allows him to visibly change something on the instrument without actually changing any of the sounds. Sklar uses it when he's gone through all possible sounds his instrument will make but the producer is still not satisfied. He will change the switch to different positions and ask "how's that?" until the producer picks one, even though the actual sound isn't changing.
As I told the Tundra Boy, the nice thing about electronics is you're rarely married to them forever. If you wire it up one way and then decide later you don't like it, it's easy enough to make changes.
All of the wires except the pickup wires, the output jack wires and the bridge ground were soldered. Then the assembly was moved into the cavity (although not installed) and these remaining wires were soldered in place.
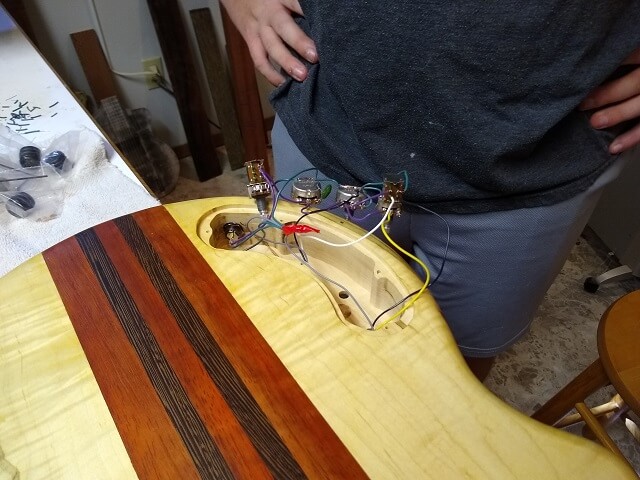
The wiring was tested with a multimeter, and by plugging in my little smokey amp. The strings weren't yet installed, so tapping on the pickup pole pieces with a screwdriver allowed all of the control pots to be tested to make sure they were working as intended. Once this was verified, the pots were installed into the cavity.
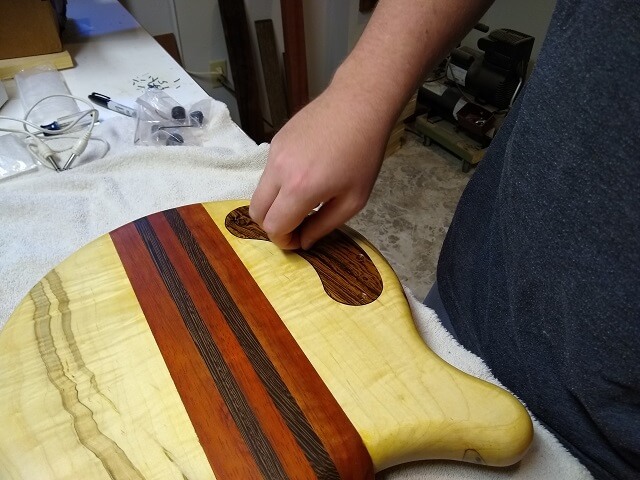
Tundra Boy did one more test of the electronics just to make sure nothing got knocked out of place while installing the pots, then installed the control cover into place.
It was now noon, and we had to leave the house at four. I estimated it would take two hours to make the nut, which the Tundra Boy thought was way longer than he thought it should take. However, he had never made a nut before. Having made many nuts myself I usually assume at least an hour. This being his first one I doubled the time estimate from what I usually spend.
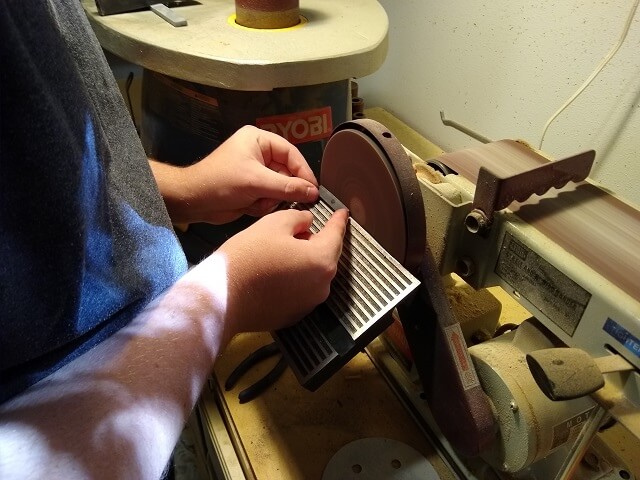
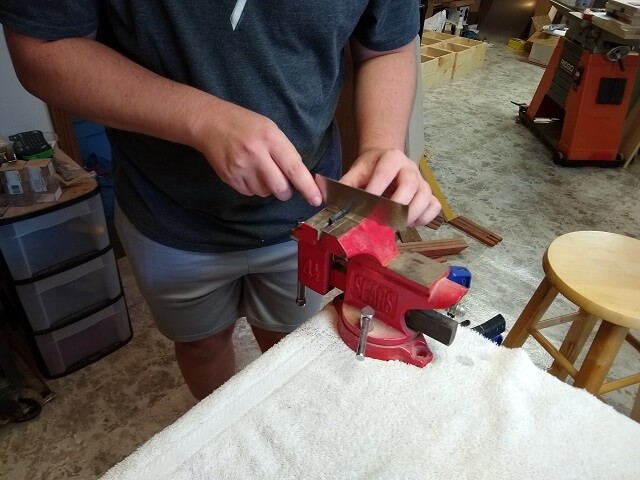
After a quick break for lunch we resumed the nut creation. It started with getting the width correct. This was done by rough cutting the width with a saw, then sneaking up to the perfect width using the disc sander. My bench vise comes in handy to hold nuts while working on them.

The nut was then sanded to rough shape using the disc sander. At this point it's just removing excess material, rather than trying to get it perfect.
I then showed the Tundra Boy how to mark the nut slot locations, and then file the slots to the rough depths.
With the nut roughed out, it was placed on the instrument and strings were installed. The Tundra Boy then fine tuned the nut slot depth on each string until it was perfect. Once the slots were exact, the nut was removed and sanded and shaped by hand to the final shape. Then finer and finer grits of sandpaper were used to polish up the nut.
A couple small dots of super glue were used to mount the nut, and the strings were brought to pitch to hold the nut in place until the glue set. From the time he started making the nut until this point, it had taken a full two hours. Hmmm... who would have thunk?
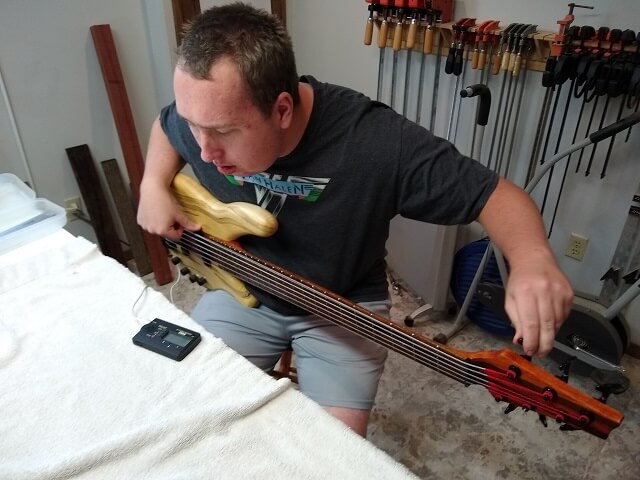
At this point we had about an hour until we had to leave to head to the church for the service. Most all that was left was to do the setup. The Tundra Boy was visibly vibrating with excitement. Seriously, I hadn't seen him this jazzed about anything in a lot of years. It was pretty cool to see.
Looking at the neck, the relief was pretty close to ideal. The truss rod adjustment done earlier to try and straighten the neck turned out to be about right once the strings were installed. For now it could be left as-is, but I speculated after a few weeks of string tension a truss rod adjustment may be needed.
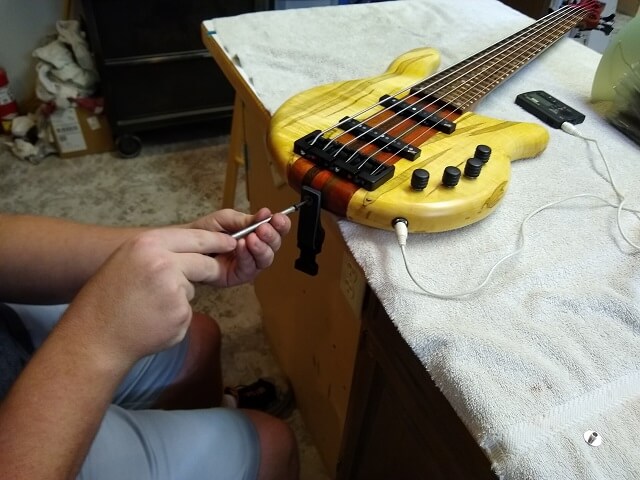
He adjusted the bridge height, and the intonation. And the next thing we knew, we had a playable instrument.
The very last thing to do was to install his strap. He was using a Dimarzio Cliplock strap system. This does not use traditional strap pegs, but instead has 6" pigtails that are screwed directly to the instrument. The main strap then clips to these pigtails to form a system that makes it almost impossible for the strap to come loose unintentionally.
And there it was, completely finished at 3:53 PM. We had to leave the house at 4 PM, so he had just enough time to find a case sitting around that would fit the instrument and get his cables together.
Usually I like to take final photos of an instrument before it gets any real playing time, as this reduces the chances of it getting scratched or dented prior to photos. But in this case we didn't have time. The final pictures would have to wait for another day.
Having not really played the instrument, and not having yet plugged it into a bass amp with strings, I suggested he bring a backup bass "just in case." My idea was vetoed. He was going all-in on this instrument. Confidence has never been an issue for the Tundra Boy.
Once we got to the church he plugged it in. We were immediately impressed with how resonant this bass is. In all honesty I've never heard a bass sustain as long as this one. The Tundra Boy said it actually was sustaining so much that he wasn't used to the other strings unintentionally ringing out, and it will take a little time for him to improve his muting.
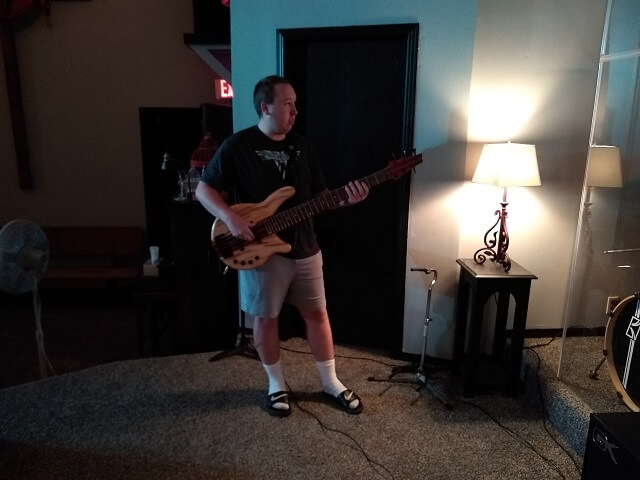
The bass sounded good, and had no issues making it through our practice session and the service. The first song during the service started with just drums and bass, so I snapped a very quick photo before I started playing my guitar.
Another successful instrument build is in the books. Click here to return to the main page for this bass.
Return To The Main Music Gallery
This page last updated on 09/28/2021