


For the body, once again I turned to my stack of lumber taken from my grandfather's shop. I found a good 8/4 piece large enough to create the body wings, and began to clean it off with the belt sander. The dirt and grit will dull planer blades quickly, so it's important to remove it before planing.
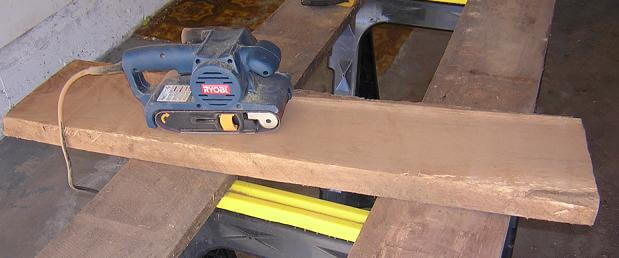
This piece still had a hunk of bark on one edge, so I removed that at the band saw. I didn't want a loose hunk of bark flying around the planer and possibly damaging me or the blades. With that bark side removed, I could run the other side along my table saw fence to square up the edges.
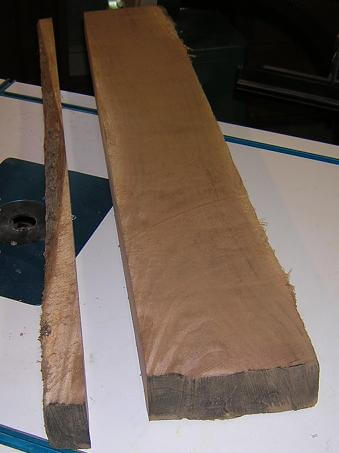
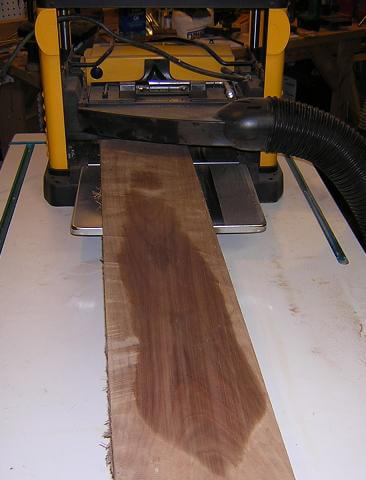
Now I was finally ready for planing. You can see as I got down through the rough lumber that there was beautiful wood hiding underneath.
Here's the plank after I had it completely planed. At this point in time I was just cleaning up and squaring the wood. I'll plane it to final thickness later.
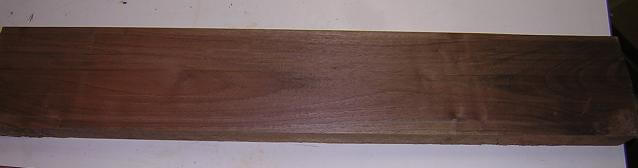
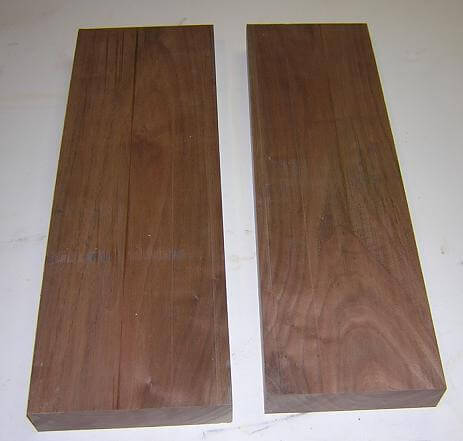
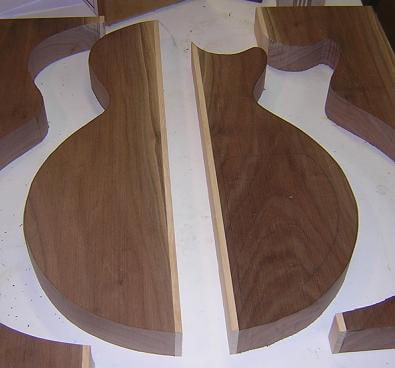
Next, I cut the board into two pieces that will become the two body wings. I also cut off a portion of the ends that had some cracking that occurred during drying.
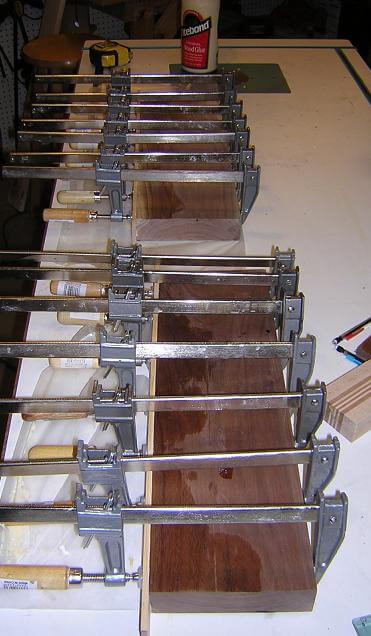
The body wings are walnut, and the outside layer of the neck blank is also walnut. I thought it would be a nice decorative touch to have a layer of maple separating the two, so I glued some maple strips to the wings.
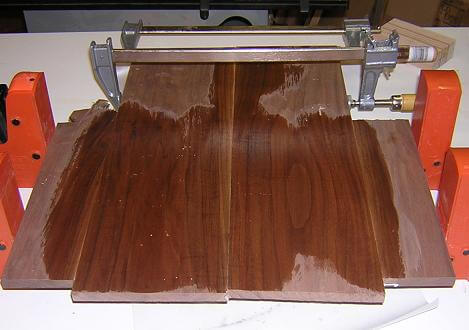
While this will be a neck-through guitar, it will have a solid black carved top. I glued up some pieces of 1/2" thick walnut to make the top cap. Because it will get dyed black, I didn't bother with picking out super fancy grained wood, or trying to match the grains of the pieces like I would with a translucent or clear top. The board also had a few small worm holes which will get filled with epoxy when I fill the grain later on after carving the top. The wet marks are where I wiped away the glue-squeeze out.
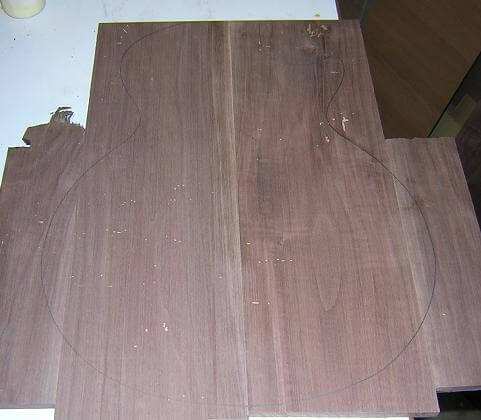
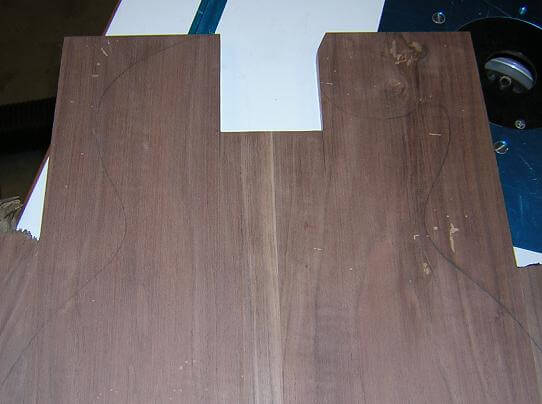
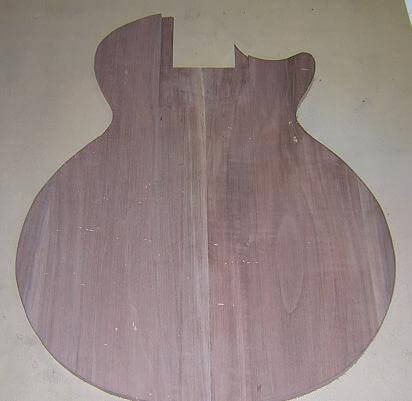
Once the glue on the top piece had dried, I ran it through my thickness sander to remove the extra glue dots and even out the joints. Here's a picture with the outline of the bass drawn on it.
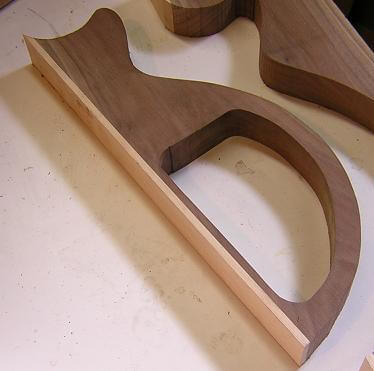
Next, I cut out body shape on the wing pieces. I stayed outside the line, as we'll sand everything to final size once the whole guitar is glued together.
Now was the easiest time to cut out the hole for the control cavity. I did this on the scroll saw. With five pots, batteries, switches and the active preamp circuitry, there was going to be a lot of electronics stuffed in this hole, so I made it extra large.
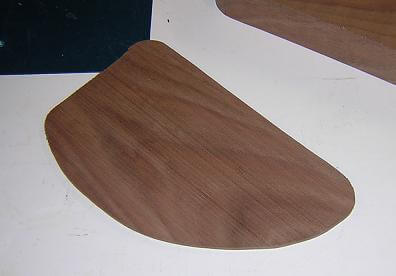
To make a matching cover for the control cavity, I took the piece that was cut from the control cavity and sliced off a 1/8" thick piece.
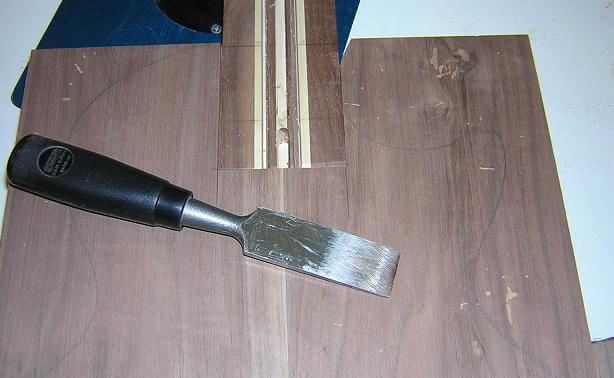
With the unusual condition of this bass having a top carved from a separate piece, I had to determine the best way to handle the neck angle. I decided that blending it in with the carve would be the best option. To facilitate this, I needed to cut a "pocket" into the top blank in which the neck will fit. I did this on my scroll saw.
I then used a chisel and fine tuned this pocket until the fit was perfect around the piece of the neck left sticking up.
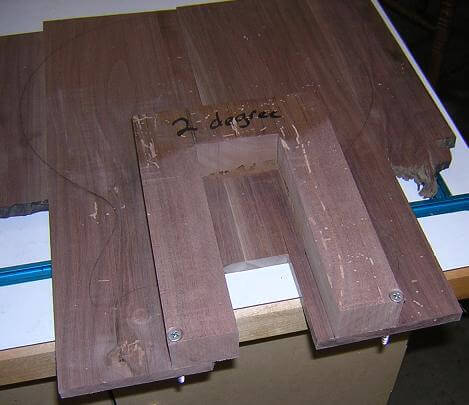
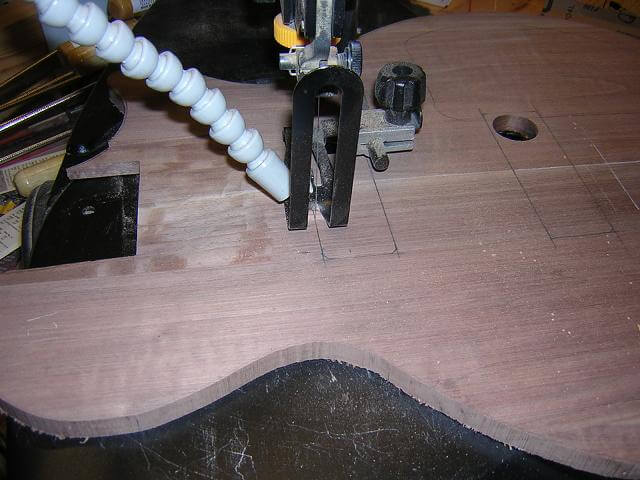
To "blend" the neck angle into the carved top, I needed to rout a two degree angle onto the face of the top. I built a jig that allowed me to rout this angle. This jig was held in place with some screws. The screw holes fall in areas that will be removed when I cut out the body shape.
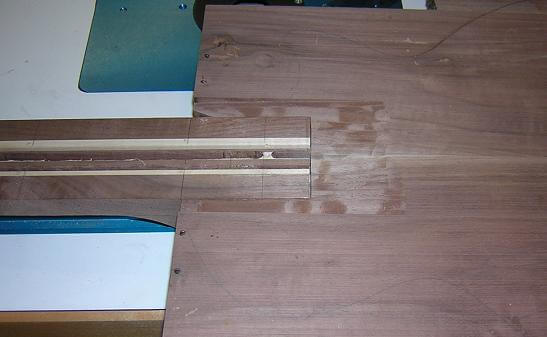
Here's the completed neck angle rout in the top blank.
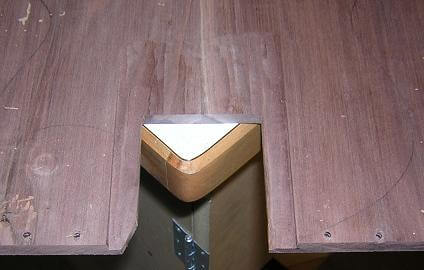
Set in place, it makes more sense. You can see that the angle routed in the top is of the same angle as the neck. Once the top is carved, the neck angle will be hidden. Only those who know the deep, dark secrets about stringed instruments will realize there's a neck angle.
Next, I cut out the shape of the body on the band saw. I stayed outside of the marked line. Once the top is glued to the body in the assembly stage, I'll sand both of them flush.
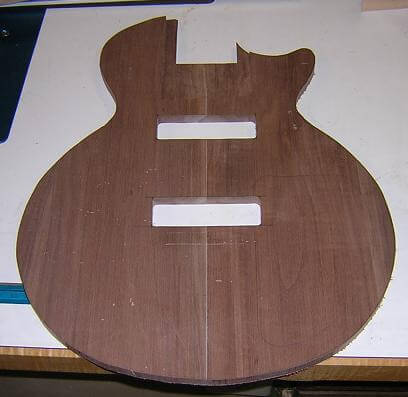
Rather than routing them out later, I decided it would be easier to cut out the pickup cavities prior to the top being attached. I did this at the scroll saw.
Here's the two pickup cavities after they've been cut out.
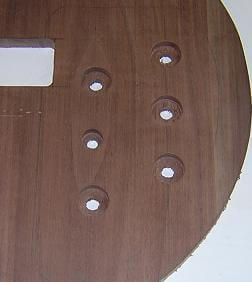
The last thing to do prior to attaching the top is to drill holes for the knobs and switches. Because of the carved top, I decided to recess the knobs down into the top. This way, the knobs will all be the same height, but the top of the guitar will vary. I figure it's a classier way of handling things, especially with this many knobs and switches.
With the body pieces pretty much done, now we can start to assemble the pieces of Phil's bass. Or, click here to return to the page where we're building the fretboard.
Return To The Main Music Gallery
This page last updated on 06/28/2018