


With the different parts of the bass being at a point where they can be attached to each other, it was time to start the assembly process. The key when building a neck-through instrument is to complete as much as possible on each piece prior to attaching it to the others. It's a lot easier working on a smaller piece then trying to wrestle an entire instrument.
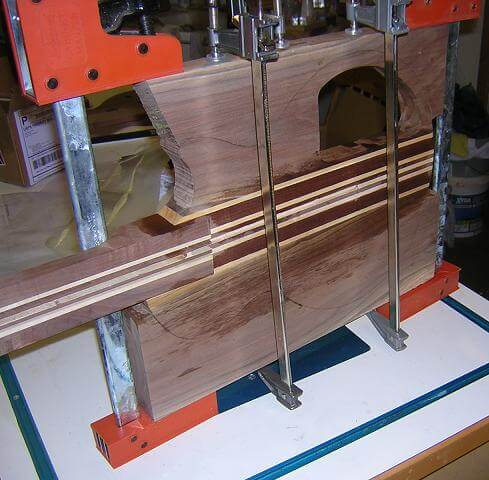
The first assembly step is to attach the rear body "wings" to each side of the neck blank. When the bass is finished, these pieces will only be visible from the rear. Gluing curved pieces can be tricky, as when clamping pressure is applied they tend to slide all over the place. To circumvent this, I did two things.
First, I tapped a couple of small brads into each of the body wing edges, and snipped the heads off to create small pins. These pins, once pressed into the neck blank, will keep the wings from sliding around. You have to make sure the body is aligned properly prior to pushing the pins into place, otherwise the pins will prevent you from making adjustments. Also, don't forget the sharp pins are there when using your fingers to spread glue, or you may unwittingly wind up spreading more than glue.
Second, I kept the scrap pieces from when I cut out the body wings to use as clamping cauls. These give the clamps a nice, parallel surface on which to rest and allows the joints to be pulled together nice and tight.
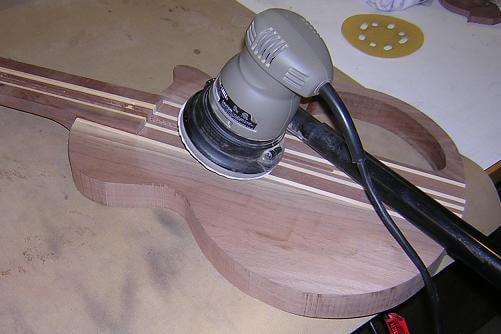
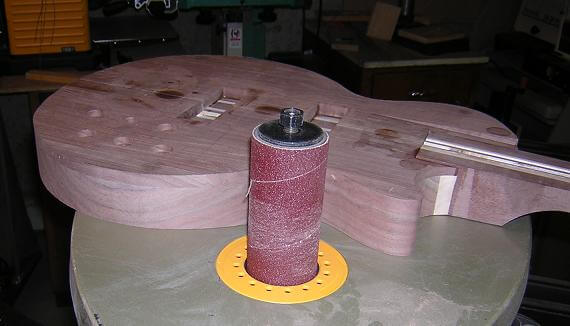
Once the glue had dried, I spent some time with the sander to level the front and back of the neck piece flush with the body wings.
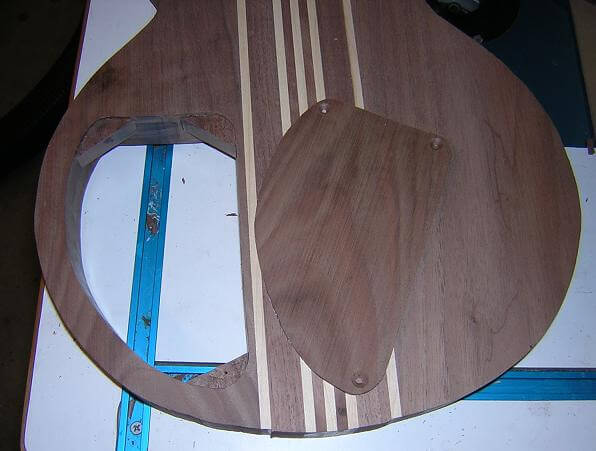
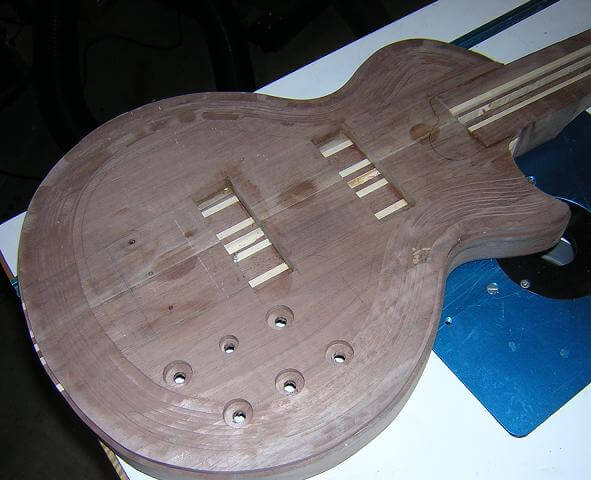
This bass will have a natural wood cover for the control cavity. I cut this piece out of the scrap removed from the cavity, so the grain is a perfect match. Holes were drilled and counter-sunk in the cover for the screws, and "ears" were glued into the cavity to hold the cover in place.
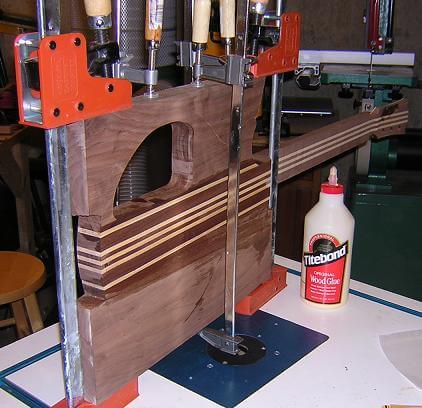
Now it was time to glue the top piece to the rest of the body. Plenty of clamps held everything in place until the glue had dried.
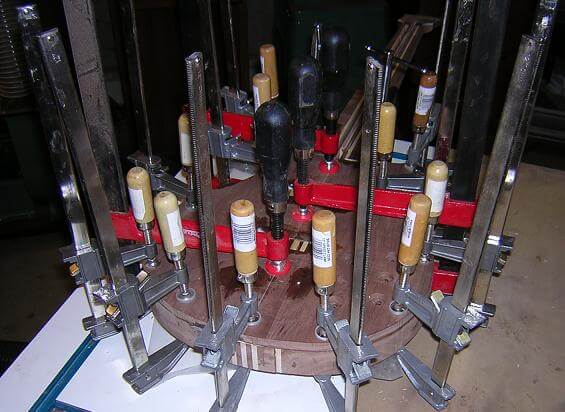
Getting the top piece and the body sides perfectly flush after the glue up is a near impossibility. This is why I left both pieces about 1/16" larger than the finished size, so once they were glued together I could sand the sides flush. This ensured a perfect edge.
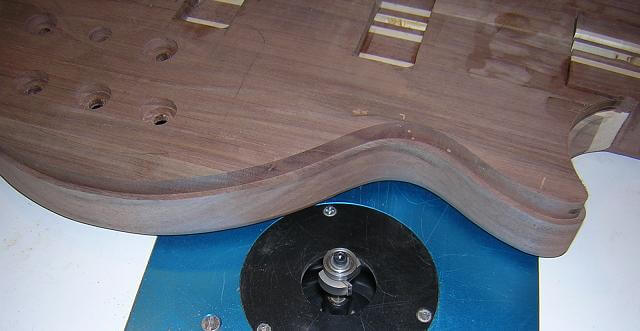
The rear of the body will have edged rounded over with a 1/2" radius. This is easily done with the router and a round-over bit.
Now it was time to start on the top. The top will be carved, with a bound edge. The binding will be 1/4" tall, and the carve will be 1/4" deep. This meant that I had to rout the binding channel 1/2" deep. Then the carve will reduce the channel height to 1/4" to match the binding.
There are many ways to carve a top, most of which involve a lot of work. I decided to try a different method with this bass, than that which I had used in the past. I used a straight-bit in the router table and made repeated passes varying the depth and distance from the edge, until I had "stepped" the top up to the middle height. This removed a bulk of the waste and "roughed in" the carve.
Then, I took a sander and some scrapers and removed the remaining ridges. With a little more tweaking and fine tuning of the top, the carve was done.
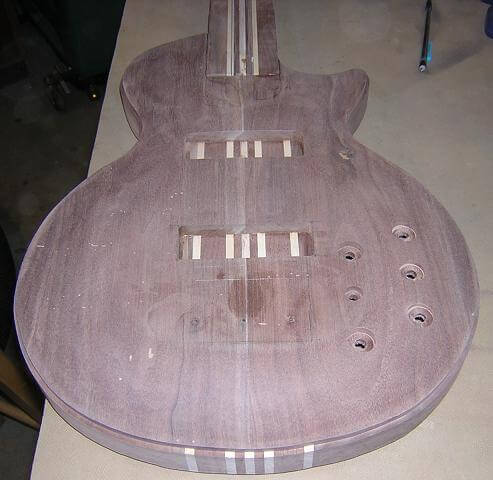
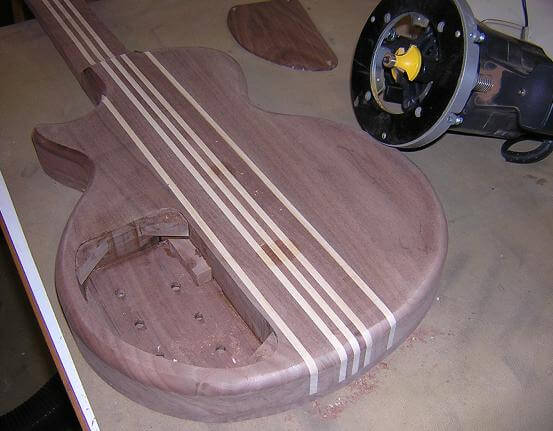
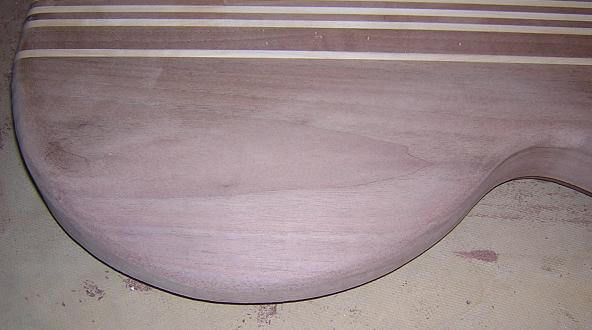
On the back, I carved out and sanded my normal cheese-belly cutout.
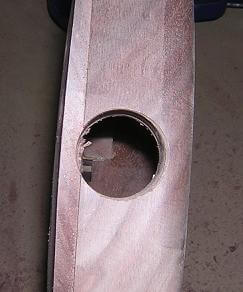
Being this bass is along the lines of a Les Paul, I decided to use the LP style square output jack cover. I bored a 7/8" hole for the output jack. When finished, the cover will hide this hole. Note that this hole crossed over into the binding channel. This won't be a problem. The binding will still fit in the channel, and the cover will go over the top.
Now it was time to bind the body. The five strips of plastic were carefully taped in place.
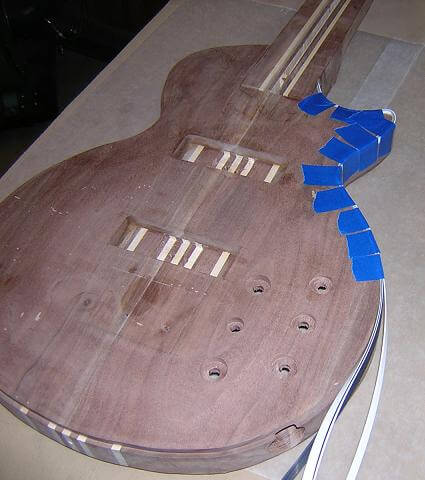
Lots of tape pieces were used until the binding was all the way around the body. The ends of the binding were carefully trimmed.
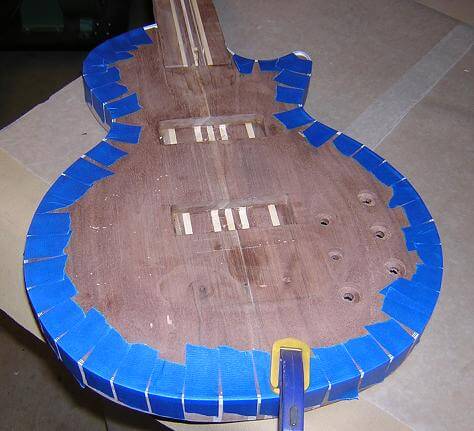
Then, it was just a matter of using thin CA (super glue) and dribbling it over the binding. This glued the binding strips to each other, and the binding to the channel. I'd glue a spot, let it dry, then remove the next piece of tape and glue again. It took a while until I made it all the way around the body. When the glue was dry, I sanded the binding flush with the top. This also removed the glue "spill" on the wood along side of the binding.
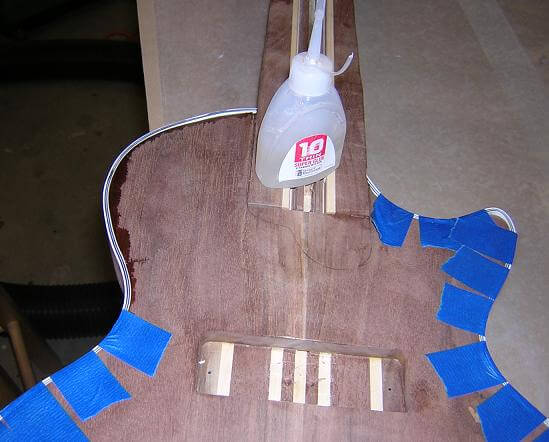
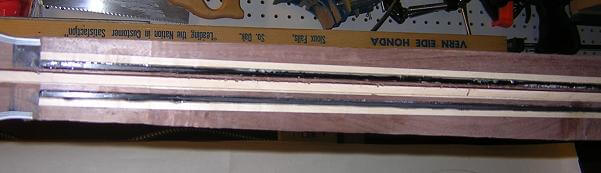
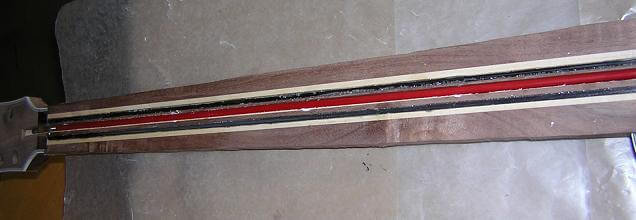
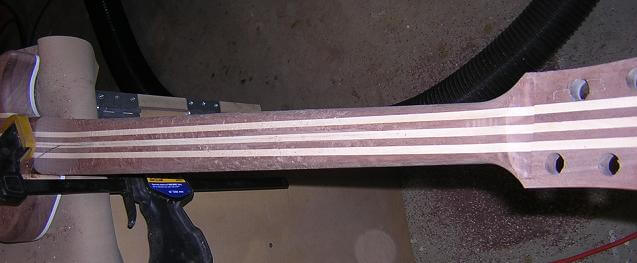
Next, I used epoxy and glued the carbon fiber rods into the channels in the neck. When the epoxy had dried I took a chisel and removed the glue squeeze-out and any part of the rods that were slightly proud of the neck.
Remember the inlay on the first fretboard? We decided to still use it but put it on the back of the body. I cut the fretboard apart (sniff) to make a square that contained the inlay.
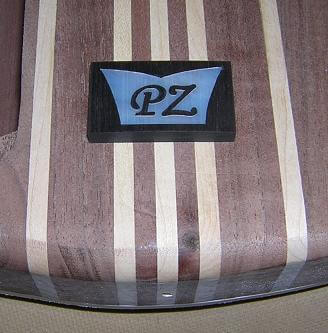
Then the inlay was held in place and a scribe was used to mark around the edges. The dremel then removed the wood from the body. After a little trial and error the cavity was the exact size of the piece to be inlaid.
Epoxy died with a little black ink was used to hold the inlay in place. Here's the inlay after being glued in place. I'll remove the excess epoxy after it has cured.
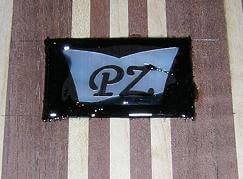
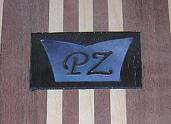
Once the glue had dried, I sanded the inlay flush with the back of the guitar.
The truss rod was set into the center channel in the neck, with a little silicone dabbed at the ends and a few spots along the middle to prevent rattling.
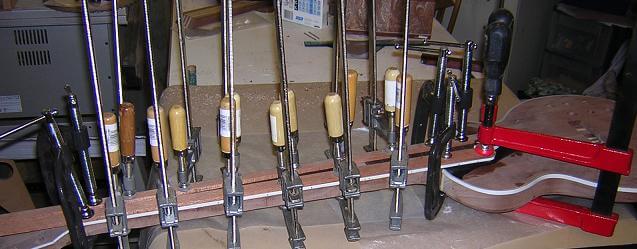
The fretboard was then glued in place. Note that I used some wood strips as "cauls" to protect the fretboard face from the clamps. The last thing I wanted was to remove the clamps and find my fretboard was covered in little round shaped dents.
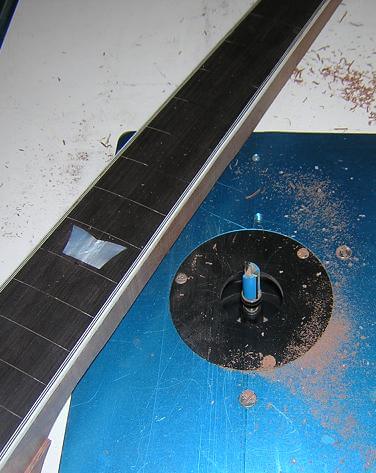
The neck was purposefully left wider than the finished width. That way, once the fretboard was glued in place the neck could be trimmed with a flush-trim router bit and the two pieces would be exactly the same size.
Now it was time to carve the neck. This is probably my favorite part of building guitars. I used my trusty surform like a cheese grater to hog away the wood.
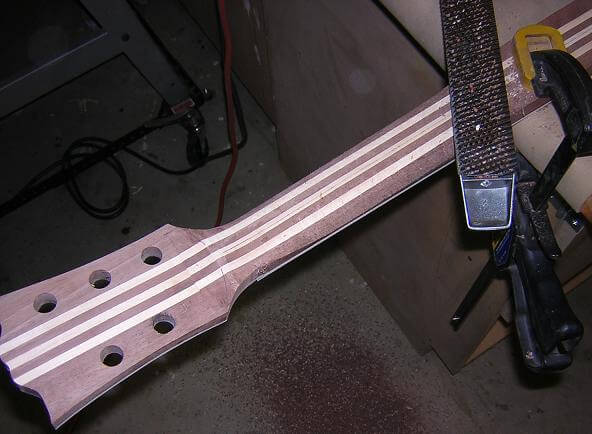
It's slow, sweat producing work, but this is where the personality of the instrument is created. I worked my way down the neck until it was all rough carved. The surform leaves lots of gouges in the wood that then have to be sanded out.
At this point, the construction of the bass guitar was pretty much done. Now came the long, slow, tedious part of the process which is finishing. There's really not much to see during this part of the process, so I didn't bother taking pictures. Here's an oveview of what the process intailed:
1. Sand the whole bass and remove any imperfections in the wood. Start at 100 grit and move up to 220.
2. Fill all of the pores in the walnut with filler. Maple is tight grained, so it doesn't need pore filling. This process ensures that when the lacquer is sprayed, it will have a perfectly smooth surface.
3. Sand off the excess filler and sand the whole guitar again, up to 320 grit. Blow off any sanding dust with compressed air, then wipe the whole instrument down with naptha.
4. Dye the top and headstock with two coats of black dye. When the dye has dried, scrape any excess dye off of the binding.
5. Stain the back with a light black translucent stain. Again, scrape any excess of the binding.
6. Spray two coats of vinyl sealer, sanding after each coat with 320 grit sandpaper. Let the sealer cure overnight.
7. Spray eight coats of nitrocellulose lacquer, three hours apart, no more than three coats per day.
8. Let the finish cure for at least a week. The longer, the better.
9. Wet sand the whole instrument with 800 grit sandpaper to level the finish. Keep sanding with 1000, 1500 then finally 2000 grit sandpaper.
10. Buff the instrument with polishing compound to turn it into a mirror, and finish off with a coat of carnuba paste wax.
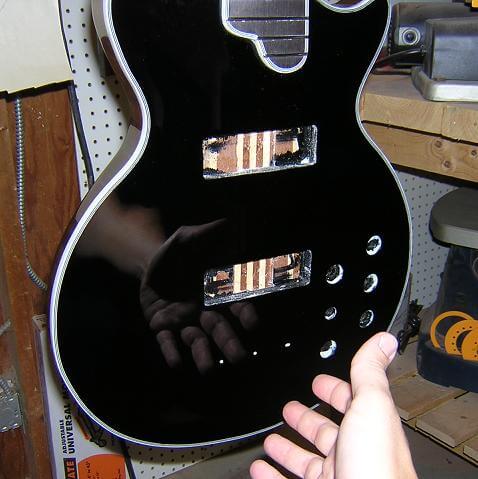
Here's a picture of the instrument after the finishing process was complete, and before any hardware was installed.
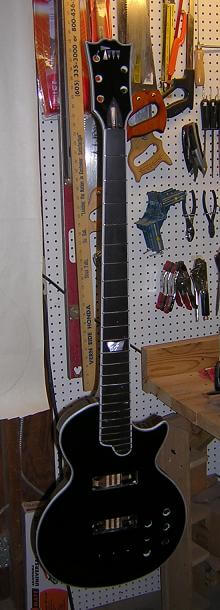
Pictures don't really do justice as to how shiny the lacquer is. I tried to hold my hand out and get a picture of the reflection.
The remaining steps were to install the hardware, electronics, then string it up and do a set up to adjust everything. Again, I didn't take pictures of this process because there's really not much to see.
We're done!
Click here to return to the page where we're building the body pieces. Or, you can return to the main page for Phil's bass.
Return To The Main Music Gallery
This page last updated on 06/28/2018