


There aren't many pictures of the next portion of the build, although it's actually the part that takes the longest: applying the finish. I don't take pictures while doing this because (nearly literally) it's about as interesting as watching paint dry.
The entire guitar is sanded and sanded, to make sure that all the imperfections have been removed. Then I sand it again just to be sure. Grain filler is applied to fill in and seal the pores of the wood, then I re-sand everything.
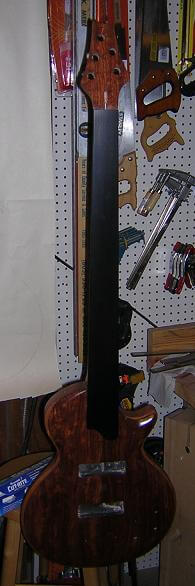
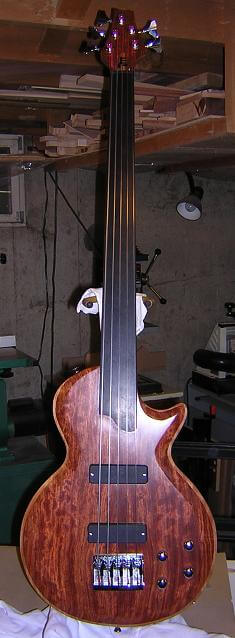
The satin finish was applied over the course of several weeks, sanding between coats. Finally, the finish was done. This picture is a little dark, but you can see how the finish "pops" the bubinga and really makes it beautiful.
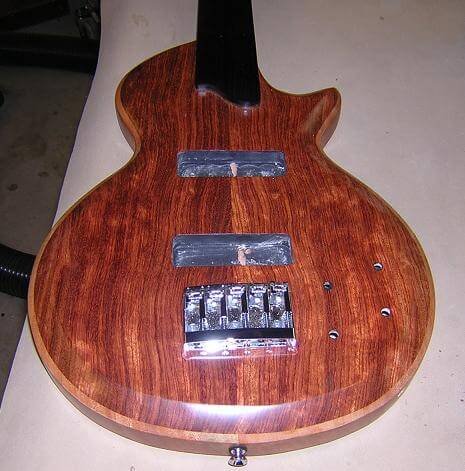
After the finish had cured for a few days (it won't completely cure for several more weeks, but it does harden up quite a bit in the first few days) I began to install the hardware. I began with the bridge, which in this case is held in place with three screws. Underneath the bridge, I chiseled out a little "channel" for a ground wire to run from the bridge to the control cavity. This is a very important wire, as without it the instrument will buzz loudly whenever you remove your fingers from the strings. You can also see that I've screwed the strap pegs to the body.
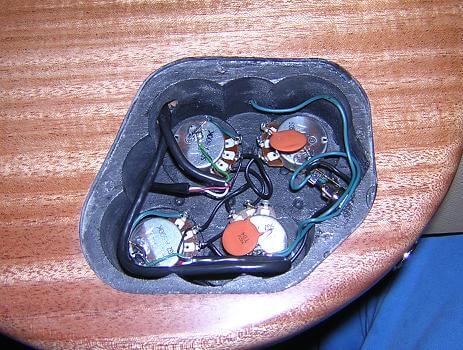
Next, I soldered all of the controls. The control cavity was a little small, so there's not a lot of room in there. The thick black wires lead to the pickups. The green wire coming out of the side of the control cavity is the bridge ground wire that I mentioned earlier. These wires were attached to two volume pots, two tone pots and the output jack.
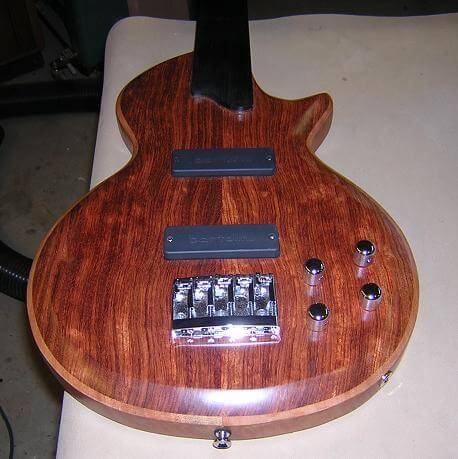
Here's a view from the front with the pickups in place and the knobs attached.
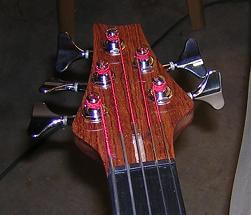
Next, I bolted the tuning keys in place. The holes were drilled eariler, but I always have to ream them out a little bit due to some of the finish seeping.
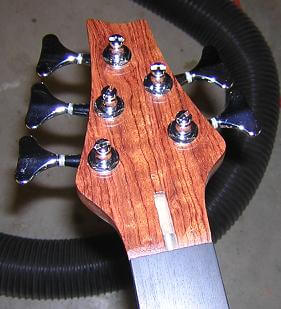
Now it was time to string it up. Of course, we need a place for the strings to sit, so I cut and installed the nut. The key to cutting a nut for a fretless instrument is to cut the slot depths to be just a hair higher than the fretboard height.
With the strings installed, the truss rod can be adjusted, and the action and intonation can be set. Setting intonation on a fretless instrument can be tricky, as unlike a fretted instrument, the pitch at the 12th fret can vary depending on where your finger presses the string.

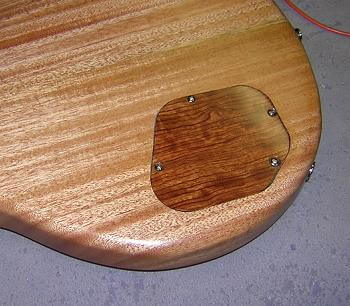
The electronics were all tested to make sure they're working and everything is sounding good. With that done, the control cavity cover can be screwed in place.
Finally, the last step is the cerimonial installing of the truss rod cover.
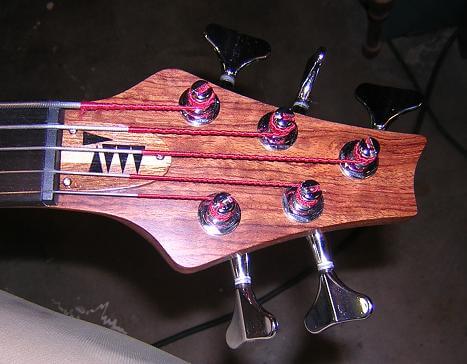
And here it is: the completed bass.
The construction of this bass is done! You can return to the main page for Ed's bass, or you can go back to the assembly page.
Return To The Main Music Gallery
This page last updated on 06/28/2018