


For players (more talented than I) who frequently use the upper frets on a guitar neck, easy access to these frets is important. There are generally two things that hinder upper-fret access; 1: the size, position and shape of the lower body cut-away, and 2: the neck heel. This tutorial demonstrates how I deal with the latter issue.
For terminology sake, the neck "heel" is the portion of the back of the guitar where the neck meets the body. Often times this is large and bulky, and will stop the player's thumb from sliding up to the high frets. Some bolt-on manufacturers have created what they have coined as an "all-access neck joint." More or less, this is a fancy way to say they round off the corners of the heel to smooth this transition out a little. Another approach is the neck-through guitar, where the neck wood continues down into the body all the way to the end of the guitar, and the body "wings" are glued to the center piece. In this situation, there is no joining of multiple pieces of wood, so no heel is necessary.
For some reason, however, most manufacturers of set-in necks (i.e. the neck tenon sits in a pocket in the body and is glued in place) leave their neck heels protruding abrubtly, and do little to try and smooth the transition. Well, we (okay, me) here at Tundraman Custom Guitars (again, just me) are here to the rescue with solution for the set-in neck heel dilemma. So sit back and see how I do it!
Is it just me, or have I gotten awfully big-headed lately? Anyway...
First, I begin by making my neck tenon and neck pocket a hair smaller than normal. It's not enough to affect the structural integrity of the guitar, just enough to leave some room on the body for wood removal later on. By the way, if you haven't yet figured out this process should only be done on a set-neck guitar where the neck is glued in place. Don't blame me if you carve up the bolt-on neck of your Fender Strat and wreck it, as you have been warned.
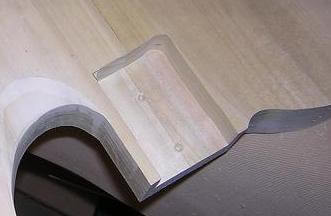
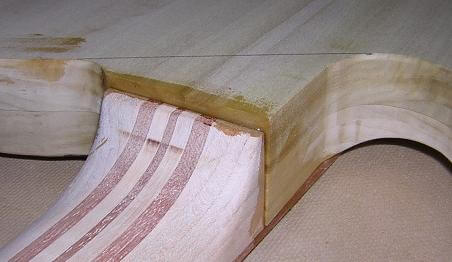
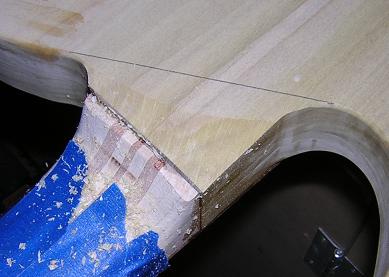
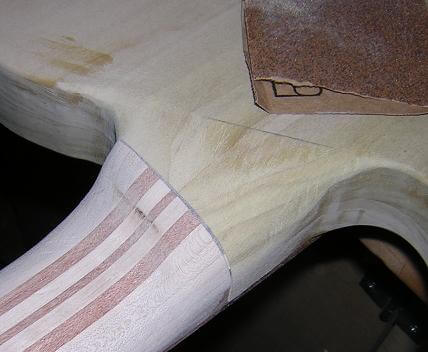
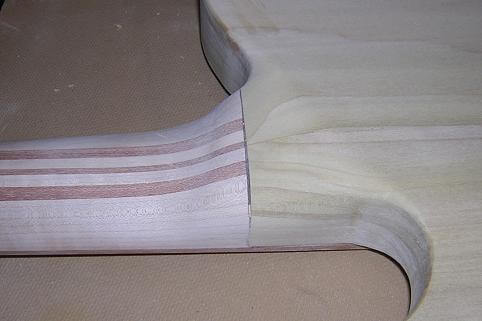
In the picture below, is the neck-to-body transition after glue-up. You can see that I haven't worried too much about controlling the glue squeeze-out, as I will be carving away this excess area anyway. I begin by marking the transition line, which will be the point at which the back of the body begins to blend into the neck. For this guitar, I determined this line by drawing a line across the two lowest points of the cut-aways.
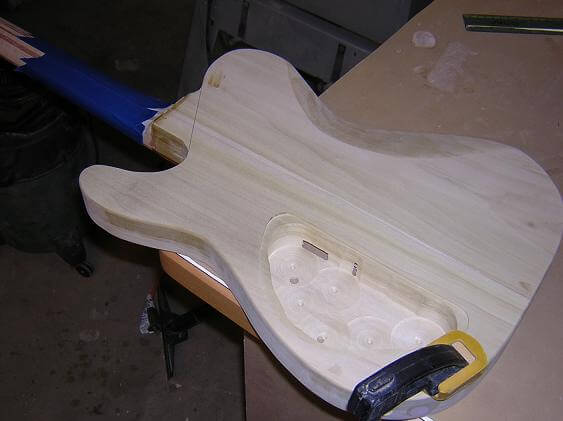
Next, I want to secure the guitar so it won't move around on me while I'm carving. I do this by simply clamping the guitar to the workbench. I also put some masking tape on the neck to protect it from accidental slips while carving. It's cheap insurance, as the tape will take the bulk of the damager rather than the neck wood. You just have to be careful that if you nick the tape, another piece is placed back over the hole. I've found that if I nick a spot once, I'll probably do it once or twice more before I'm done.
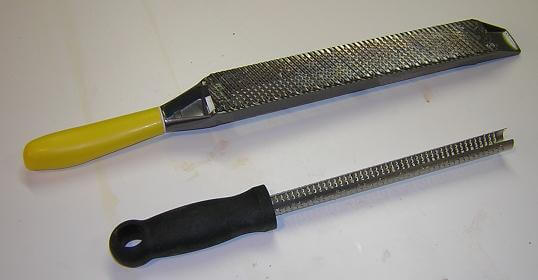
Here are the tools I'm going to use to do the carving. A flat blade surform, and a round blade micro-plane. One of these days I'm going to upgrade the surform to a flat blade micro-plane, as the micro-planes cut much smoother than the old "cheese-graters". But for now, this will do.
I begin with the surform, and begin to carve away on the edge of the heel. Notice that I'm roughly following the guideline I drew for the transition. By following this line, it's easier to get the correct heel shape.
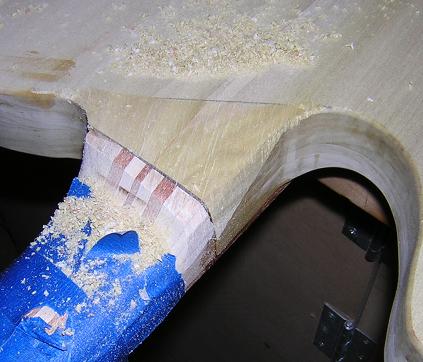
I keep carving, roughing out the heel shape I want. This makes a lot of wood chips. You can see that I've now cut the back of the body down, and am beginning to blend the body with the neck. Also note how I accidentally nicked the tape. I'll have to put another piece of tape over that spot to protect the neck.
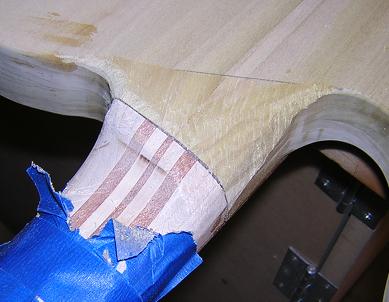
Now you can see that I've removed a bulk of the wood necessary to make the transition. I used the round micro-plane to blend the corners of the heel carving with the body cutaways. At this point, we can remove the tape and start to fine-tune the transition with sandpaper.
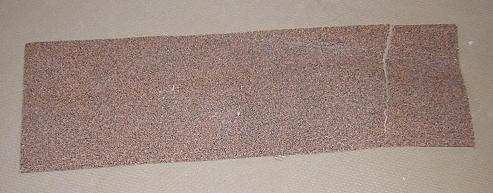
60 Grit sandpaper is what we'll start with. We've got a lot of gouges and marks left from the carving tools to smooth out, so we need something pretty agressive. There's no good way to get a sanding block into the corners and around the curve, so I just fold the sandpaper over and sand with my fingers.
There's no real "right" way to do this. I just keep sanding and smoothing until the transition looks and feels right. It takes quite a bit of sanding to remove the deep gouges left with the carving tools. I want to make sure to smoothly blend the edges into the cutaways, as well.
Once I have the joint satisfactory, I move to 100 grit paper to do the final smoothing. Before the guitar has a finish applied, I'll sand everything up to 320 grit, but for now it's OK to stop at 100 grit. We now have a neck joint that should provide easy access to the upper frets!
Return To The Main Guitar Gallery
This page last updated on 06/28/2018