


A constant issue in a busy shop (or a not-so-busy shop, as mine has been over the last couple years) is the collection of scrap materials. All of those off-cuts and little pieces of wood that are too good to throw away start to pile up after a while. Pretty soon, the scrap bucket is more than overflowing.
One method of dealing with this problem is to wait for a cold winter night and then fill your fireplace with little pieces of exotic woods. I regret that I've utilized this method more than once. I'm reminded of the line in Simon and Garfunkel's "The Boxer" where they sing, "I do declare, there were times when I was so lonesome I took some comfort there." I'm not sure why I'm reminded of this line, as the song refers to succumbing to the lures of prostitutes and I'm talking about burning scrap wood, but I'm reminded nonetheless.
Another method of reducing the buildup of scrap wood is to find a project that can utilize these leftovers. A project intended to use up odd sizes of wood that one wouldn't normally find useful generally means that the project must deviate from the normal, or at least what is normal for that particular person. In my case, I mostly build guitars and basses. So, I needed to come up with a project that wasn't necessarily a guitar or a bass.
One night I happened to listen to one of my favorite Doobie Brothers songs, "South City Midnight Lady." One of the things that really set this song apart is the haunting steel guitar that is played throughout.
Steel guitars are traditionally associated with country music. Not being a fan of country music, I enjoy hearing them in other musical styles. For example, the song "Brooklyn" on Steely Dan's first album has some beautiful steel guitar, courtesy of Jeff "Skunk" Baxter. David Lindley who played with Jacksone Browne in the 1970s is another incredible steel guitar player to whom I like to listen.
Staring at my scrap bucket, I thought I might have an enough wood pieces of which I could piece together a short scale steel guitar. However building an instrument takes more than a pile of wood. It also takes hardware such as pickups, tuning keys, bridges, etc. Purchasing these items would kind of defeat the goal of this project, which was to reduce the amount of junk I had laying around the shop. So I turned to my storage shelves where I keep my various odds and ends to see what I had gathering dust.
What I came across was a collection of junky parts given to me years ago. There was a guy who was attending our church at the time, and he had some issues he was trying to work through. He was a guitarist, and one night in a fit of chemical induced rage he smashed his guitars. Apparently it seemed like a good idea at the time.
Well, the next day after sanity was temporarily restored to his life he removed anything he deemed salvageable from the rubble that used to be his instruments. Knowing I built guitars, he brought me a shoebox full of the wreckage and asked if I wanted them. I looked at the worn parts and knew I wouldn't want them on a nice instrument. However I also have pack-rat tendencies so I took them home with me, and there they sat in my storage bin waiting for the day they would be liberated to make music once again.
In taking inventory of these parts, I realized that I could cobble together enough of them to make a lap steel. So I had the wood and the hardware. Now all I needed was the motivation.
That came in early September 2010 when the Musical Instrument Makers Forum had their annual $100 dollar challenge. This is a contest they have every year that serves as a fundraiser for the forum. This year's theme was electric instruments.
The rules are simple. Starting the first of September, everyone who entered had until October 31st to build an electric instrument of some form or fashion. There was a $100 limit on how much one could spend, which included any material, part or supplies that remained on the instrument when it was finished. The instrument could optionally use one of the following as salvaged parts: a body, a neck or a collection of hardware. The salvaged parts would count as $33.33 dollars towards the cost of the instrument. The winner receives the admiration of everyone else on the forum, and the satisfaction of turning some junk into an instrument.
So now I had a reason to get my buns in gear and get this project done. I paid my $10 entry fee, went right to work the week after Labor Day, and finished the instrument a week and a half prior to the deadline. Unfortunately in my frenzy I neglected to take any photos of the construction. This was disappointing for two reasons: first, many people who visit my website do so not so much to see the final product, but because they enjoy the learning process of how I build things. Second, I somehow missed the portion of the contest rules that stated the instrument construction should be documented, and because of this managed to disqualify myself.
Oh well. There was no prize money involved and I had been planning on building this thing for a while. It was worth $10 to me for the kick in the pants I needed to get this done. Not to mention the satisfaction of eliminating some clutter in the shop. Here are the specifications of the instrument:
Neck Type: Neck through
Neck Wood: Cherry
Truss Rod: None
Tuners: Jackson 6 in line (3 mounted upside down)
Nut: Ebony
Body Wood: Bubinga, maple and walnut
Fretboard: Walnut with maple fret position markers
Scale Length: 22 1/2"
Inlays: Abalone dots
Pickup: Unknown brand P-90
Controls: One volume, one tone
Finish: Shellac sealer with 10 coats of gloss nitrocellulose lacquer
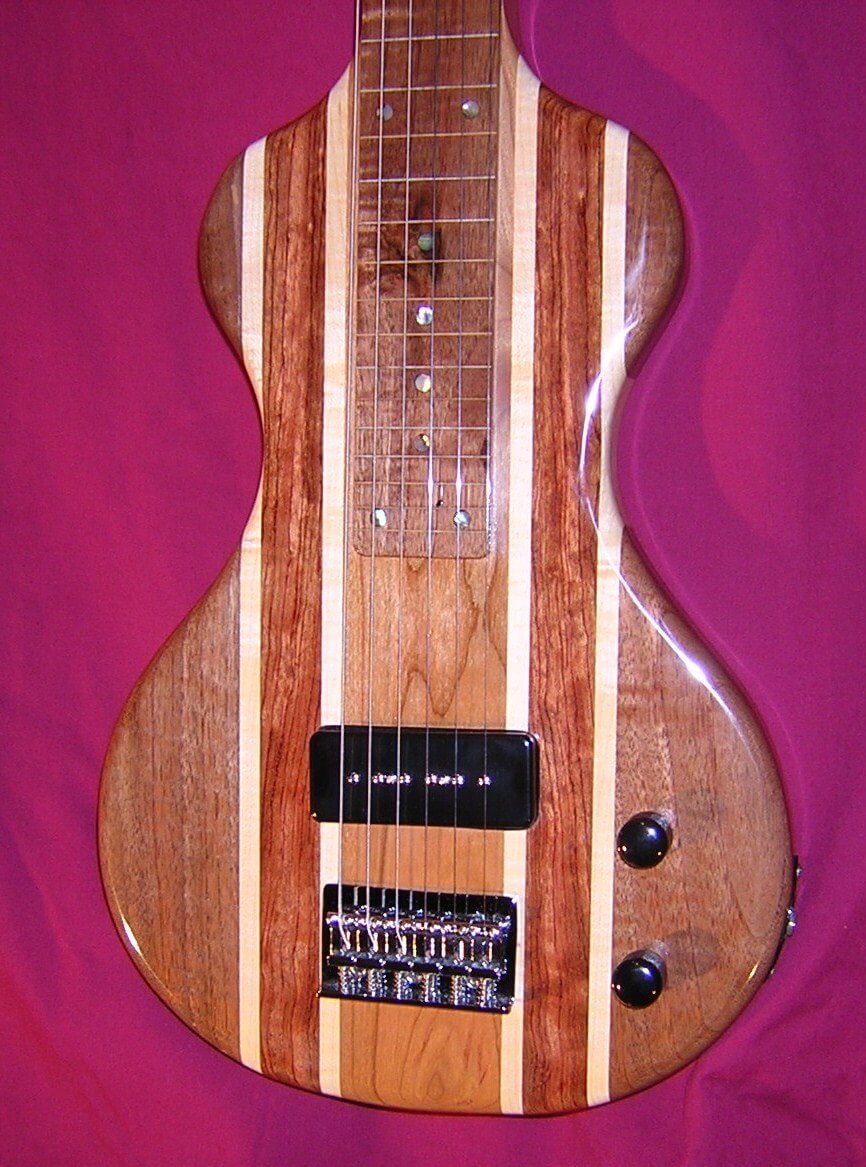
So here it is. The first thing that one notices is the "butcher block" style body with the different kinds of wood. This was due to the fact that I didn't have big enough pieces in my scrap bucket to build the whole instrument out of one piece/species of wood. So I used my Czech ingenuity and glued a bunch of wood together. The inside portion (light brown) is cherry. The four light stripes are maple. The two reddish stripes are bubinga. The dark outer portions and the fretboard are walnut.
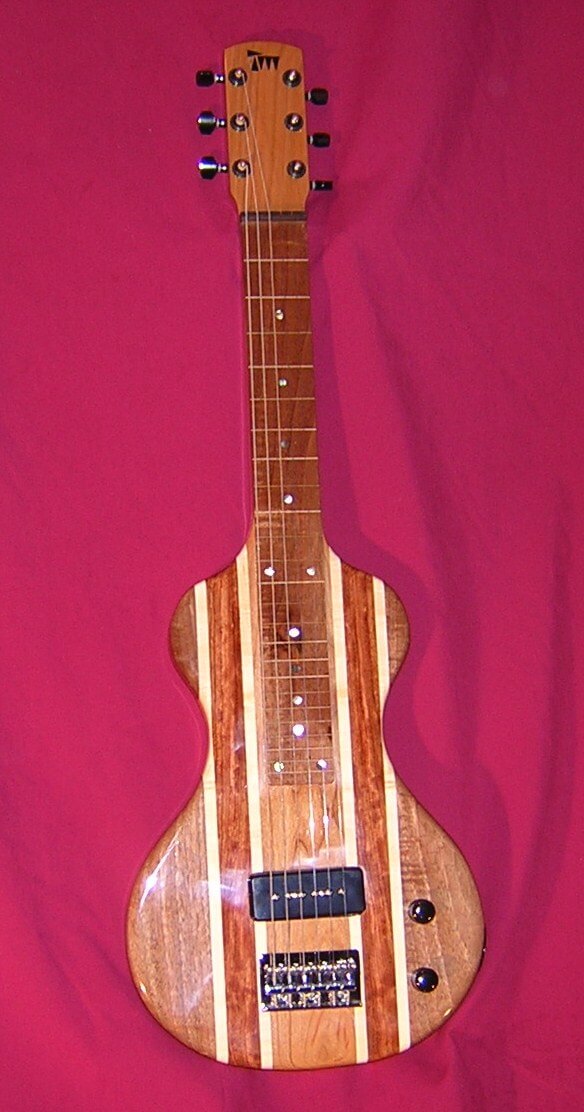
Here's a picture from the player's perspective. A lap steel is placed flat in the player's lap (hence the name) or on a low table. It isn't held vertically like a regular guitar.
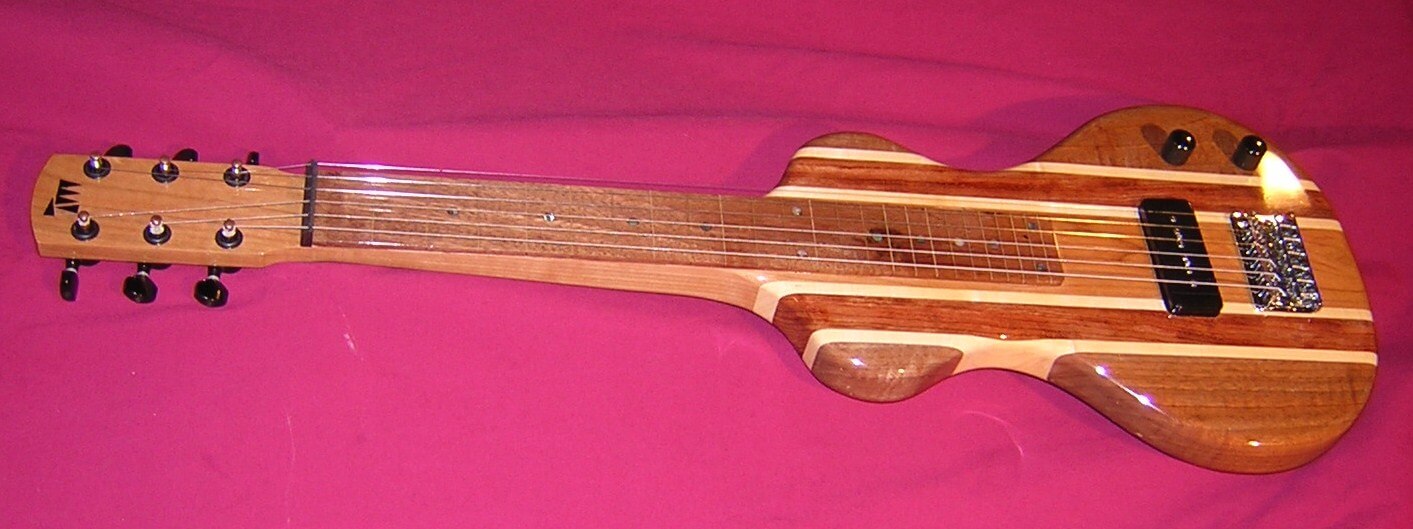
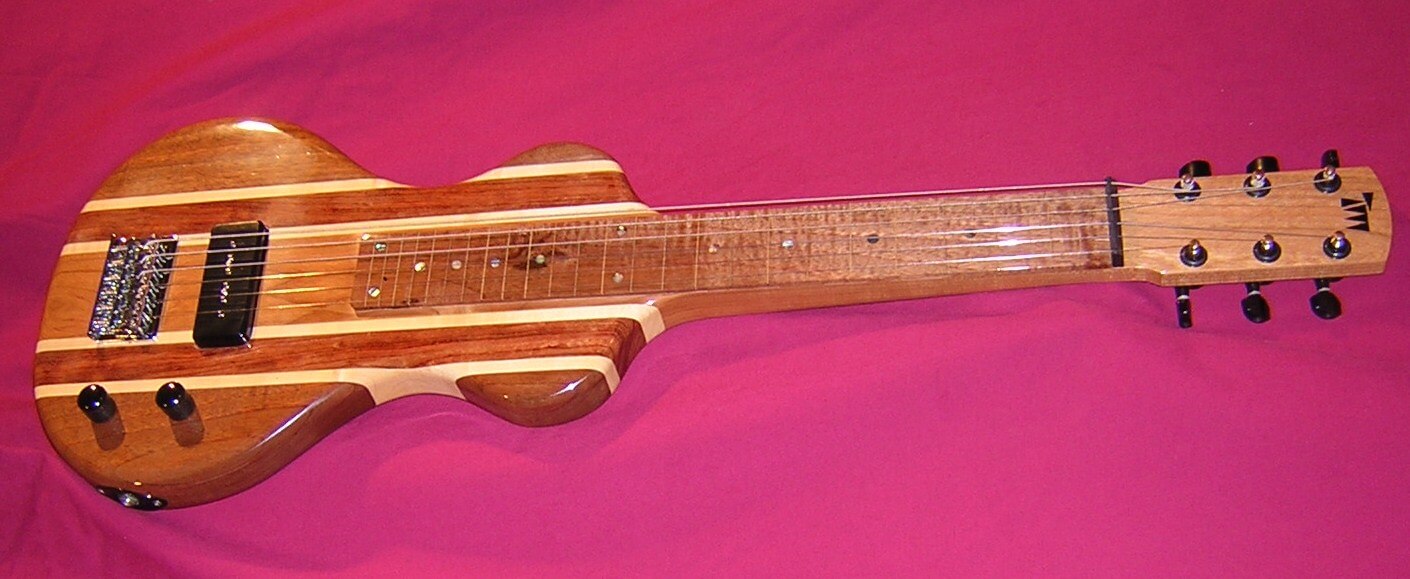
Here's a view from the other side, or the audience perspective. In this picture one can see a knot in the walnut fretboard at the 15th fret. A board like this would be rejected for most instruments, but given the spirit of this one I decided to not only use the board, but to highlight the knot by placing it in a prominent position. I filled the knot with epoxy to stabilize it and flatten the surface.
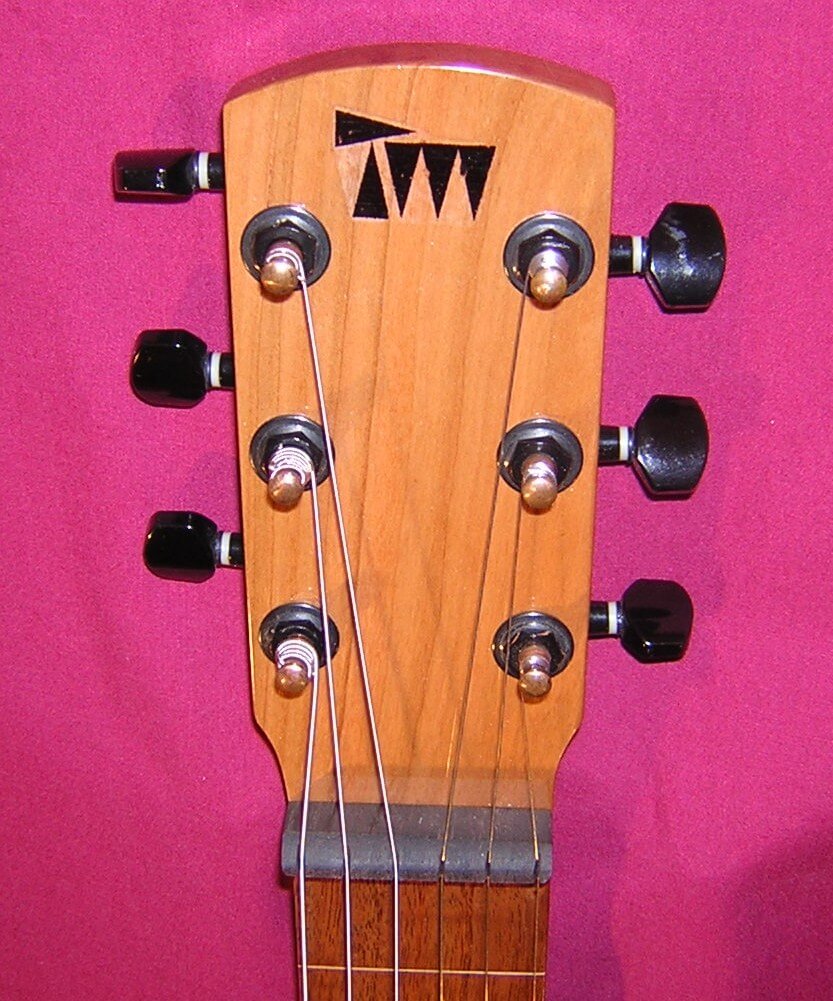
Here is a close-up of the headstock, featuring the Tundra Man logo. In this picture you can see how the tuning keys were obviously used and abused prior to being mounted on this instrument. The ebony nut was cut from a scrap chunk of fretboard from another guitar.
This picture gives a good look at the different kinds of wood used.
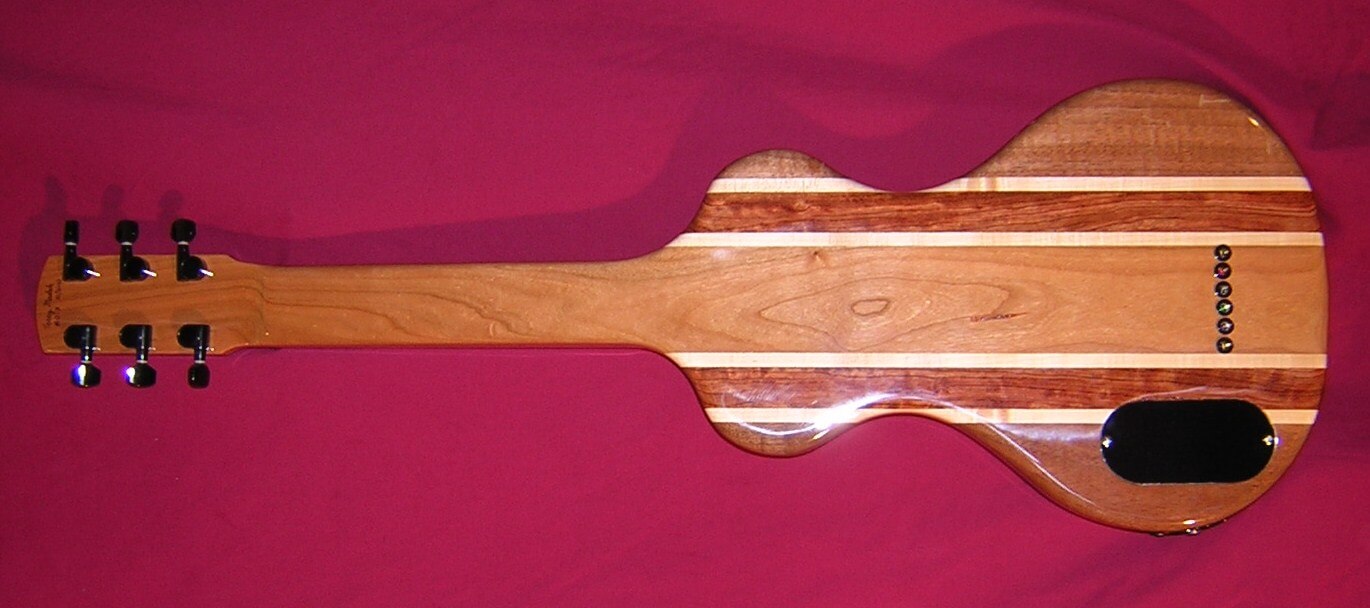
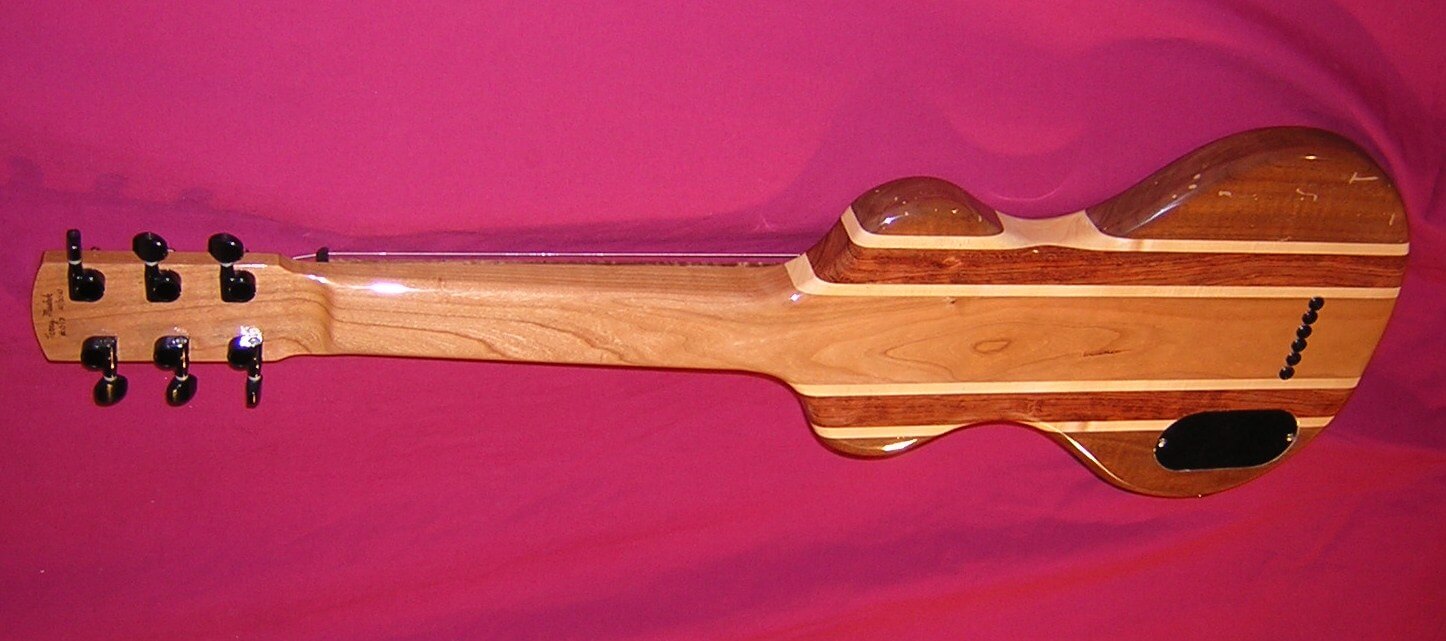
Here is a full-on shot of the back of the instrument. You can see a little sap pocket in the cherry near the center of the body. Again, this is a piece of lumber that would have been rejected for an exhibition grade instrument. However, it is perfectly fine for a fun project like this. I'm particularly happy with how the string ferrules turned out. Surprisingly, those are a real bugger to get perfectly straight.
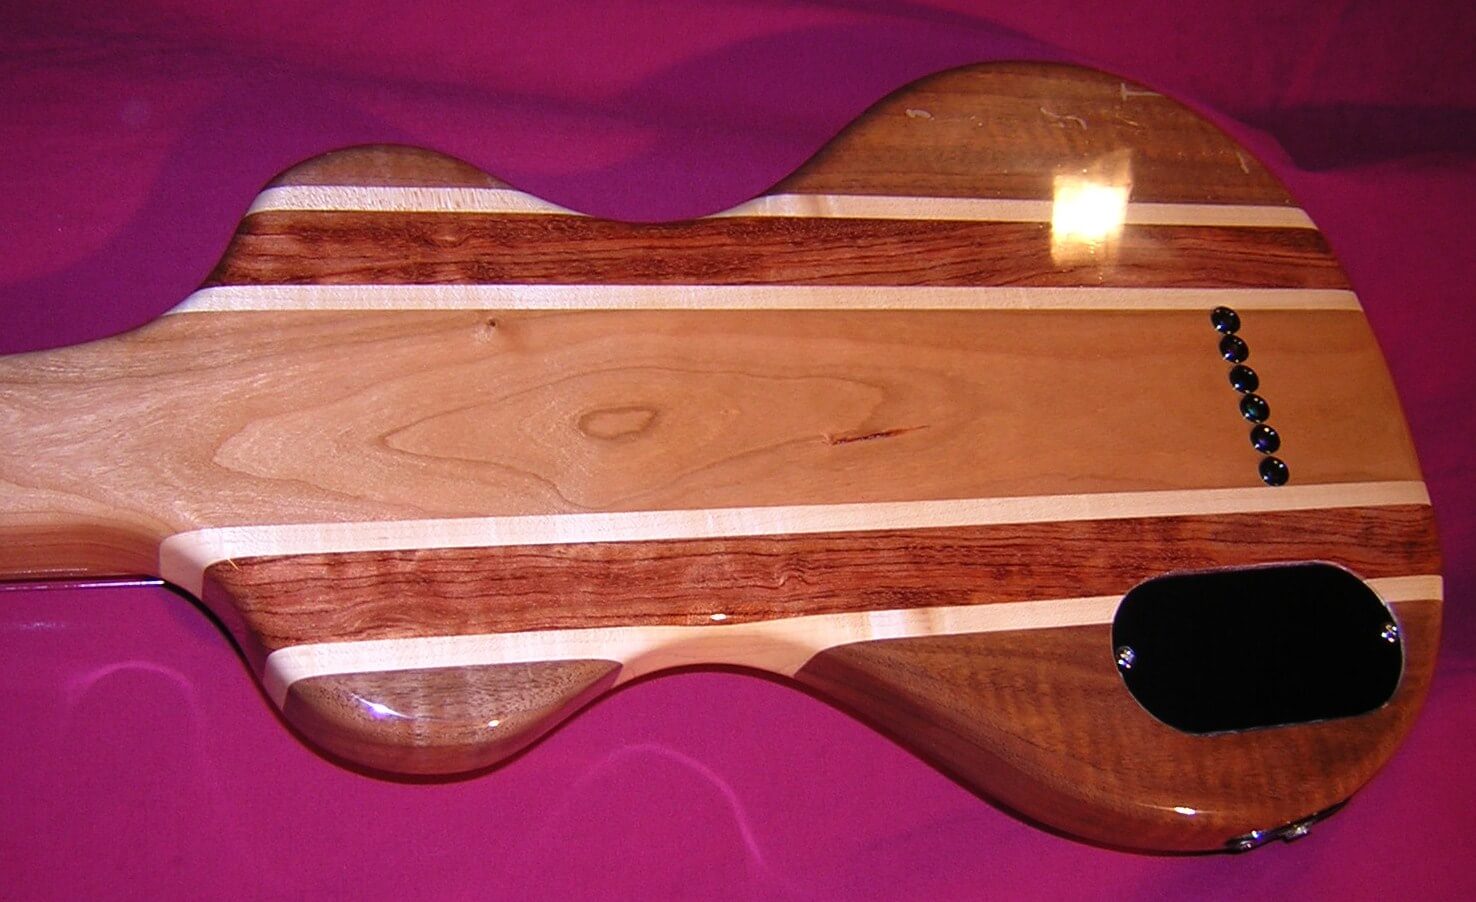
This angle shows some of the interesting character of the wood. The control cavity cover was cut from a larger control cavity cover for another instrument. On that instrument I accidentally cut the cover upside down and had to start over. I salvaged that ruined cover and cut this smaller one from it.
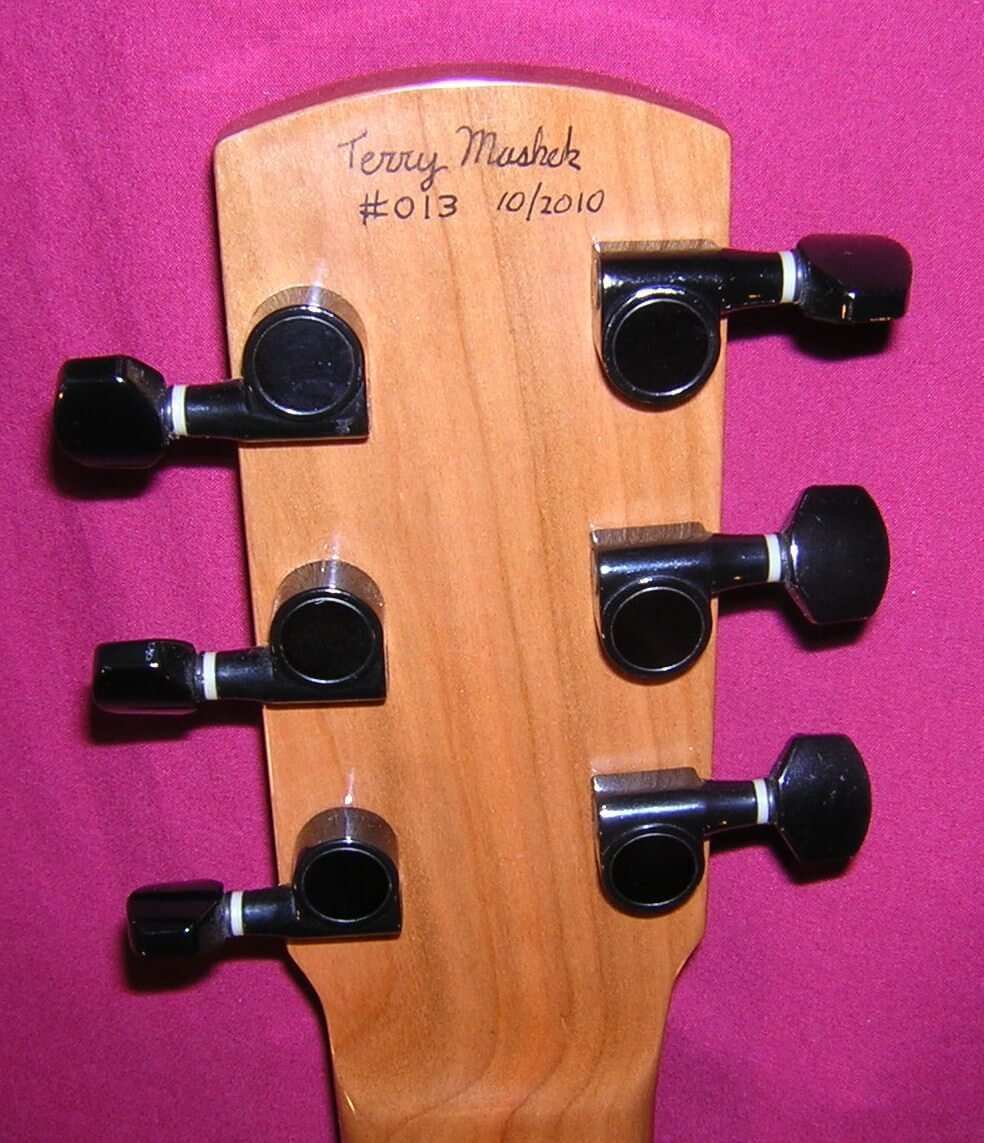
The back of the headstock has my usually signature, numbering scheme and date of completion. Yes, half of those tuners are installed upside down. The only tuners I had were six-in-line versions. To make the 3+3 configuration I simply installed three of them upside down.
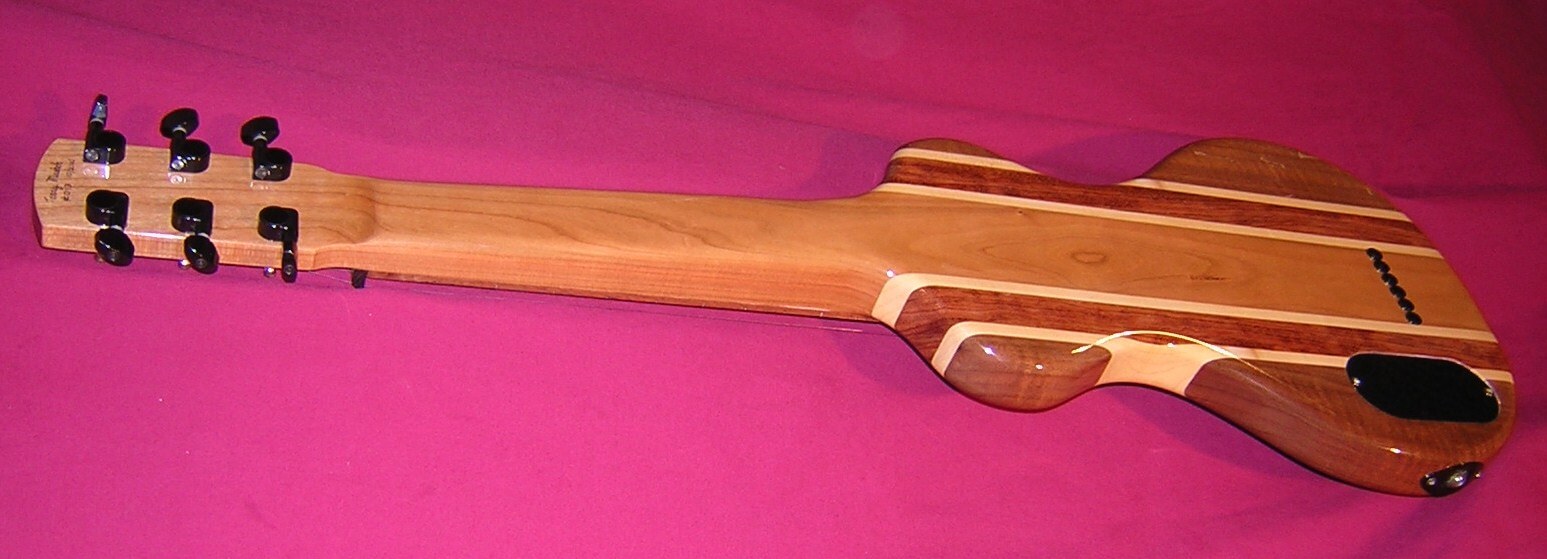
The walnut at the end of the body on top had a bunch of termite tunnels that needed to be filled. They're the slightly lighter streaks in the wood. I used walnut colored wood putty to fill them, but the putty dried much lighter than the walnut. I should have used black epoxy to fill the holes, as I feel it would have looked better. Live and learn.
Finally, here is one last picture of the back. This was a fun and easy to build project.
I've tried to play slide on a standard guitar, and have found myself completely inept. After building this instrument I played for about 15 minutes and realized that knowing how to build one does not equate with knowing how to play it. In fact when demonstrating the instrument for my wife she listened for about a minute and a half and then complained of a headache as she left the room. Coincidence? I think not...
Return To The Main Music Gallery
This page last updated on 06/28/2018