


NOTICE! This page is a tour of my old shop circa 2005. During the summer of 2013 I moved to a new house, and in the process was able to significantly upgrade my shop. The new one is about 500 square feet and actually boasts enough space to where I don't have to move tools around to use them. I am truly blessed and spoiled with the new facility. One of these days I need to get my butt in gear and take photos of the new shop. In the mean time, feel free to step back in time and visit my old shop...
Seeing as I had a site displaying all these things that I've built, I thought it would be good to provide you with a tour of where all the action happens. I don't know anyone who's shop stays completely static. We're always adding tools or moving things around to better accomodate our projects. Mine is no different, so with this you must keep in mind that this information is accurate as of the middle of January, 2005.
I know you were worried about it. Don't deny it. You can't fool me...
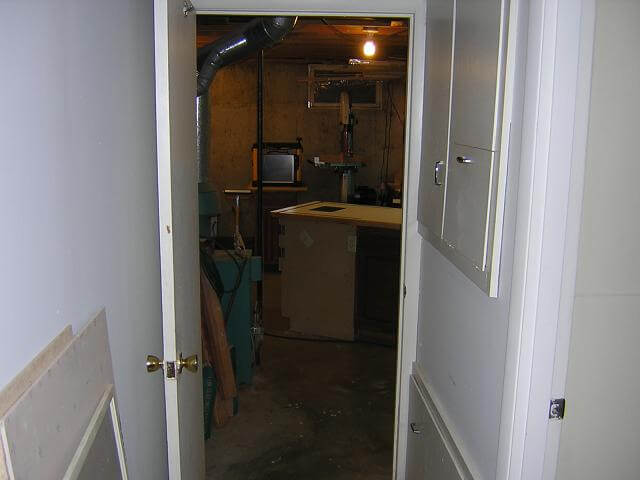
Anyway, my shop is nestled in a corner room of my basement that doubles as a utility room. The total dimensions are 16'X13', however there is a 5'x5' area that is occupied by a boiler and water heater, so that space isn't really usable. So my total is 208-25=183 square feet of shop space. Not a whole lot of room, but I am thankful that I even have an indoor shop space, as many people aren't that blessed.
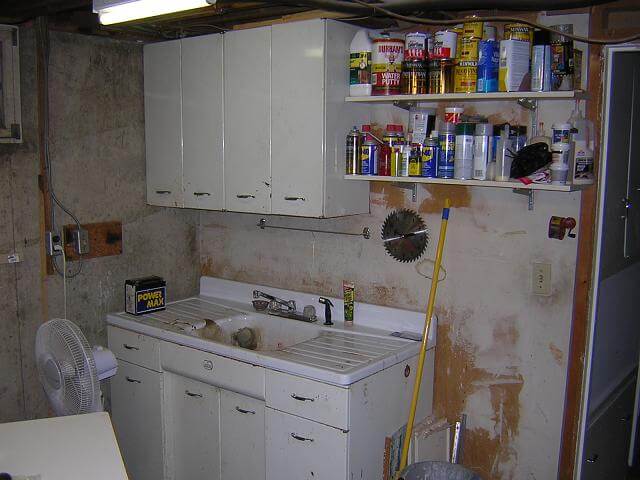
Coming in to the shop, on the right, is one of the few luxury items that my shop provides: a sink. This is an old cast-iron sink that was in the house when I bought it, along with the cabinet hanging above. I did have to add a new faucet and do a little plumbing to get hot water to it. It's in rough shape and stained with paint and other nasties, but works well for my needs. It's really nice not having to leave the shop to wash my hands, clean a brush or even get a drink of water.
To the right of the sink you can see some shelves I put up that hold my glues, stains, lubricants and other consumable goods. It's pretty full, and I need to add some more shelving in this area. Actually, you can see the shelving leaning against the wall that I need to get around to hanging. To the left of the sink is a fan that keeps me cool during the warm months, as the basement of my house has no A/C and for some reason, gets very warm. I've never heard of a basement that gets warm when you've got A/C up stairs, but mine does. That's a mystery I've yet to solve.
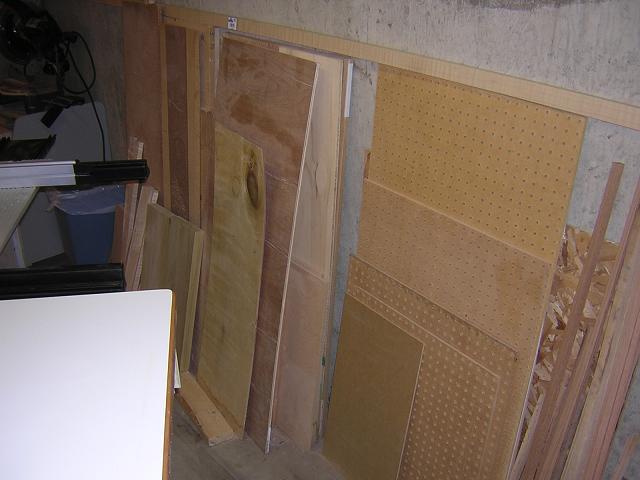
Turning to the left, along the west wall is where I store my sheet goods and a few miscellaneous cutouts that I haven't put anywhere else. It's on my long-term project list to come up with a better method/location for the storage of sheet goods.
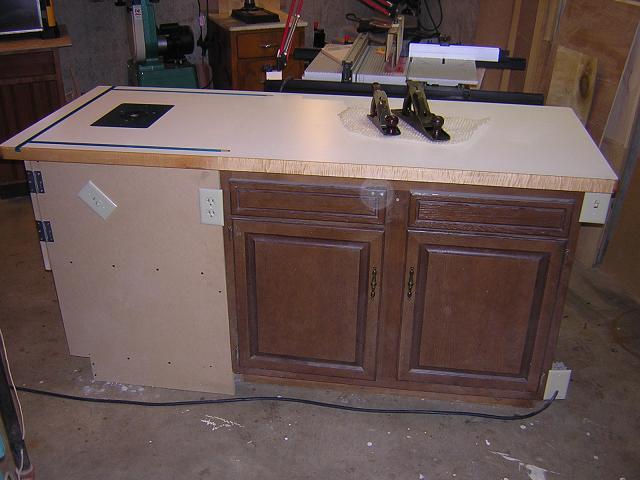
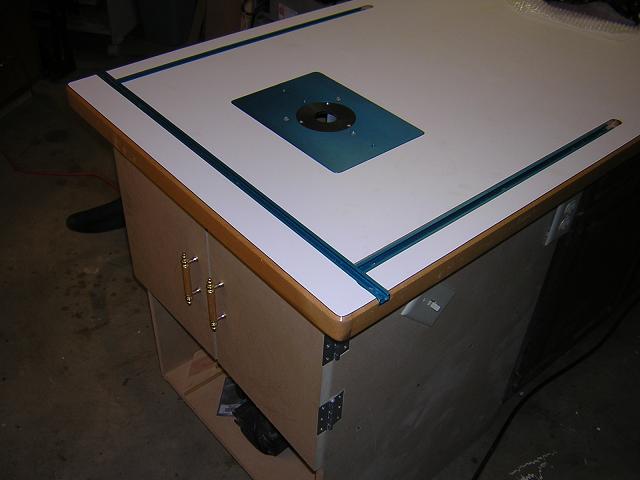
In the center of my shop is my work table. It works pretty well to have the table in the center, where I can work all the way around it like an island. The table itself is an old crummy sink base that I bought at our Habitat For Humanity Re-Store. I reinforced the innards of the cabinet with 2x4's, to make it very sturdy. For a top I laminated two sheets of MDF, along with some counter-top material, then edged it with maple. The lower cabinet provides storage for sanding tools, and various other things that needed a home.
Rather than having a separate router table in the shop, I built the router table into one side of this work table. On the left side, I attached a MDF cabinet that houses the router itself. The router plate and T-track is from Rockler, and allows me to attach a fence and jigs while routing. Or, when I'm not routing I can remove the fence and jigs for more work surface.
As an added bonus, if I'm routing in large sheet goods (i.e. the rabbet on the back side of a cabinet) I can spin the router fence around and use the bulk of the table to support the stock. I don't do this often, but when I have it has proven to be very convenient.
At the moment, you can see two old hand planes sitting there that I'm planing to tune and use.
Here's a better shot of the router table end. The cabinet doors cover where the router sits, and keeps the shavings contained for easier clean-up. The lower shelf is where I keep my other routers and bits.
On the east wall is my "old" work bench. This was one of those cheap tool bench kits from Menards. It's sturdy enough, but the 2x6 top isn't very smooth. I keep thinking I'm going to resurface it with some MDF, but haven't gotten around to it.
On one end you can see I have my scroll saw mounted. Below that is storage for tools and tool cases.
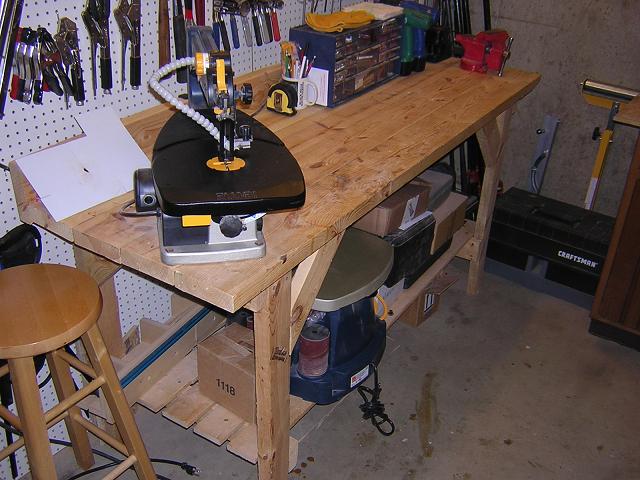
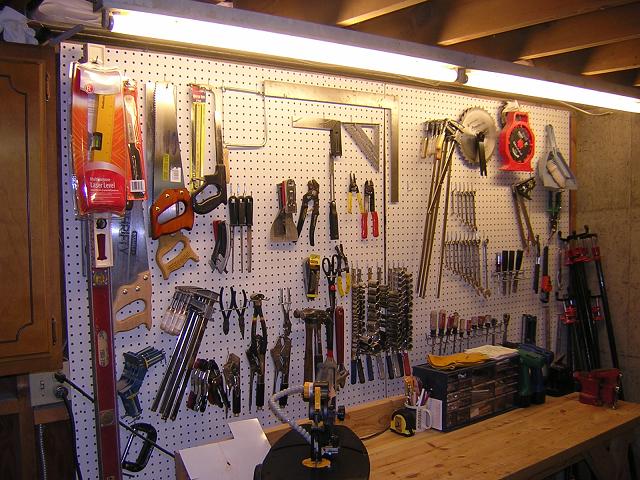
Above the old work bench is pegboard where I've got many of my hand tools stored. I don't really care for pegboard (tools get dusty and the pegs keep falling out) but it was there when I moved in and I haven't come up with any better solutions.
To the left of the pegboard, you can barely see a cabinet that I hung. This cabinet must've come out of the kitchen, as it matches the cabinets up there. I use this cabinet to store screws, nails, biscuits and other fasteners.
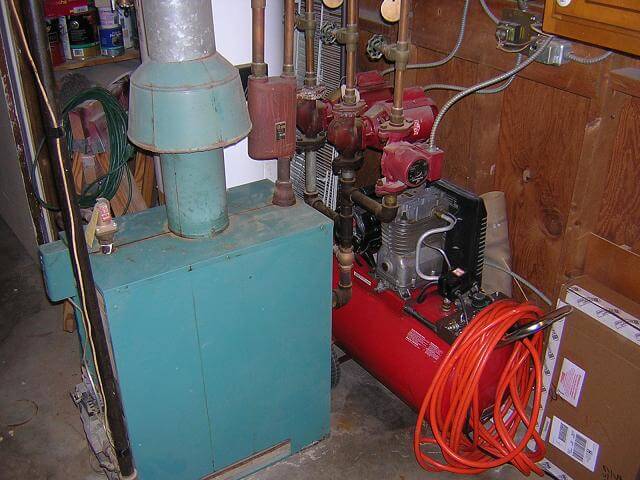
Here's a shot of the boiler (aka the "widowmaker") that I share the shop with. Behind that is the hot water heater. There's just enough room between the boiler and the wall, below the pumps, where I can squeeze in my air compressor and keep it out of the way.
On the south wall of the shop, I have my planer, bandsaw, drill press and miter saw. The drill press and miter saws are on mobile bases, so I can slide them out and use them. I've got a mobile base for the cabinet that the planer sits on, but haven't gotten around to installing it yet. To use the planer I have to carry it over to the work table.
The planer and drill press are on old kitchen cabinet bases, so they give me needed storage below them. The miter saw is actually sitting on an old computer desk with casters.

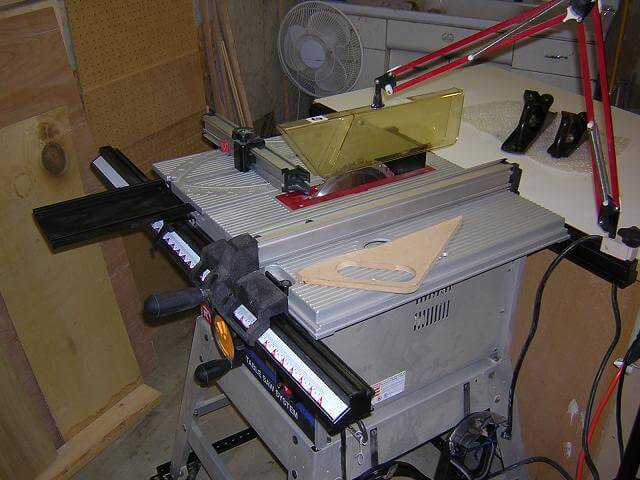
In the center of my shop is my table saw: a Ryobi BT3100. I purchased this saw a little over a year ago to replace my Craftsman. This saw is ten times the saw my Craftsman was. I know some people on the 'net despise the BT and trash talk it to no end, but it has worked pretty well for me. For the money, it's the best saw you can buy. Is it a Powermatic? No, but if you look at my shop, where would I put a cabinet saw? The BT has handled everything I've thrown at it without complaint, so for a saw that I paid less than $300 for, that says a lot.
I've got my saw on a mobile base, so I can slide it out of the way if I need extra room. I've also got it butted up against my work table to use as a kind of outfeed.
Finally, up overhead I've got more some lumber storage. These supports were here when I bought the house, and I just started sticking lumber in 'em. One of these days I need to come up with a better lumber storage solution.

Long-term, I'm planning on moving my shop to the other side of the basement. This would serve two purposes: 1. It would give me a slightly larger shop (14x16 with no boiler in the way) and 2. allow me to turn this current space into a bedroom by installing an egress window, a wall, closet and relocating a doorway.
Thanks for coming along with me on this little tour!
Return To The Main About Gallery
This page last updated on 07/11/2018