


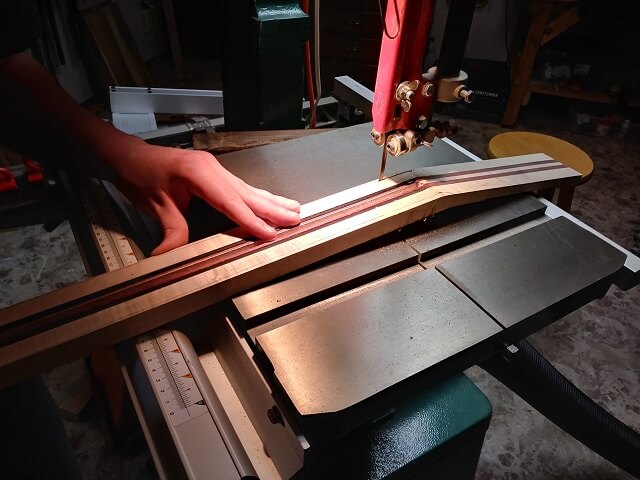
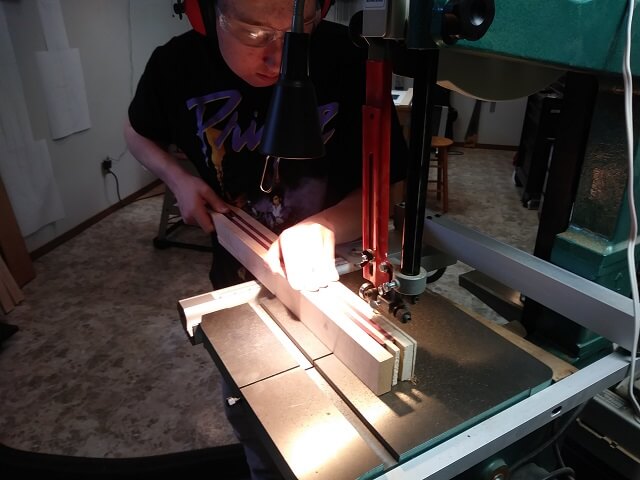
Seeing as this instrument was going to be a neck-through design, the most obvious place to start building the instrument was with the neck. Tundra Boy dug through my wood stash and picked out some flame maple and some purpleheart. He decided to have the neck be mostly flame maple, with two strips of purpleheart as an accent. The purpleheart strips were going to be .25" wide, so we started by splitting the 3/4" purpleheart board in half.
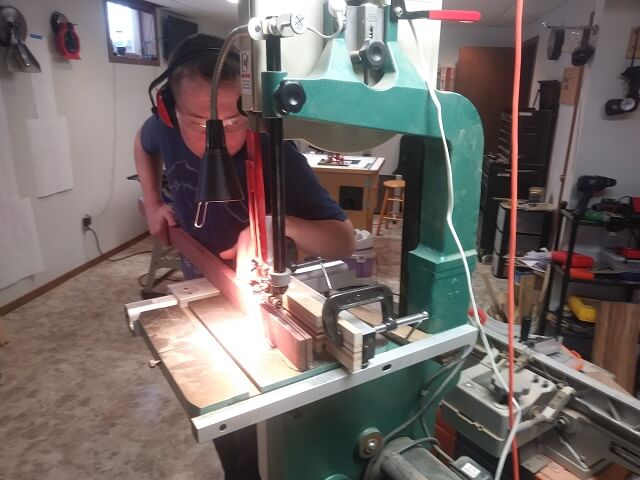
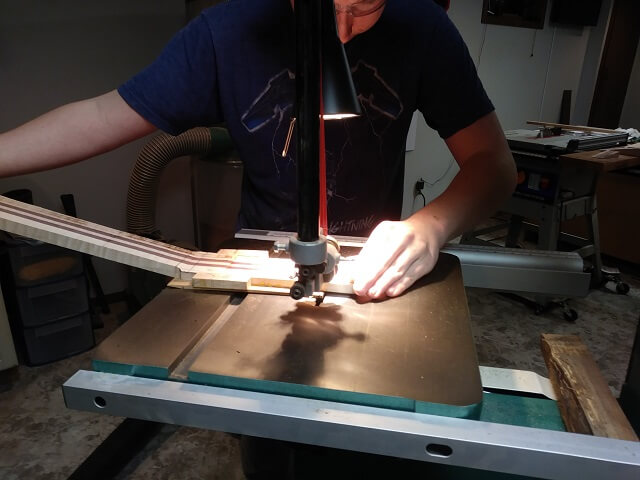
The center strip of maple was also going to be 1/4 wide, so Tundra Boy cut a strip for that piece as well.

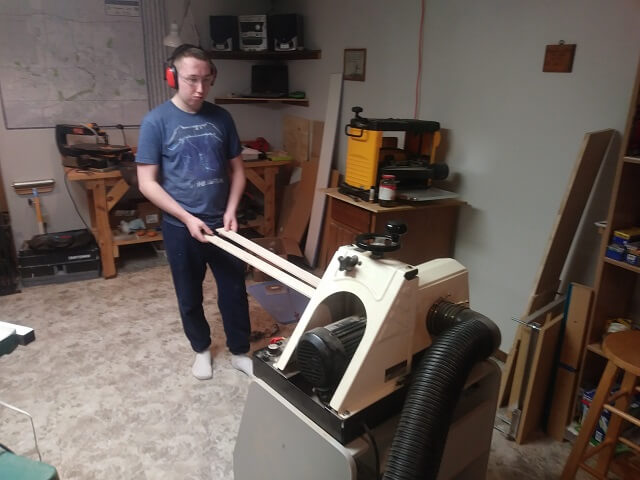
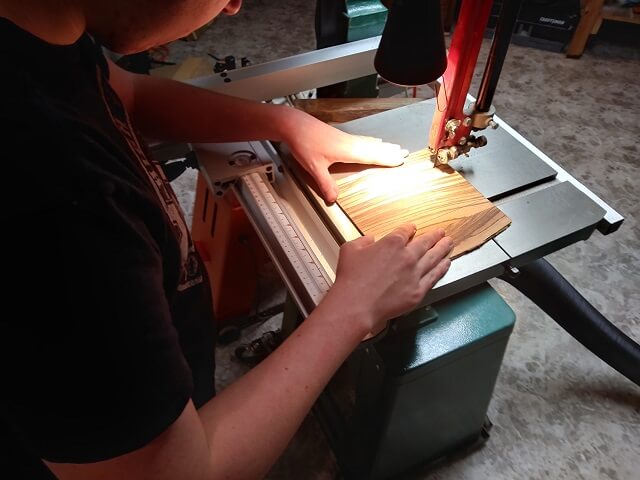
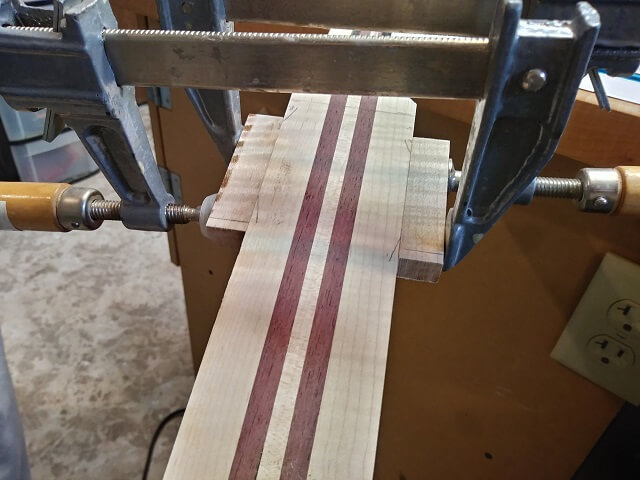
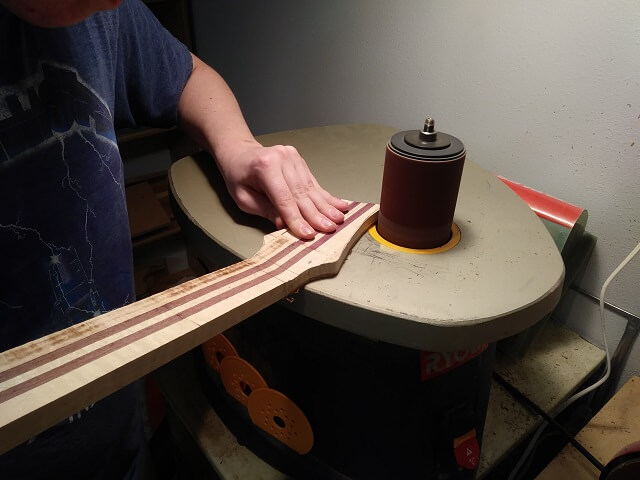
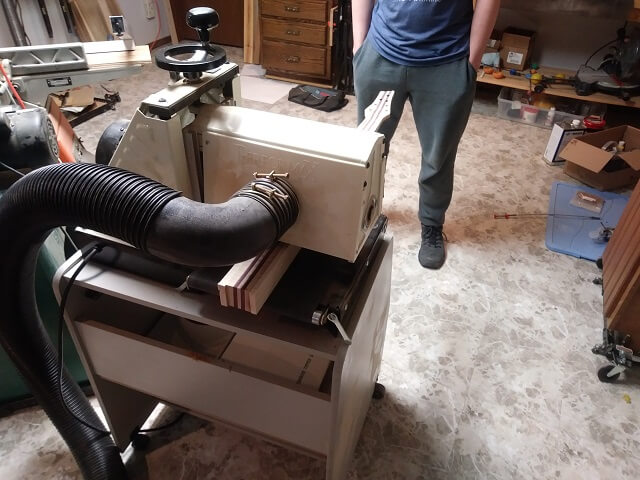
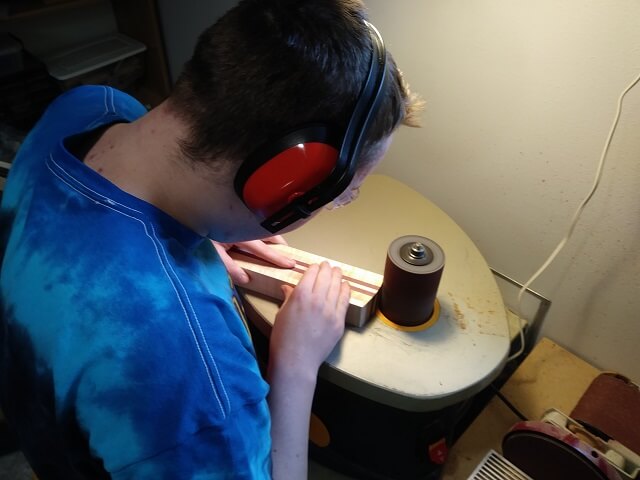
The band saw leaves a pretty rough surface. In order to smooth out the laminate pieces for gluing, and to bring them to exact width Tundra Boy ran them through the drum sander.
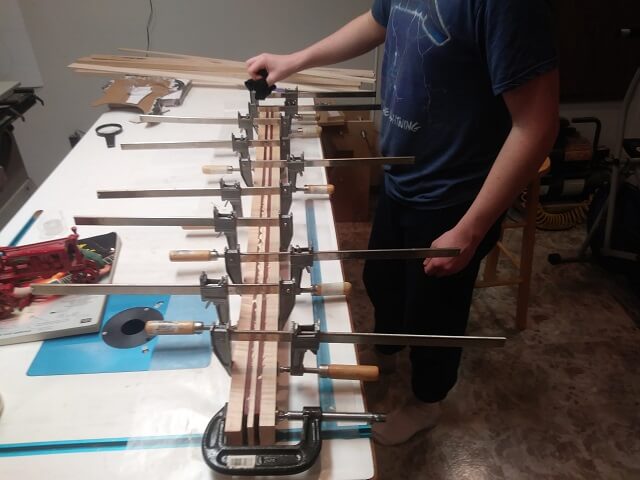
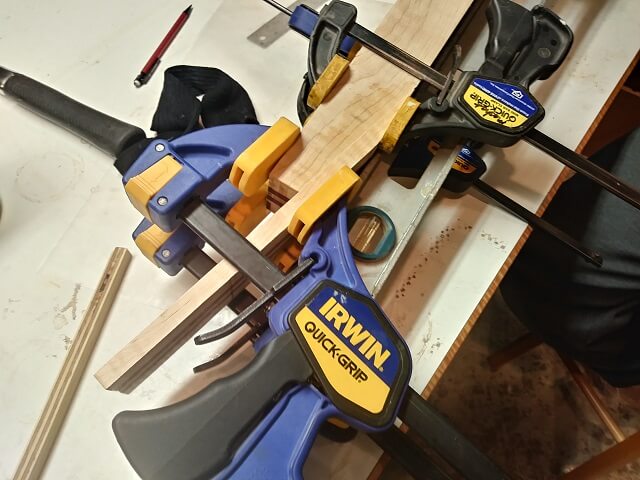
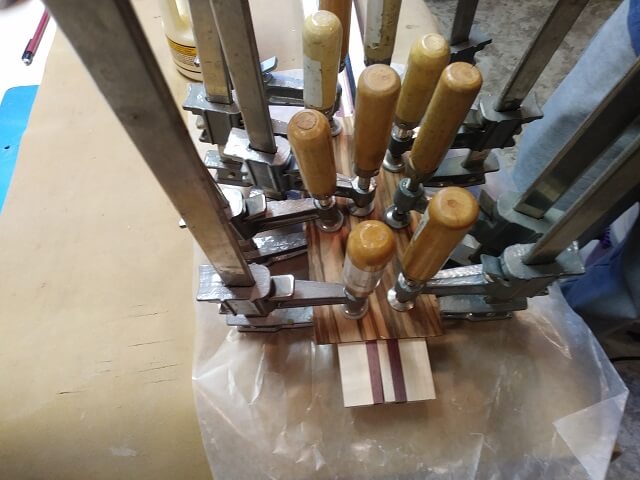
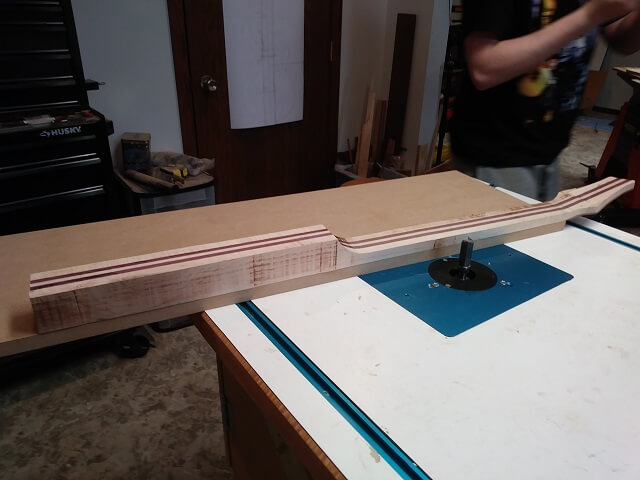
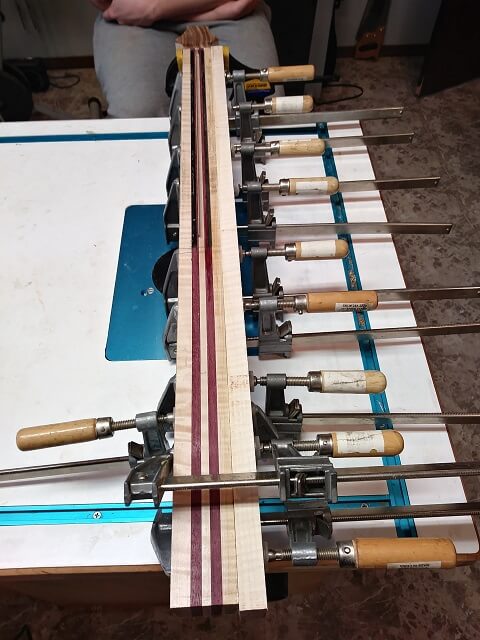
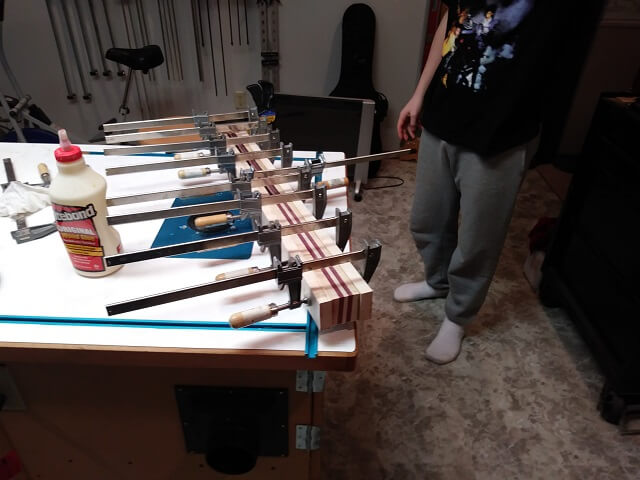
Adding two more pieces of flame maple on the outside, he glued together the neck blank.
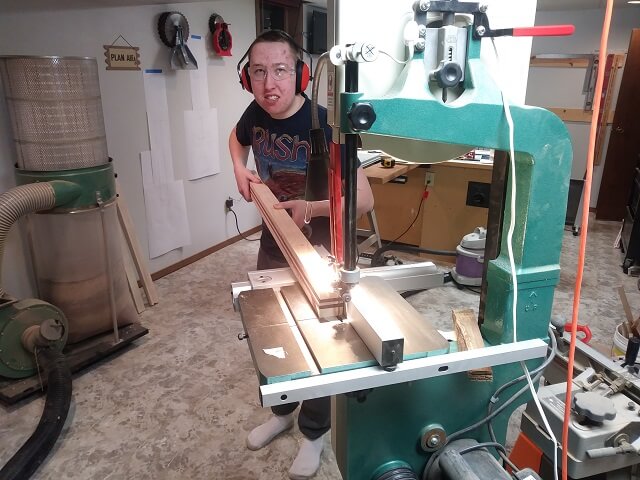
After the laminations were dry, he removed the neck blank from the clamps. This guitar was going to have an angled headstock with a scarf joint, so the next step was to cut out the pieces from the end to form the joint.

With the joint surfaces smoothed out, Tundra Boy glued the headstock piece in place. It's a little thin because he will be adding a 1/8" piece of zebrawood to the face of the headstock.
While he was waiting for the glued scarf joint to dry, he cut the piece of zebrawood for the headstock face.
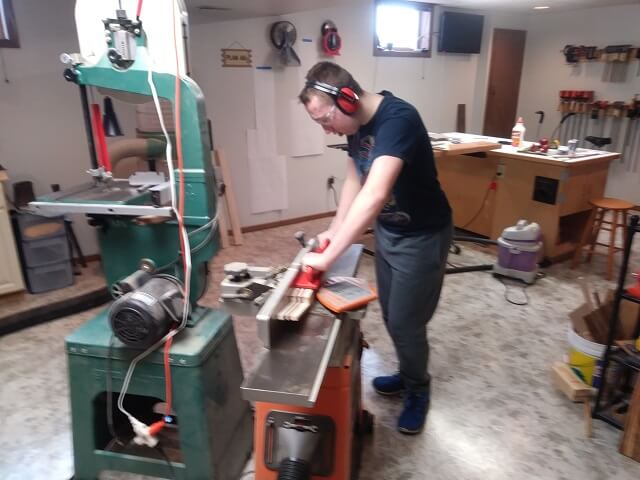
The front of the neck needs to be as flat as possible, so he ran the face of the neck across the planer until it was perfectly straight.
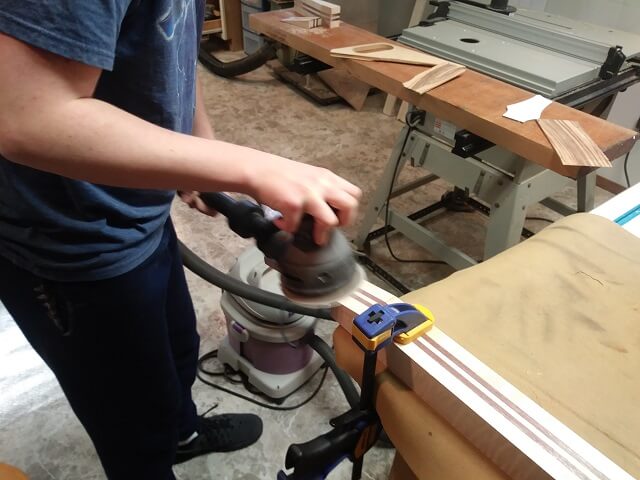
The headstock face still had a lot of scratch marks from the bandsaw blade, so Tundra Boy took a few minutes to sand those smooth.
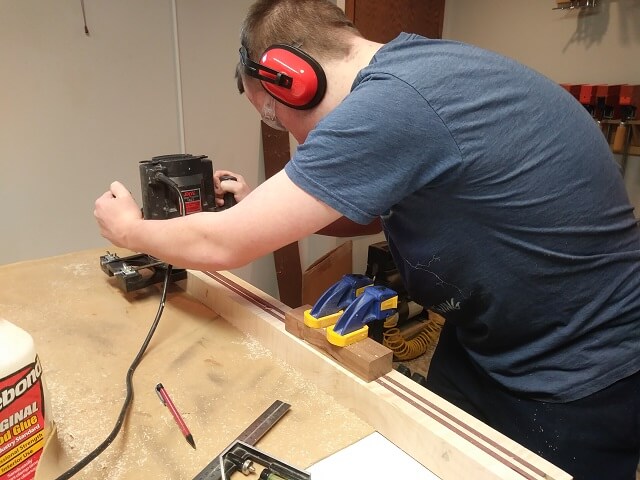
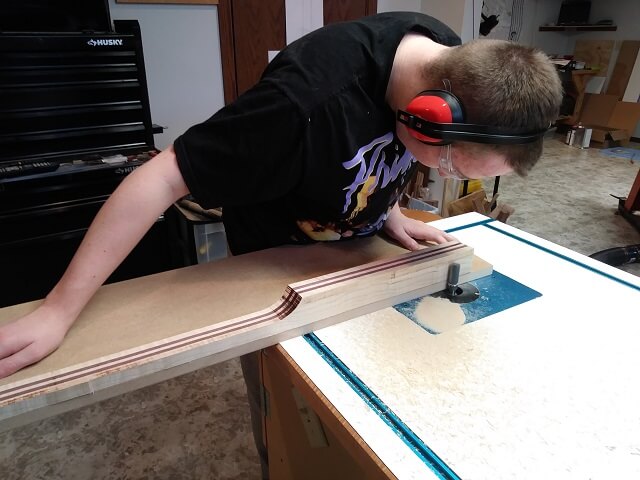
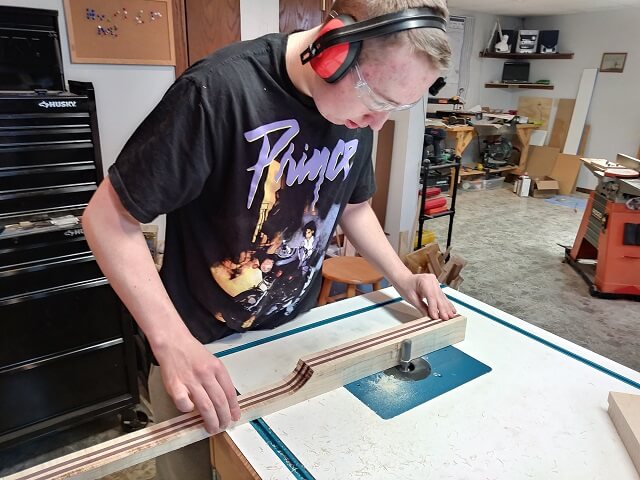
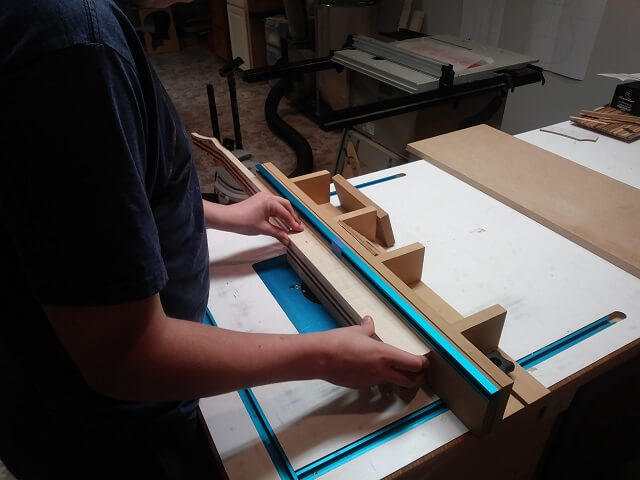
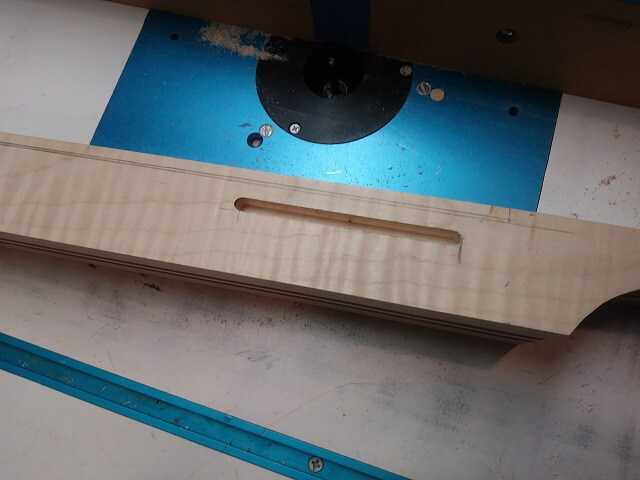
Next, the channels for the truss rod and carbon fiber strips were routed. I normally do this on the router table, but Tundra Boy had never done something like that and felt more comfortable using the plunge router with an edge guide. The end results were the same, so it was no problem to do it that way.
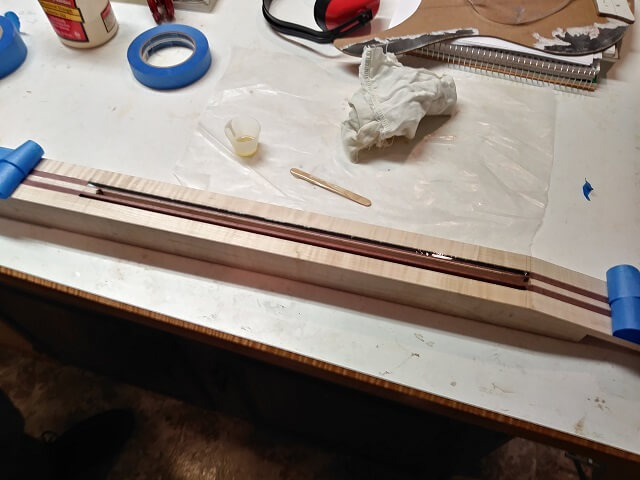
With the channels routed, the carbon fiber rods were glued in place using epoxy.
On a neck-through instrument, the neck blank is the full thickness of the body (if not a little thicker at first). So the next step was to cut the back of the neck area to the proper depth.
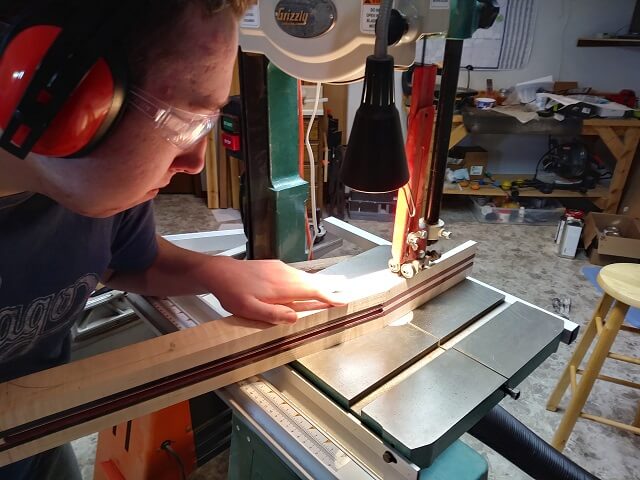
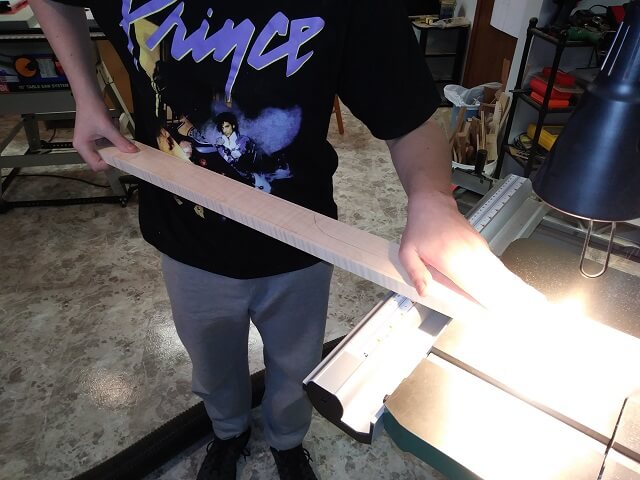
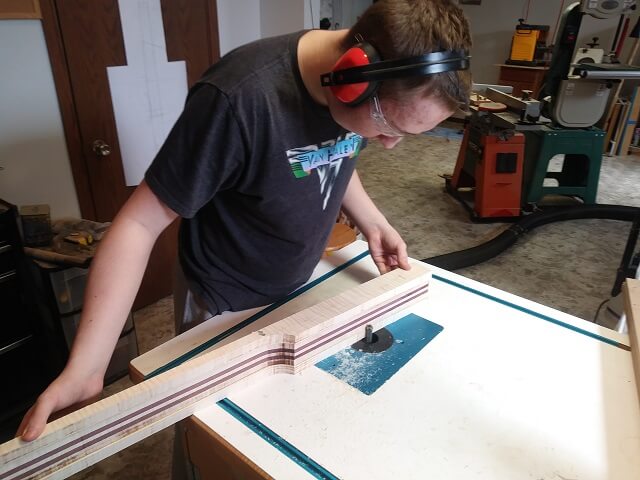
A guitar neck tapers, where it is narrower at the nut and wider at the body end. Tundra Boy cut the sides of the neck to match the taper at the band saw, then cleaned up the cuts using a straight board and a flush trim bit at the router table.
The neck blank wasn't wide enough at the headstock end, so he glued on a couple maple "ears" to give it a little extra width in the places where it was needed.
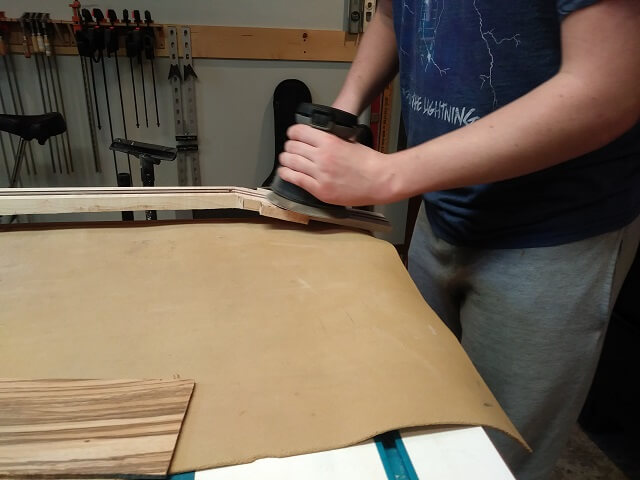
After the glue dried, the "ears" were sanded flush to the face of the headstock.
Next, the piece of zebrawood was glued to the face of teh headstock.
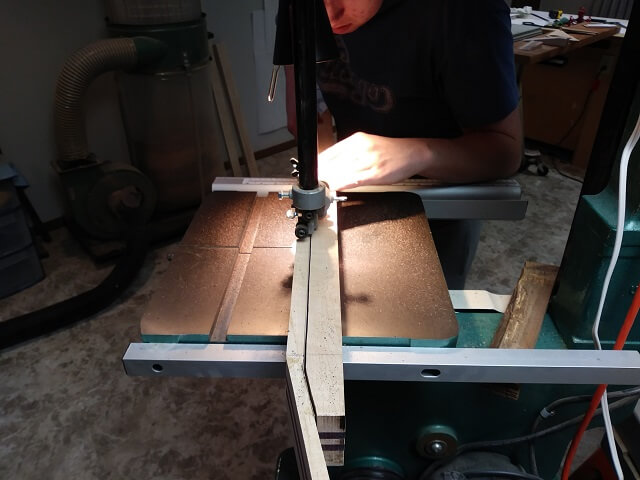
To cut out the headstock, the shape was traced on the back of the workpiece. Tundra Boy then cut it out at the bandsaw, taking care to stay outside the lines.
Using the spindle sander, the headstock was sanded to final shape. This also removed the marks left by the band saw blade.
All was going pretty smooth up until this point, when we hit our first big "oops." There's always an "oops" right? In this case it was a big oops.
When sizing a neck blank for a neck-through instrument, the blank has to be at least as wide as the width of the end of the fretboard. We had drawn out a full sized plan of the guitar and had it hanging on the closet door in the shop. Our neck blank was exactly the width shown on this plan.
Unfortunately, when drawing the plan the wrong bridge width was used. Our plans had a bridge width almost 3/4" too narrow. This caused the end of the fretboard on the plan to be much narrower than it needed to be in real life.
Oops.
Well this was a bit disheartening, especially for the Tundra Boy. I have made so many woodworking mistakes over the years that it disappointed me, but I've almost come to expect the adversity in every project. Tundra Boy, however, was really heartbroken. In addition to the neck being useless in its current state, he was also working on the fretboard concurrently and was pretty much done with it. That fretboard was now useless as well.
We discussed our options, the most obvious of which was to start over from scratch using the correct dimensions. He didn't like the idea of throwing away the lumber he had picked out, and really didn't like the idea of throwing away the hours of work he had already sunk into the current neck.
I chewed on it for a couple of days, then came up with a solution as to how we could fix it. My solution involved gluing on another piece of maple on each side of the neck to make it wide enough. This seemed like an obvious thing to do, but the challenge was that the sides and back of the neck were no longer straight. I had a plan however...
So the first thing we did was fix the plan to account for the correct bridge width. And you can bet that we triple checked it and then some to make sure our measurements were correct. From there, on the nut end I measured the distance from the center of the neck to the edges (we had the nut width correct, so no wood would have to be added higher than the nut.) I then marked this same distance from the center on the other end of the neck blank, and drew a line. Basically we would start by narrowing the entrie neck blank to the same width as the nut. Tundra Boy made these cuts on the bandsaw, staying just outside of the line I marked.
A freehand bandsaw cut isn't smooth enough to glue against. We taped a jointed edge of an MDF board to the neck, making sure the jointed edge was exactly on the line I scribed. This left a little bit of the rough wood hanging over. Tundra Boy then used a flush trim bit on the router table to cut the neck perfectly flush and straight using the MDF board as a guide.
This process was repeated on the other side of the neck as well.
The router bit wasn't tall enough to flush trim the entire depth of the body end of the neck in the first pass, so the MDF template was removed and the process was repeated using the newly trimmed portion of the neck as a template.
The new pieces of maple that will be glued onto each side of the neck were cut from a larger board.
Rather than trying to wrestle gluing the two sides at the same time, first we glued a maple piece to one side. You can see that we intentionally left the edge of the board a little proud of the existing neck. We'll trim the board flush after the glue is dried.
Then we glued the maple strip to the other side of the neck.
After the glue had dried, we used a flush cut bit in the router table and cut the two maple pieces flush with the original neck shape. We did this on both the front and back sides of the neck blank.
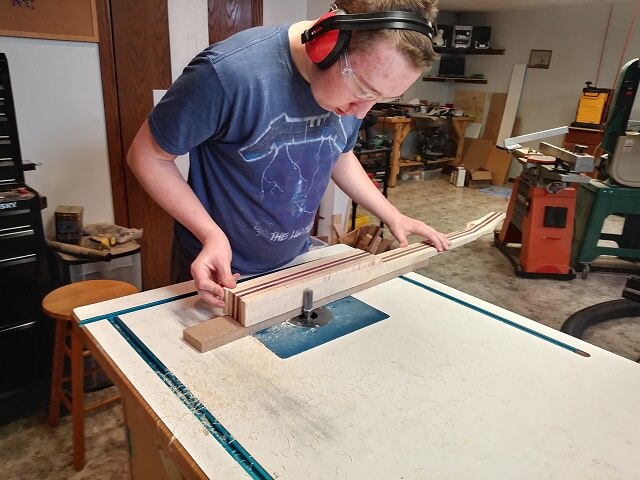
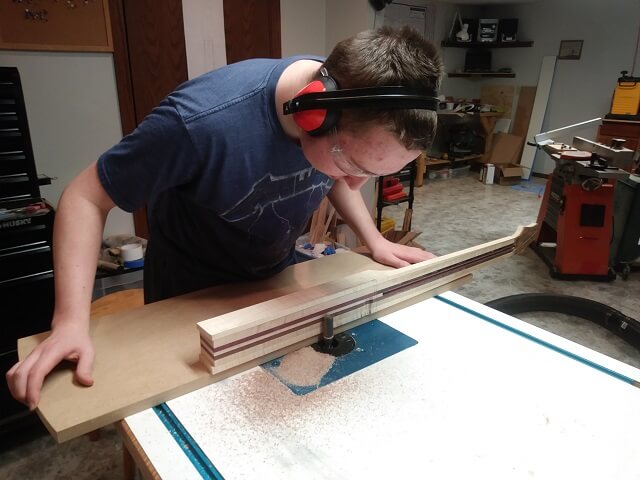
We now had a neck blank sufficiently wide enough to match the corrected plans. The Tundra Boy once again tapered the sides of the neck using the bandsaw. This cut wasn't the precise final cut that would get used, it was just to take down the excess and get about 1/16" from our scribe line.

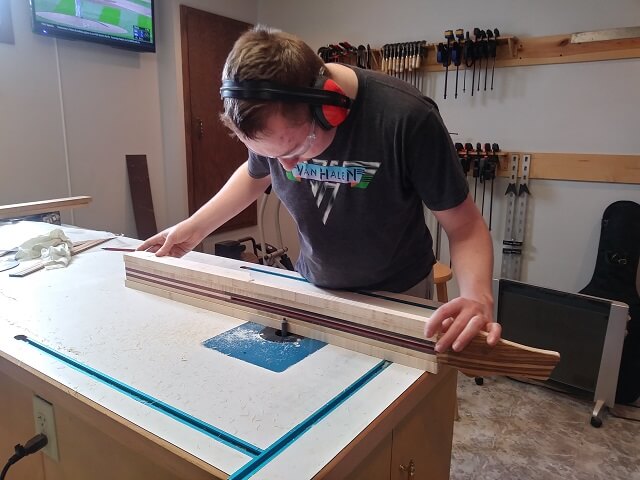
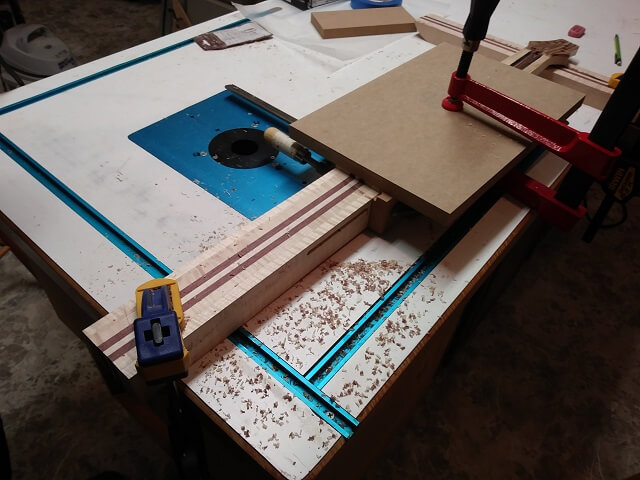
The final precise tapering was done by taping the neck to a straight jointed piece of MDF and using a flush cut bit at the router table. This produces perfectly straight edges on each side of the neck.
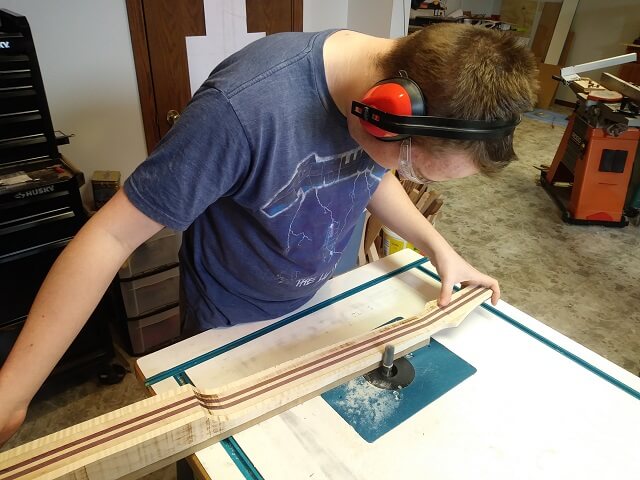
The pieces of maple we added also made the body side of the neck too wide, so we used the flush trim bit and a straight edge to thin those as well.
And like before, the router bit wasn't tall enough to cut the whole body edge in one pass, so we removed the straight edge and ran it through the router table again to complete the cut.

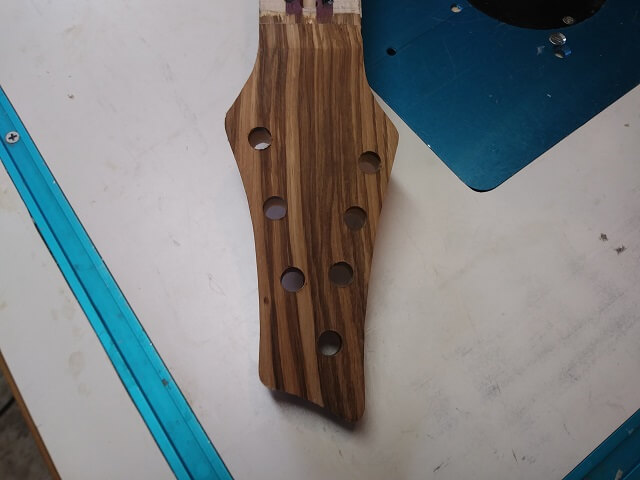
Finally, we are back to the point we were at before we hit our snag! The neck was salvaged. We could start making progress again. Tundra Boy drilled the headstock holes for the tuning keys.
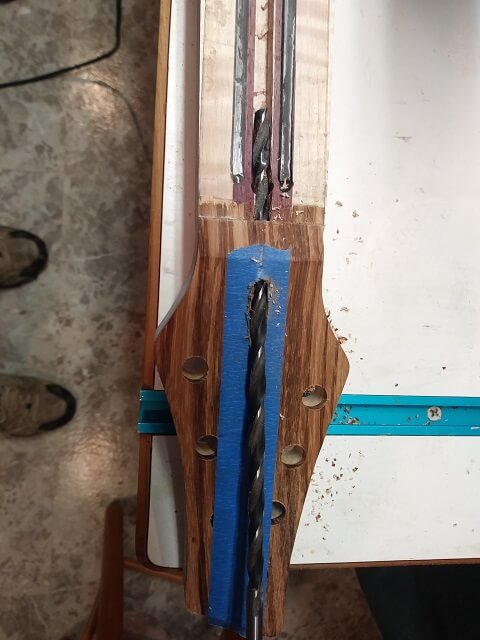
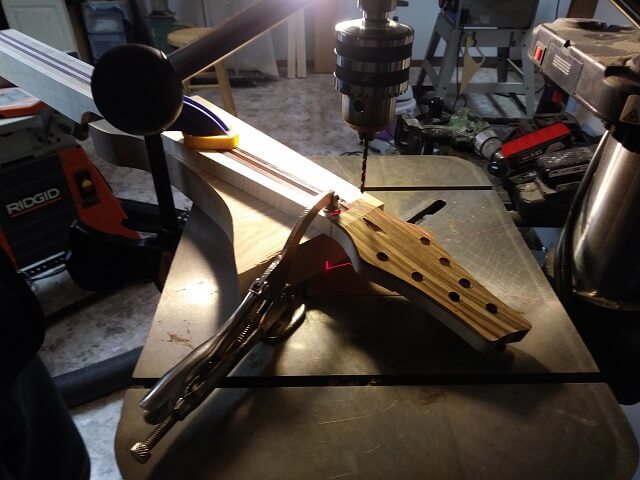
When the zebrawood face plate was glued to the front of the headstock, it covered up the trussrod slot and left us with no way to get a wrench in to adjust the rod. So, we needed to drill an access hole to facilitate future adjustments. This was kind of a tricky hole to drill, as the bit had to go into the wood at the same 12 degree angle of the headstock.
The Floyd Rose nut is held in place with two bolts that attach from holes in the back side of the neck all the way through. We drilled those holes, which were suprisingly tricky. In fact, we got one of them wrong and had to fill the hole with sawdust and epoxy and then re-drill. After all of this, I was digging through the box of parts and learned that the nut also came with two wood screws so you could use a surface mount option. Doh! That would have been a lot easier had I known that before we put two big holes in the neck.
The body end of the neck was still a little thick, so we sent it through the drum sander until it was at the desired size.
One thing that's easy to forget on a neck-through instrument is how the neck pickup wires will get into the control cavity. We decided to pass the neck pickup wires through to the hole for the bridge pickup, and then run both pickup wires into the control cavity from there. To allow the wire to pass between the cavities we routed a channel in the side of the neck.
This channel will sit low enough below the neck face that it won't interfere with the body inlay this guitar will have, but high enough that the ends will get exposed when we route out the pickup holes. Another trick is to stick a piece of drinking straw in the slot before the body wings are glued in place. This will keep the channel from completely filling up with glue and blocking our wires. It also gave the Tundra Boy and I an excuse to go to McDonalds for shakes.
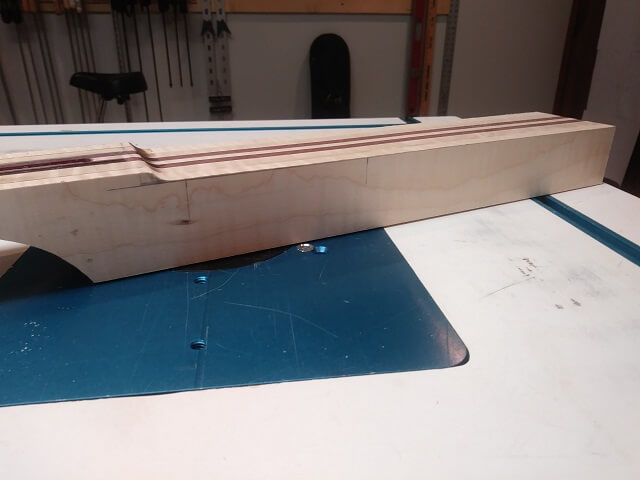
This guitar will not have a neck angle, but similar to other guitars with no neck angle (Strats, Teles, etc.) the face of the neck below the fretboard needs to be about 1/8" higher than the face of the body in order to account for the bridge height. To accomplish this, we used the router table and a flush cut bit to remove 1/8" from the face of the body side of the neck.
Here you can see the results of removing that portion of the neck blank. The round router bit left an area on the upper side that rounds up to the where the fretboard will be glued.
To remove this rounded area and square up this recess, we clamped a straight edge across where the end of the fretboard will sit, and then used the router and a flush cut bit to remove the wood.
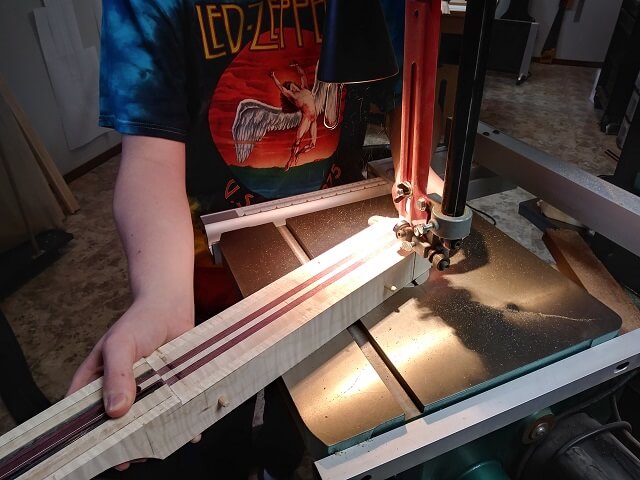
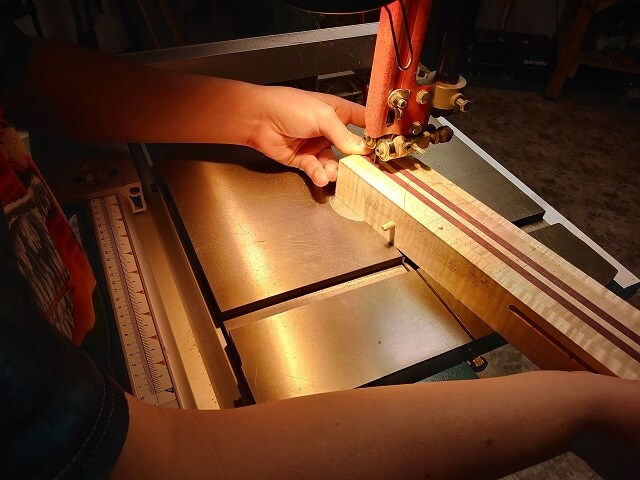
The very last thing that needed to be done to the neck before it was attached to other parts was to cut and shape the end. The Tundra Boy cut off the excess using the band saw, then did the final shaping of the end of the neck blank at the spindle sander.
The neck is as far as it will go until we glue more parts to it. Continue on and see how the fretboard was built.
Return To The Main Guitar Gallery
This page last updated on 05/19/2020