


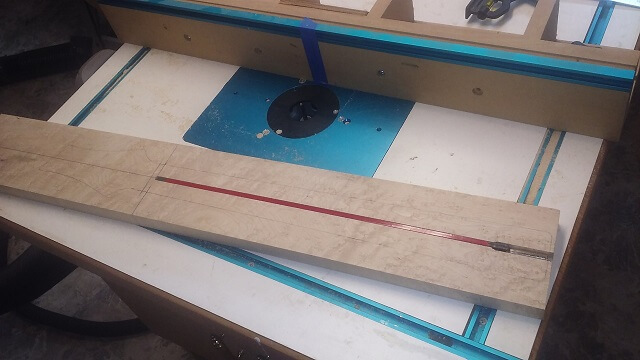
Because I'm using a single piece of wood for the entire neck, this build went a little faster than most. I began by planing one face of the neck wood perfectly flat. Then I marked out all of the lines and measurements.
With that done, I routed the channel for the truss rod. You can see the rod sitting in place for a test fit. Like a vintage instrument the adjustment will be done on the neck heel end. Unlike a vintage instrument, this is a two-way rod which can not only increase relief, but can also correct a backbow.
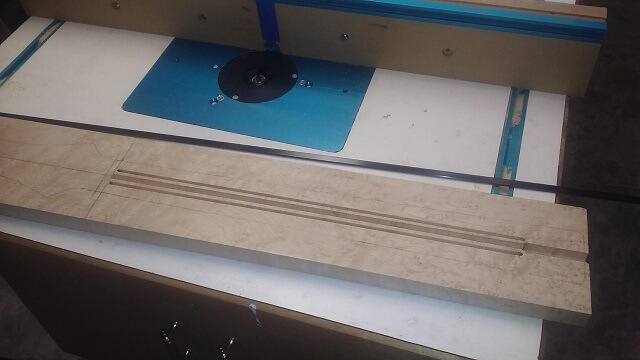
Next, two channels were routed to hold the carbon fiber rods. This is another area where I deviated from the vintage specs. However, once the fretboard is glued in place these rods won't be seen. The increase in neck stability will definitely be appreciated, though.
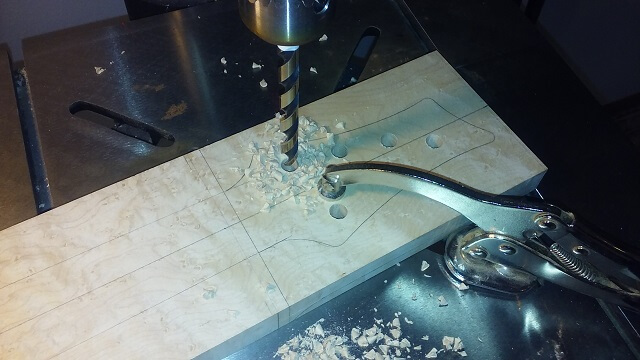
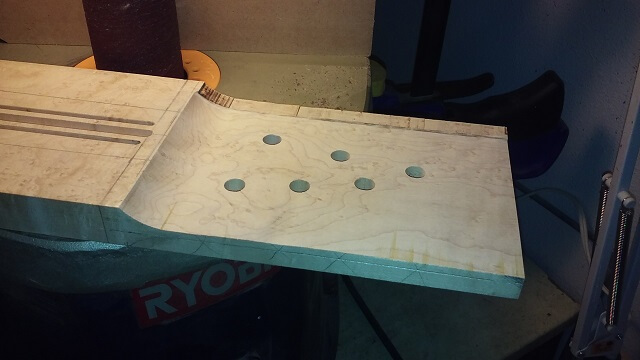
Six holes were drilled for the tuning machines. Here's another area where I'm deviating from vintage specs. Fender Telecasters use a six-in-a-row tuner configuration. I'm using my own headstock shape (because this is my instrument, not Fender's) which utilizes 3+3 tuners.
Instead of an angled headstock with a scarf joint like many of my other instruments, on this guitar I'm cutting a recessed area for the fretboard face. While the two methods have a different look, the end goal of both is the same: make the tuning machines lower than the nut so the strings break at an angle to prevent buzzing.
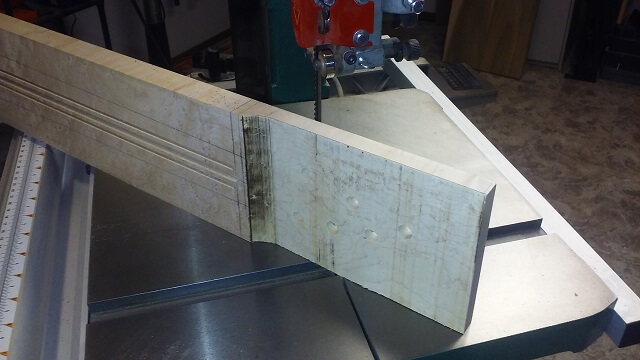
The band saw left a rough surface and a burnt area around the transition to the face. This was sanded smooth at the oscillating spindle sander.
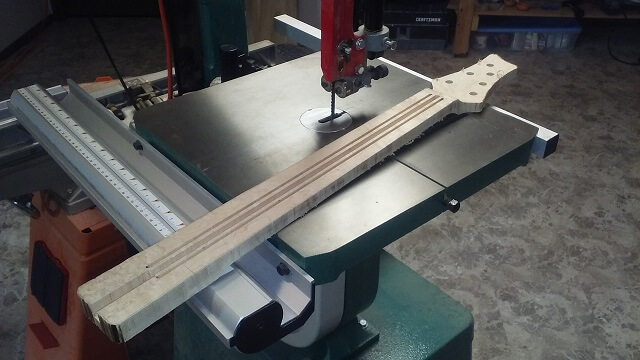
Now the back of the neck was cut to width. Again, this cut is rough because of the band saw, but I'm not worried about smoothing it out as once the rounded neck shape is carved it won't matter if the back started smooth or rough.
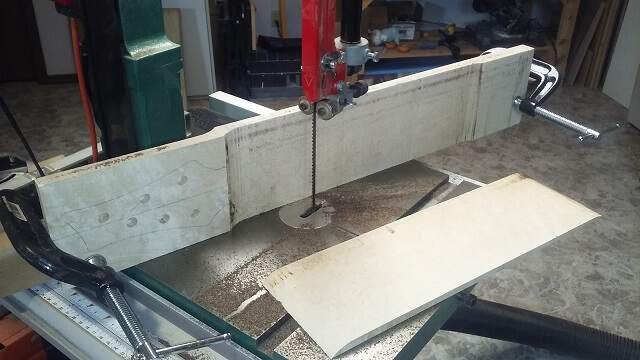
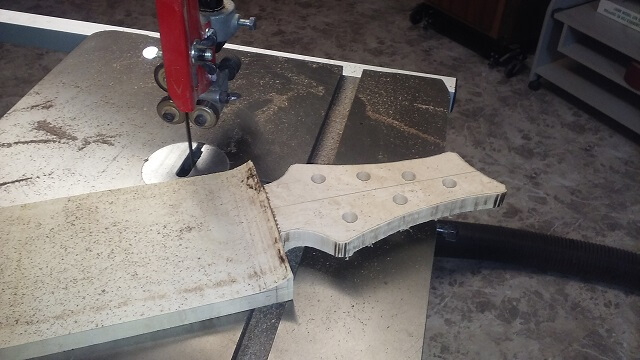
I cut out most of the headstock shape at the band saw. I wasn't getting it perfect, just roughing it out.
Then I cut the rest of the neck to rough shape. Again, I stayed about 1/16" outside of my marked line.
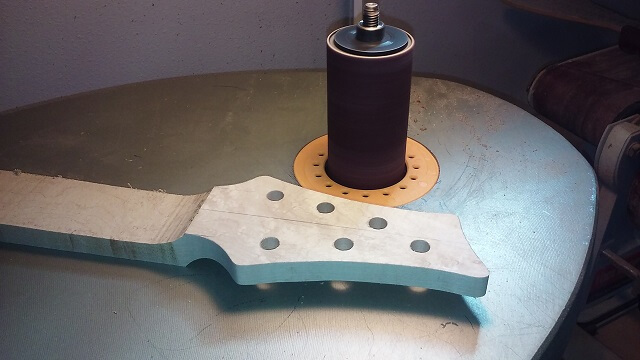
Now I was able to sand my headstock to final shape using my oscillating spindle sander. I find the OSS gives me better results than using a template/flush trim router bit to do the final shaping.
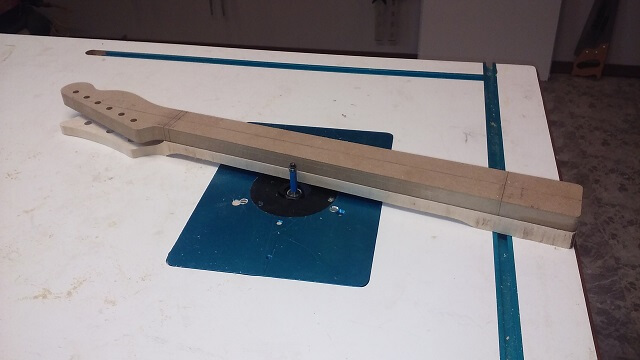
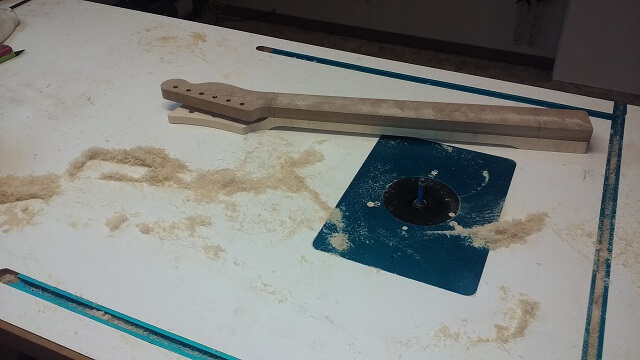
The rest of the neck, however, needed to match my template exactly. I did this by taping my neck to the template with double-sided tape and then running it through the router table with a flush-trim bit installed.
At last it was time to use some glue. This is the longest I've gone on any neck build without using any glue. The carbon fiber rods were glued in place using slow-set epoxy.
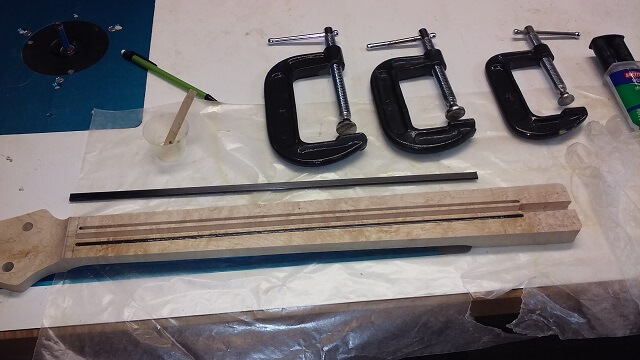
Once the epoxy dried, I leveled any glue sitting proud of the face of the neck with a scraper. Then I got ready to glue my fretboard in place. This too will be glued with slow-set epoxy.
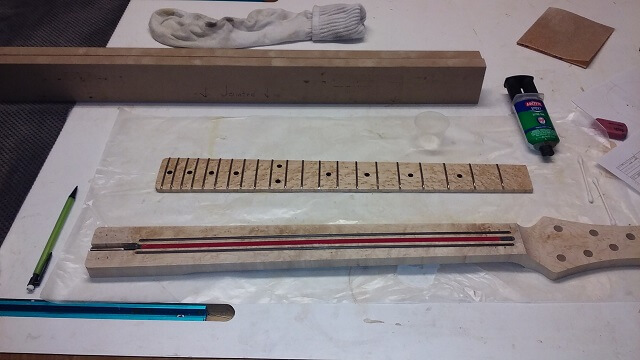
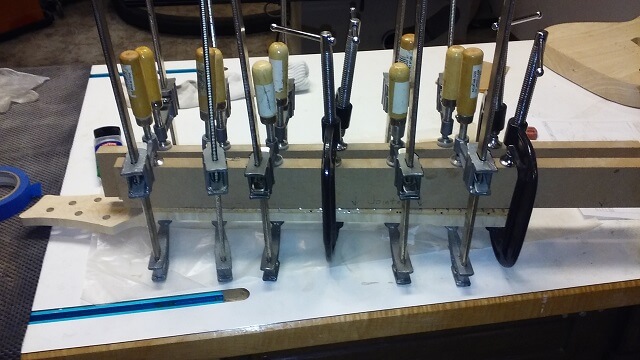
Glue was spread across the face of the neck, taking care not to let it seep into the truss-rod channel and seize things up. Then the fretboard was set in place and clamps using cauls between the face of the fretboard and the clamps. The cauls serve multiple purposes. They protect the face of the fretboard from getting dented from the clamp face. They distribute the clamping force more evenly. And finally, because the cauls are jointed perfectly straight, they should hold the neck perfectly straight while the epoxy dries.
It was now time for my favorite part of neck building. Carving the back of the neck. I thought it would be interesting to shoot a video of the carve, then include it here in a sped-up format so rather than just looking at the pictures you could actually see the process. After viewing the video I discovered it was as interesting as watching paint dry. Plus, the light maple wood didn't really make it easy to see the neck take shape. So I scrapped the video and you'll just have to look at the (few) pictures I took.
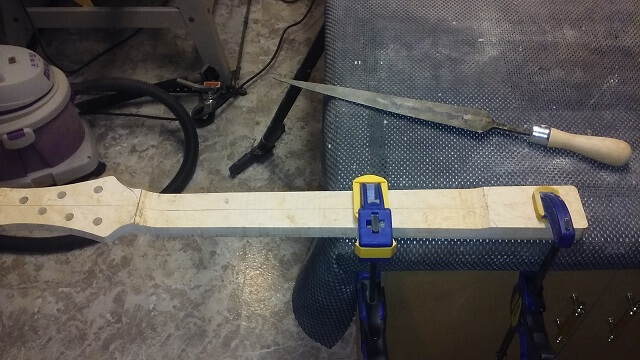
I used my dragon rasp to do the shaping. The rasp leaves the wood fairly smooth, but not smooth enough.
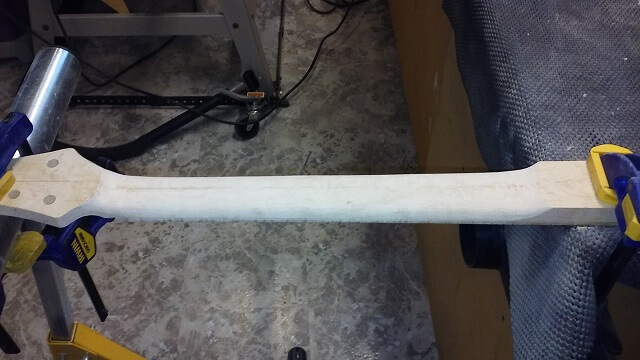
To finish, I spent some time with sandpaper to bring the neck to its completed state.

Now that all of the construction is complete, it's time to apply a finish and put it all together.
Return To The Main Music Gallery
This page last updated on 04/06/2020