


The Telecaster is an iconic instrument. The instrument is simple in its design and construction, but within that simplicity is much of its success. It is a no-nonsense workhorse that can be found in nearly every genre of music. It was also an instrument designed for easy mass-production. Because of this, it is one of the most simple instrument builds I've done.
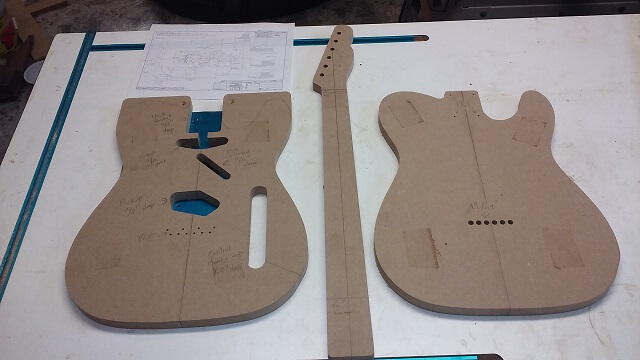
In fact, most of the work comes before any construction is started, with the creation of templates. I spent a good chunk of time at the beginning creating templates out of MDF to build this instrument. By far the most intricate template work I've done to date. So if I want to build more Telecasters in the future I should be able to crank them out pretty quick.
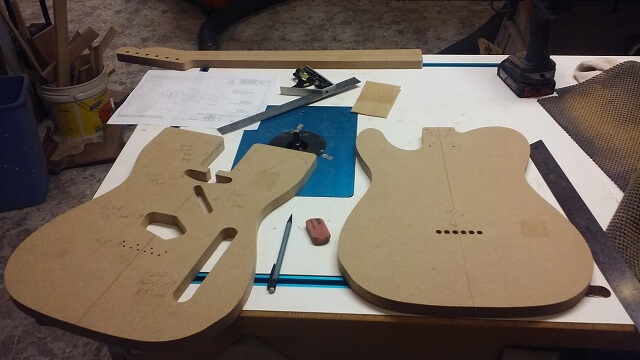
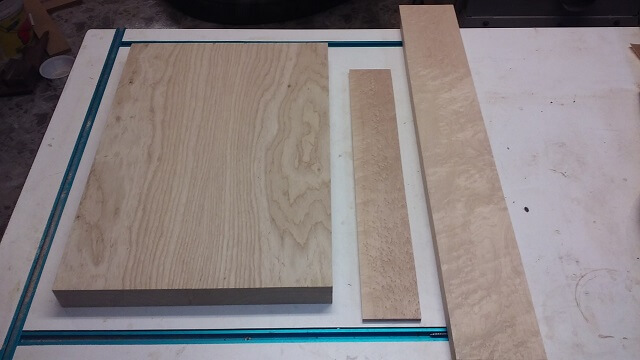
I wanted this to be a very traditional looking Tele, from the early 50's era. The Teles of that time period had ash bodies with maple necks. So I purchased some wood from a supplier I'd used before located in Canada. They shipped me a very light Swamp-Ash body blank, a birdseye maple neck blank and a birdseye maple fretboard blank.
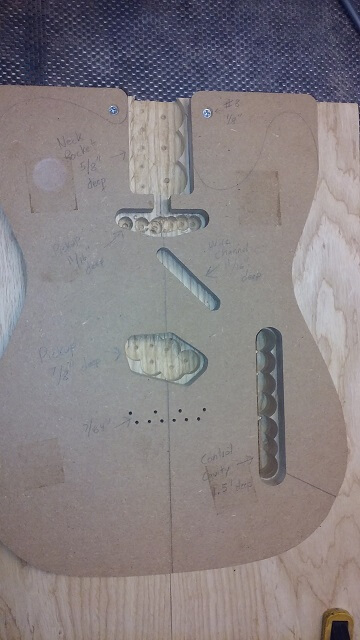
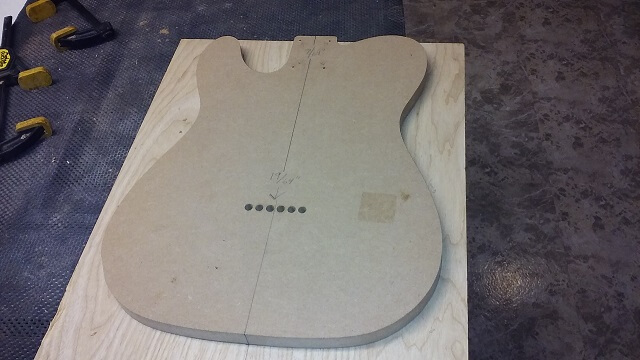
I began construction of the body by attaching my template to the swamp ash blank. This template has all of the areas on the face of the guitar that need to be routed out. The different spots needed to be routed to different depths, and I had indicated the depth on the template for easy reference.
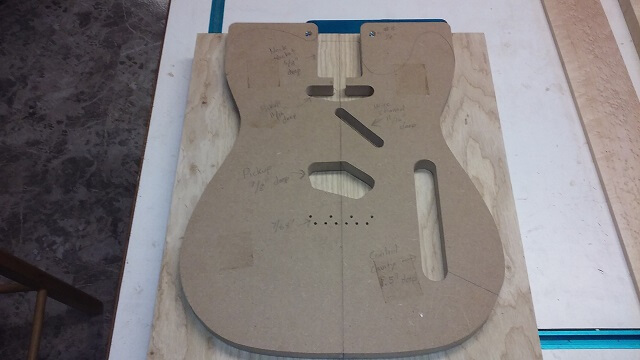
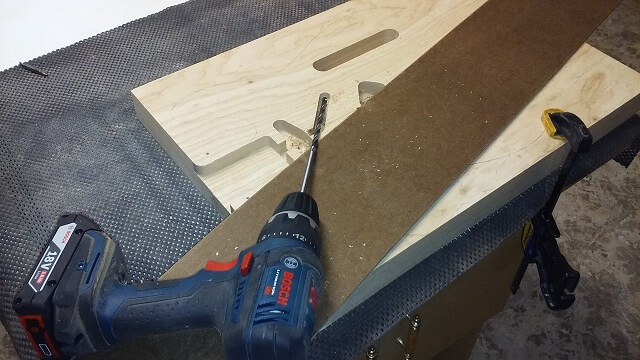
Before I grabbed my router, though, I took the piece over to the drill press and drilled out most of the wood that will be removed. This will make it easier on my router bit and cover me with a lot less sawdust.
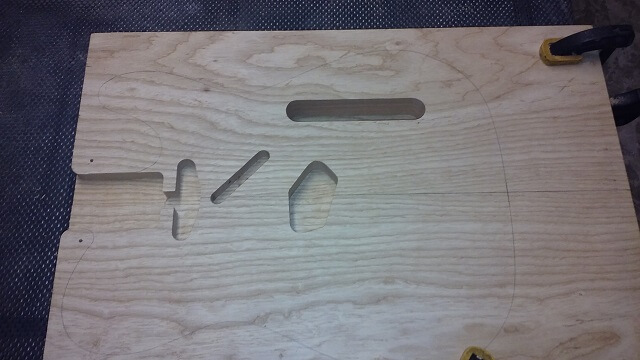
Then I chucked up my pattern cutting bit in my plunge router and finished routing all of the areas. Here's the completed routes after the template was removed.
One area that couldn't be routed was the holes to run the wires from the neck pickup cavity to the wiring channel to the control cavity. To finish these I used a long aircraft bit that allowed me to drill a near-horizontal hole that will allow the wire to be run between the routed areas. I set a piece of scrap hardboard on the face of the guitar to keep me from gouging it up should the spinning drill chuck come in contact with the guitar front.
The template was re-attached with the screws and the holes were drilled that will let the strings pass from the back of the guitar through the bridge in the front.
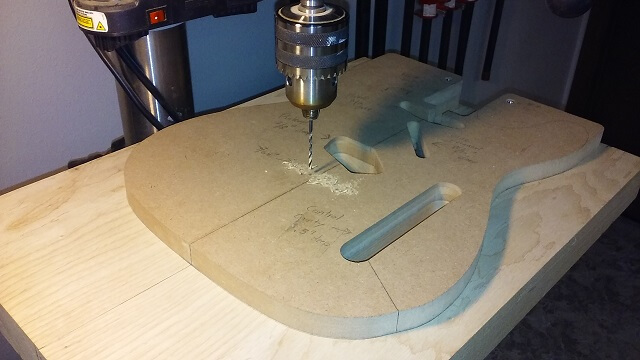
Then the template on the opposite side was attached and the holes for the string retainers were drilled using the holes in the template as a guide.
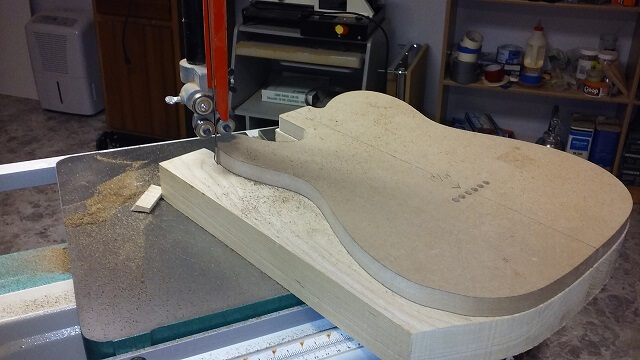
With the template still attached to the rear, I used it as a guide to saw the body to rough shape over at the band saw. I tried to keep the blade close, but made sure I didn't accidentally saw into my template and spoil it for future use.
Leaving the template attached, I then routed the guitar to final shape using a flush cutting bit at the router table.
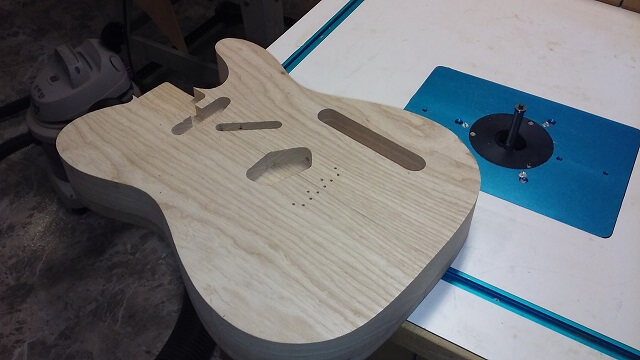
The body edges of a Telecaster have a slight 1/4" round over. This was done on both the front and back of the instrument.
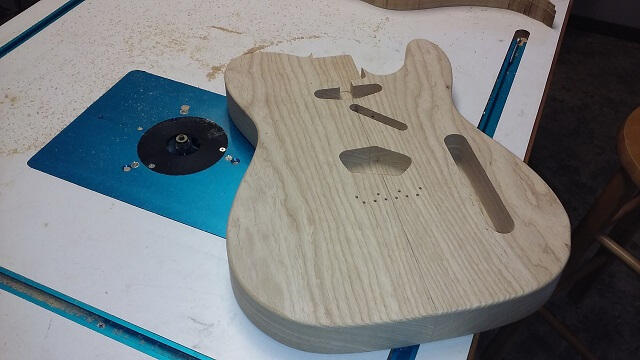
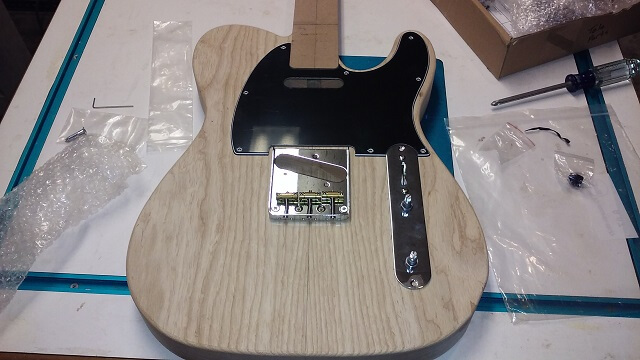
And that is pretty much it for the construction of the body. Like I said, it was pretty simple once the templates were created. A few more holes needed to be drilled for the output jack and the strap pegs, but that went quickly and really wasn't photo-worthy. I then laid out the hardware on the front of the instrument and drilled those holes as well.
This is as far as the body has come at this point in time. However, there are other parts of the instrument also being worked on at the same time. Here's where I am building the fretboard.
Return To The Main Music Gallery
This page last updated on 06/28/2018