


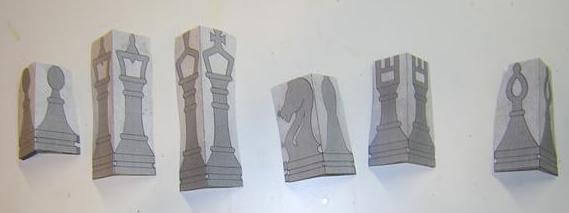
The first thing I had to figure out was what method to use to construct my chess pieces. I didn't have access to a lathe (nor any experience with one) and don't have much in the way of carving experience. I came across some pictures of a great looking chess set that was made with a scroll saw. The plans came from a book titled "The Art Of The Scrollsaw". I bought a used copy of the book off of Half.Com for $5 specifically to get these plans. I made photocopies of the plans and cut them out. Because these are 3D pieces, the plans were two sided, so I folded each plan down the center. Here's my pile of patterns:
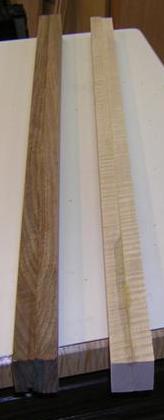
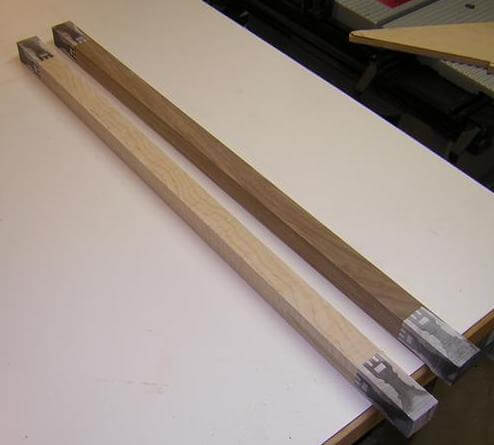
The plans called for the pawn pieces to be 1 1/8" square, and the remaining pieces to be 1 1/4" square. I didn't have easy access to stock thicker than 4/4, so I glued up some blanks from which I would cut the pieces. The following pictures just show the 1 1/4" blanks, but the process is the same for the 1 1/8" blanks.
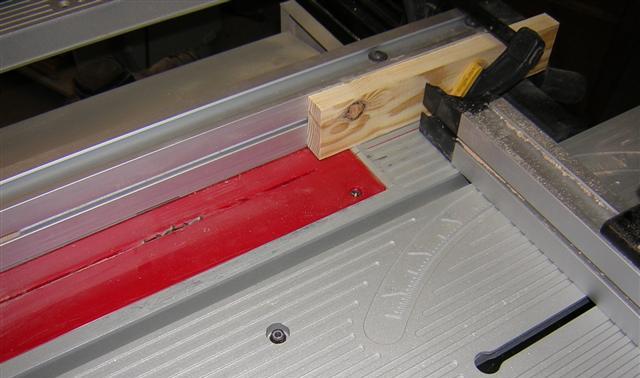
I had a fair amount of squeeze-out after doing the glue-ups, so I took a scraper and knocked off the chunks on one side of each blank in order to give me a clean face to run along the fence of the table saw.
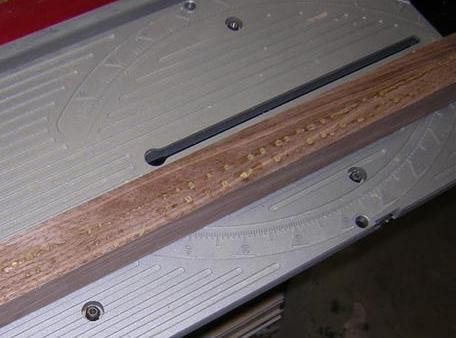
My pieces needed to be narrower than the 1 1/2" width I now had with the stock, so I had to trim them down. Rather than just cutting one side off, however, I thought it would look better if the glue line ran down the center of the piece. I carefully measured and marked the pieces, then cut them to size so that the glue line would be centered.
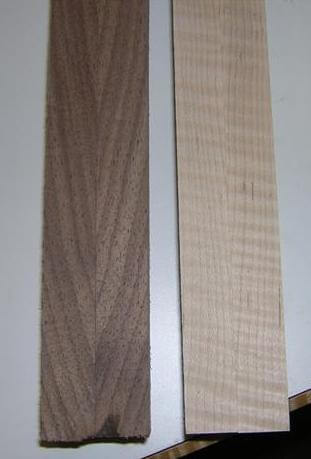
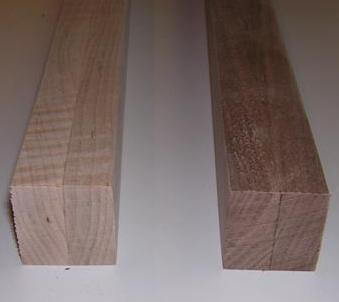
Squaring off the other dimension was easier, as I didn't have a glue line to worry about. I placed the scraped side of each blank against the fence and trimmed off just enough of the side to give me a clean face. Then I set the fence to final width, flipped the blank over and trimmed the other side of the blanks. This gave me perfectly square blanks of the 1 1/8" and 1 1/4" sizes I needed. For some reason, the camera angle in the pictures below make the blanks look rectangular, but believe me, they're square.
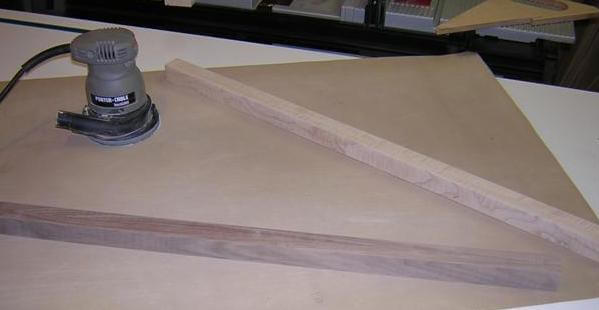
Next, I spent some time sanding the blanks to remove any saw marks that appeared after cutting them square.
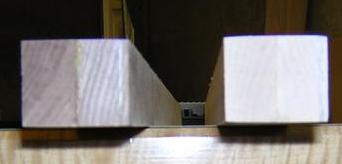
The ends of the glued up blanks weren't yet square...

...so a quick chop on each end with the miter saw took care of this problem.
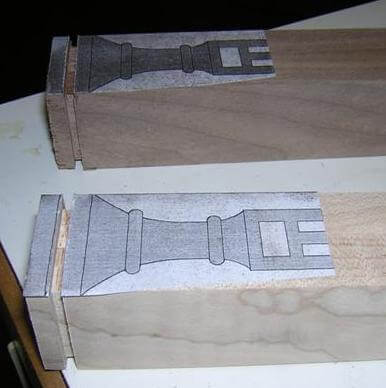
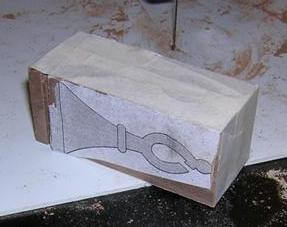
Now it was time to start creating pieces out of the blanks. I glued one pattern to each end of the blanks using spray adhesive. I took care to make sure the end of the pattern was flush with the end of the blank, and that the pattern was oriented with the top of the piece towards the center of the blank. In the pictures below, you can see the patterns for the rook glued to the blanks.
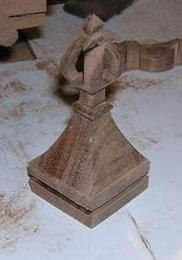
The pieces have a decorative groove cut around the base. I did this by setting my table saw blade to cut 1/8" deep, then set the fence to cut the groove 1/4" from the bottom of the piece. I used a stop block clamped to the fence to align the cut, then slid them through using the sliding miter table.
I made the cut on all four sides, for each end of the blanks where I had glued on a pattern.
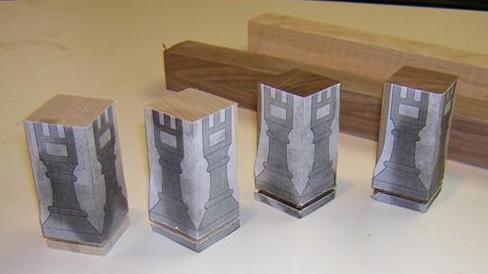
Next, I cut each piece free from the blanks using my miter saw. I cut the piece flush with the top of the pattern.
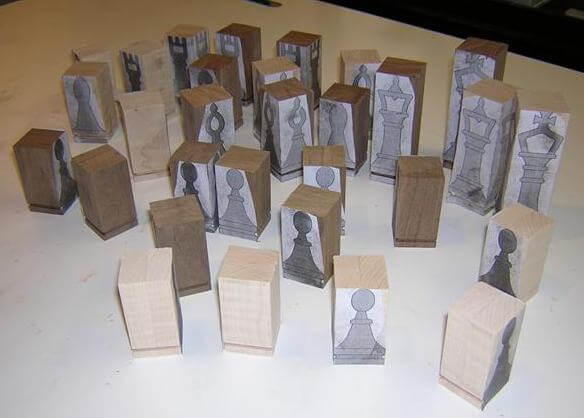
I then proceeded to follow this process until I had all of the pieces cut from the main blanks.
Some of the pieces had places where I would have to make an inside cut on the scroll saw, so I used the drill press and drilled all of the holes that would allow me to slide the blade through.
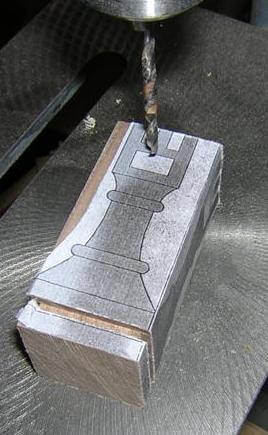
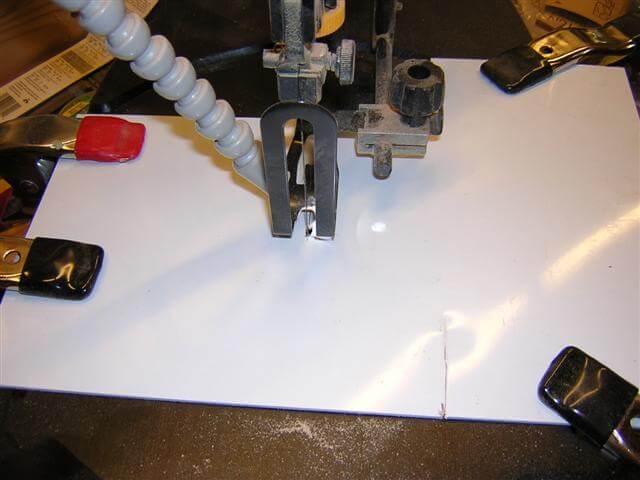
Because these pieces aren't very long or wide, and the throat plate on my scroll saw sits about 1/16" lower than the table, I created a zero-clearance top for my saw out of an old piece of poly-board I saved from the dumpster at work. It simply clamps in place when I need it.
Now it's time to actually form the pieces. Here's an example using a bishop. I pick a side of the piece with which to start.
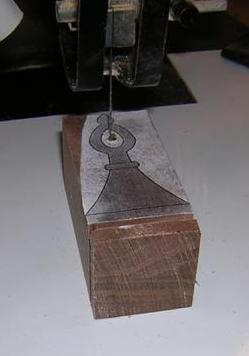
If the piece has an inside cut, I remove that first.
Then I cut one side of the piece, following the line, to remove the waste. It is important at this point to save all of the waste pieces!
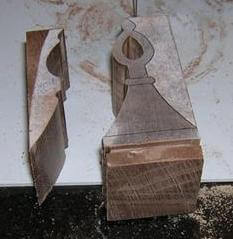
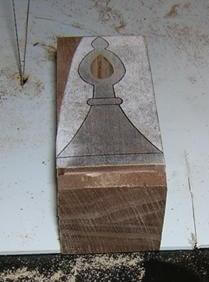
Then I remove the other side. One half of the chess piece is ready!
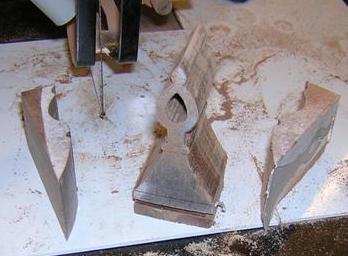
Here's where saving the waste pieces is necessary, as I tape them back in place. This allows me to get a flat surface when I rotate the piece 90 degrees to make the next set of cuts. One thing to be careful about is to not tape over the pattern on the side you haven't cut yet. This seems to be obvious, but more than once I found myself peeling tape off the piece because I was thinking about something else instead of paying attention to what I was doing.
Now the piece is rotated and the next cuts are done. Note that if this side also had any inside cuts, we'd want to do those first. With my bishop patterns, only one side had an inside cut on the head; the second side has a small notch that allowed me to saw it out without drilling a hole.
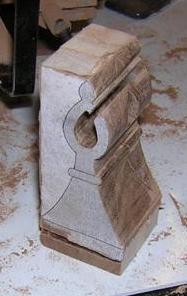
And then we make the final cut on the second side. After peeling away the tape and excess pattern, we have a (nearly) completed 3D chess piece.
After the piece is cut, then we have to spend some tedious time sanding everything to make it ready for finishing. I'm planning on using a spray poly once all of the pieces are cut and sanded.
One thing I ran into after cutting the first piece out of maple, was that the blade burned the snot out of the light wood. I had to spend a lot of time sanding to try and remove the burn marks, and even then they weren't completely gone. I figured out two things that would alleviate this:
-
First, maple is really hard on scroll saw blades, especially when cutting 1 1/4" stock. I would change my blade for every maple piece, as the sharper blades burned less. I can get 3 or 4 walnut pieces out of a blade.
-
Second, I did a little research on-line and discovered that if you use packing tape across the top side of the piece, most of the burning goes away. I'm not sure why this works, but I'll be darned it if didn't!
At this point the project really slowed down. It would take me somewhere between 1/2 to 1 hour per piece to do the cutting. This became pretty tedious, pretty quickly. As a result, I threw the uncut pieces in a box and moved on to other projects that gave me more immediate gratification.
Every so often I would open the box and cut one of the pieces, after which I would remember why I placed the project on the back burner. Finally, in 2013 after moving to a new house that tripled my shop size, the Tundra Boy started pressuring me to finish the set. So I resumed sitting at the scroll saw for hours at a time as I slowly whittled away at the project. I had a couple extra pawns so I let the Tundra Boy cut one out himself. After doing one and experiencing it first hand, he stopped bugging me about finishing.
At long last I finally got all the pieces cut out. Then I discovered the only thing worse than cutting all these pieces was sanding them. Tons of nooks and crannies. The burn marks on the maple pieces were particularly difficult, and in many places, impossible to remove. Again, the project got stuck in a box and I spent my time in more entertaining endeavors.
At a certain point at or around 2018 I realized I had about a half dozen unfinished projects sitting around the shop. A few guitars, a guitar pedal, a few assorted items and these chess pieces. I decided it was time to start knocking out all these old things I had in the hopper before I started anything new. So I resumed sanding.
There are so many little bumps, grooves and holes on these pieces that a person could spend the rest of their days sanding a chess set and never finish. I had to decide on an amount that was "good enough" and live with the less-than-perfect results.
At long last I finished sanding. I wasn't really "done" due to the reasons outlined above, I was just finished. Then I encountered my next challenge: how to apply a finish on these pieces that have so many intricate details. My normal preference of wiping on my custom blend of oil based polyurethane wasn't going to work. After a bunch of deliberation I decided that using spray poly was probably the least offensive method.
I took an old box to create a makeshift spray booth to keep from covering everything in my shop with poly. Then I lined up the pieces and started spraying.
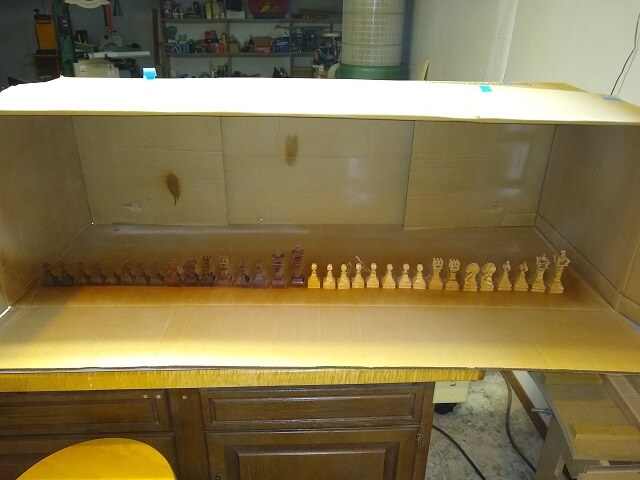
It took a lot of time to spray the finish. Not a lot of active time, however. Most of the time was waiting 72 hours for the poly to cure before I could rotate the piece and spray another coat. I also had to lay the pieces on their sides so I could spray the bottoms as well. All-in-all, it took a couple weeks to fully complete spraying the finish.
The Tundra Boy wants me to make a set of checkers as well. Maybe in 16 more years I'll get around to it.
Return to the completed photos of the chess set.
Return To The Main Wood Gallery
This page last updated on 06/02/2020