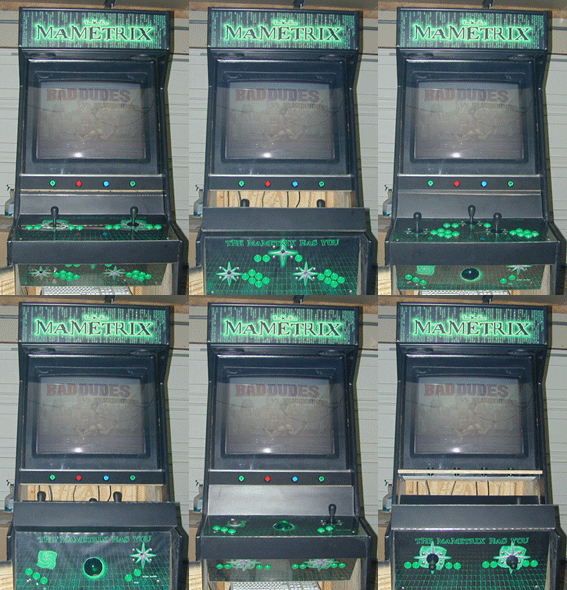
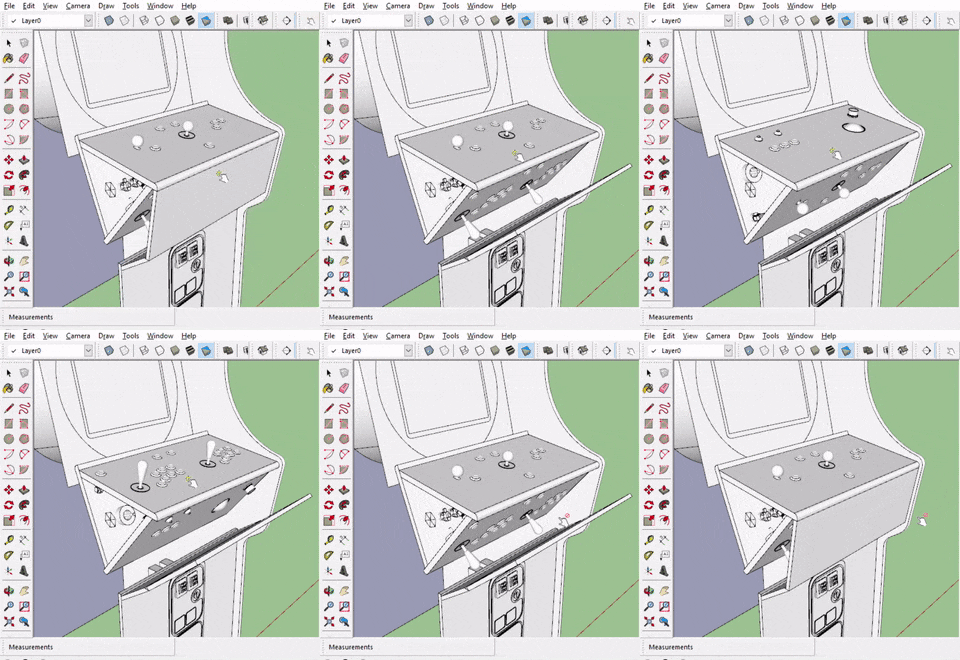
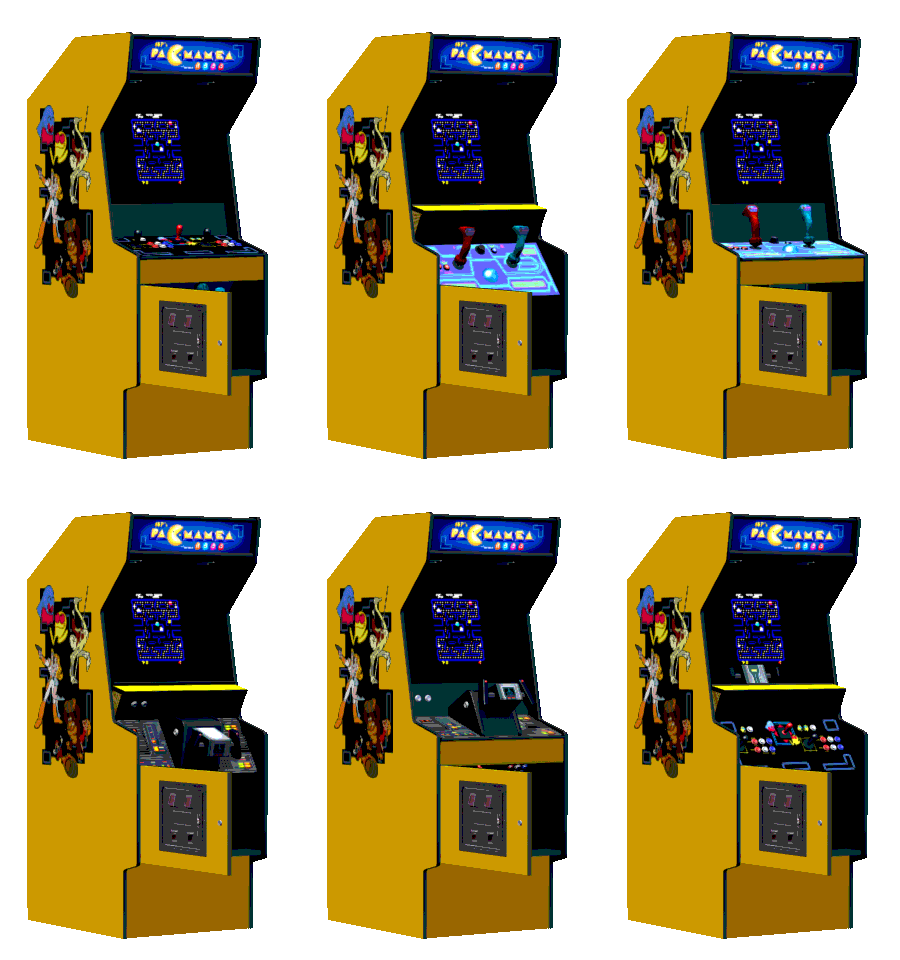
When I started this project I began by searching the web and looking at cabinets made by other enthusiasts. There are a wide variety of them out there. Some look world class, and some look obviously crude. My cabinet needed to be able to sit alongside the furniture in my house without drawing the ire of the Tundra Girl. Because of this I wanted mine to be closer to the world class end of things. However I'm also not fooling myself by thinking it will be the greatest arcade cabinet ever made.
I spent a lot of time determining what I liked and didn't like about the different cabinet options I saw on the Net. There are lots of cabinet styles to choose from: traditional upright, cabaret, bartop, cocktail, sitdown, etc. Rather than re-inventing the wheel, here's a web site that explains the different options: Arcade Cabinet Types
After weighing all the options I knew I wanted to build an upright. It seemed like the best fit for the space I had available. With that decided, I then put together a list of features I knew I wanted, and features I really didn't care about having.
-
To be able to run the MAME and Visual Pinball/PinMAME emulators. Those are the games I am most interested in playing. Support for any additional emulators would be cool, but not my main goal.
-
Close to traditional arcade cabinet size. A little shallower front to back was OK, and maybe even desired to make it take up less floor space..
-
Wide variety of control options. The ability to have the controls available to play any game, without having to compromise (ever tried to play Tempest with a joystick? Yech!)
-
In what seems a contradiction to the above requirement, I didn't want the control panel cluttered with tons of controls I didn't need for a particular game or positioned in odd/awkward places. For example, I didn't want to have to reach over the top of a steering wheel control to use a joystick.
-
Buttons mounted on the side so I could play virtual pinball with my hands in a realistic position.
-
A shell (user interface) that makes it easy for players to select games, and mostly hides the fact that they're using a regular old computer. I wanted it to be intuitive for anyone to use the cabinet.
-
A hidden keyboard drawer. I would need a keyboard and mouse to do administrative things, but when I wasn't using it I wanted them to be out of the way.
-
An easily visible power button to turn the whole system on and off with one press. I didn't want to have to flip multiple power switches or hunt around to figure out how to turn it on/off.
-
Speakers with a subwoofer. I'd like to thump while I play. I wanted the volume knob to be easily accessible so I can also turn it down and not wake others in the house during non-thumping hours.
-
Some lighting. I didn't want anything too crazy, but at least a lit marquee to give it a real arcade feel.
-
Cooling fans just to extend the life of the equipment.
-
Additional storage space in the bottom of the cabinet. Modern electronics are a lot smaller than the old machines, so there's a good amount of space in the bottom of the cabinet that could be made useful.
-
Casters so I could move the cabinet around by myself. At first I wasn't going to have them, then when I calculated that the completed game would weigh over 200 pounds, the Tundra Boy convinced me to include them. I think he just didn't want to have to help me whenever I wanted to vacuum behind it.
-
Playing modern games. I'm really not a "gamer", and I don't have much desire to use this cabinet to play COD, Fortnite or whatever the latest and greatest PC or console game might be. If I ever got that desire, I could play these games on the Tundra Boy's PS5.
-
Support for more than two players. I felt it would be rare I would even have two people playing the machine at once, so any more than that seemed like overkill.
-
A real coin box. Some people like it for the authenticity, but I felt it was too much hassle for what I wanted. Plus it would suck up a bunch of the storage space in the bottom of the cabinet.
-
Rotating screens. Some games originally had their screens oriented horizontally, and some had them oriented vertically. I've seen some people design their cabinet to allow the screens to rotate (sometimes even automatically based on the game they select.) That's pretty cool, but I decided it was a cost and effort I didn't want to bother with. Some games meant for a vertical screen might be a little smaller than the original, but I can live with that.
-
On the subject of screens, I didn't need an original arcade monitor. Some people like the authentic look of vintage tube displays, but I didn't value this enough to deal with the extra hassle, expense and weight of utilizing a vintage monitor.
-
Fancy LED lit buttons, joysticks, trak balls, etc. Pretty cool bling, but I could live without it.
-
Making this look like an heirloom piece of furniture. I love fancy wood and clear finishes as much as the next guy, but for this piece I wanted it to obviously look like an arcade cabinet.
In the above list of requirements, most of them are pretty straightforward. The "elephant in the room" of the list was the two seemingly contradictory items of a control panel with a wide variety of different types of controls allowing me to play any game I wanted, but uncluttered and not having controls positioned in uncomfortable places.
This pointed me in the direction of a modular control panel design. There are a bunch of them out there, some that look like they work better than others. Some people even have gone as far as to make entire panel systems that rotate into place. That seemed like more hassle than I wanted to go through, and still only locked you into three different control layout options.


Another popular option was to create entire panels that pop in and out, and can be made in any desired configuration. This certainly allowed for plenty of flexibility. However, it didn't allow the re-use of controls, so for example every panel that needed a joystick would have to have a dedicated joystick purchased for it. It also would require a fair amount of storage space for all the large panels in various configurations.
Then I happened across Doc's Modular Mame Cabinet. This seemed like an ideal compromise. Smaller, modular panels can be made and positioned anywhere on the control surface, in any combination. Controls can be reused in multiple configurations. The control panels not being used are smaller, and can easily be stored in the space underneath the cabinet.
The biggest downside I could see was that there would be a small visible line between the modules when mounted on the game. Also, because controls could be moved around it wasn't possible to have fancy graphics on the playing surface like many cabinets do, as the graphics might make sense in one configuration but not another. I decided that these were acceptable compromises to me, and so I built my own version of Doc's control panel.
One of the things a person needs to do in the planning stage of a project is determine what kind of joinery will be used to connect the pieces to each other.
Original arcade cabinets were actually fairly crude boxes, held together with butt joints and screws (sometimes even nails or staples.) If I wanted to be absolutely faithful to the originals I could do this too. But it would bother me.
On the flip side, I could go all-out with my joinery, using dados, mortise and tenon and maybe even dovetails to hold everything together. I certainly have the skill and the tools to accomplish this. However, this seemed like I was going too far in the opposite direction. As I've mentioned, I'm not trying to build an heirloom piece of furniture. I want it to last, but it doesn't need to have the fanciest joinery to keep it from falling apart.
I decided a good compromise between the two extremes is to use pocket hole screws. I bought a small Kreg pocket hole jig about 15 years ago and have used it a few times, but have never done a large project with them. This would be my first foray into drilling more than a couple pocket holes here and there.
Now if you do an internet search and start watching videos about "how strong are pocket screws" you'll find that they aren't as strong as more traditional joinery. I will agree with this, but at some point one has to determine what is "strong enough." A pocket screw joint will fail with much less force than a dado joint, but both joints will hold more stress than this cabinet is ever likely to undergo.
Some could argue, "How do you know how much stress this cabinet will ever have to undergo? Wouldn't you rather error on the safe side and use traditional joinery?" Well, to a degree yes. However, you can take this argument to the extreme, and state that we should build the cabinet out of metal just in case our house burns down. At a certain point you have to decide where the "good enough" line is drawn. I have decided that for this project pocket screws are good enough for me.
One thing I will be doing is reinforcing the pocket screw joints with wood glue. This won't add a tremendous amount of strength to the joint, but it will add some. I should also help keep the joints tight if the screws were to vibrate loose.
There will be a few places where I will rely on a friction fit instead of glues and/or screws. The slots to hold the monitor bezel/front glass and the slots to hold the marquee will just rely on friction and gravity to hold their respective pieces in place.
I wanted the marquee to be removable should I need to service the light behind it. I wanted the monitor bezel to be removable should I ever have to replace the monitor and the new one has a different size, so I can easily make a new bezel rather than having to do major surgery on the cabinet.
There are plenty of arcade cabinet plans available on the internet, both for free and for purchase. I looked at a few free plans, and they were in line with the "you get what you pay for" rule. I hesitated to purchase plans, as without being able to see the plans in detail I couldn't tell if they would be able to fill my requirements list or not.
I decided that a cabinet is a pretty straightforward construction project, and I would just design my own. I began using a computerized design tool to try and make some detailed plans. I quickly realized there is a steep learning curve to these design tools, and frankly after about 15 minutes I had lost interest in trying to learn.
So I spent an evening with a pencil, ruler and graph paper and sketched out my rough design. Originally my cabinet was going to be 24" front-to-back at its deepest point. Once I had it drawn out the proportions looked a bit wrong. I wanted a cabinet that was shallower than the original arcade machines, but this drawing looked too thin. Most arcade cabinets are in the 32"-35" deep range.
I changed my design to be 28" deep. This made it look better aesthetically, while still allowing it to be a little shallower than a full arcade game. In the end, I think my design wound up looking like I mashed together an Atari Centipede and Williams Joust machines.
Next, using my graph paper as a guide I transferred those measurements to an actual piece of wood. In doing so, I came across quite a few design things that I needed to change, and made another few tweaks for aesthetics. So by the end I had deviated greatly from my graph paper sketch.
If you start messaging me and asking for copies of my plans, this is the reason you won't receive them: my plans were far from exact to begin with, and then got scrapped anyway. At this point I was kind of flying by the seat of my pants, but thankfully I've been blessed with a brain that can usually keep all my design elements straight in my head. The flip side is that same brain keeps me awake at night as I constantly redesign things.
With the planning stage done, the next thing I wanted to do was get the computer up and running with all the emulators. You can read all about this on the emulators page.
Return To The Main Wood Gallery
This page last updated on 09/21/2023


