


I'll admit that applying a finish is my least favorite part of building musical instruments. This is probably why I have a bad habit of getting an instrument nearly done and then starting to build another one instead of finishing the one I was working on. In this case, though, I had the motivation of the Tundra Boy pushing me (dare I say "nagging"?) to wrap up the project so he could play the drum.
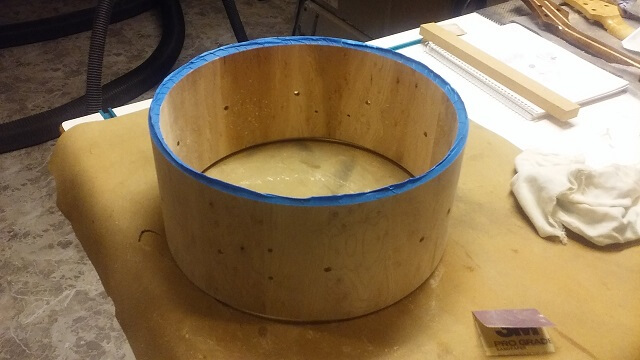
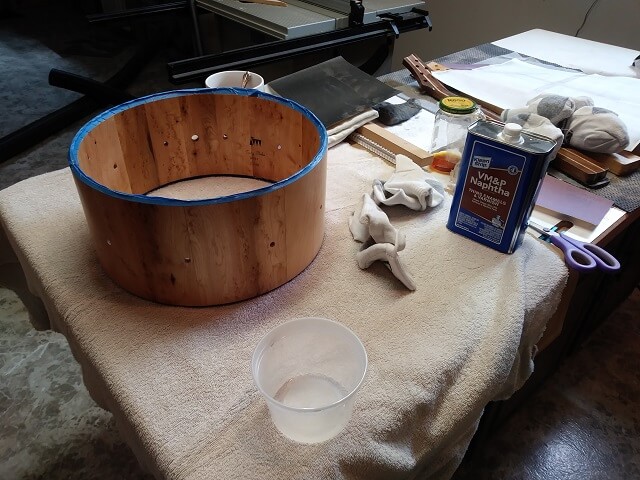
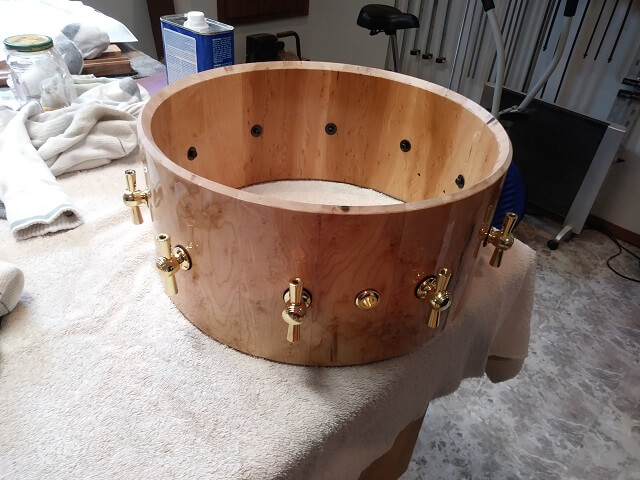
Finishing starts with sanding. I began with 100 grit paper, then moved to 150, 220 and finally 320 grit. I sanded both the inside and outside of the shell. The good news is that compared with a guitar, this drum shell had much less surface area and no end grain to deal with, so overall sanding went pretty quick. I think I had it completely sanded in about an hour and a half of total labor. This picture was when I was done sanding. I taped off the bearing edges as those will receive no finish.
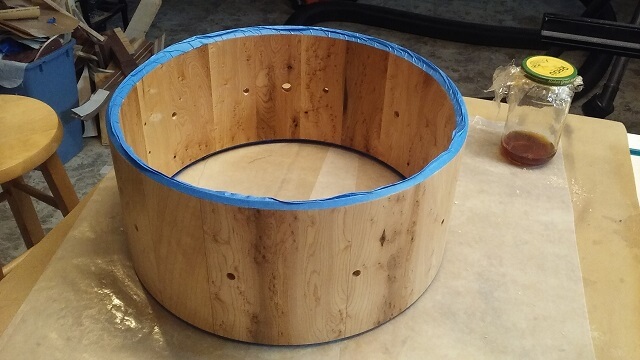
Next, I applied a couple of thin coats of shellac as a sealer. This brought out the color of the wood and would ensure a good surface to which the lacquer could bond. The first coat of shellac raised the grain slightly, so I hit it with some #0000 steel wool just to knock it down. Shellac is such a thin finish that it's easy to burn right through it with even fine sandpaper. A light rub down with super fine steel wool removed the raised wood fibers but left the shellac intact. After the second coat of shellac I deemed it smooth enough that I didn't have to sand again before spraying.
Spraying lacquer is always a challenge as I don't have a dedicated spray booth. You definitely don't want to spray nitro in your basement because it is very toxic. I often spray in my garage, but this leaves me at the mercy of the weather. The temp needs to be in a good range (I prefer somewhere between 60 and 80 Fahrenheit) and the humidity needs to be low (below about 75%, but the lower the better.) Even in the garage with the door open the fumes really build up and the garage stinks for about a week.
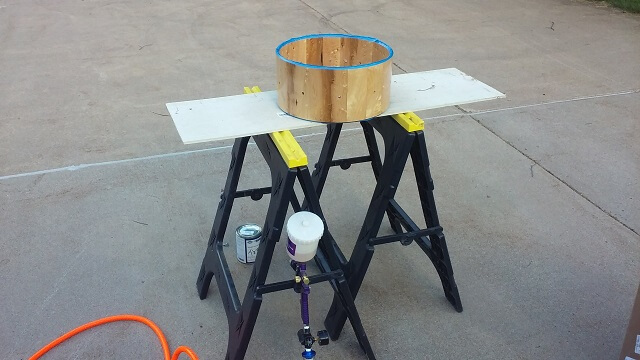
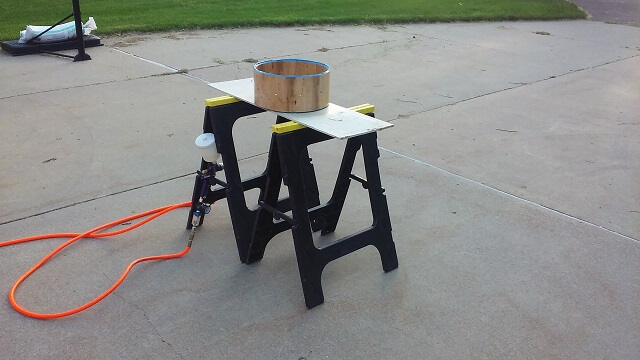
I was blessed with a couple of days that were about perfect: in the 70s for temperature and low humidity. As a bonus, the wind was very light (a rarity in South Dakota) so I moved my spray operation into the driveway which really helped the fumes dissipate and kept my garage from smelling like an auto body shop. Even though I was outside I still made sure to wear my respirator as the nitro fumes are really bad news.
I set the drum on some sawhorses and sprayed four coats of lacquer, about 15 minutes apart. Then I quit for the day. The next day the weather was nice again and I was able to spray four more coats. On the outside of the shell, I tried to spray as heavy a coat as I felt comfortable without risking a run. I was less worried about the inside of the shell. At this point in time I wasn't planning on level sanding and buffing the inside of the shell so I didn't need the extra thickness/smoothness that a thick coat gives. The lacquer on the inside is just in there for sealing and protection. It's going to get covered up with drum heads anyway so nobody would ever see it if I gave the inside a mirror polish.
The ultimate plan is to spray about 12 coats total. Unfortunately the weather for the next 10 days was predicted to take a turn for the worse, with temps soaring into the 90s and the humidity numbers in the same range. Plus a lot of those days were going to include rain. Rats. 8 coats into spraying the finish and it looked like I was going to be on pause until I would get a break in the weather.
Sure enough, the next day the temp and humidity soared. I had resolved myself to the fact that I probably wasn't going to finish the project any time soon. All I needed was yet another project sitting around that was half done. If I were a rapper, I think my name would be 50 Percent.
However, in looking at the weather I saw a small window of opportunity. During the 2nd day of the heat wave, the early morning was supposed to be pretty nice with the temps in the upper 70s and the humidity below 70%. I decided to carpe the diem and set my alarm for 5:30 AM. I decided that shorting myself a little sleep on one day would be worth it I was able to wrap up the project a few weeks sooner.
So I got up and went outside to spray. Sure enough, the temp was 78 degrees and the humidity was about 64%. Unfortunately, the wind was blowing pretty hard at 15-20 mph. I probably should have set up and sprayed in the garage, but frankly in the early morning I wasn't motivated to move everything out so it wasn't at risk of lacquer overspray. I also didn't feel like fuming up the whole garage.
Against my better judgment I took a gamble and set up to spray outside. I had to hold the gun a couple inches closer to the drum while spraying to keep the lacquer from blowing back into me instead of the project. Somehow, I successfully sprayed the final four coats in the wind. The weather was getting a bit iffy for my very last coat, as I could feel it getting warmer (thermometer said 82) and the humidity rising. The twelfth and last coat went on succussfully but I definitely wouldn't have wanted to spray any more coats.
So now comes the hard part of spraying a finish: waiting two weeks for the lacquer to cure. The longer you wait, the harder the finish becomes and the shinier it will be after buffing. Two weeks is generally considered the minimum wait time, and more time is better. I was prepared for this wait, and am somewhat use to it. It nearly killed the Tundra Boy, though.
Due to some other scheduled activities, I actually waited 16 days before I began the level sanding process. Normally I start with 600 grit sandpaper and work my way through 2000 grit. This time, though, the lacquer was sprayed smooth enough that I started with 800 grit paper. I used naptha as a lubricant. Normally I just use water with a little soap, but with the number of holes that were drilled in the shell and the unfinished bearning edge, I didn't want any water to seep into unfinished wood, as this will cause the wood to swell and crack the lacquer. Naptha doesn't cause wood to swell. It also doesn't lubricate the paper as well as the water/soap combo, but it was good enough to get the job done.
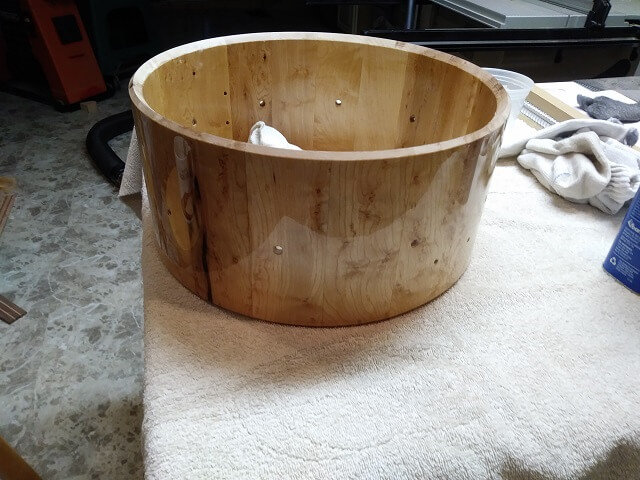
I worked my way around the outside of the shell with the 800 grit paper, sanding until no shiny spots were left visible in the finish. This seems backwards, but it's the key first step in getting a mirror smooth finish that is so shiny it looks wet. I would work on one stave section at a time and stop and wipe away the sanding residue to check my progress. As each stave section was sanded flat I would move on to the next section. I repeated this process for all 18 stave sections until I wound up with a uniformly flat and dull coat of lacquer around the outside of the drum. As I mentioned above, I had no plans to level sand and buff the inside of the shell so the only thing I would do to the inside is wipe away any of the sanding slurry that dripped through the holes.
With the lacquer nice and level, I repeated the process with 1000 grit paper, then did it again with 1500 grit paper. Often times I will sand a lacquer finish to 2000 grit, but I have been suspecting that because I start buffing with medium grit compound I didn't need to sand to that fine a grit. I decided to stop at 1500 and see how it buffed. I could always go back and sand with 2000 grit if I didn't feel it was buffing nice enough.
So I began the buffing process which is a lot more fun than the sanding process. Not only does it go faster, you start to see the finish improve as you buff whereas when sanding the finish gets worse looking. My buffing setup is pretty simple: foam pads chucked into my drill press. I then smear rubbing compound on the drum shell and then let the spinning pad do the work. Care needs to be taken not to buff so hard you burn through the finish, but really it's not too difficult to avoid this with a little care.
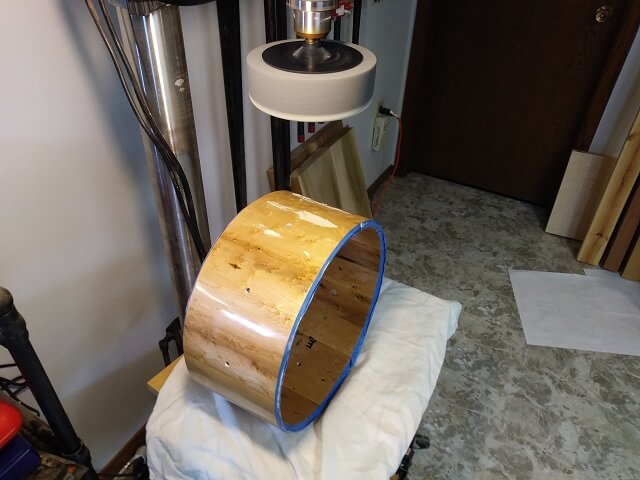
I buffed the drum with medium compound, then wiped all of the residue off the drum. From there I swapped pads and moved to fine compound and buffed again. Once more I wiped all of the residue off the drum and swapped pads a third time. This last time I used "swirl remover" which is basically an ultra fine grit compound that's a little more liquidy than the other compounds. This final buffing left the drum with a mirror shine.
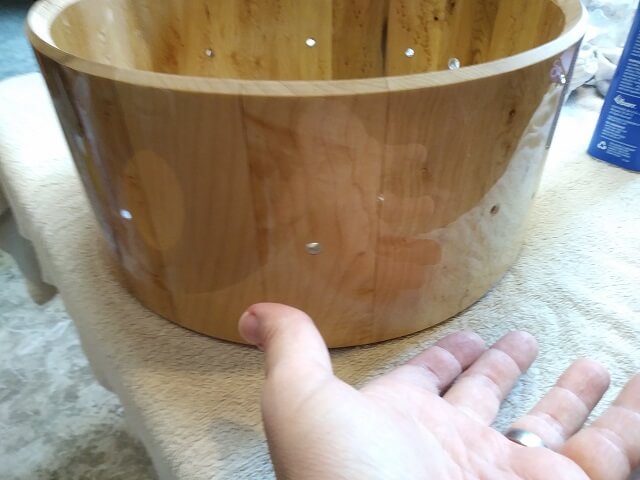
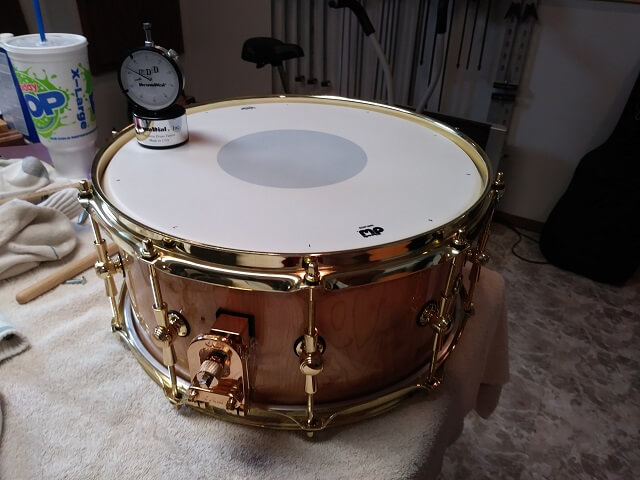
I then gave the drum shell a good coat of paste wax just as a protective layer and to give it that last extra bit of shine. I had to take the obligatory "you can see my hand reflected in the finish" photo. As shiny as the drum looks in this picture, it actually looks a lot shinier in person.
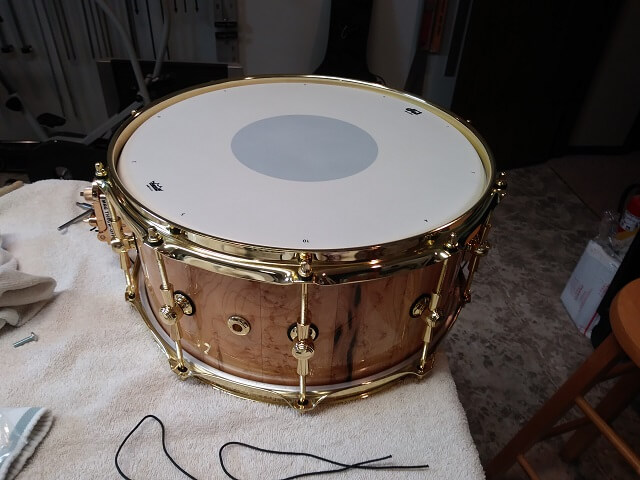
We're on the home stretch now. I pulled out the big box of hardware and began installing everything. The lugs, vent, throw and butt plate simply bolt into the holes I had already drilled in the shell. I did have to run to the hardware store to get slightly longer screws for the butt plate. The ones that came with the plate were 3/4" long and were just a hair too short. I went and bought two 1" 10/24 screws. That cost 30 cents. I think I spent more money in gas to drive to the hardware store.
I mounted the skins and proceeded to tune them. My brother had left his drum dial at my house so I utilized it just to get a ballpark of the head tension. I tuned the resonant skin (bottom) to 85 lbs, and the top to about 80 lbs. I then installed the snare wires and adjusted them to be centered and tensioned to give a good sound.
As it turned out, I didn't need to do all this because as soon as I gave the drum to the Tundra Boy he loosened the heads and retuned everything using his ear. I think he wound up setting the resonant skin way, way tighter than I ever would have felt comfortable doing. After about 5 minutes of adjusting things to his liking, he declared the drum, "the best sounding snare I have ever heard!" So I will chalk this project up as a success.
Now the Tundra Boy wants me to make the rest of the kit to match.
See all of the completed pictures.
Return To The Main Music Gallery
This page last updated on 07/17/2018